Customer Journey Plug-in Installation Guide
Overview
The Customer Journey Plug-in lets administrators create easy-to-follow, visual business processes for users to complete against their Sugar records. Each journey is an end-to-end process that is split into color-coded stages, and each stage contains one or more call, meeting, or task activities that the user can complete with optional dependencies and actions on related records.
Sugar customers can contact their Sugar partner or representative to purchase the plug-in then upload and configure the plug-in in Sugar according to these instructions. This guide walks through the steps to download, install, and activate the Customer Journey Plug-In in a Sugar instance.
Note: This guide pertains to the latest supported version of the Customer Journey Plug-In.
For information on using the installed connector, please refer to the Customer Journey Plug-In Administration Guide and Customer Journey Plug-In User Guide.
Prerequisites
The Customer Journey Plug-In is an extension for Sugar and must be downloaded and installed by an administrator on the Sugar instance where it will be used. If you have not yet received your license and validation keys, please contact your Sugar partner or representative before continuing with the installation.
Also, please ensure that you have upgraded your Sugar instance to at least the minimum supported version of Sugar. For more information on supported platforms, please refer to the Connectors Supported Platforms page.
Downloading the Customer Journey Plug-In
The Customer Journey Plug-In for Sugar is available for download by registered sugarcrm.com users via Sugar's Download Manager (choose your Sugar version and then choose "Plug-ins" from the adjacent dropdown). Save the installation package to a directory that is accessible by the Sugar administrator user who will complete the installation.
Installing the Customer Journey Plug-In
Once you have downloaded the package (e.g. addoptify-customer-journey.4.x.x.zip), you can upload it to your Sugar instance via Module Loader. If you are upgrading an existing package, you can simply install the new package over the old one using the same installation steps.
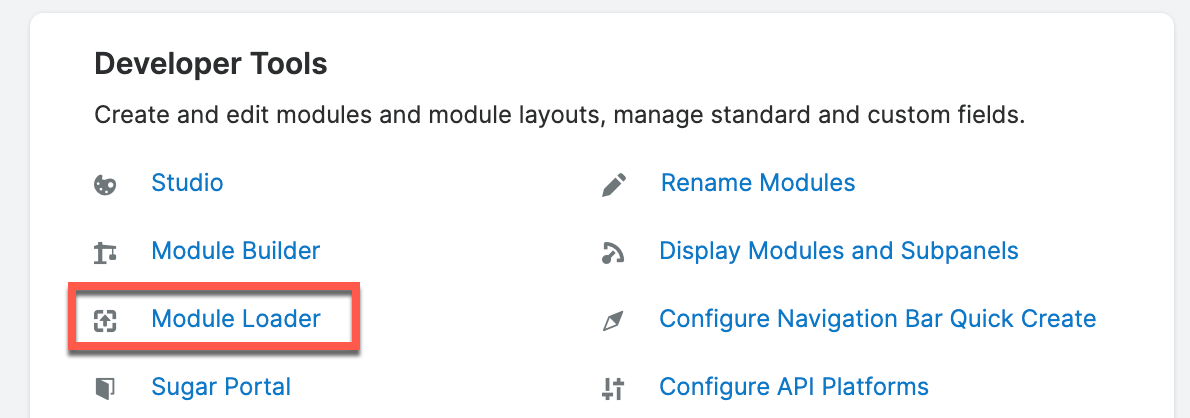
- Navigate to Admin > Module Loader.
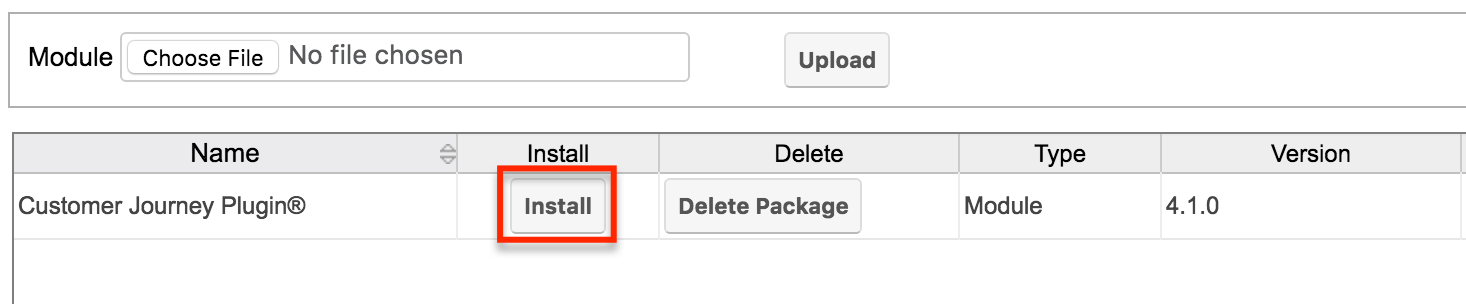
- Click the "Choose File" button in the Module Upload panel to open a file selection window from your browser.
- Find and select the .zip package that you downloaded in the previous section.
- Click the Upload button to load the package to Sugar.

- Once the upload has completed, click the Install button next to the package's name.
-
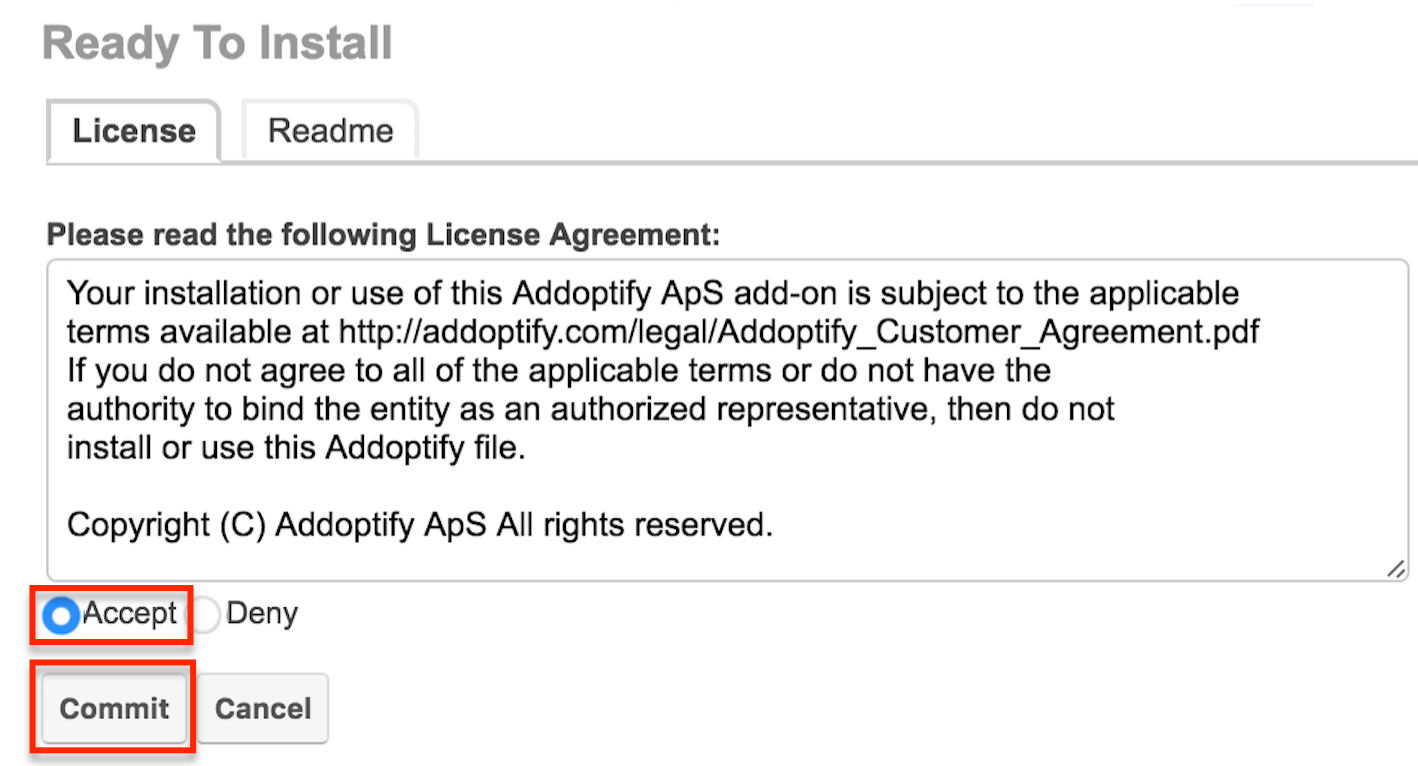
Review the License Agreement and select "Accept" to agree to the terms. Click "Commit" to run the installation.
- Wait for the installation to complete before continuing to the next installation steps.
Note: If installation errors occur, Sugar will display the errors with details of what potentially caused the issue(s). You can click on "Display Log" to view details of what occurred during the installation process. Work with your system administrator to troubleshoot and fix the errors, and then re-attempt the installation procedure. - Next, navigate to Admin > Repair and perform the following repair activities. For more information on performing repair activities in Sugar, please refer to the Repair documentation.
- Repair Roles
- Rebuild JS Grouping Files
- Quick Repair and Rebuild
- Finally, clear your browser's cache before activating the plug-in.
The plug-in installation is now complete. Next, you must enter your license information to activate the product and configure users to access the plug-in.
Activating the Customer Journey Plug-in
Before you can start using the Customer Journey Plug-In, you must enter valid license and validation keys, which should have been provided to you by SugarCRM or your Sugar partner at the time of purchase. If you have not received your keys, please contact your Sugar partner or representative.
Follow these steps to validate your license:
- After installing or upgrading the plug-in, clear your browser's cache before activating your license. If you already completed this step as part of the installation steps above, please continue to the next step.
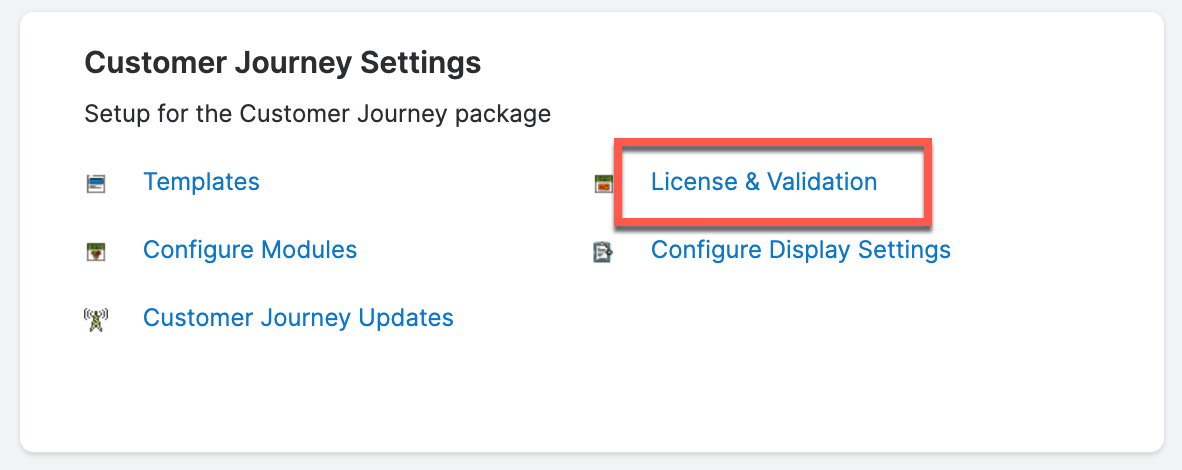
- Navigate to the Admin panel and find the section labeled "Customer Journey" near the bottom of the page. Click on "License & Validation".
- In the License panel, enter the license and validation keys provided to you by SugarCRM or your Sugar partner at the time of purchase and click "Save."
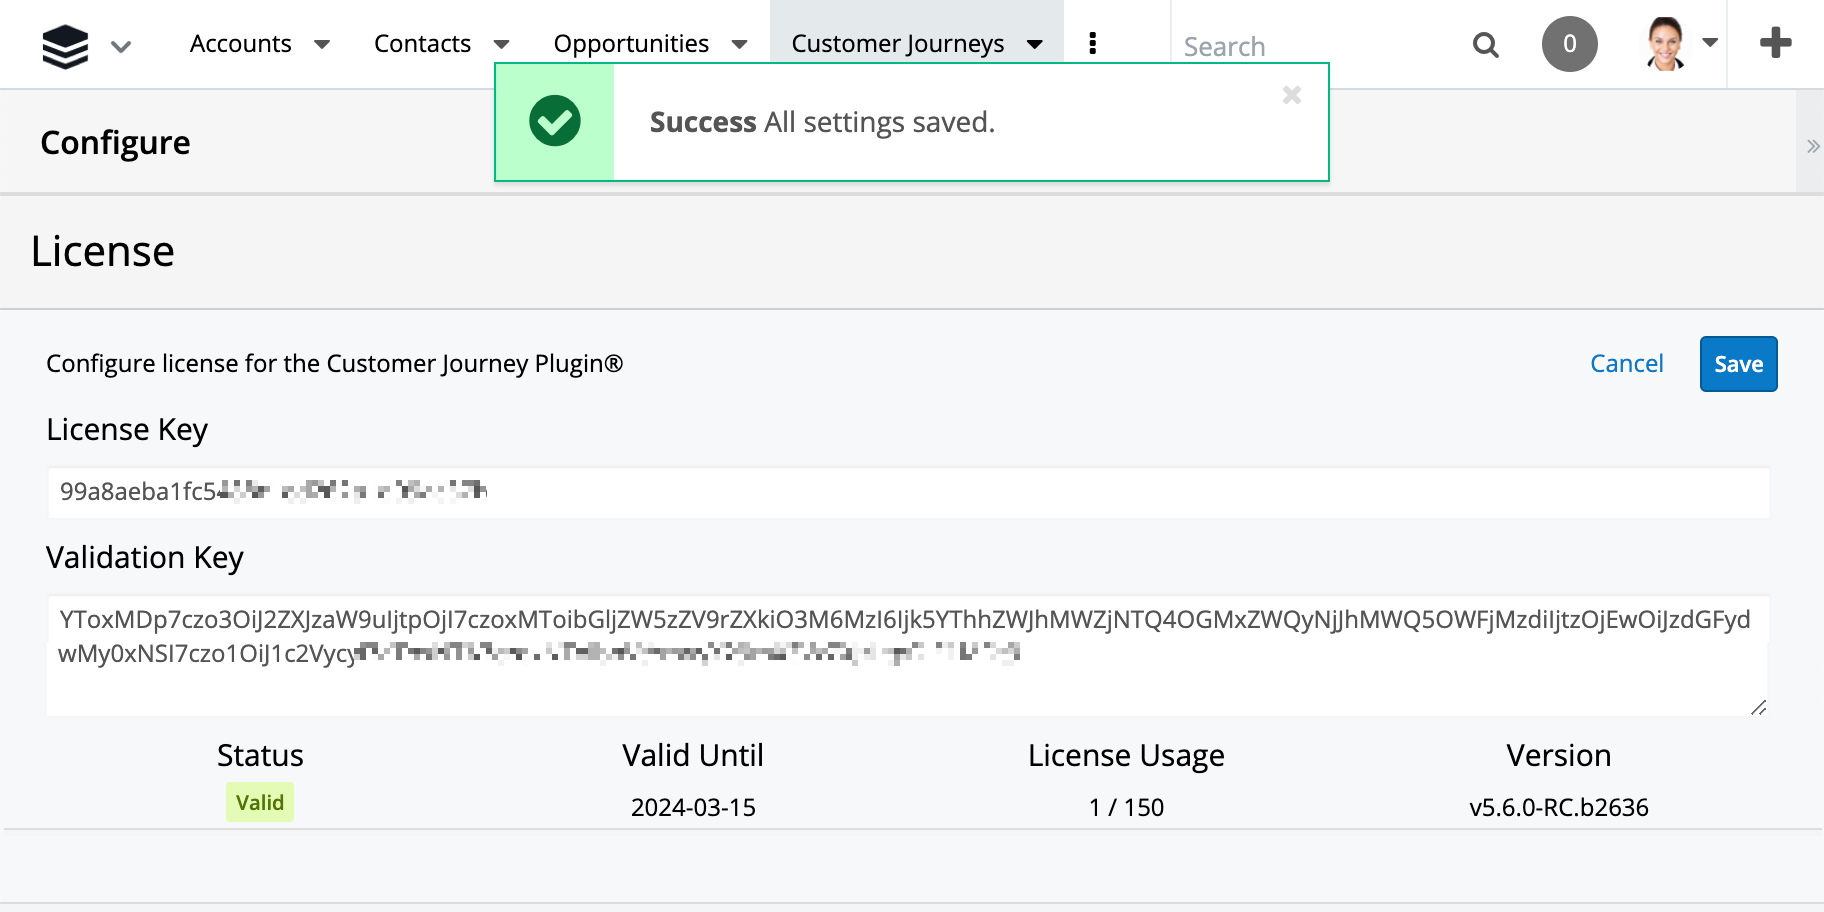
A Success message will confirm that your keys have been accepted and the status field will show "Valid" to indicate that you have successfully installed and activated the Customer Journey Plug-In for Sugar. Next, you must grant users permission to access the plug-in as explained in the Configuring User Access section of this guide.
Configuring User Access
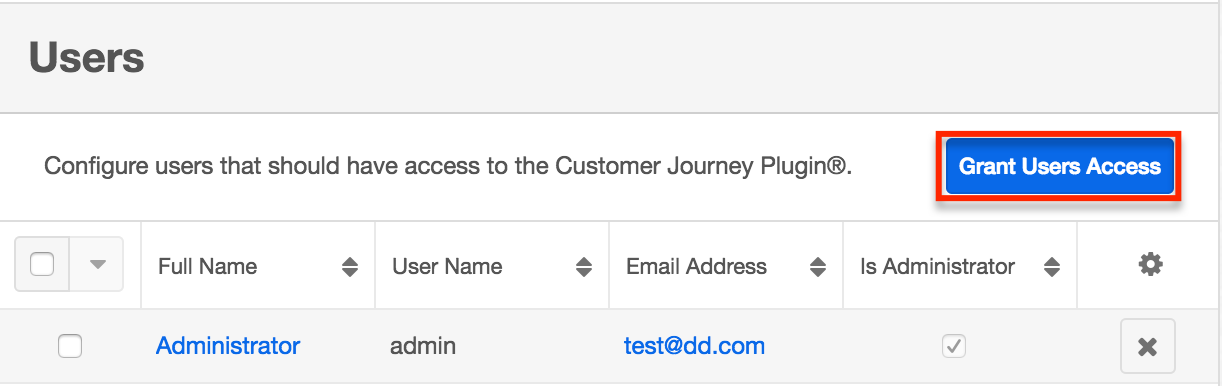
Once you have successfully activated the plug-in, the Users panel on the configuration screen will automatically show the Administrator user on the plug-in's access list. You must manually select the remaining users that should have access to Customer Journeys in Sugar.
Note: Granting access to users will make the Customer Journey modules available to them for desktop and mobile access by default.
Follow these steps to add users to the plug-in's access list:
- Navigate to the Admin panel and find the section labeled "Customer Journey Settings" near the bottom of the page. Click on "License & Validation".
- In the Users panel, click on "Grant Users Access".
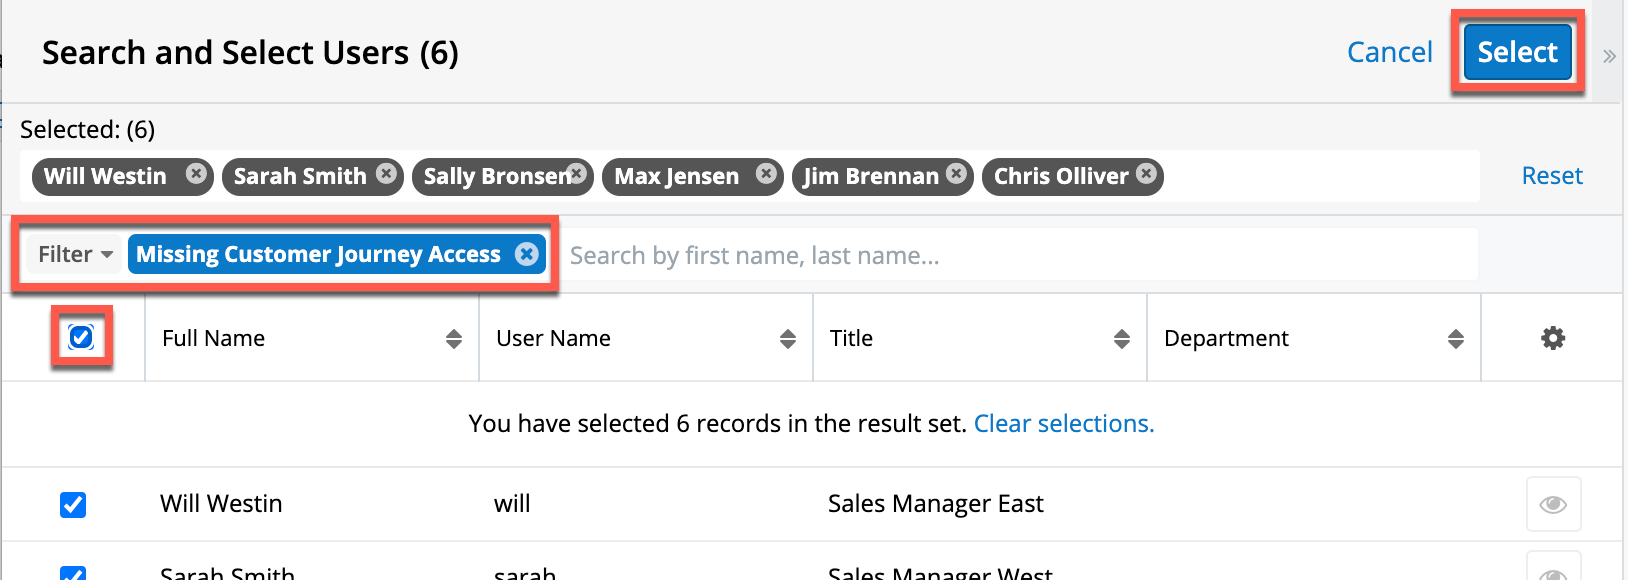
- The Search and Select drawer will open where you can select the users you would like to add to the access list. Note that, by default, the user list is filtered to only display users who do not yet have access. Click the Select button when you are satisfied with your selections.
The selected users will now appear in the access list. To remove access for a user, click on the X at the end of their row. To remove access for multiple users, select the checkboxes next to their names and then use the Mass Actions menu to revoke access: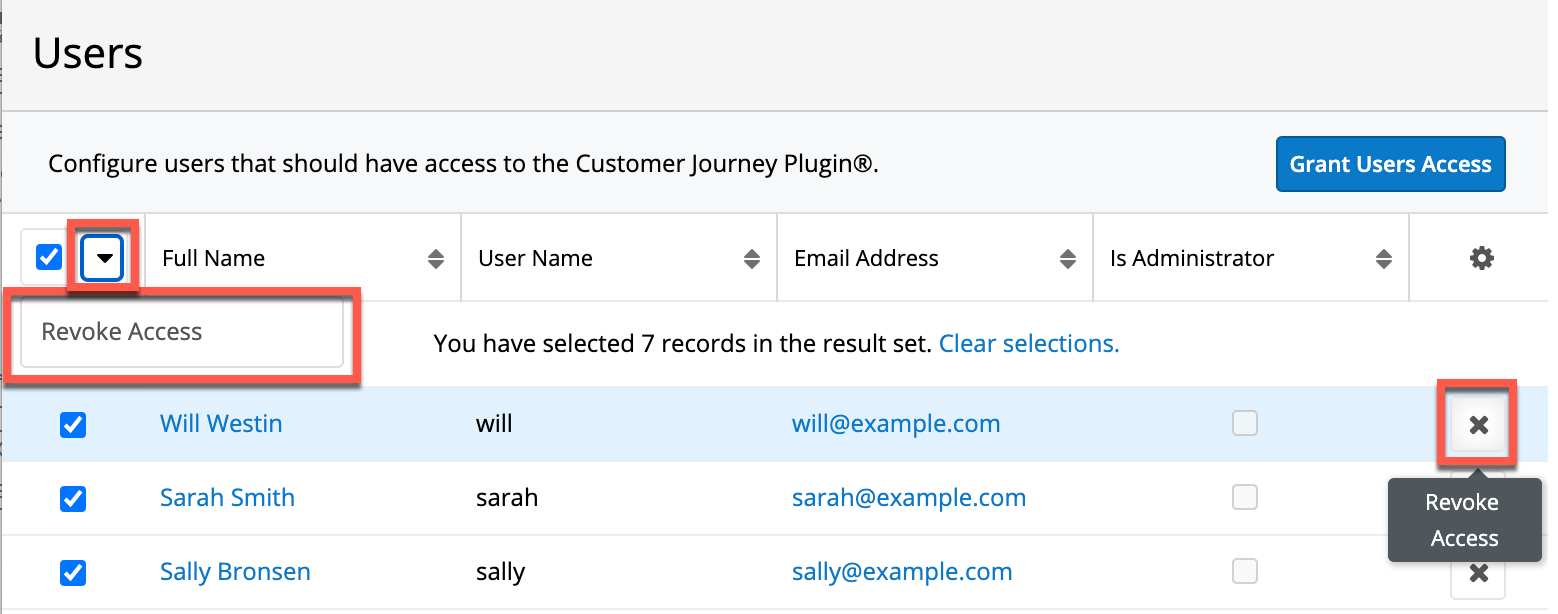
To start creating customer journey templates for your instance, please refer to the Customer Journey Plug-In Administration Guide.
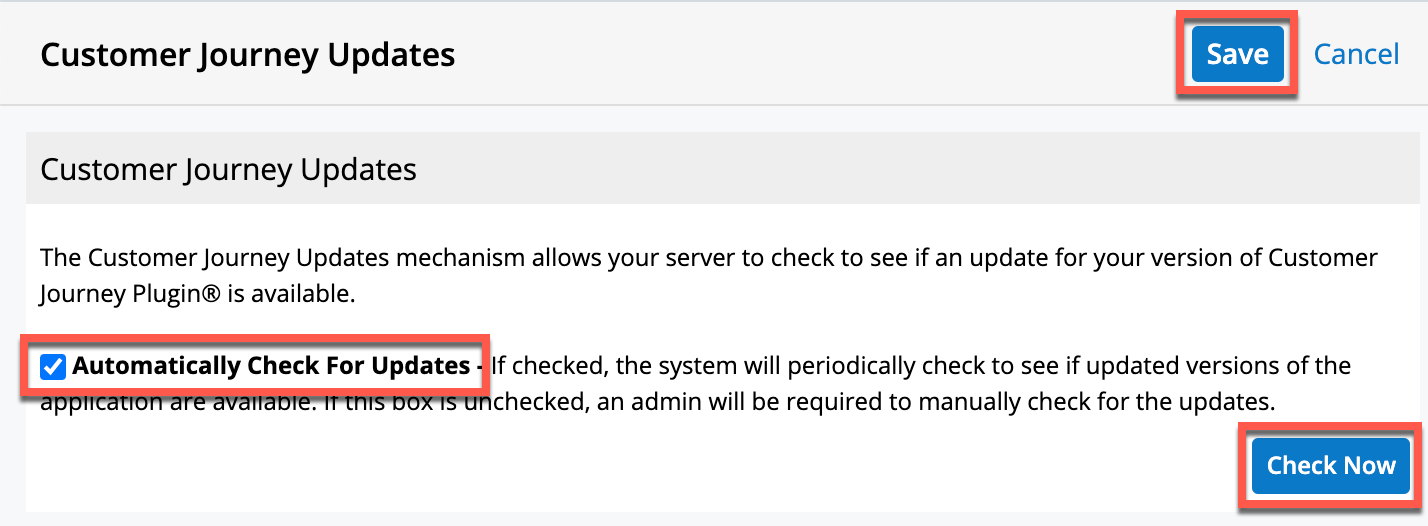
Checking for Updates
The "Customer Journey Updates" option in the Admin panel allows your server to check to see if an update for your version of Customer Journey Plugin is available. You can configure the server to check automatically or run a check manually on demand.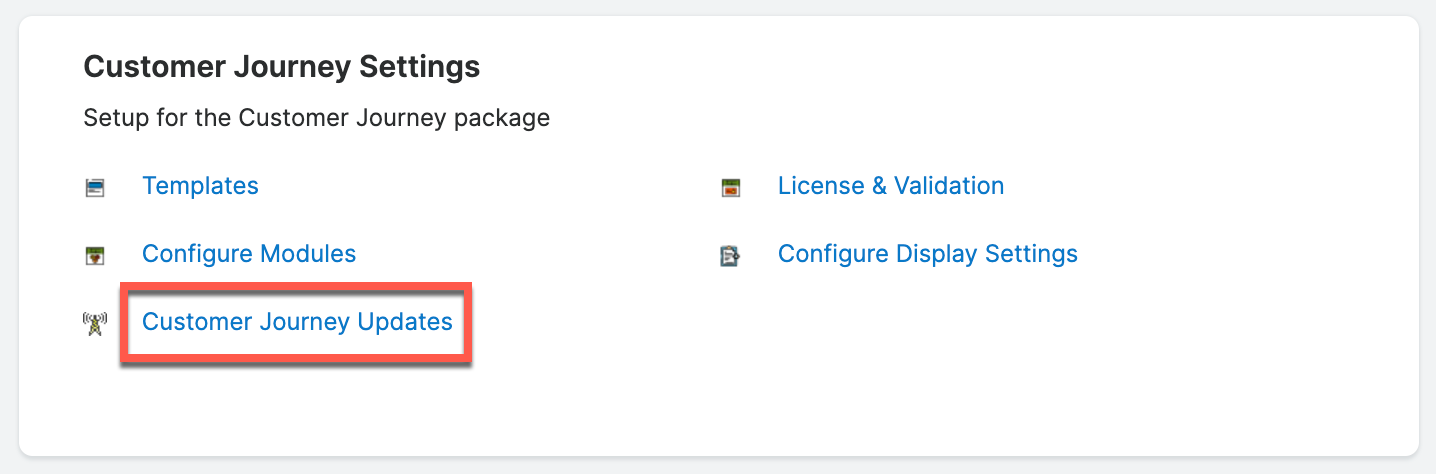
By default, the "Automatically Check For Updates" option will be disabled but you can manually check for updates by clicking the "Check Now" button.