Stock SugarBPM - Case Follow-Up Date Management
Overview
Sugar has several stock SugarBPM™ templates available to users based on their license type. Three of these are Sugar Serve templates that work together to automate customer service processes:
- Case Follow-Up Date Management V2
- Case Status Update on Inbound Customer Note
- Customer Notification of Case Status Change
The primary one of these is Case Follow-Up Date Management V2, which manages the Service Level Agreement (SLA) on new and existing cases. To use this process definition in your Sugar instance, you must first create and configure items outside of SugarBPM such as business centers and case status values to suit your business needs. These steps are covered in the Getting Started With SugarBPM for Sugar Serve article. Then, you must configure the Case Follow-Up Date Management V2 process definition and its two helper process definitions to work with your organization's business processes. Examples of what may need to be configured include case statuses, SLA times, business centers, and email templates.
This article outlines everything you may need to change to make the process definitions work in your instance. Note that it is recommended to always test new configurations in a sandbox development environment before using them in your live Sugar instance.
Prerequisites
- Your user profile must have a Sugar Serve license because the stock SugarBPM records discussed in this article can only be edited by Sugar Serve users. For more information on license types, refer to the License Types Matrix documentation.
- You must be an administrator or have developer-level role access to the Cases module in Sugar to create and manage SugarBPM records for cases.
- Before performing the steps in this article, it is recommended that you have a basic understanding and knowledge of SugarBPM.
- Schedulers, specifically the SugarBPM™ Scheduled Job, must be running.
- A manager-subordinate relationship should exist for all users who may be assigned cases. This relationship is established on user records via the "Reports To" field.
For more information on these items, please refer to the User Management, Role Management, SugarBPM, and/or Schedulers documentation.
Understanding Stock Templates When Upgrading Sugar
If you adopted Sugar Sell using some older, unsupported versions of Sugar, then you will find two similarly-named SugarBPM templates for the Cases module: "Case Follow-Up Date Management" and "Case Follow-Up Date Management V2". The original version of the template is obsolete and should not be used. If you previously configured the original version to work in your instance, you must follow the Steps to Complete below to apply all the same changes to V2 in addition to configuring the new elements. Alternatively, you could choose to add the new V2 elements to your existing template and leave the V2 version disabled. The new elements in V2 are marked with an asterisk in the table below.
Note that the V2 version of the template will be disabled until you configure and enable it. It is important to only enable one version of the template at a time to avoid unexpected behavior.
Steps to Complete
Case Follow-Up Date Management V2
The table below lists every element in the Case Follow-Up Date Management V2 process definition and the changes that may be needed to work with your instance. Note that some steps may not be required if you have not made certain changes to your instance.
Keep in mind that this SugarBPM template is a revision of an old one that was included in a previous version of Sugar Serve. The V2 version is available in Sugar Serve and includes new functionality. Elements that are new in V2 are marked with an asterisk in the table below. Refer to the Understanding Stock Templates When Upgrading Sugar section above for how to proceed after an upgrade.
Note that elements with names that have "V2" at the end did not change from the original version. They simply use the V2 copies of the process business rules and process email templates, which are identical to their original counterparts.
| Element | Element Type | Steps to Configure |
|
|
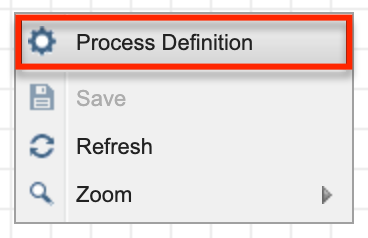
Process Definition Settings | If you have changed the list of values available for the Status field on the Cases module, right-click anywhere in the designer canvas and select "Process Definition". From here, update the Terminate Process criteria to use the correct statuses instead of "Closed", "Rejected", and "Duplicate".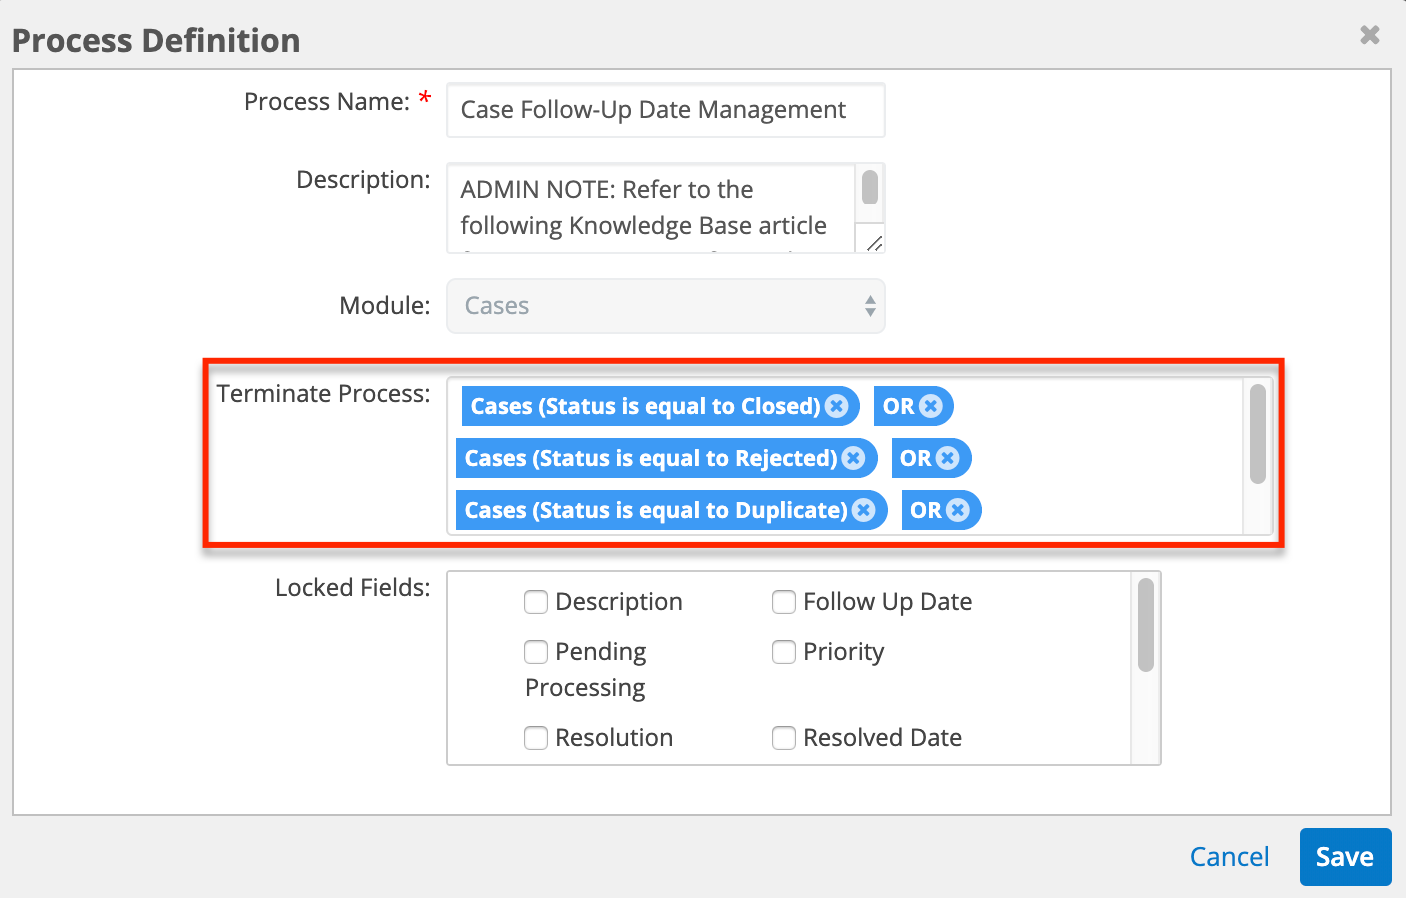 |
 |
Start Event | If you have changed the list of values available for the Status field on the Cases module, update this Start event's criteria to filter on the correct status instead of "New". |
 |
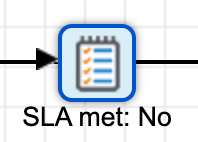
Business Rule Action |
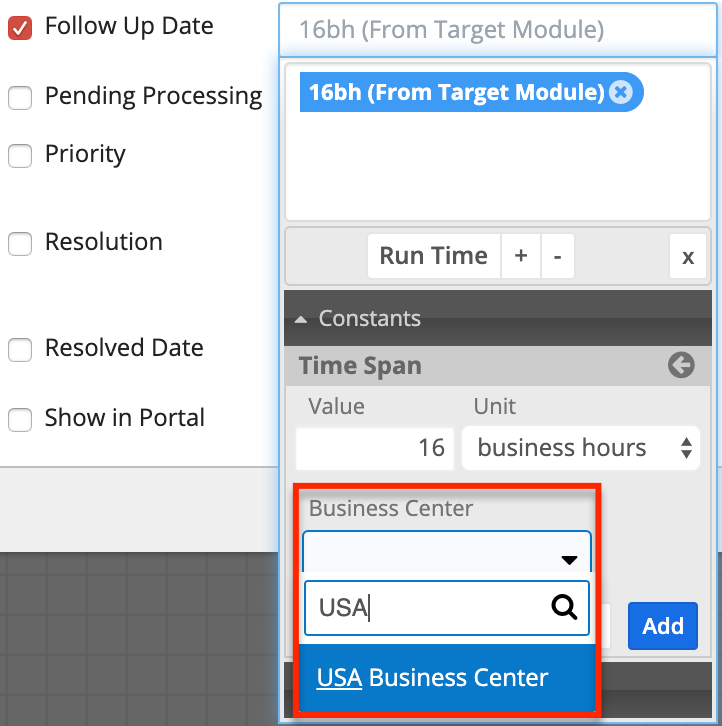
The New Case SLA process business rule uses the Priority and Service Level fields on the Cases module; if you have changed the list of values available for either of those fields, update the matrix accordingly. Either way, you will need to set up the business rule to match your organization's Service Level Agreements (SLAs). You can do this by adjusting the combinations of priority and service level in the Conditions section if needed, then changing what the Follow Up Date field is set to in the Conclusions section according to your organization's SLAs. In addition, you must also ensure that every account has a business center assigned. The business hours used when calculating SLAs are taken from the account's business center. If you would prefer to manually specify a business center instead of requiring it to be set on every account record, follow these steps to ensure the specific business center is used:
Note: The process definition does not evaluate the return values so updating them does not impact the process. |
 |
Round Robin Action |
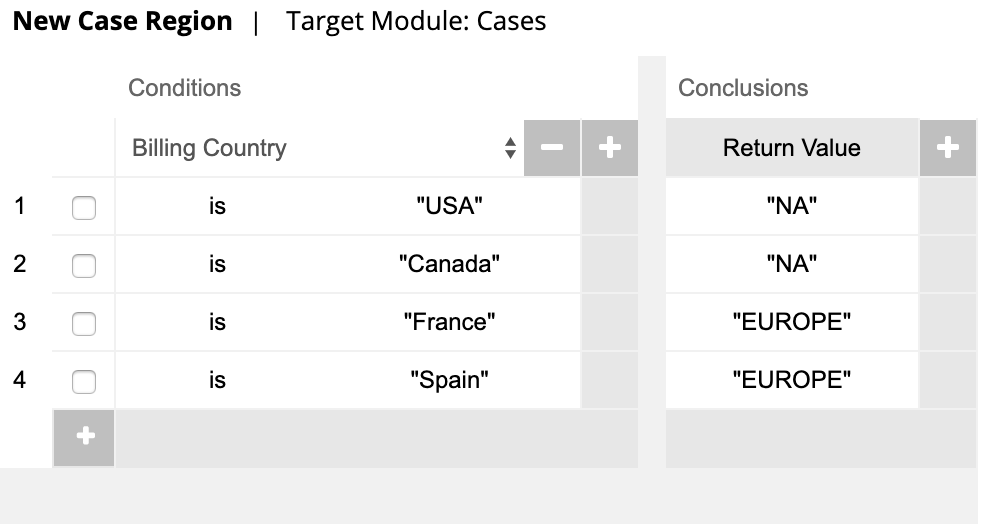
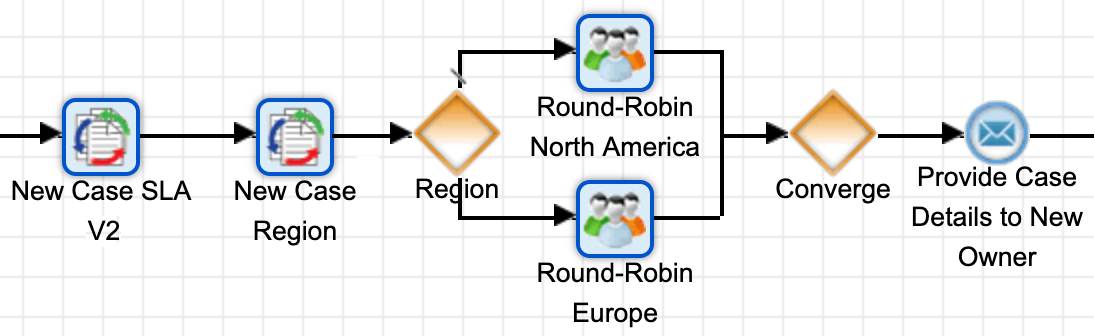
Set the team from which the process user should be selected. By default, it is set to the Global team. If your organization has multiple teams to which new cases are assigned based on certain criteria (e.g. region), update the round-robin assignment to map to the correct team. This can be done using the following steps:
After completing the above steps, the changes should look similar to the following, depending on how many regions your organization has: |
 |
Send Message Event | If desired, update the wording and details included in the Case Assigned process email template. |
 |
Event-Based Gateway | No configuration required. |
 |
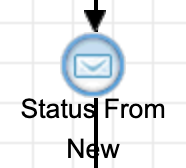
Receive Message Event | If you have changed the list of values available for the Status field on the Cases module, update this Receive Message event's criteria to listen for the correct status instead of "New". |
 |
Wait Event | No configuration required. |
 |
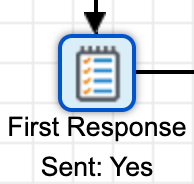
Change Field Action* | No configuration required. |
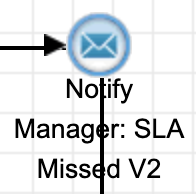 |
Send Message Event | If desired, update the wording and details included in the Notify Manager: SLA Missed process email template. |
 |
Receive Message Event* | If you have changed the list of values available for the Status field on the Cases module, update this Receive Message event's criteria to listen for the correct status instead of "New". |
 |
Change Field Action* | No configuration required. |
 |
Start Event | If you have changed the list of values available for the Status field on the Cases module, update this Start event's criteria to filter on the correct statuses instead of "Closed", "Rejected", and "Duplicate". |
 |
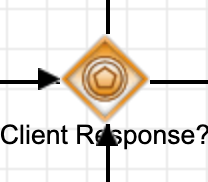
Exclusive Gateway | If you have changed the list of values available for the Status field on the Cases module, update both Criteria fields to filter on the correct statuses instead of "Pending Input", "Closed", "Rejected", and "Duplicate". |
 |
Change Field Action | If customer service representatives should have more or less than the default eight business hours to follow up on a case, update the calculated formula for the Follow Up Date field. Be sure to also update the name of the event to match the change. |
 |
Change Field Action | If clients should have more or less than the default sixteen business hours to follow up on a case, update the calculated formula for the Follow Up Date field. Be sure to also update the name of the event to match the change. |
 |
Event-Based Gateway | No configuration required. |
 |
Receive Message Event | If you have changed the list of values available for the Status field on the Cases module, update this Receive Message event's criteria to filter on the correct status instead of "Pending Input". |
 |
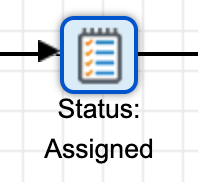
Change Field Action | If you have changed the list of values available for the Status field on the Cases module, update the value to which the event changes the Status field to the correct status instead of "Assigned". |
 |
Receive Message Event | No configuration required. |
 |
Receive Message Event | If you have changed the list of values available for the Status field on the Cases module, update this Receive Message event's criteria to filter on the correct status instead of "Pending Input". |
 |
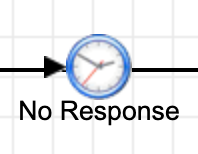
Wait Event | No configuration required. |
 |
Change Field Action | If the follow-up date should be extended for clients by more or less than the default sixteen business hours, update the calculated formula for the Follow Up Date field. |
 |
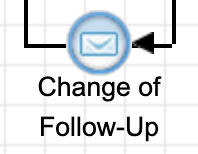
Send Message Event | If desired, update the wording and details included in the Follow-Up Warning process email template. |
 |
Event-Based Gateway | No configuration required. |
 |
Receive Message Event | If you have changed the list of values available for the Status field on the Cases module, update this Receive Message event's criteria to filter on the correct status instead of "Pending Input". |
 |
Wait Event | No configuration required. |
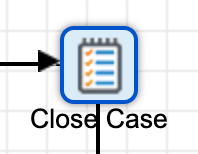 |
Change Field Action | If you have changed the list of values available for the Status field on the Cases module, update the value to which the event changes the Status field to the correct status instead of "Closed". |
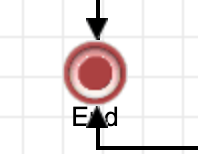 |
End Event | No configuration required. |

*Elements marked with an asterisk in the table are new additions in the V2 version of the SugarBPM template, available in Sugar Serve.
Case Status Update on Inbound Customer Note
"Case Status Update on Inbound Customer Note" is a helper process definition for "Case Follow-Up Date Management". The table below lists each of its elements and which steps may be needed to configure it to work with your instance. Note that some steps may not be required if you have not made certain changes to your instance.
| Element | Element Type | Steps to Configure |
 |
Start Event | If you have changed the list of values available for the Status field on the Cases module, update this Start event's criteria to filter on the correct status instead of "Pending Input". |
 |
Change Field Action | If you have changed the list of values available for the Status field on the Cases module, update the value to which the event changes the Status field to the correct status instead of "Assigned". |
 |
End Event | No configuration required. |
Customer Notification of Case Status Change
"Customer Notification of Case Status Change" is a helper process definition for "Case Follow-Up Date Management". The table below lists each of its elements and which steps may be needed to configure it to work with your instance. Note that some steps may not be required if you have not made certain changes to your instance.
| Element | Element Type | Steps to Configure |
 |
Start Event | No configuration required. |
 |
Send Message Event | If desired, update the wording and details included in the Customer Notification of Case Status Change process email template. |
 |
End Event | No configuration required. |
Enabling the Process Definitions
New process definitions are set to "Disabled" by default. This is a preventative feature that ensures a process instance is not triggered inadvertently during the design phase. After all three process definitions are fully configured, exit the Visual Designer and set each process definition to "Enabled" via the Process Definitions dashlet or list view. For more information, please refer to the Process Definitions documentation.