Reporting on Record Change Logs via Advanced Reports
Overview
Advanced reports allow you to create custom reports using one or more SQL statements to query the Sugar database directly. Users with SQL knowledge can take advantage of the advanced reporting capabilities to create direct database queries for more flexible and extensible reporting. This article explains how to create an advanced report that tracks changes made to audited fields.
Administrators or users with developer-level access can easily mark fields for audit via Admin > Studio. For more information, please refer to the Adding Fields to a Module's Change Log article.
Note: Advanced Report queries override team and role permissions.
Use Cases
The following sections cover example use cases and the SQL select statements that should be used when creating the custom query record. For more information on creating advanced reports, please refer to the Advanced Reports documentation.
Tracking Account Changes in the Last Seven Days
In order to create an advanced report to track the history of changes made to records in the Accounts module over the last seven days, please use the following SQL select statement:
SELECT IFNULL(accounts.id,'') account_id
,IFNULL(accounts.name,'') accounts_name
,IFNULL(accounts_audit.date_created,'') `date_created`
,IFNULL(accounts_audit.created_by,'') `created_by`
,IFNULL(accounts_audit.field_name,'') `field_name`
,IFNULL(accounts_audit.before_value_string,'') `before`
,IFNULL(accounts_audit.after_value_string,'') `after`

FROM accounts
LEFT JOIN accounts_audit accounts_audit ON accounts.id = accounts_audit.parent_id

WHERE (((accounts_audit.date_created >= DATE_SUB(CURDATE(), INTERVAL 7 DAY))))
AND accounts.deleted=0;
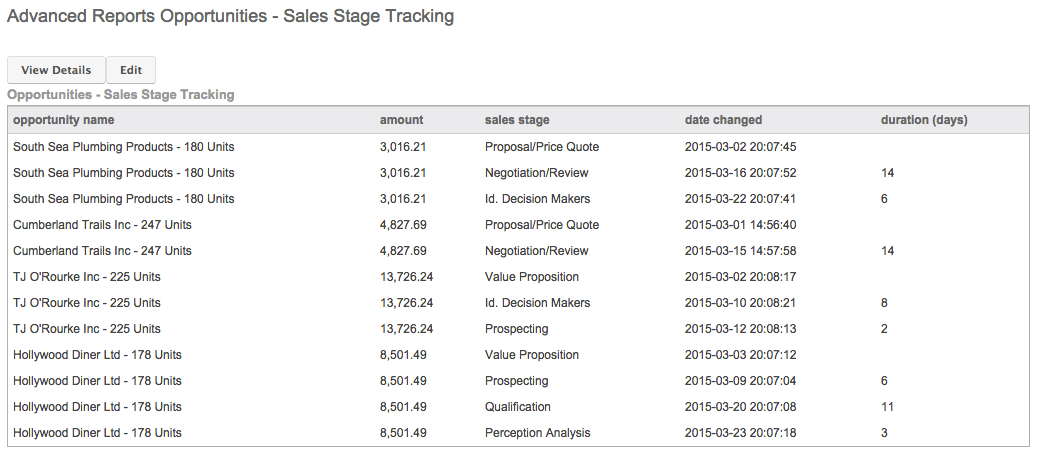
Tracking Opportunities' Durations in Sales Stages
In order to create an advanced report to track how many days opportunities have been in each sales stage, please use the following SQL select statement:
SELECT
   o.name "Opportunity Name",
   FORMAT(o.amount, 2) "Amount",
   rla.before_value_string "Sales Stage",
   rla.date_created "Date Changed",
   DATEDIFF(
      rla.date_created,
      (SELECT date_created FROM revenue_line_items_audit WHERE field_name = 'sales_stage' AND parent_id =
rli.id AND date_created < rla.date_created ORDER BY date_created DESC LIMIT 1)
   ) "Duration (Days)"
FROM
   revenue_line_items rli
   INNER JOIN revenue_line_items_audit rla ON rla.parent_id = rli.id
   INNER JOIN opportunities o ON o.id = rli.opportunity_id
WHERE
   rli.deleted = 0
   AND o.deleted = 0
   AND rla.field_name = 'sales_stage'
   AND rla.date_created BETWEEN NOW() - INTERVAL 30 DAY AND NOW()
ORDER BY rli.id, rla.date_created
Note: If you have a lot of data in your Opportunities and Revenue Line Items modules, then you may experience performance issues as a result of this query. Removing the DATEDIFF portion of the SQL code may help improve performance since the Duration (Days) field will no longer be on the report.
Prerequisites
- You must be an administrator to create custom queries.
- You must be familiar with SQL and Sugar's database structure to write the necessary custom queries.
Steps to Complete
Advanced reports are a combination of three related modules: Custom Queries, Data Formats, and Advanced Reports. In order to create an advanced report, you must create a record within each of these three modules and then relate those records.
Click the triangle in the Reports module tab and select "Manage Advanced Reports" to access the Advanced Reports module and expose its navigation tab, which is referenced in some of the steps below. The following sections cover how to create each of these components (the custom query, data format, and advanced report records) then relate the advanced report record to the data format record in order to generate the final report.
Creating the Custom Query Record
Use the following steps to create and define a custom query that will retrieve the history of changes:
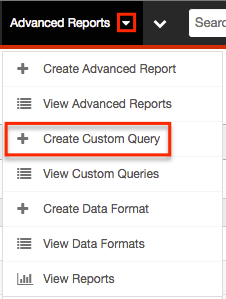
- Click the triangle in the Advanced Reports module tab and select "Create Custom Query".
- Enter appropriate values for the fields (e.g. Query Name, Description, etc.) in the edit view layout.
- Enter the SQL statement specific to your desired use case into the Custom Query field. The populated Custom Query field would look similar to this:
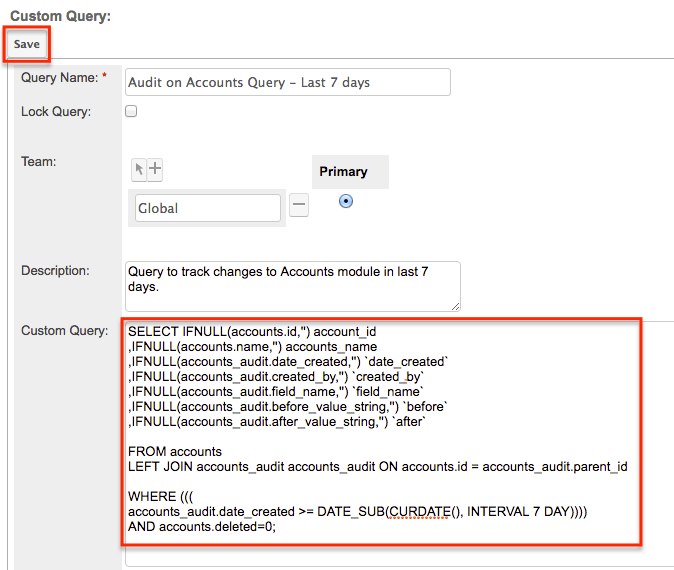
- Click "Save".
Note: Once you click "Save", Sugar will determine whether the SQL statement provided in the Custom Query field is valid. If it is not, Sugar will display an error message and you will need to correct the SQL statement to save the custom query record.
Creating the Data Format Record
Use the following steps to define the report formatting details and relate the custom query record created above:
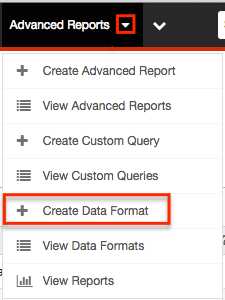
- Click the triangle in the Advanced Reports module tab and select "Create Data Format".
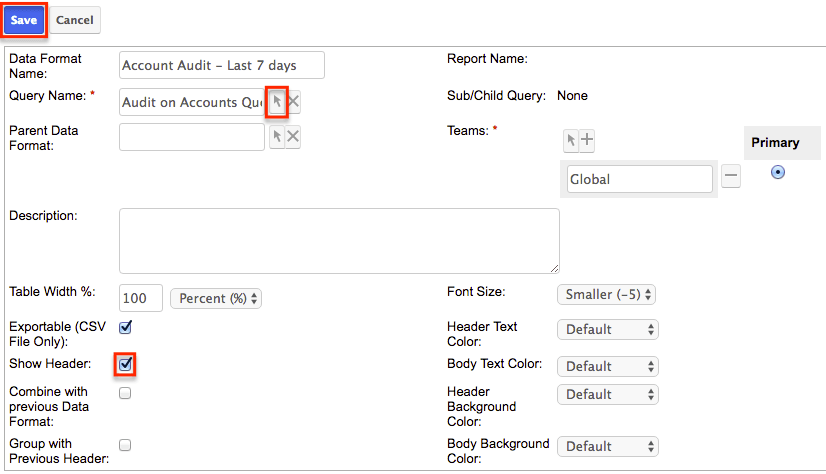
- Enter appropriate values for the fields (e.g. Data Format Name, etc.) in the edit view layout and select the custom query record (e.g. Audit on Accounts Query - Last 7 days) created in the Creating the Custom Query Record section above.
- Note: Select the Show Header checkbox if you want the column names to display above the data rows in the report.
- Click "Save".
Creating the Advanced Report Record
Use the following steps to create the advanced report record:
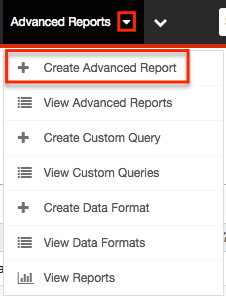
- Click the triangle in the Advanced Reports module tab and select "Create Advanced Report".
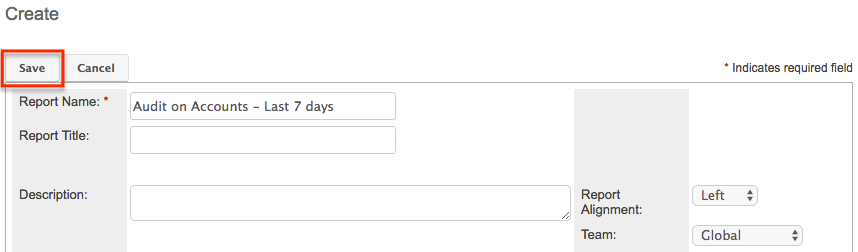
- Enter appropriate values for the fields (e.g. Report Name, etc.) in the edit view layout.
- Click "Save".
Relating the Advanced Report and Data Format Records
Once you have created the custom query, data format, and advanced report records per the instructions above, use the following steps to relate the advanced report to the data format record:
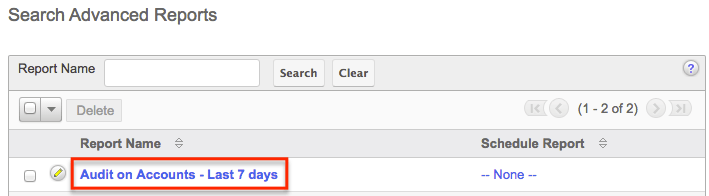
- Click the Advanced Reports module tab to access the Advanced Reports list view.
- Locate the advanced report record (e.g. Audit on Accounts - Last 7 days) created in the advanced report section above and click the record's name to open it in detail view.
- Below the advanced report information, click the Select button in the Data Format subpanel.
- Locate the data format record (e.g. Account Audit - Last 7 days) created in the data format section above and click the record's name to link it to the advanced report.

Running the Advanced Report
After relating the appropriate data format record to the advanced report, you can generate the final report. Simply click the Run Report button at the top of the detail view of your advanced report.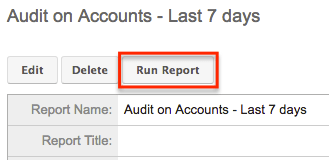
Application
The final report will return results based on the custom query and defined data format. It will look similar to the following examples depending on the use case and SQL statement you used: 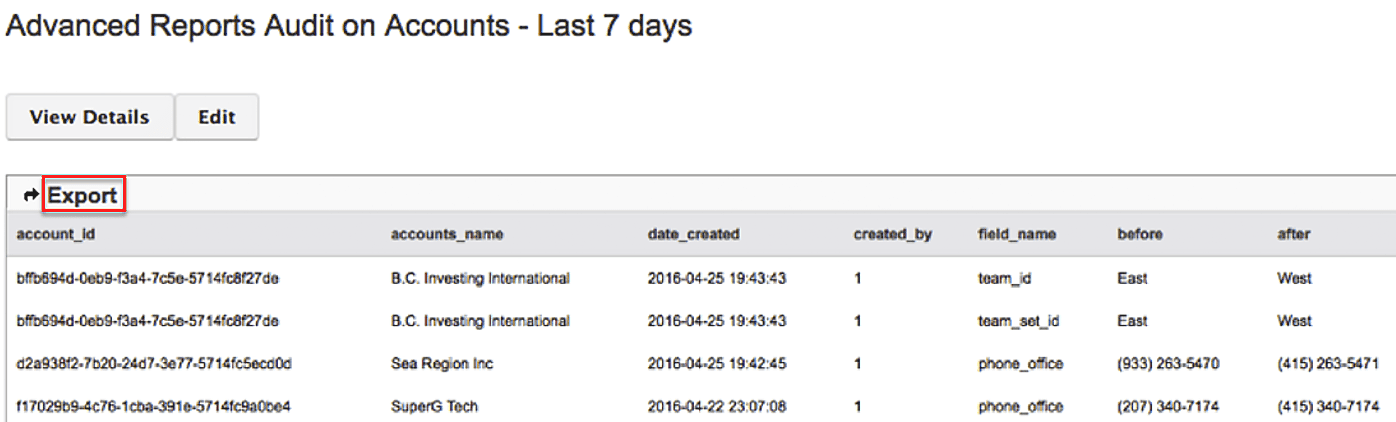
Exporting Advanced Reports
You can export the advanced report's data format table to a .CSV (comma-separated values) file by clicking "Export" above the results table. For more information on exporting data formats, please refer to the Advanced Reports documentation. If the Export link is not available to select, you will need to edit the data format record and mark the "Exportable (CSV File Only)" box.
Generating and Scheduling Advanced Reports
Return to the finished report at any time to view the history of changes made to records in the module. So for example, running the Audit on Accounts - Last 7 days report will display the history of changes made to records in the Accounts module over the seven days prior to the current date. Simply open the advanced report (e.g. Audit on Accounts - Last 7 days) and click the Run Report button at the top of the page to generate the report results accordingly.
Users can also schedule advanced reports to be automatically run and emailed based on specified date and time intervals. 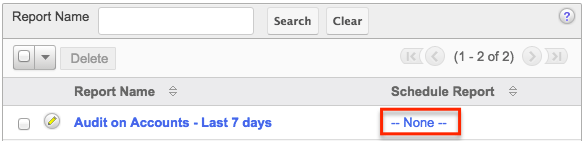
For more information on scheduling advanced reports, please refer to the Advanced Reports documentation.