Configuring SCIM for SugarIdentity With Okta
Overview
For instances that use SugarIdentity and have SAML authentication configured, the administrator can configure SCIM (System for Cross-domain Identity Management) for Okta, which will allow user identity information (e.g., phone number, address) to automatically sync from Okta to SugarIdentity. This article covers how to configure SCIM for Okta.
Supported Provisioning Features
The following provisioning features in Okta are supported for SugarIdentity:
- Create Users: New users created in Okta will be automatically created in SugarIdentity.
- Update User Attributes: Changes made to the user's attributes in Okta will be pushed to SugarIdentity to update the corresponding user record. Custom attributes are not supported.
- Deactivate Users: Deactivating a user in Okta will automatically update the user's status to "Inactive" in SugarIdentity.
Note: Group push and password sync are not supported.
Prerequisites
- Your Sugar instance must be enabled for SugarIdentity.
- SAML authentication must be configured in SugarIdentity.
Steps to Complete
Use the following steps to configure SCIM for Okta:
- Navigate to https://www.okta.com/ in your web browser and log in with your admin credentials.
- On Okta's admin dashboard, click the Applications tab, choose "Applications" and then click the "Add Application" button.
- On the following screen, search and select "SugarCRM (SugarIdentity)". Click the Add button on the next screen to add the application then click "Done" on the General Settings screen.
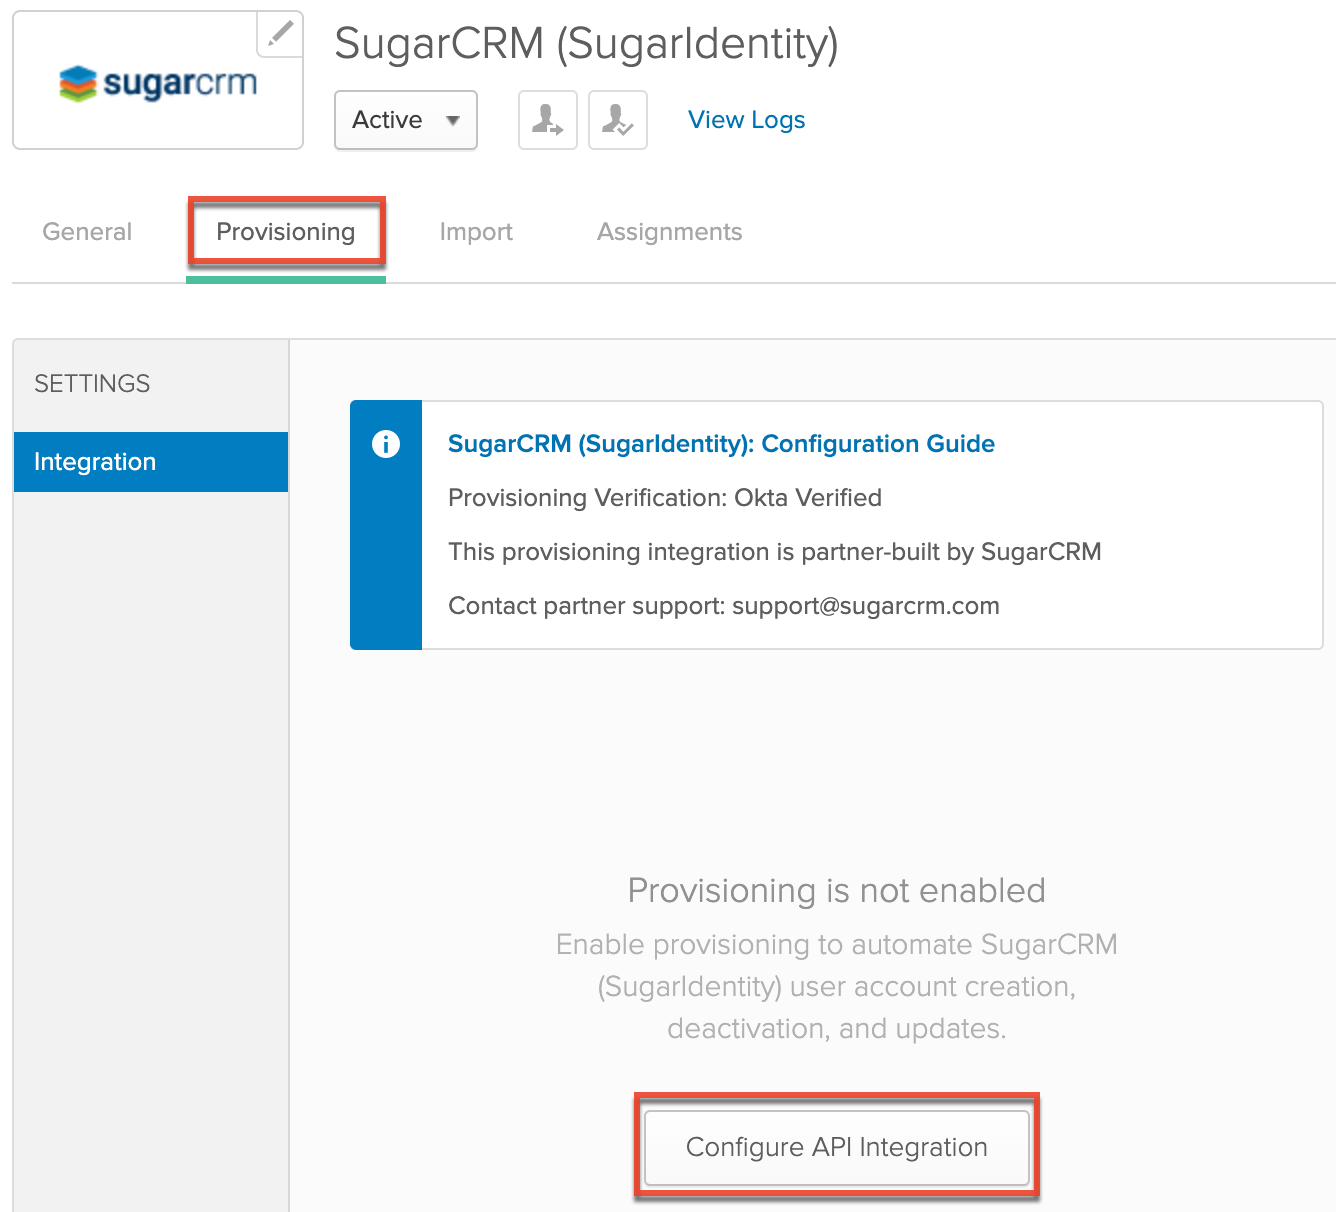
- On the SugarCRM (SugarIdentity) application screen, click the Provisioning tab, then click "Configure API Integration".
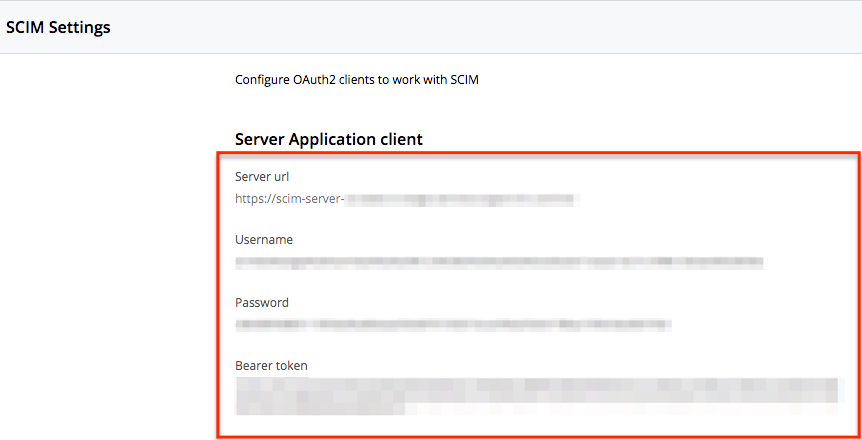
- In a new browser tab, open SugarIdentity, then click "SCIM Settings" from the home page. On the SCIM Settings page, click the Create Client button to generate and obtain the "Server URL", "Username", and "Password" values which are required for the next step.
- Copy and paste the "Server URL", "Username", and "Password" values into the corresponding fields under Okta's Provisioning tab.
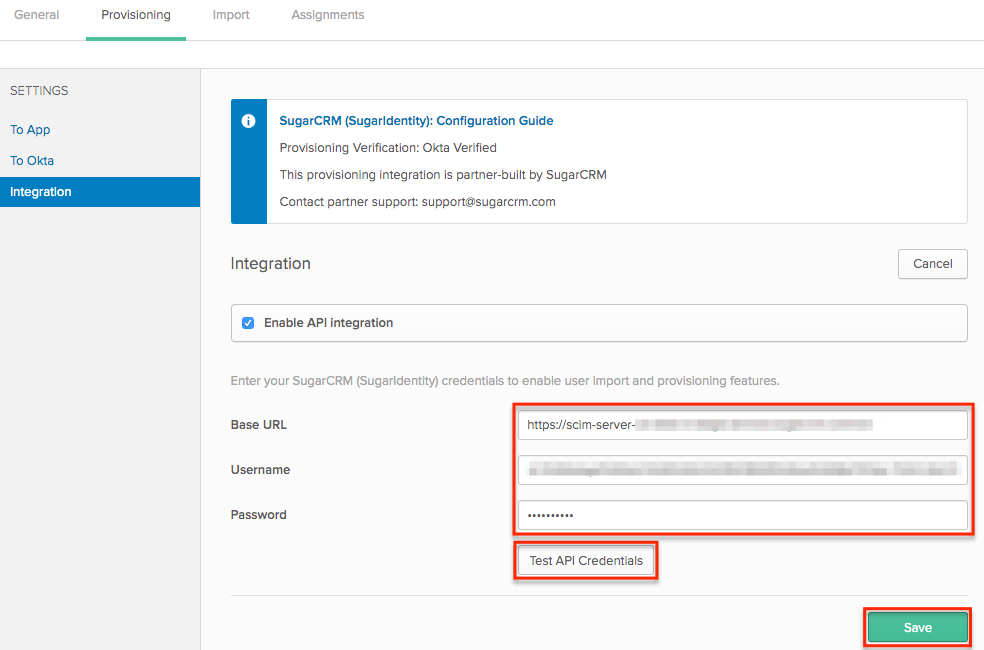
- Click "Test API Credentials" to ensure that your app is verified successfully and then click "Save".
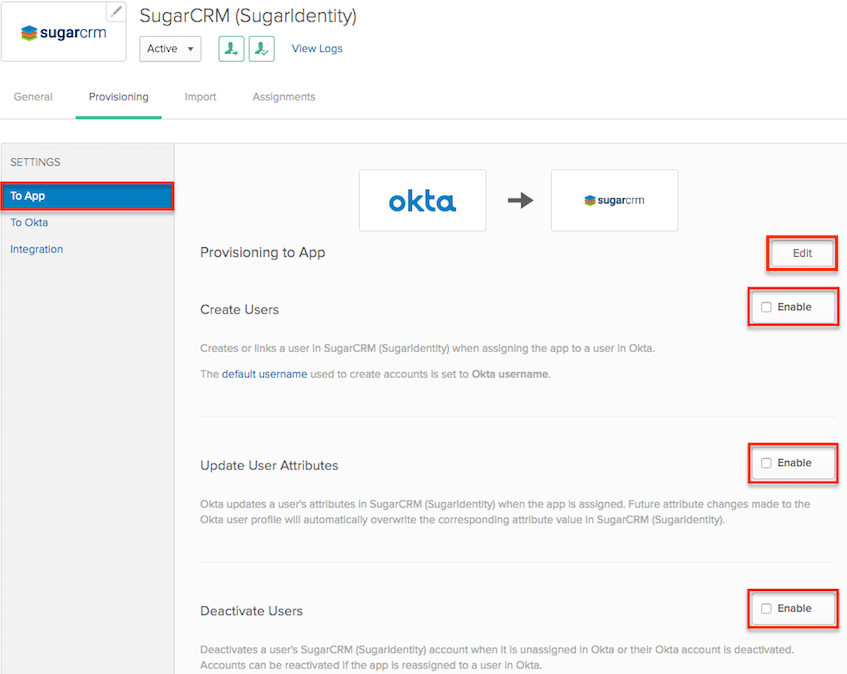
- On the next screen, select "To App" in the Settings menu on the left then click "Edit". Enable the "Create Users", "Update User Attributes", and "Deactivate Users" settings then click "Save".
Once you have enabled the provisioning features, you can assign the SCIM application to your Okta users in order to have changes (e.g., user attribute updates) in Okta sync to SugarIdentity for the assigned users. For more information on assigning applications to users in Okta, please refer to the Using the Applications Page documentation in Okta.