Setting up an Email
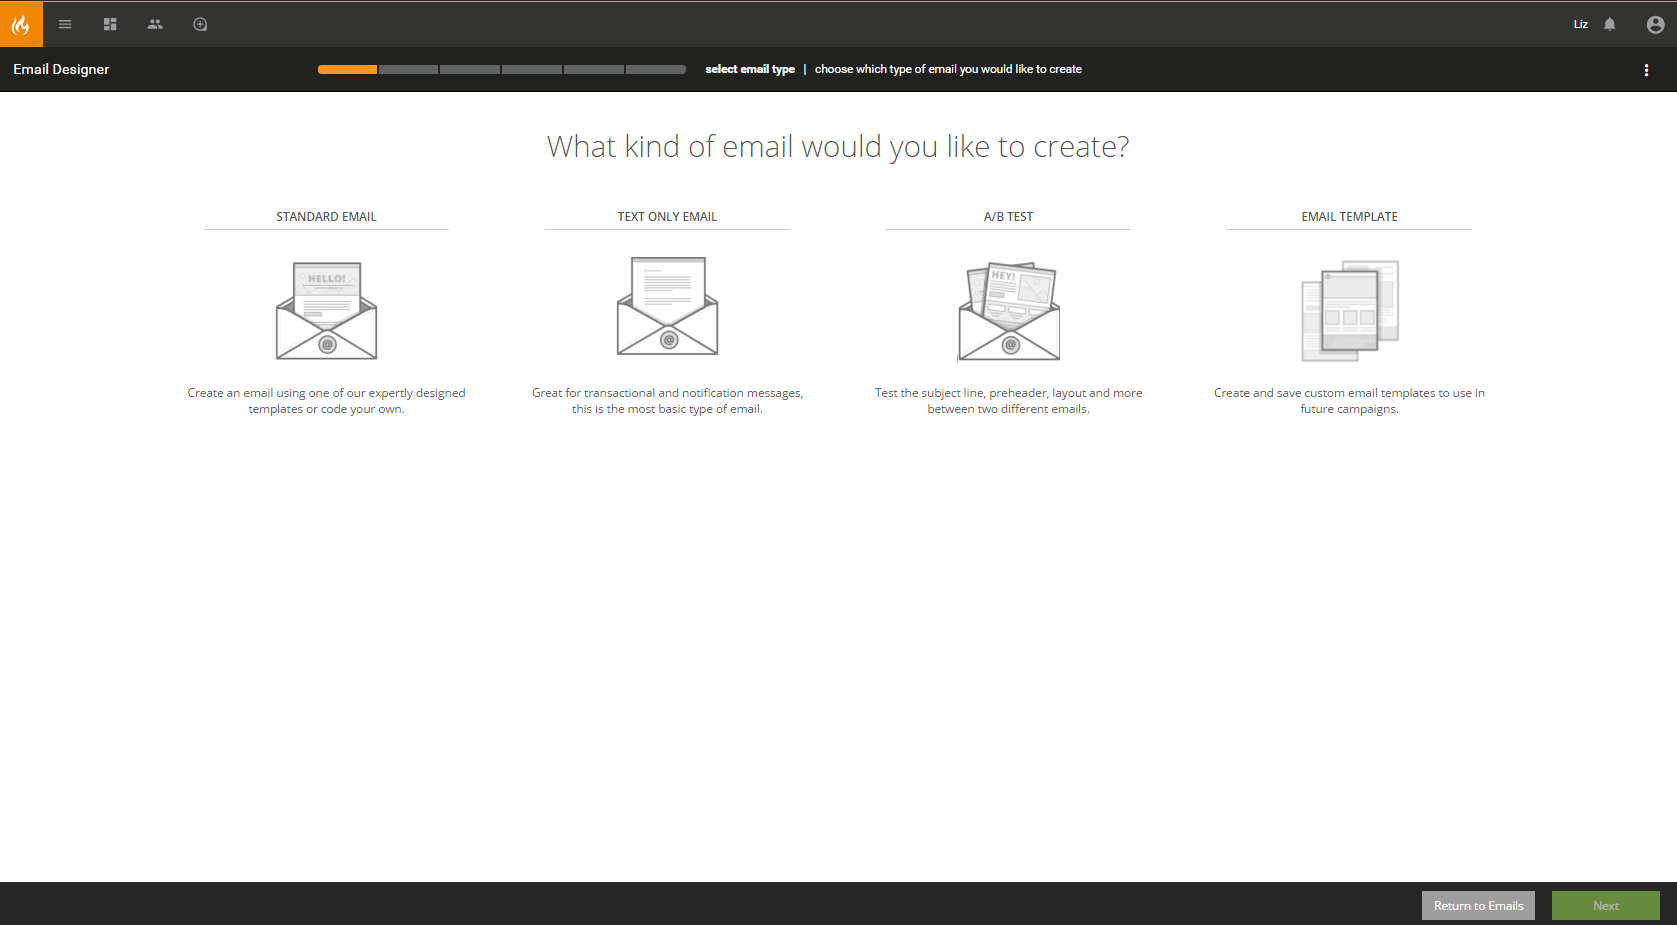
Step 1: Choose the type of email
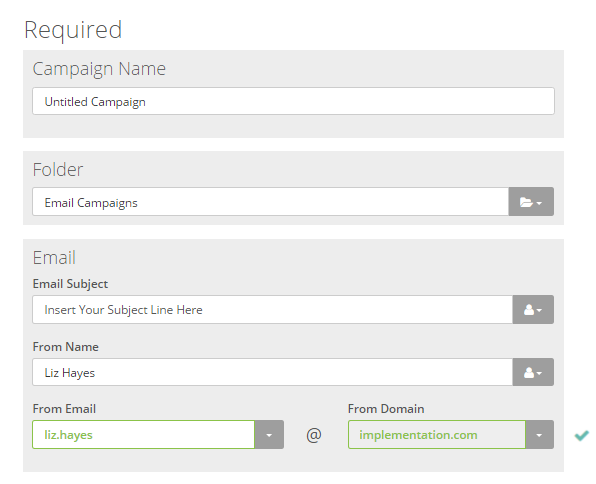
Required fields will be marked with a green check-mark the right of the input form once you have completed them. If the information does not meet the requirements, then the box is highlighted in red and a red X will be displayed to the right of the input box.
Step 2: Fill in Required Fields
The required setup items include:
- Campaign Name: Enter the name of your email campaign. This name is displayed in the list view of marketing campaigns.
- Folder: Select which folder you would like this email to be stored in.
- Email Subject: Enter the subject line for your email campaign.
- From Name: Enter the name of the individual/organization sending out the email.
- From Email: Enter the email address where the email is coming from.
*Note: Marketers may use personalization (merge tags) for the sender name and email. This allows marketing to send email campaigns to a large list of individuals while making it appear as if it was personally sent by the lead/contact owner. The owner is user assigned in CRM/Sugar Market and is typically the sales representative.
Step 3: Complete Your Optional Settings
- Reply To: Choose a different address or check the box to copy the "From" information from above.
- Google Analytics: To set this up, check out the guide.
- Unsubscribe Settings: Leaving this turned off will ensure you are covered by inserting an unsubscribe link at the bottom of your email campaign. Users should only turn this to "On" if they plan to replace the automatically inserted unsubscribe link with a link to a user created manage preference or custom subscription center page.
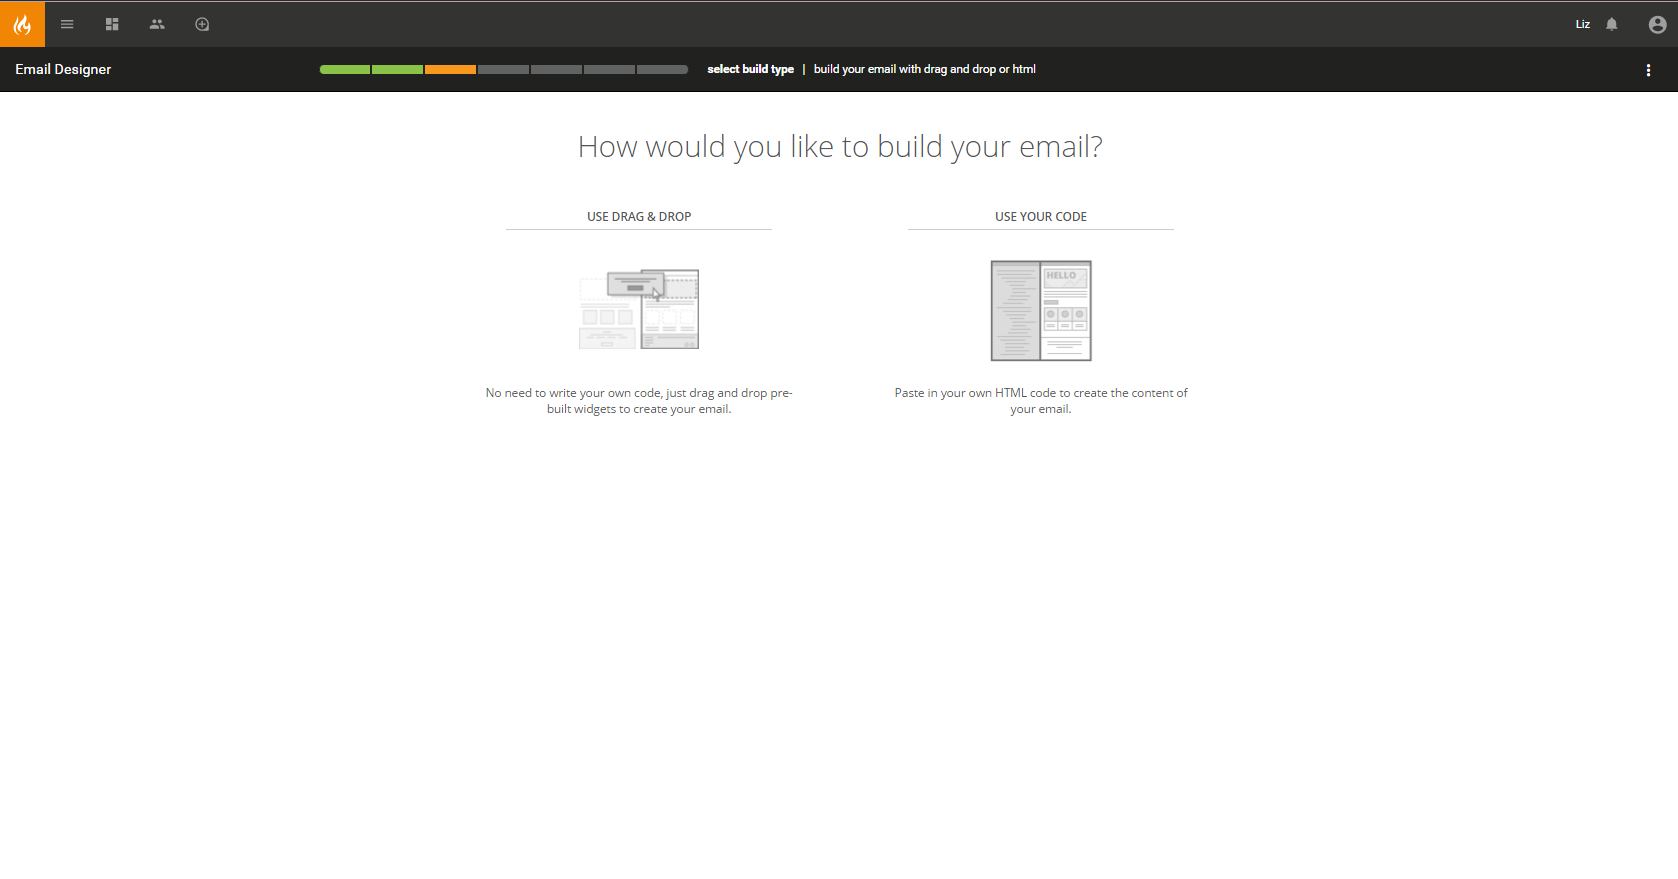
Step 4: Starting the Create Process
Once a user has completed the setup process and clicked "Next", the Setup icon in the progress bar will be checked and the Create page will display. This page poses the question "How would you like to build your email?". The two options include:
- Start with drag and drop: Selecting this option will prompt the template mode and lead to the drag and drop builder.
- Code your own email: Selecting this option will lead you to a simple HTML editor and preview.