Select Recipients, Schedule and Send your Email
Note: When using Custom reports used as a recipient list please include ContactID as a column, as custom reports deduplicate recipients using the ContactID value.
You can include and exclude lists from the following categories:
- Distribution List
- Campaign - Includes everyone who the selected campaign was sent to
- Landing Page - Includes everyone who started but did not complete the selected landing page
- Event - Includes everyone who registered for the selected event
- Report
- Nurture - Includes everyone who has been enrolled in this nurture
- Subscriber
- Segmentation
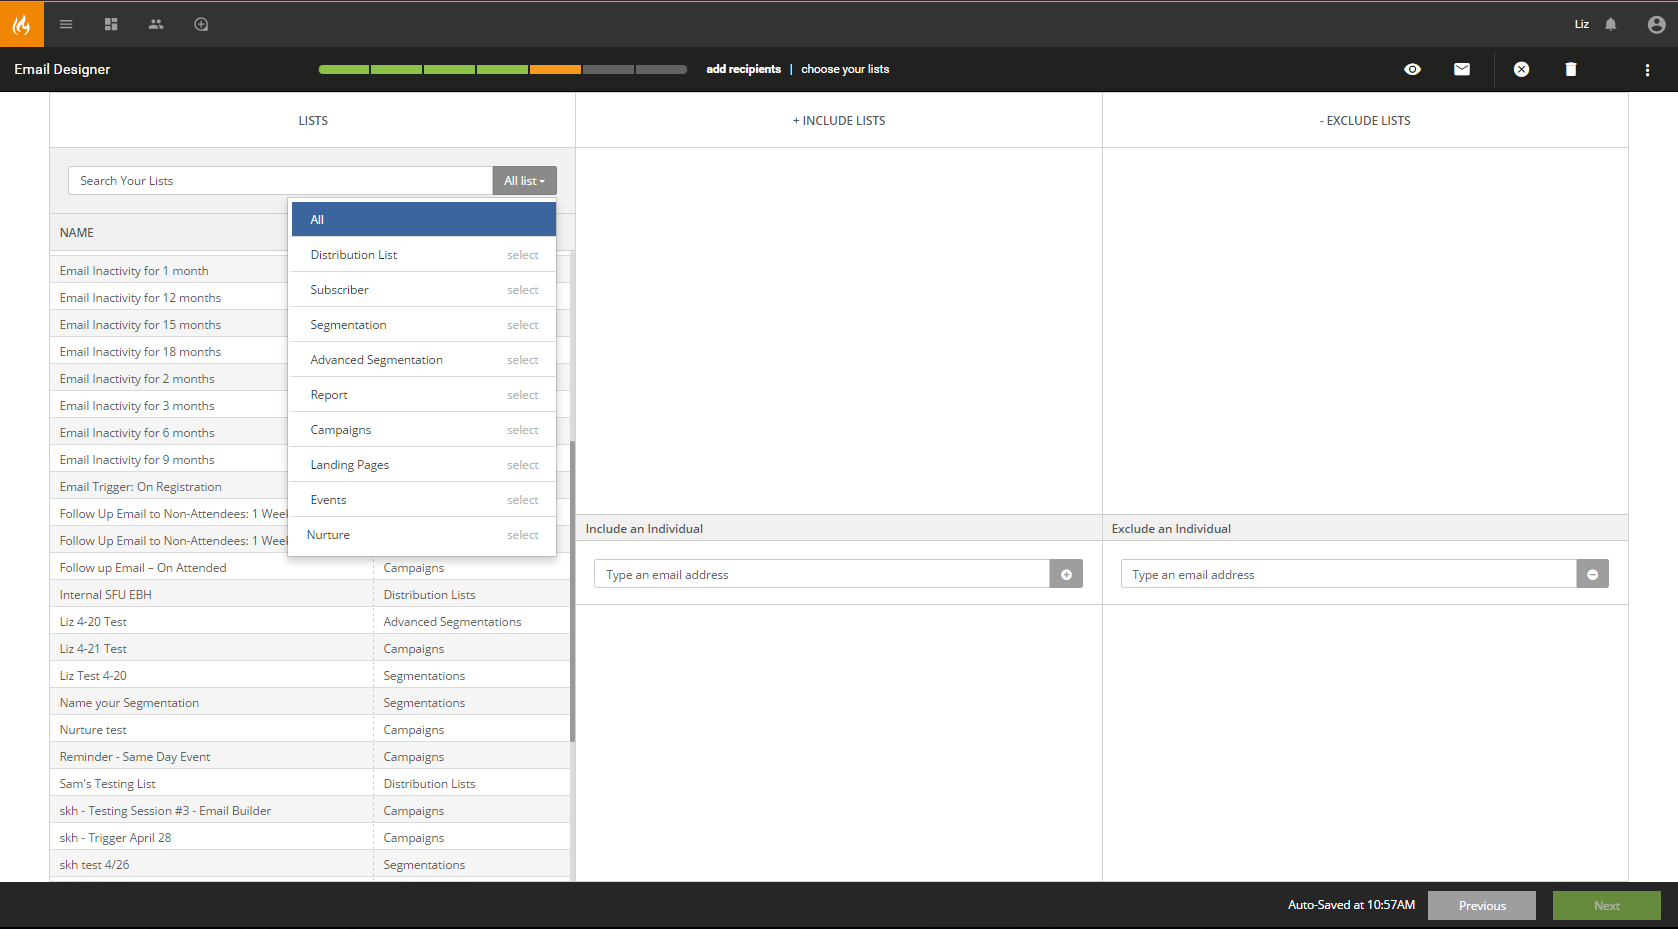
Step 1: Select Your List(s)
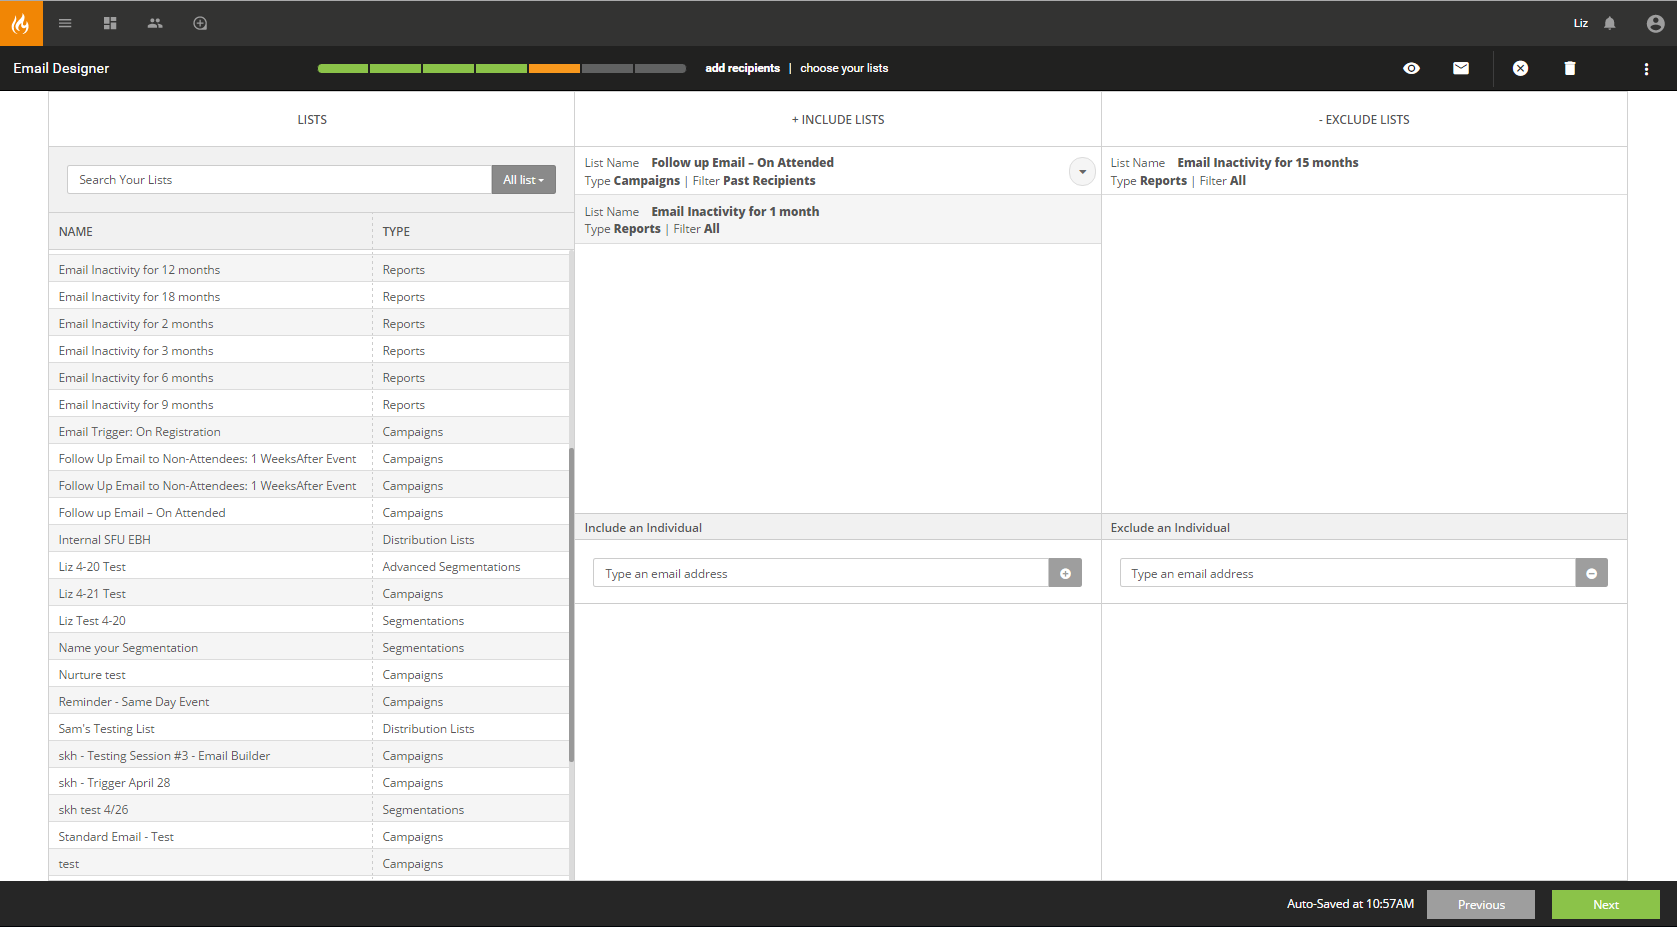
Identify your list category and then select the appropriate list name. Drag and drop the list name in to the 'Include' or 'Exclude' area. You can also use the search box if you know the name of the list you wish use.
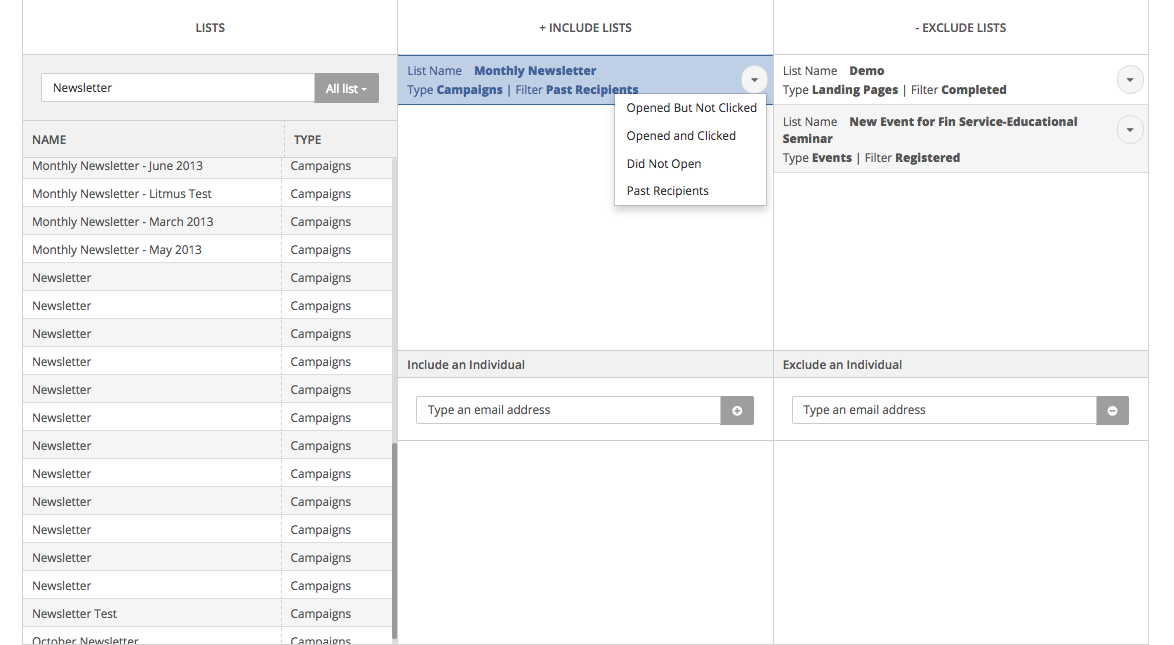
In addition to the default lists for Campaigns, Landing Pages, Events and Nurtures, following list options have been added to the Email Builder Recipients page:
- Campaign: Opened But Not Clicked, Opened and Clicked, Did Not Open, Past Recipients (all recipients that were sent the campaign regardless if they opened or clicked it)
- Landing Page: Started (Not Completed) and Completed
- Events: Registered and Attended
- Nurture: Currently & Previously Enrolled, Completed, Active Removed
These additional lists are accessed by identifying the Campaign, Landing Page, Event or Nurture you wish to use and dragging it to the include/exclude list. Then you can utilize the drop down arrow on that item to see the additional options that apply to that list type.
**Note: You can also include or exclude individual email addresses by typing them into the boxes below each section.
Once you have setup your include and exclude lists, click the 'Next' button (upper right) to proceed to 'Schedule, Review, and Send' your campaign.
Step 2: Schedule Your Email
- Select the sending date and time for your email campaign.
- Identify the timezone that you wish to utilize for your email send time.
- Click next in the upper right to proceed to Review and Send.

Step 3: Review
This section of the 'Email Builder' allows the marketer to review content one last time, prior to launching a campaign. There are four main sections to review.
- Email Content: The email content box previews your email in a scaled down version. Scroll down and review the design and content to ensure accuracy before deploying.
- Setup: The setup content box lists the details of your campaign from the initial setup screen. Here you can review to ensure accuracy of the subject line, to and from fields.
- Recipients: The recipients content box lists the details of your list inclusions and exclusions. Confirm you have the correct include and exclude lists on your campaign.
- Send: The send content box lists the exact time and date that the campaign will deploy.
**Note: 'Recipient Count' will calculate the number of recipients at that point in time. If you have used a dynamic list such as a report or segmentation for your include or exclude and you are not sending your email immediately, your recipient count may change before the email sends out.
Step 4: Preview and Test you Campaign
There are three ways to Preview and Test your campaign before deployment. Once you verify that all the information looks correct and you are ready to deploy your campaign, click the 'Send Email' button in the upper right.