Creating an Email
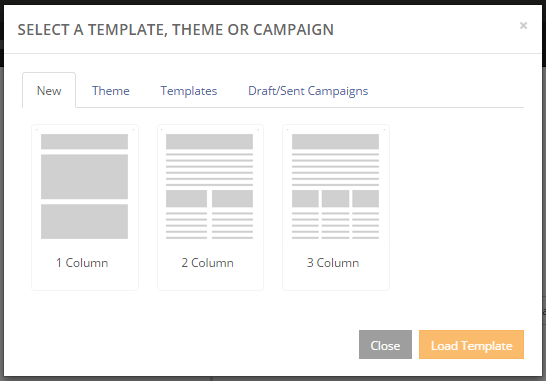
Step 1: Select a Template, Theme or Email
- New - Allows you to select a layout with preset columns to build from scratch
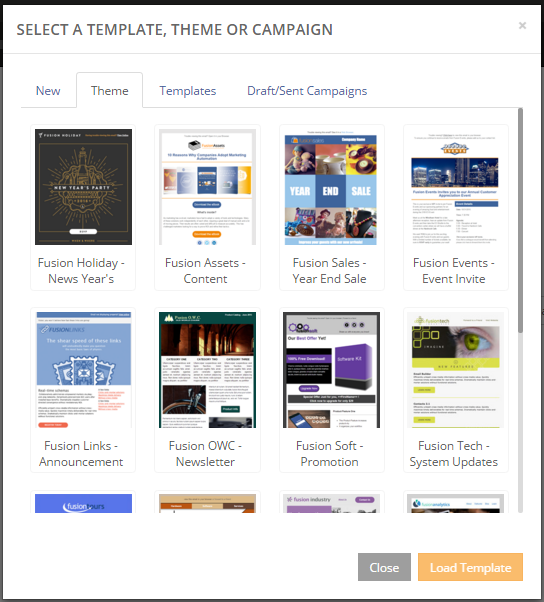
- Theme - Allows you to use and customize Sugar Market designed templates
- Templates - Allows you to use our previously designed and saved Email Builder Templates
- Draft/Sent Campaign - Allows you to import a draft or sent Email into the body of your new email
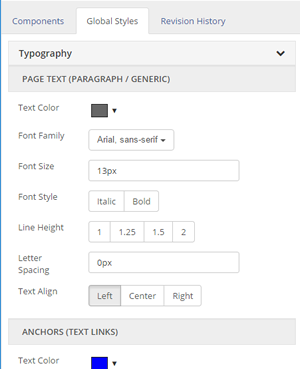
- Set your Typography options to match your company brand.
- Set the background colors for each of the following sections: Page, Preheader, Header, Body and Footer.
Step 4: Select Your Components
Drag the desired components to the appropriate row or column on the stage ensuring that the component is placed inside the borders of the desired box
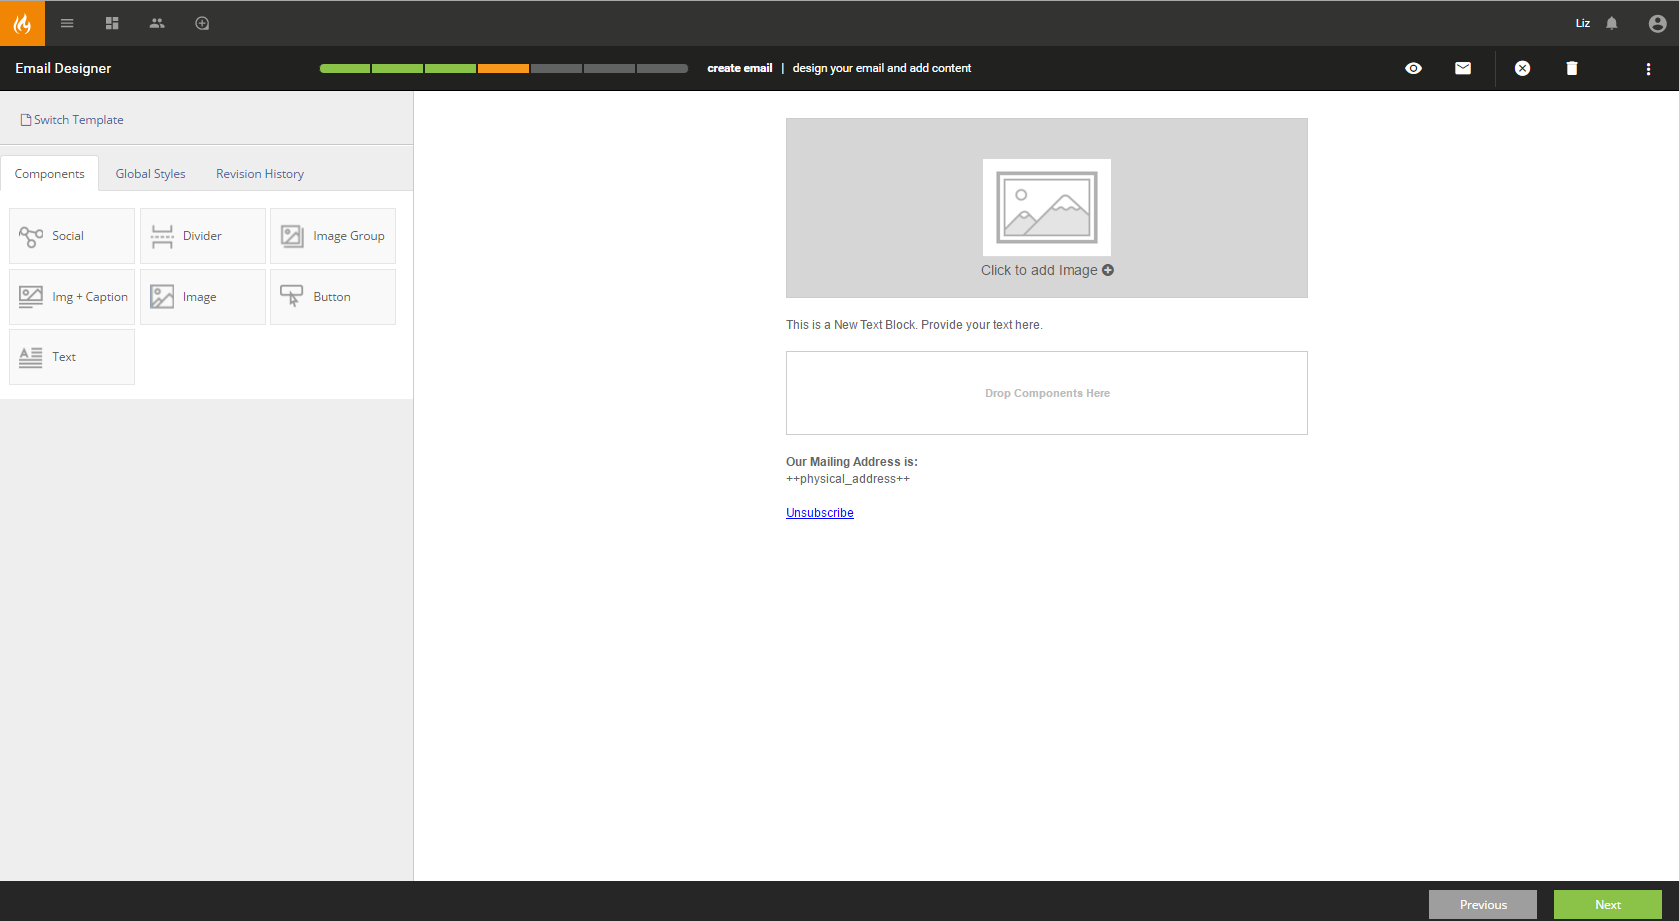
Step 5: Insert Your Images and Content
Add your text, button and image content to the appropriate location by clicking on the component within the stage. You may use the revision history to reload the email in a previously saved state as needed.
Note: Email Builder saves after every major change and every time a component is applied onto the stage.
Test Your Email
Once the email is completed it is advised that you test and preview your email. You may also want to consider saving the email as a template if it will be referenced often in future emails.
Select Next to advance to the Recipient's screen to select your lists