Health Check Error: Cannot Perform Collation Conversion On Table
Overview
The Health Check wizard must be run when upgrading in order to evaluate your instance's ability to move to the target version. During the health check, various types of issues may be detected which can affect your ability to upgrade. This article will cover how to resolve a "Cannot Perform Collation Conversion" error reported by the health check
Symptoms
This error generates an output similar to the following in health check: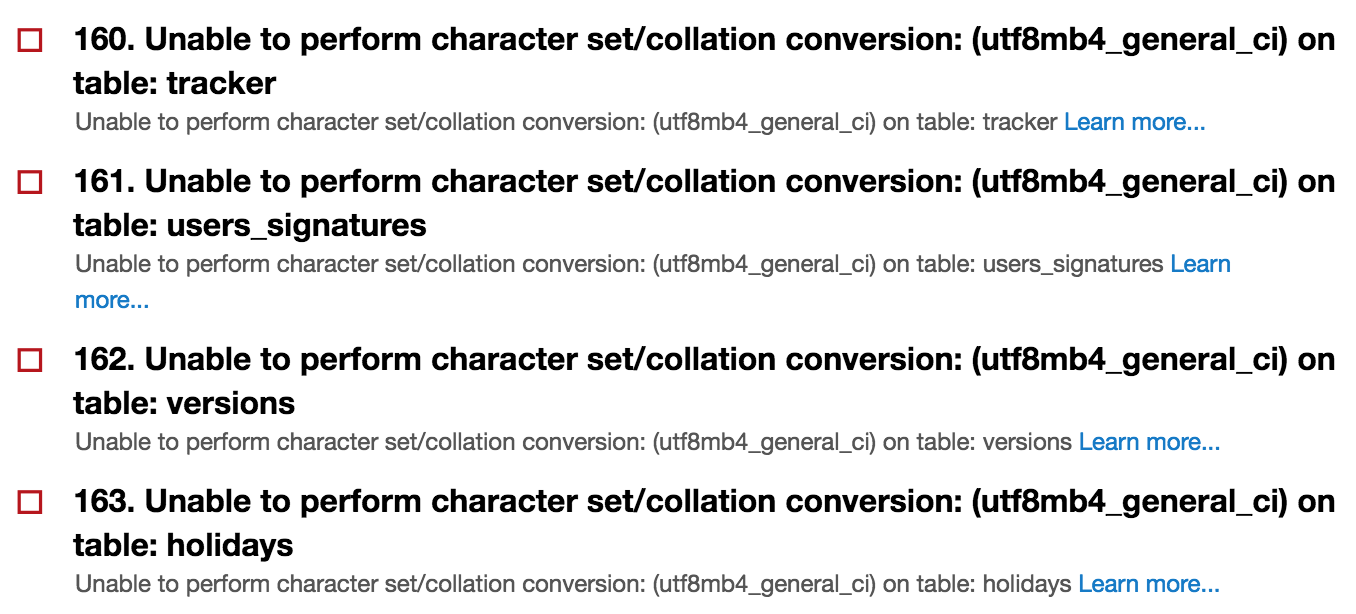
Resolution
The generated error message will help determine the table(s) causing the health check error. To address this issue, we will need to reduce the size of columns in this table before proceeding with the upgrade.
This HealthCheck error commonly occurs in instances in which so many custom fields have been added to a module that the collation conversion during the upgrade causes the table to grow beyond the capacities of MySQL.
The most prevalent cause of the table's width is the creation of textfield and integer type fields with a default Max Size of 255. In most cases, the regular function of the field might never approach such a high character count, so significant space can be made by reducing the Max Size of fields to something more closely reflecting their intended use.
This is not as simple as arbitrarily lowering sizes. We do not want to delete any part of the data saved in these fields or cut fields too short for their usage. Therefore, querying how long the data is in the field with the longest value is a part of this process.
Steps to Complete for Custom (_cstm) Tables
- In PHPMyAdmin, run the following query:
SELECT name,type,id FROM fields_meta_data WHERE id LIKE 'MODULENAME%' AND type="varchar" AND len = 255;Note: Change the module name to the module identified in the HealthCheck error.
- Export to Excel the results so the name is in column A, the type is in column B, and the id is column C of the Excel file.
- In PHPMyAdmin, run the following query:
SELECT * FROM `moduleNames_cstm` PROCEDURE ANALYSE();Note: Change the table name to the table identified in the HealthCheck error.
- Open PrintView for the results and copy/paste them into Excel Highlight the table and give the table a name: Procedure_Analysis.
Note: To give a range of cells (a table) in Excel a name, select the range of cells, right-click, select Define Name, and enter a name for the data range. - In column D of the Excel results from step 2, enter this vlookup for every field:
=vlookup("*"&A1&"*",Procedure_Analysis,5,false)Note: If you put the results in a different worksheet, the syntax of the vlookup requires the sheet name.
- Calculate column E of the Excel file with this formula to determine a safe, rounded Max Size for each field:
=IF(D1<45,50,IF(D1<225,ROUNDUP(D1*1.1,0),255)) - Calculate column F with the following formula:
=CONCATENATE("UPDATE fields_meta_data SET len = '",E1,"' WHERE id = '",C1,"';")This results in the following query for each field:
UPDATE fields_meta_data SET len = '25' WHERE id = 'Accountsfcs_number_for_ebt_c'; - Delete any row where the vlookup returns error #N/A.
- Calculate column G with the following formula:
=CONCATENATE("ALTER TABLE moduleNames_cstm MODIFY ",A1,""," varchar","(",E1,");")Note: Change the table name to the table identified in the HealthCheck error.
This results in the following query for each field:ALTER TABLE moduleNames_cstm MODIFY fcs_number_for_ebt_c varchar(25); - To reduce the size of the table in ultimate preparation for the upgrade, run in the database the queries in columns F and G of the Excel file
Note: If changes to the columns with Max Size of 255 do not shrink the table enough, perform the same steps for those fields with Max Size at 100.
Steps to Complete for Core Tables
Fields on core tables are not represented in fields_meta_data. The field type and Max Size (len) configured in Studio are controlled in the file system's custom vardef files. This is true of stock and custom fields saved to a stock core table like Accounts. This is also true of fields defined in Module Builder and deployed to the core table as core fields of the custom module.
- Manually find the fields with varchar(255) and int(255) in the Structure tab of PHPMyAdmin.

- In Excel, record the field name in column A and the type in column B.
- In PHPMyAdmin, run the following query:
SELECT * FROM `moduleNames` PROCEDURE ANALYSE(); - Open PrintView for the results and copy/paste them into Excel Highlight the table and give it a name: Procedure_Analysis.
- In column C of the Excel results from step 2, enter this vlookup for every field:
=vlookup("*"&A1&"*",Procedure_Analysis,5,false)Note: If you put the results in a different worksheet, the syntax of the vlookup requires the sheet name.
- Calculate column D of the Excel file with this formula to determine a safe, rounded Max Size for each field:
=IF(C1<45,50,IF(C1<225,ROUNDUP(C1*1.1,0),255)) - Delete any row where the vlookup returns error #N/A.
- Calculate column E with the following formula:
=CONCATENATE("ALTER TABLE moduleNames MODIFY ",A1," ",B1,"(",D1,");")This results in the following query for each field:
ALTER TABLE moduleNames MODIFY fcs_number_for_ebt_c varchar(25); - To reduce the size of the table in ultimate preparation for the upgrade, run in the database the queries in columns F of the Excel file.
Note: Because Repair and Rebuild will update the database structure to match the custom vardefs, you must update the custom vardef files for each field. Custom vardef files for Accounts, for example, are in the file system at:custom/Extension/modules/Accounts/Ext/Vardefs/sugarfield_<field_name>.phpNote: If a custom vardef does not exist for a given field, one is automatically created if you open the field in Studio and click 'Save' without making any changes.
- In the custom vardef, edit the line containing the following array structure:
$dictionary['Account']['fields']['cust1']['len']='255';Set the numerical value to column D in the Excel file.
Note: If the Max Size is lowered in Studio, this will not lower the length in the table Structure. However, if an admin later increases the Max Size using Studio, this will increase the length on the table structure.