Configuring "Send As" Permissions
Overview
There may be occasions when you wish to configure your Sugar® instance so that outbound emails are sent using a different "From" address than the sending email address. However, not all email providers allow this by default, and you must explicitly configure them to permit sending emails from a different "From" address. The emails are still sent through the outbound mail server configured via Admin > Email Settings, but the recipient will see the desired "From" name and address. This article will cover how to configure "Send As" permissions with Gmail, Exchange, and Office 365 so that users can send emails from Sugar using a different "From" address than their own.
Some examples of when you might want Sugar to send emails from a different email address are:
- Sending campaign emails where the bounce handling inbound email account is displayed as the sender
- Sending assignment notifications where the user that assigned the record to the recipient is displayed as the sender
Use Case
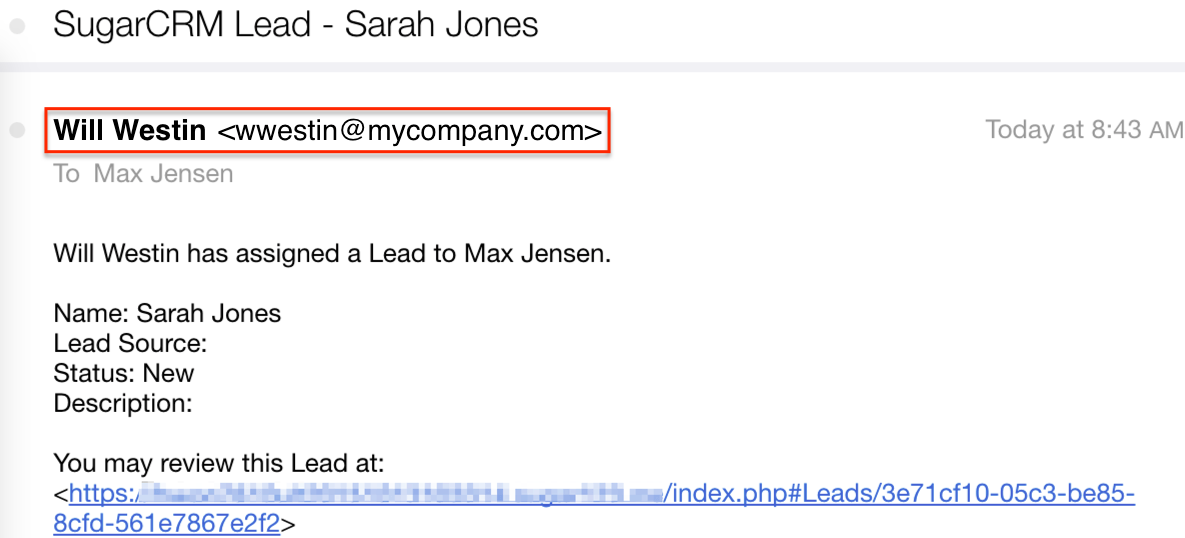
One example of when you might want to use a different "From" address when sending emails is assignment notifications. Sugar has the ability to email users when a record has been assigned to them. For example, when Will Westin assigns a lead to Max Jensen, Max will receive an email notification. The email's "From" name and "From" address will display the system email information as configured in Admin > Email Settings, unless the "Send notification from assigning user's e-mail address" option is enabled. However, this option can only be used if Will's email address has "Send As" permissions on the system email account. If the permissions are granted, the email Max receives will instead show Will's name and email address in the From field.
Prerequisites
- The administrator must have configured Sugar's outbound email via Admin > Email Settings.
- For this example use case, the "Send notification from assigning user's e-mail address" option must also be enabled in Admin > Email Settings.
- If using Office 365, you must already have Windows PowerShell installed. If you do not currently have Windows PowerShell, please download it via Microsoft's Download Center.
Steps to Complete
The following sections cover how to configure "Send As" permissions with Gmail, Exchange, and Office 365.
Configuring "Send As" Permissions with Gmail
Please see the Send emails from a different address or alias guide on the Google Help website.
Configuring "Send As" Permissions with Exchange
There are two ways to configure "Send As" permissions with Exchange:
- Using this Exchange Admin Center (EAC) guide on the Microsoft Docs website to configure "Send As" permissions with the EAC
- Using this Windows PowerShell guide on the Microsoft Docs website to configure "Send As" permissions with PowerShell
Configuring "Send As" Permissions with Office 365
Use the following steps to configure "Send As" permissions with Office 365:
- Use this Connect to Exchange Online PowerShell guide on the Microsoft Docs website to configure Windows PowerShell.
- Once PowerShell is set up, use this Add-RecipientPermission cmdlet guide on the Microsoft Docs website to configure "Send As" permissions.
Application
For any user whose email has been granted "Send As" permissions on the system email account, records reassigned by the user will generate emails showing their name and personal email address in the "From" fields. So, once the steps above have been completed, if Will has "Send As" permissions and reassigns a record, the assignment notification will show "Will Westin <wwestin@mycompany.com>" as the sender instead of the system email address.