Automatically Associating Emails With Cases
Overview
Sugar's inbound email functionality allows emails to be automatically related to existing cases. If the email's subject line contains the special case macro when imported into Sugar through an inbound email account, these emails will automatically be associated with the corresponding case. This article will cover how to include the case macro in an email so that the reply email will be automatically related to the case. We will also cover configuring the case macro to suit your business needs.
Beginning with version 9.1.0, each user's license type (e.g. Sugar Serve) determines what functionality is available as described in the License Types Matrix documentation.
Prerequisites
- An inbound email account must already be configured to import incoming email messages. For more information, please refer to the Email documentation.
- Schedulers, specifically the Inbound Email Scheduler, must be running. For more information, please refer to the Schedulers documentation.
Steps to Complete
Including the Case Macro
Once the above preconditions are met, we can now begin associating emails with cases. For this example, our monitored group inbox will be "support@example.com".
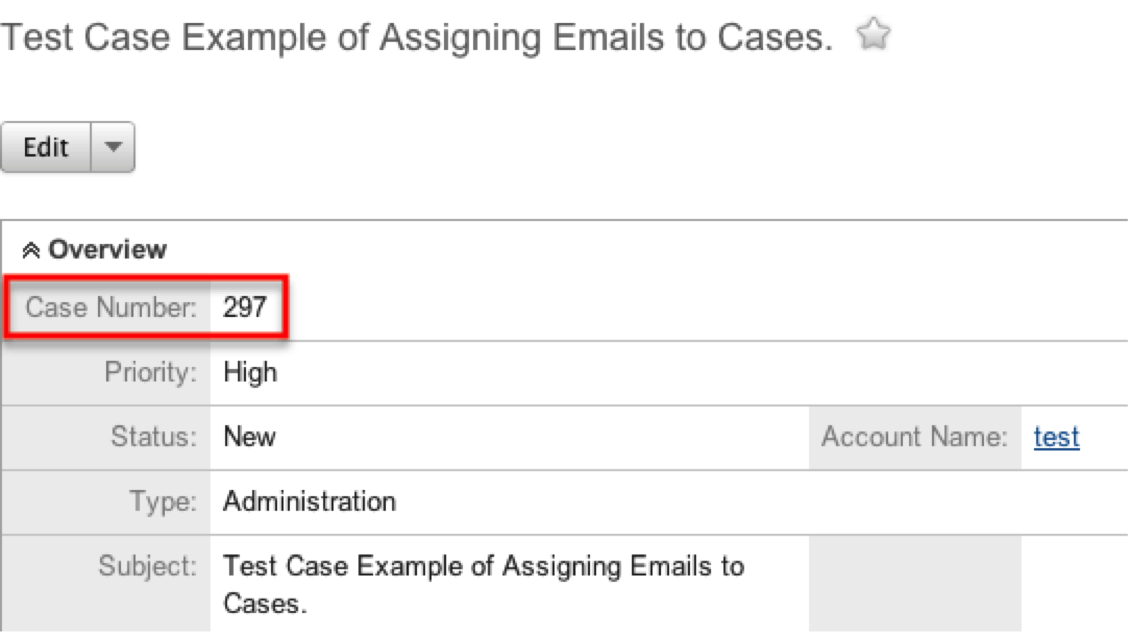
- When sending an email to a client, take note of the case number in the Cases module.
- When composing an email, be sure to include the case macro in the subject line, along with the appropriate case number. In this example, our subject line will start with [CASE:297].
Note: You can also add any additional information to the subject line, but you must have the case macro included at the beginning (as shown below) for the association to occur.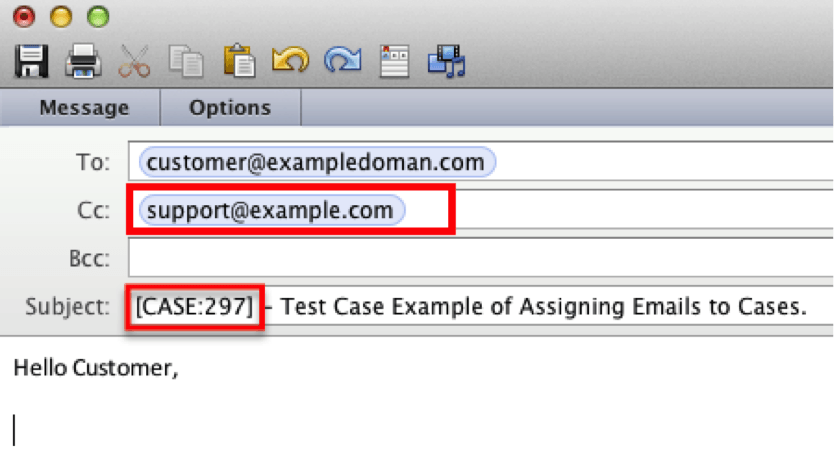
Configuring the Case Macro
Your organization may wish to use a different case macro in order to match the usage of your cases module. For example, you may prefer that emails to customers include the word "Issue" or "Question". Administrator users can customize the macro text via Admin > Inbound Email. Please note, the case macro can only archive emails to the Cases module.
Admins may use the following steps to configure the case macro:
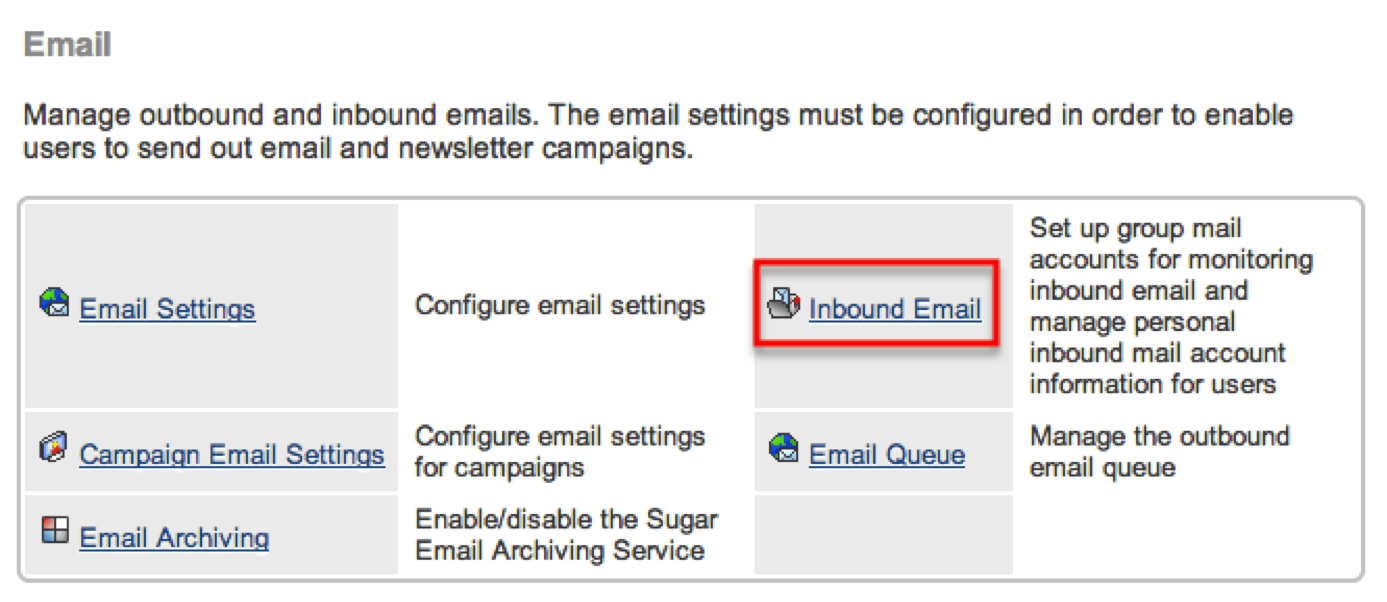
- Navigate to the Admin > Inbound Email.
- Type the desired macro in the Case Macro field. Note that the macro is case-sensitive and also takes spaces into consideration. As a result, capitalization and spacing must match the case macro to ensure that the email is related to the case.
Note: You can change the word "CASE" to any word you'd like, e.g. [Question:%1], but it is extremely important to leave the ":%1" in place.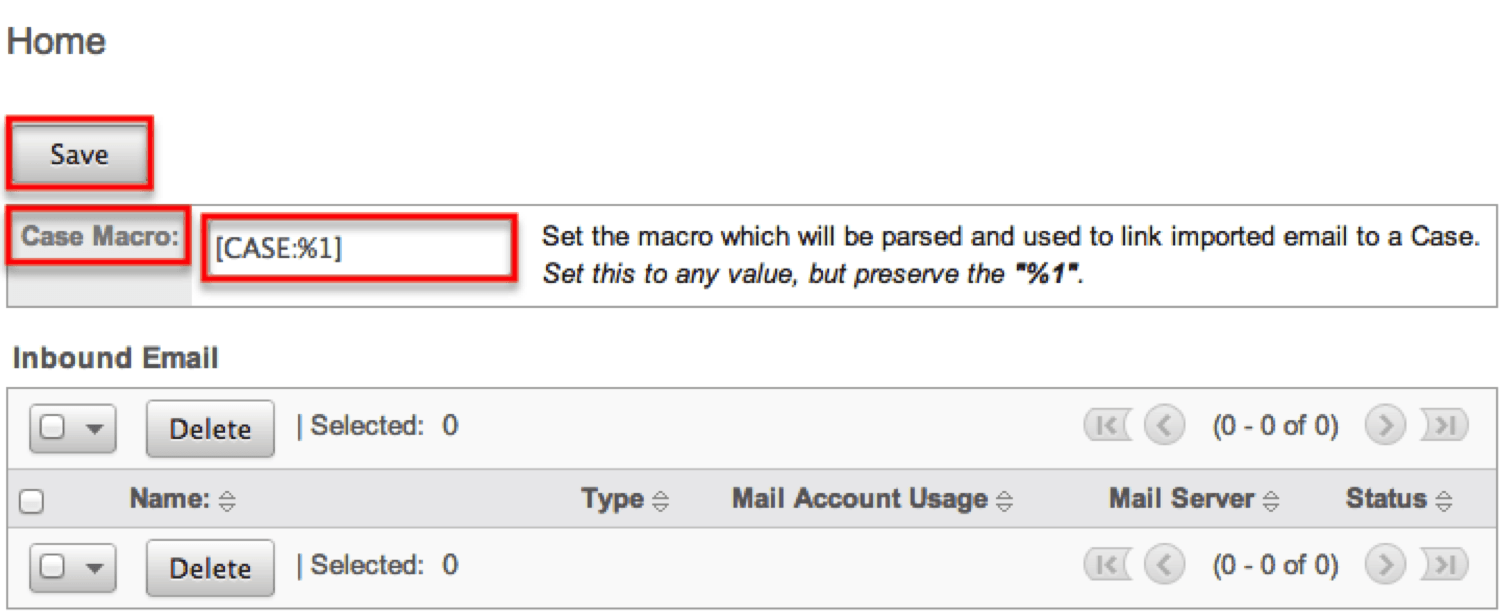
- Once you are satisfied with the new macro text, click the Save button.