Integrating With Microsoft Connector for Admins
Overview
Administrators can configure the Microsoft connector via Admin > Connectors to allow Sugar to connect to the Microsoft API Services via OAuth2 to send outbound emails, receive inbound emails, or access Microsoft OneDrive and SharePoint. This article will cover the administrator's configuration of the Microsoft connector which must be completed before you can configure the email settings in Sugar for Exchange Online or the Cloud Drive settings. Information on enabling the connector for user accounts and utilizing the Microsoft connector is available in the Integrating With Microsoft for End Users article. For more information on configuring the system's outbound email settings, system inbound email accounts, and the outgoing user email accounts, refer to the Email and Emails documentation. For more information on using cloud drives in Sugar, refer to the Cloud Drive documentation.
Prerequisites
- You must be an administrator user to enable the Microsoft connector for your instance.
- You must have an active Microsoft Azure account to configure the Microsoft connector for your instance.
- You must have SMTP AUTH enabled on your email server. Please see the Microsoft documentation for further information.
Steps to Complete
Before configuring the Microsoft connector in Sugar, you must first create and register a new application for Sugar in the Microsoft Azure portal. The following sections explain how the administrator can acquire the proper API credentials from Microsoft Azure and use those credentials to set up the connector in Sugar. For information on how users can then connect their individual Microsoft accounts to their Sugar user profiles, please refer to the Integrating With Microsoft for End Users article.
Creating Application in Microsoft Azure Portal
To set up the Sugar Microsoft connector, you need to first create a new application for Sugar and obtain the necessary values (e.g., Client ID, Client Secret) using the following steps:
- Navigate to the Microst Azure portal in your web browser.
- Sign in using the Microsoft account under which you would like to register the SugarCRM application.
- On the Microsoft Azure homepage, type in "app registrations" in the search box then select it from the search results.

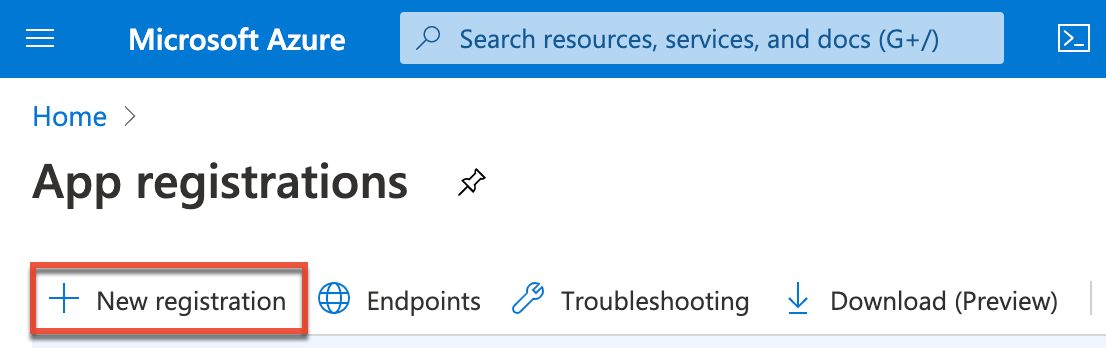
- On the App registrations page, click the "+ New registration" button. If you do not see this button then click the "Register an application" button.
- On the Register an Application page, complete the following fields, then click "Register":
- Name: Enter an application name of your choice (e.g., SugarCRM Application).
- Supported account types: Select one of the following:
- Accounts in this organizational directory only (Your Company only - Single tenant)
Note: This option works only with Sugar version 14.0 and higher. For more information on this option, refer to the "Identity and account types for apps" documentation on the Microsoft site. - Accounts in any organizational directory (Any Microsoft Entra ID tenant - Multitenant) and personal Microsoft accounts (e.g., Skype, Xbox)
Note: For more information on this option, refer to the "Identity and account types for apps" documentation on the Microsoft site.
- Accounts in this organizational directory only (Your Company only - Single tenant)
- If you want to configure the API only to use OneDrive or SharePoint with the Cloud Drive dashlet in Sugar, continue to step 9. If you want to configure the API with inbound and outbound email permissions, continue to step 7.
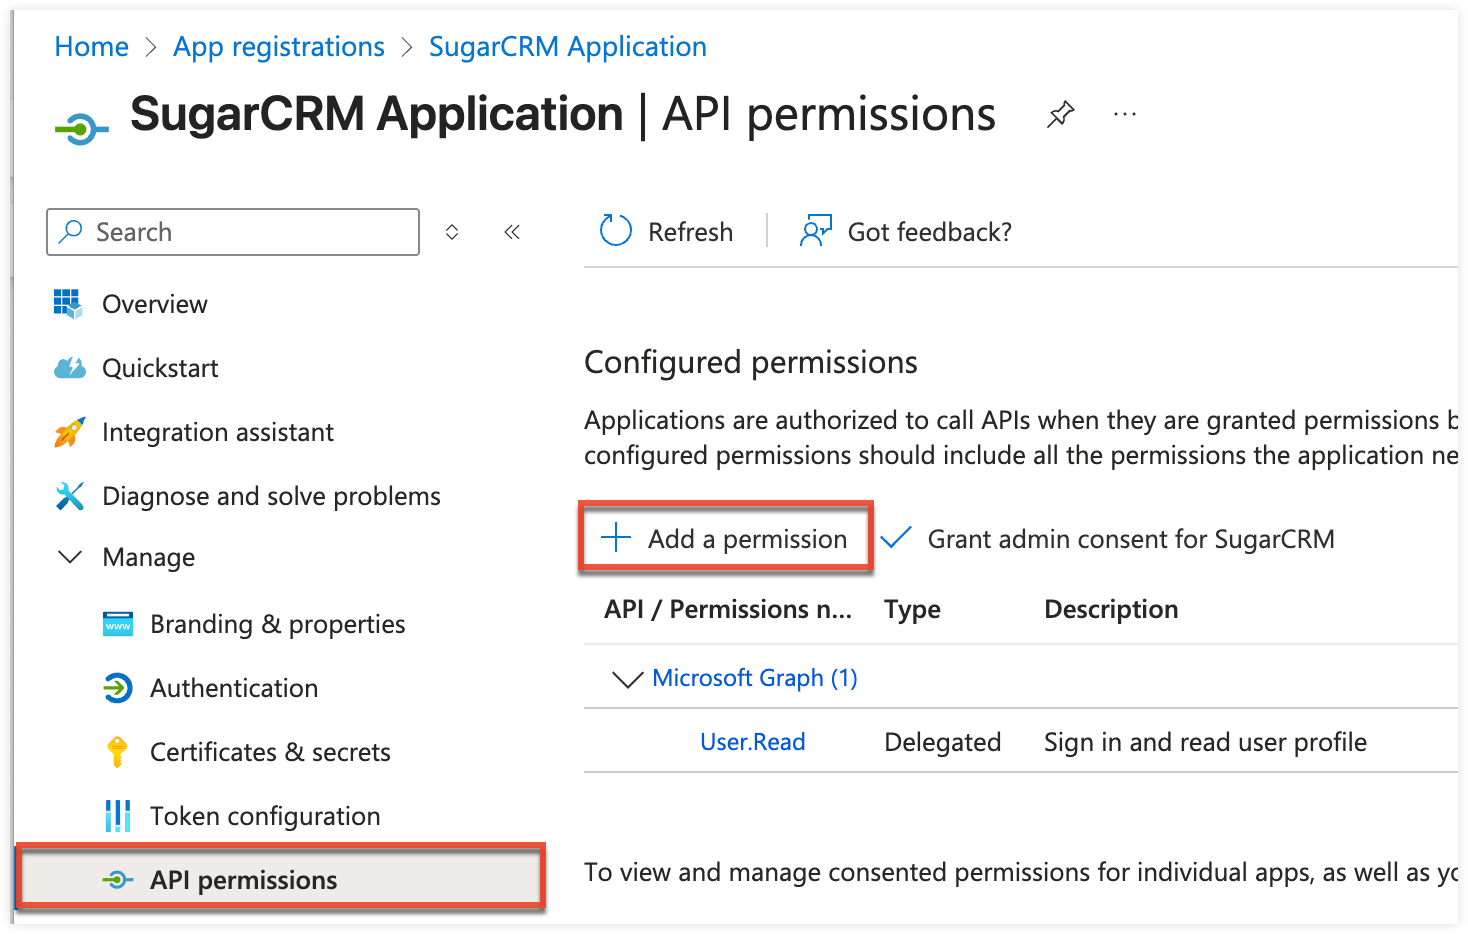
- Click "API permissions" on the left tree menu of the applications page, then click the "+ Add a permission" button.
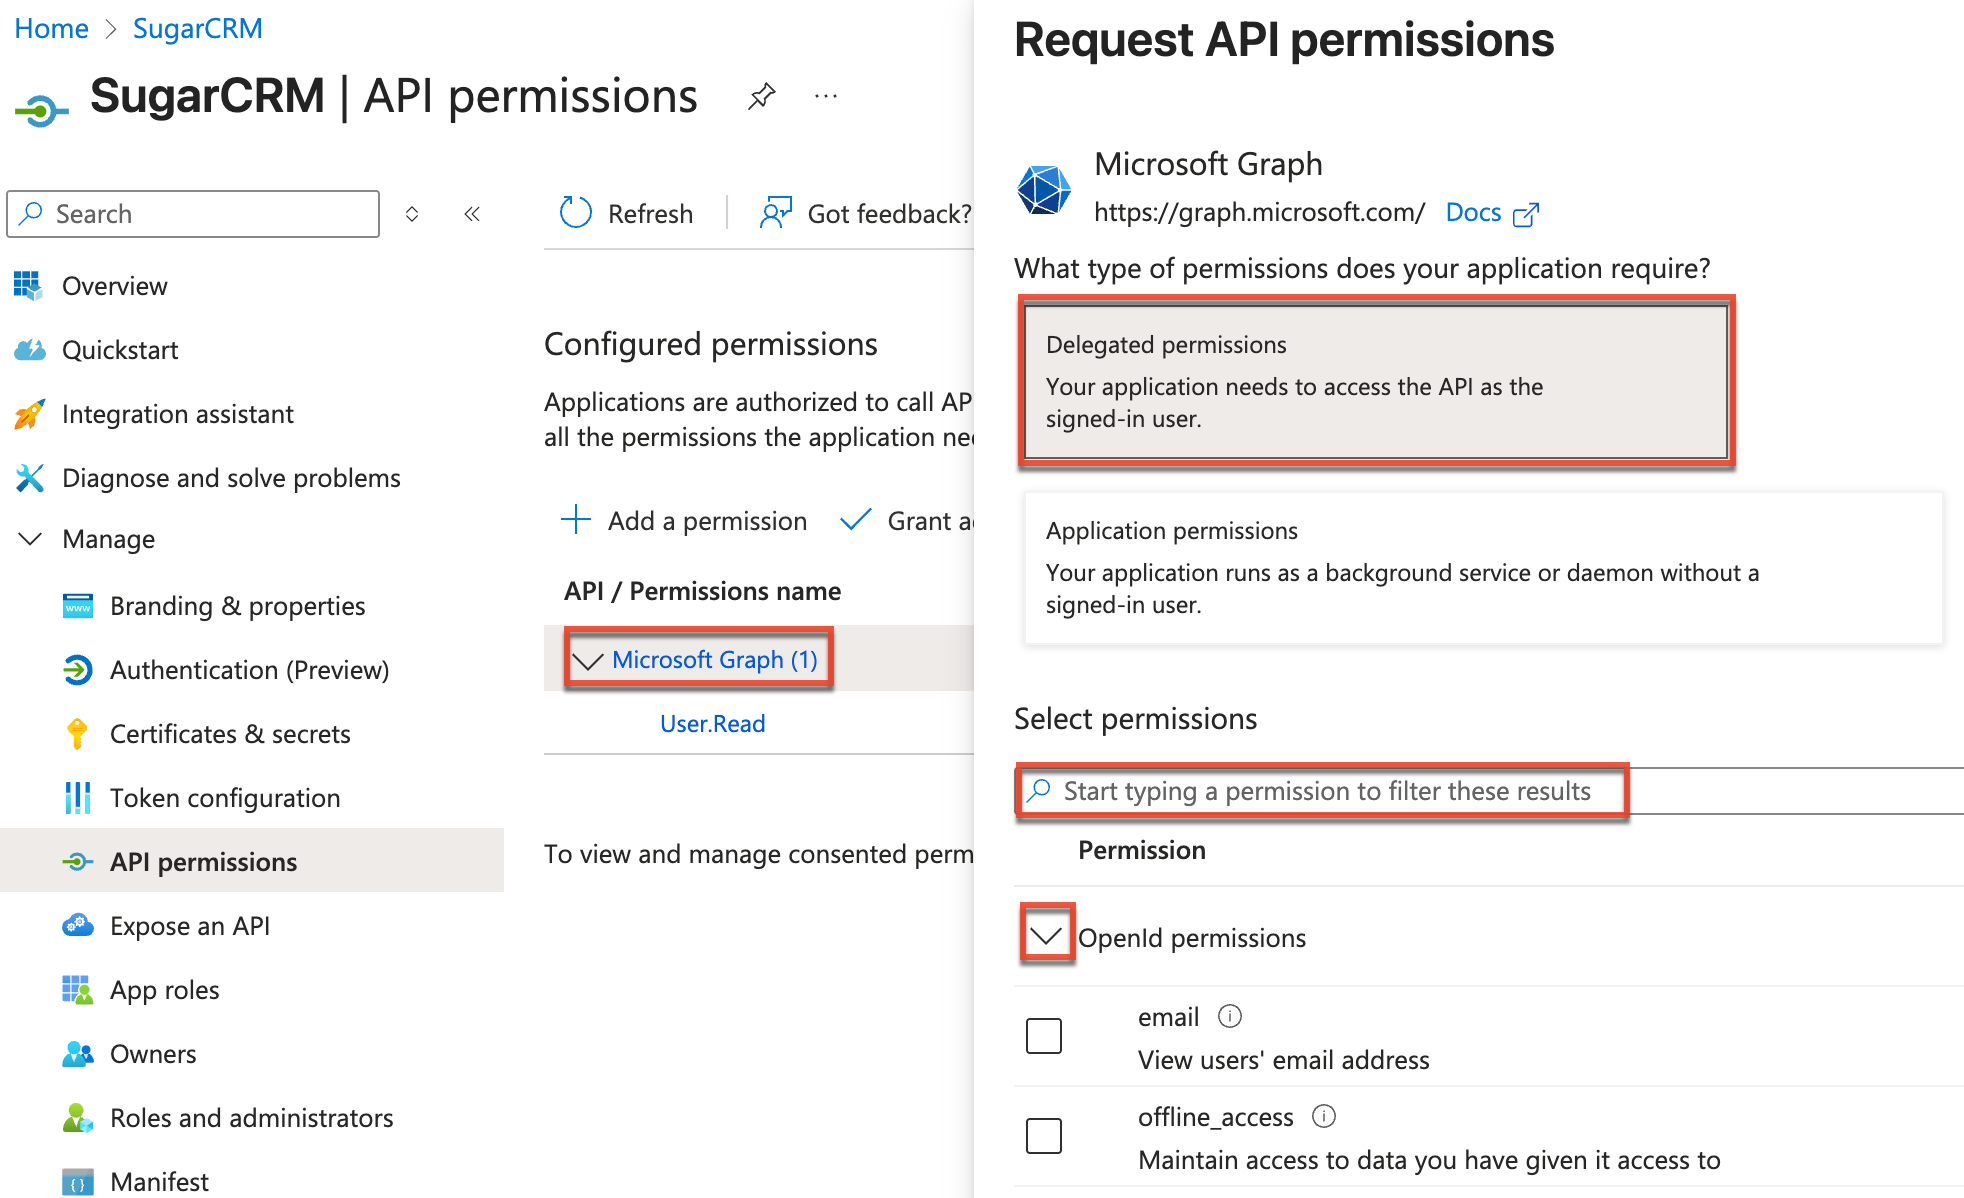
- Click the Microsoft Graph option, then click "Delegated permissions" and select the following options from the accordion menus, or search for your desired permissions based on your Sugar version:
-
- For customers using Sugar versions 14.0.3 and higher:
- Select "Mail.Send" under the Mail permissions option.
- Click the "Add permissions" button.
- For customers using Sugar versions lower than 14.0.3:
- Select "offline_access" under the OpenId permissions option.
- Click the IMAP option and select "IMAP.AccessAsUser.All".
- Click the SMTP option and select "SMTP.Send".
- Click the "Add permissions" button.
- For customers using Sugar versions 14.0.3 and higher:
-
- Click "Authentication" on the left tree menu, then click "+ Add a platform".
- On the Configure platforms window that appears on the right, click the Web option and enter the Redirect URIs as follows:
{Your Sugar URL}/oauth-handler/MicrosoftOauth2Redirect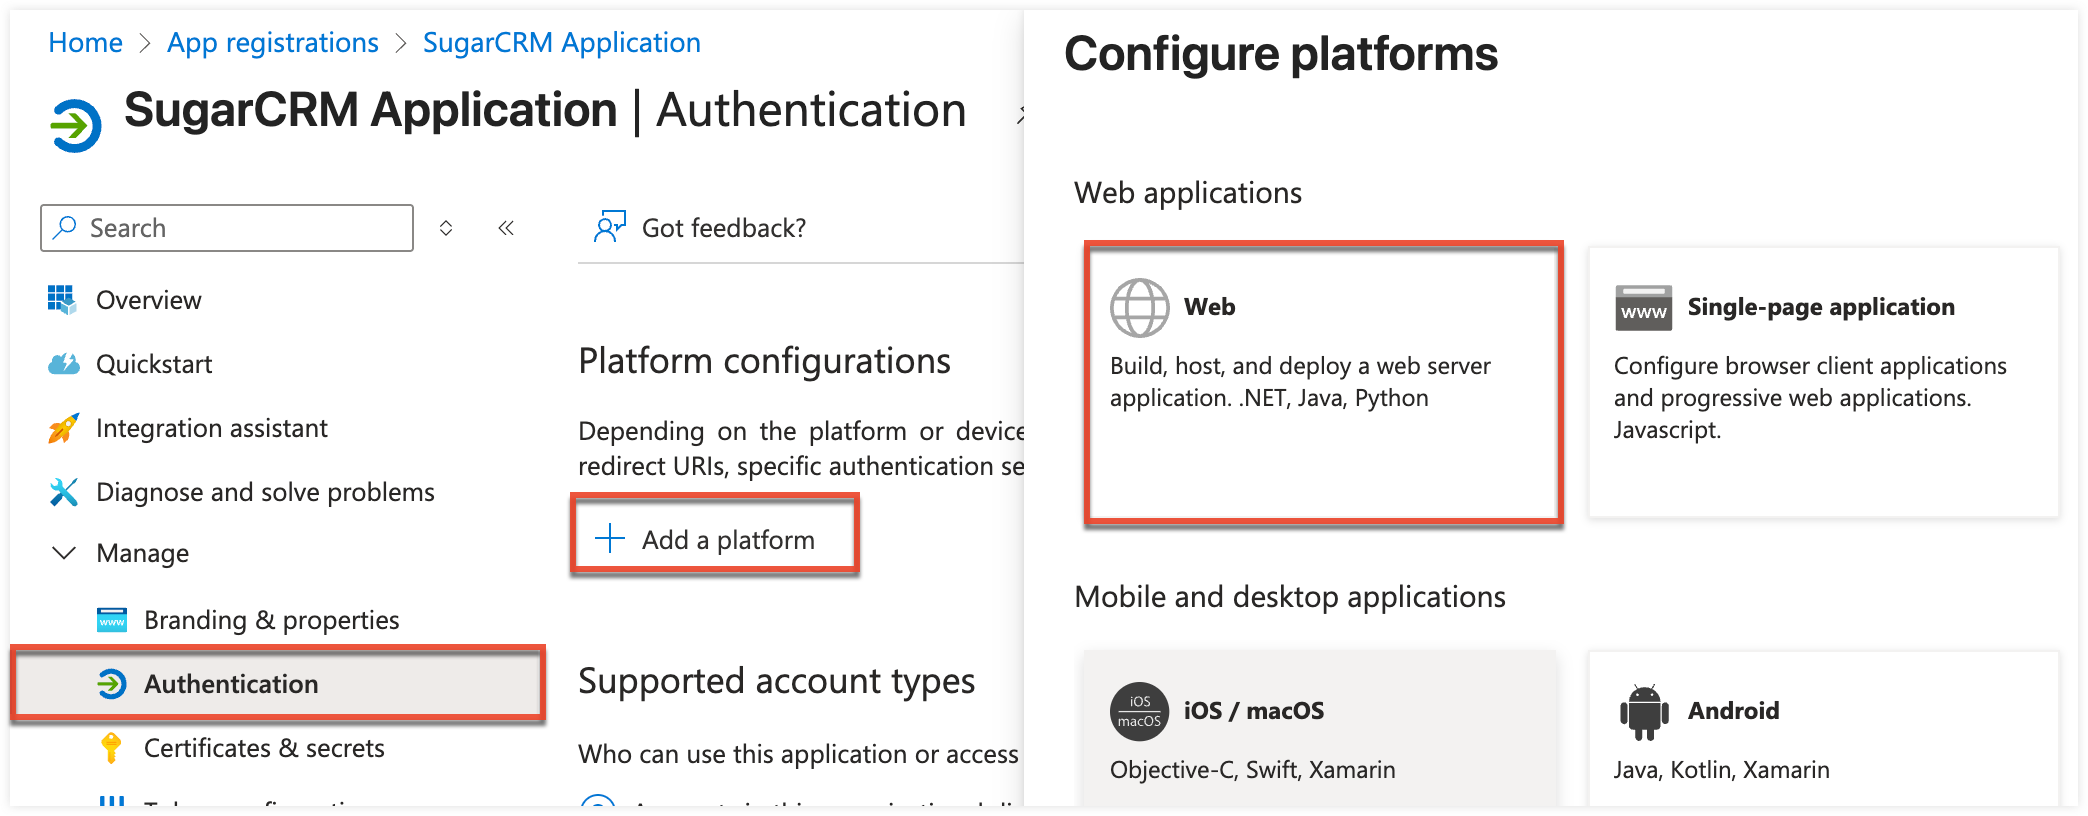
- Click the Configure button.
- Next, click "Certificates & secrets" on the left tree menu, then click "+ New client secret" in the Client secrets section and populate the following fields:
- Description: Enter a description of your choice.
- Expires: Select an expiration period.
- Click the Add button.
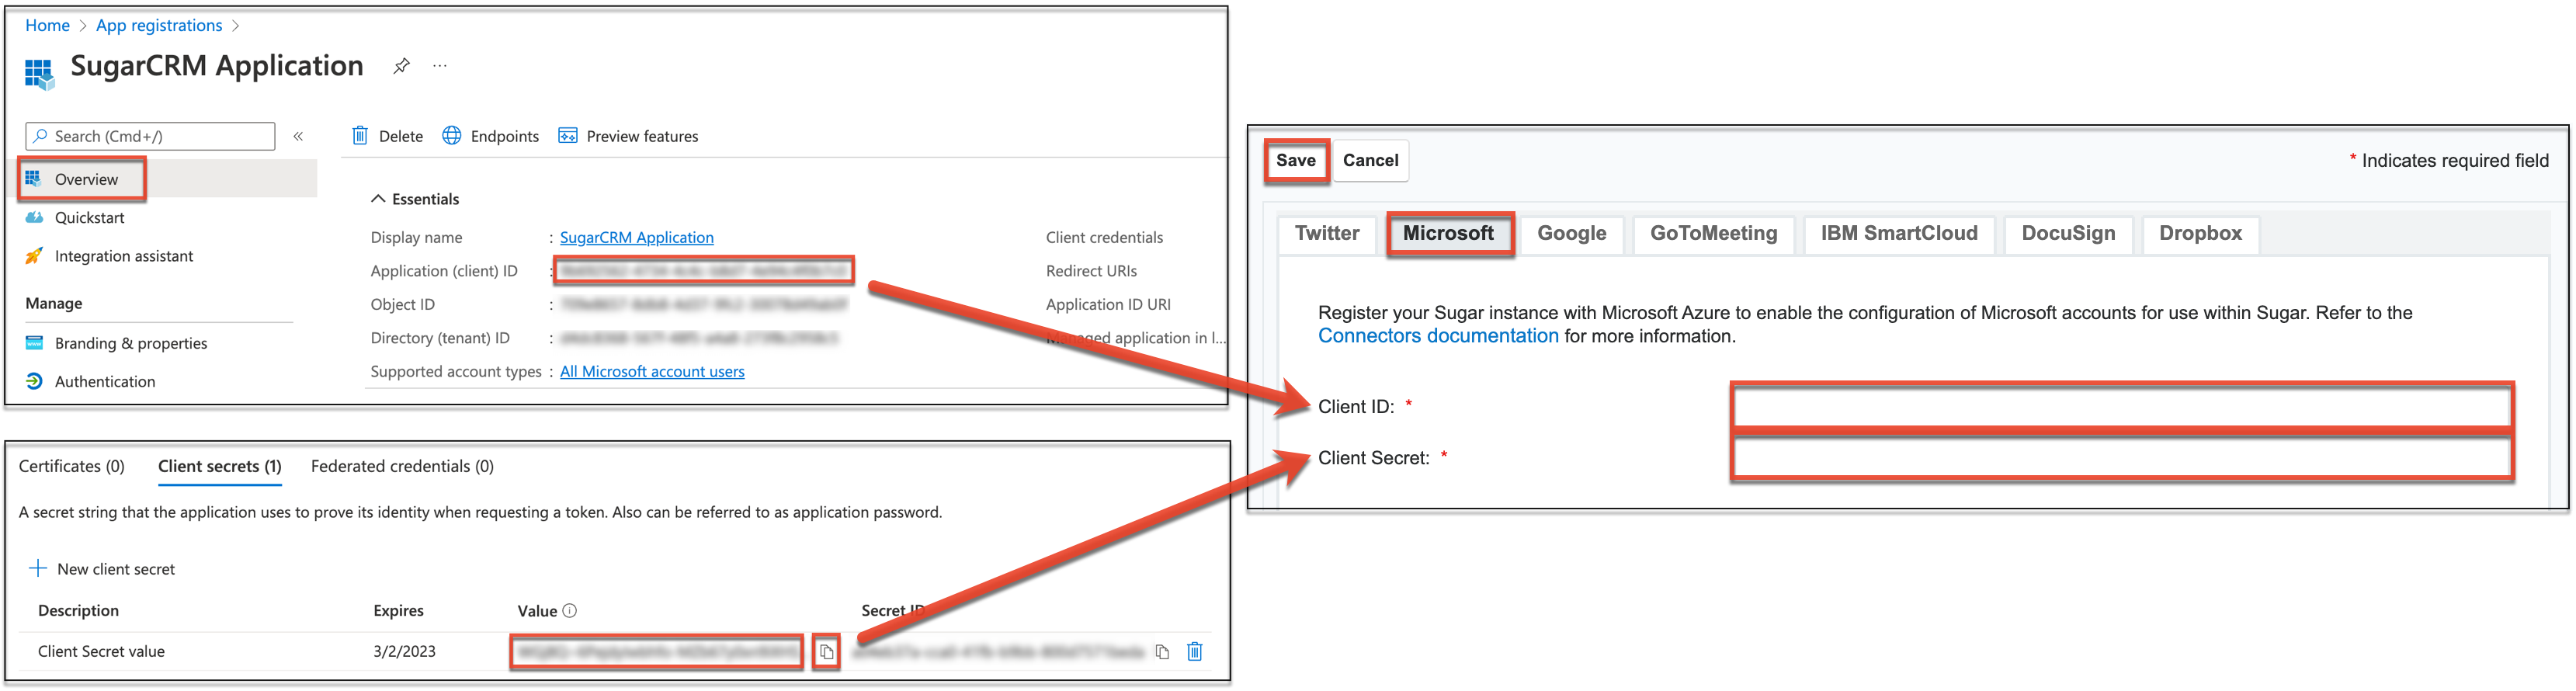
- In the Client secrets section, record the string that appears under the Value column by clicking the "Copy to clipboard" icon. This Value (highlighted in red in the image below) is required when configuring the connector in Sugar. You do not need the Secret ID.
Note: Be sure to copy this value immediately after creating the client secret as you will not be able to retrieve this value again once you leave the page.
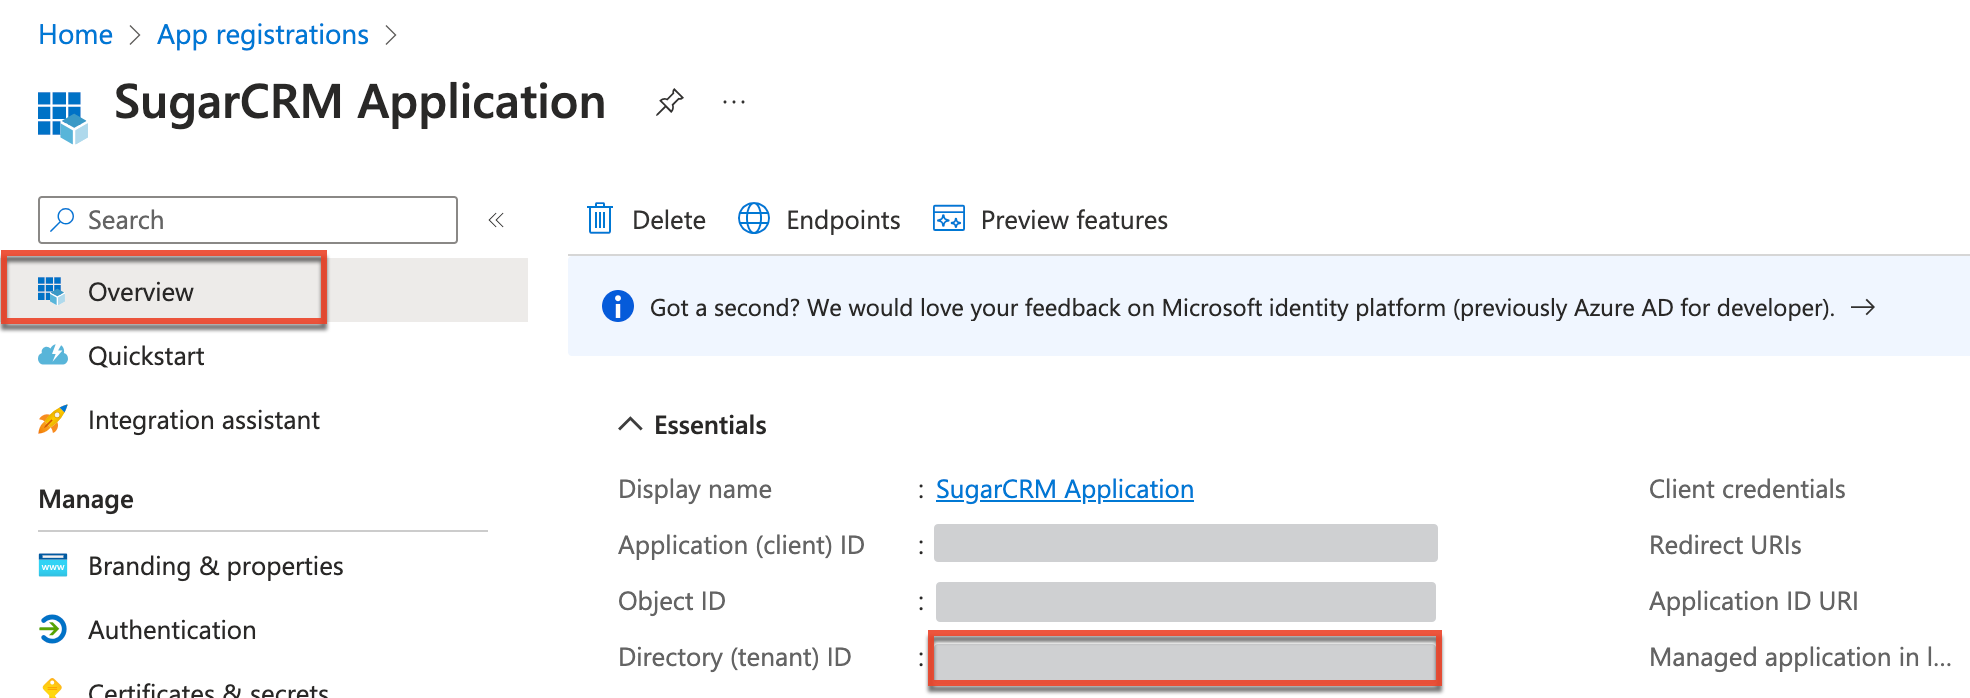
- On the left tree menu, click "Overview" then record the "Application (client) ID" value at the top of the page as it is required when configuring the connector in Sugar.
- If you are connecting to a single tenant application in Azure (step 5), then you will need to record the Directory (tenant) ID value as it is required when configuring the connector in Sugar.
Depending on your Microsoft enterprise application properties, you may need to assign users to the application before they are able to use it. This will allow users to send outbound emails from Sugar, for example. For more information on assigning users to the application, please refer to the Manage users and groups assignment to an application documentation on the Microsoft website. Please do not assign any group users to the application. Users assigned to the application should note that it may take several hours for the change to take effect in Microsoft.
Configuring Sugar's Microsoft Connector
Once you have obtained the necessary information (e.g., Client ID, Client Secret) from Azure, use the following steps to set up the Microsoft connector in Sugar:
- Log in to your Sugar instance and navigate to Admin > Connectors > Set Connector Properties.
- Click the Microsoft tab and fill in the Client ID value ("Application (client) ID" from step 14) and the Client Secret value ("Value" from step 13) obtained from the Creating Application in Microsoft Azure Portal section above. Click "Save".
- To connect to a single tenant application in Azure, enable the checkbox as shown below, then enter the Tenant ID value obtained in step 15 of the Creating Application in Microsoft Azure Portal section above.
Note: The "Accounts in this organizational directory only (Your Company only - Single tenant)" option (step 5) must have been selected when creating the application in the Microsoft Azure Portal.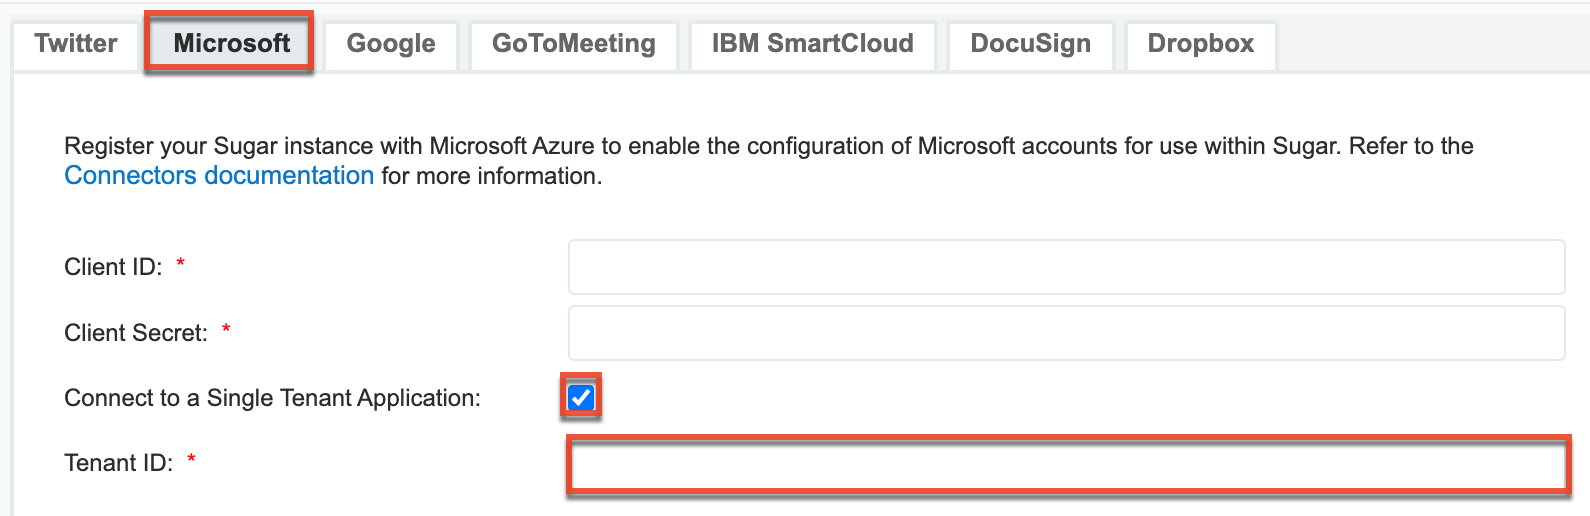
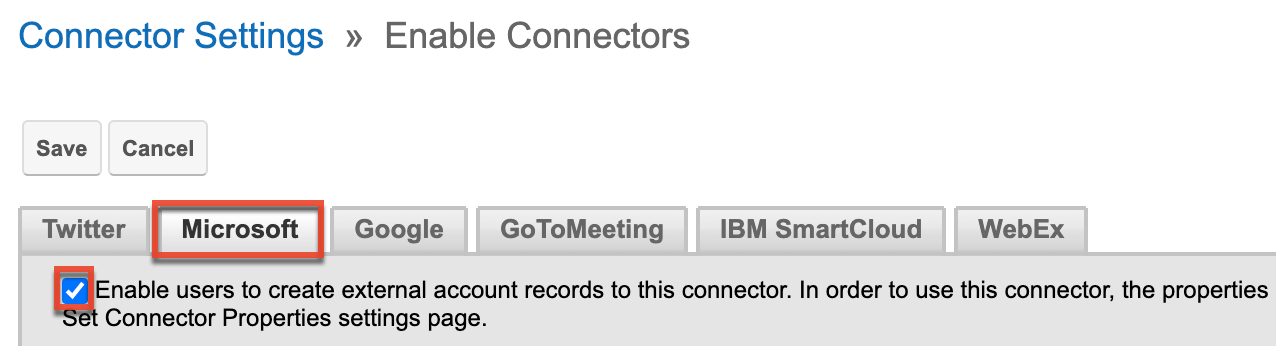
- Next, navigate to Admin > Connectors > Enable Connectors.
- Click the Microsoft tab and ensure that there is a checkmark in the box next to "Enable...".
Configuring Sugar Email Settings
Once the Microsoft connector has been configured in Sugar, you can then configure Sugar's email settings using Exchange Online. Admin users can configure the system's outbound email settings via Admin > System Email Settings and the system inbound email accounts via Admin > Inbound Email. For more information, refer to the Email documentation. Sugar users can also create outgoing email accounts by clicking on the Emails module tab and selecting "Email Settings". For more information, refer to the Emails documentation.
Steps for End Users
Information about enabling the connector for user accounts and utilizing the Microsoft connector is available in the Integrating With Microsoft for End Users article. Admins must enable the connector for their user account before configuring the Cloud Drive settings in Admin > Cloud Drive.