Populating Target Lists From Large Reports
Overview
After creating a target list, you have the option to populate it from a report. However, larger reports will often timeout before completely filling the target list. As a result, the best way to populate a target list is to break the report into multiple chunks and bring the records over in batches.
Beginning with version 9.1.0, each user's license type (e.g. Sugar Serve) determines what functionality is available as described in the License Types Matrix documentation. Please note that the Target Lists module is not available for Sugar Serve users.
Use Case
Many customers have very large Campaigns that require very large Target Lists. This article will describe how to efficiently populate Target Lists for Campaigns without having to worry about timeouts.
Steps to Complete
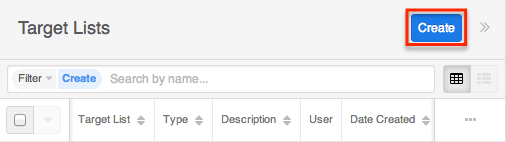
- Navigate to the Target Lists module.
- Create a new target list by clicking the Create button in the Target Lists module.
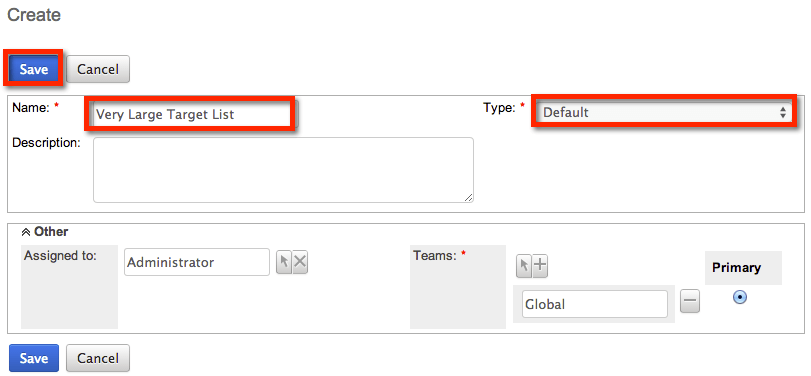
- Give it a Name and Type, then click "Save".
- Create a new report by selecting "Create Report" from the Reports module dropdown menu.
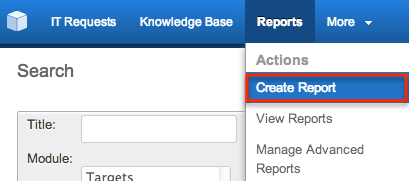
- Choose "Rows and Columns Report".
- Select a module, for example Contacts.
- Set the filters you need to limit the results to what you want in your target list.
Note: If you want every record in the module, just leave this blank. - Add the Contact Name field to the Display Columns.
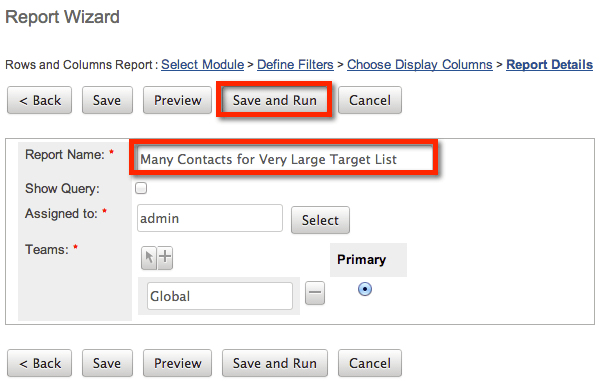
- Name the report, then click "Save & Run".
-
Use filters to break the report results into more manageable batches.
-
Select the report you just created and click "Edit".
-
Choose how you want to divide your results. Ideally, each batch should be less than 3,000 records to prevent a timeout, though the exact number depends on the server and network. Example filters:
- Date Created "Is Between"starting date and ending date
- Last Name "Starts With" specified letter of the alphabet
- Primary Address State "Equals" specified state
- Etc.
- Once you have selected your new filter(s) confirm the report name is the same, then click "Save & Run".
-
- Import the current report into the target list.
- From the Target List Edit View, navigate to the Contacts subpanel or whichever module your report was based on and choose "Select from Reports".
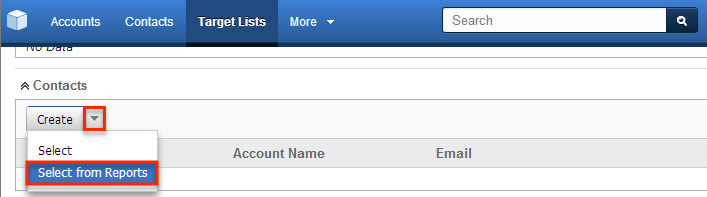
- Search for the report you just created, then click on the report name. This will populate the target list with the first batch of records from your report.
- From the Target List Edit View, navigate to the Contacts subpanel or whichever module your report was based on and choose "Select from Reports".
- Repeat as necessary or until all the desired records have been imported to your desired target list.
- If you received a timeout and not all records were imported, your filter was too broad and the report will need to be filtered down to fewer records.
- If it was successful, edit your report again, changing the filter to get the next batch of records (different dates, first letter of last name, primary address state, etc.).