Creating a Campaign
Overview
Sugar's Campaigns module can be used to create both email and non-email-based campaigns. The Email and Newsletter types of campaigns are mass emails sent from Sugar to a relevant set of contacts, leads, targets, accounts, or users. The results are tracked to measure the overall success of the campaign. This article explains how to set up and execute a simple email campaign in Sugar.
Beginning with version 9.1.0, each user's license type (e.g., Sugar Serve) determines what functionality is available as described in the License Types Matrix documentation. The Campaigns module covered in this article is not available for Sugar Serve users.
Creation Options
There are two methods available to users when creating email campaigns in Sugar:
- Wizard: This method will walk users through getting the campaign created step by step. Each step of the campaign setup process will guide users on the items (Tracker URLs, Target List, Marketing, etc.) that need to be completed.
- Classic: This method will give users the ability to freely create a campaign record without progressing step by step. Once the basic campaign record is created, the users will select the appropriate target lists and create tracker URLs as well as an email marketing record.
Campaign Types
Sugar supports several types of campaigns as described below:
- Newsletter: A series of mass emails sent to a consistent or growing target list periodically or on a regular basis (i.e., weekly, monthly, quarterly, etc).
- Email Campaign: A mass email sent to a target list.
-
Non-email-based Campaign: A non-email mass marketing effort delivered via mail, web, radio, television, print, or telesales. These campaigns are not executed through Sugar, but you can create a campaign record to mark it as being sent for record-keeping and tracking.
Prerequisites
There are several key components involved when executing email or newsletter campaigns in Sugar. Before sending out a campaign, the administrator must make sure the following items are set up properly:
- Outbound Emails: Configure Sugar to send outbound emails via Admin > Email Settings.
- Campaign Batch Size: Specify the number of emails sent per batch via Admin > Campaign Email Settings. We recommend setting this to 200.
- Bounce Handling Account: Create the bounce-handling inbox for bounced campaign emails via Admin > Inbound Email.
- Campaigns Scheduler: Configure the scheduler job that automatically sends campaign emails via Admin > Schedulers > Run Nightly Mass Email Campaigns Scheduler. We recommend setting this to run every 15 minutes throughout the day.
- Bounced Emails Scheduler: Configure the scheduler job to process the bounced campaign emails via Admin > Schedulers > Run Nightly Process Bounced Campaign Emails Scheduler.
You must also be familiar with creating targets and target lists as well as creating campaign email templates. For more information on creating campaign email templates, please refer to the Campaigns documentation.
Note: For more information on configuring email settings and schedulers, please refer to the Email and Schedulers documentation.
Steps to Complete
We will walk through the steps to create an email campaign in Sugar using the classic creation option.
Campaign Overview
The first step of setting up a campaign is to complete the campaign overview section to include key information, which will help identify the campaign. The status, start date, and end date entered on this screen are for your records only and will not control when the actual email campaign will be executed.
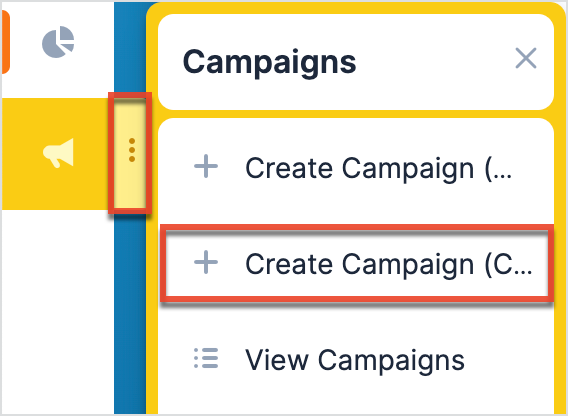
- Click the three-dots menu on the Campaigns module tab on the navigation bar. Select "Create Campaign (Classic)".
- Fill out the following fields as required/applicable:
- Name The internal name of the campaign.
- Status: The current status of the campaign from the dropdown list. If you wish, this may be manually updated as the campaign progresses.
- Planning: The campaign is being created and is not ready to be sent out.
- Active: The campaign creation is complete and it is ready to be delivered.
- Inactive: The campaign is not active and will not be sent out.
- Complete: The campaign has been sent out successfully and is completed.
- In Queue: The campaign is waiting in the email queue to be sent out.
- Sending: The campaign is in the process of being delivered.
- Start Date: The date that the campaign will start. This is for your records and will not affect the sending of the campaign.
- Type: The type of campaign. Only Email and Newsletter type campaigns will send emails through Sugar.
- End Date: The date that the campaign will end. This is for your records and will not affect the sending of the campaign.
- Currency: The currency that the campaign's budget will use.
- Impressions: The number of targets who viewed the campaign email.
- Budget: The set budget for the campaign.
- Expected Cost: The expected cost for the campaign.
- Actual Cost: The actual cost associated with executing the campaign.
- Expected Revenue: The estimated revenue that is expected to be generated from the campaign.
- Objective: The goals you hope to accomplish in this campaign.
- Description: The description for the campaign.
- Click "Save".
Target List
A target list consists of a group of individuals or organizations you want to include or exclude in a mass marketing campaign. For more information on populating target lists, please refer to the article Populating a Target List. The steps below will go over how to add default and test target lists to the campaign via the Target List subpanel as an example.
-
Choose "Select" from the Actions dropdown menu in the Target List subpanel.

- In the Target Lists popup list view, select the target lists you want to add to your campaign. Be sure to choose at least one test target list for testing prior to sending. For more information on testing emails, please refer to the Testing the Campaign section below. You will also want to select at least one default target list as the actual recipients of the campaign.
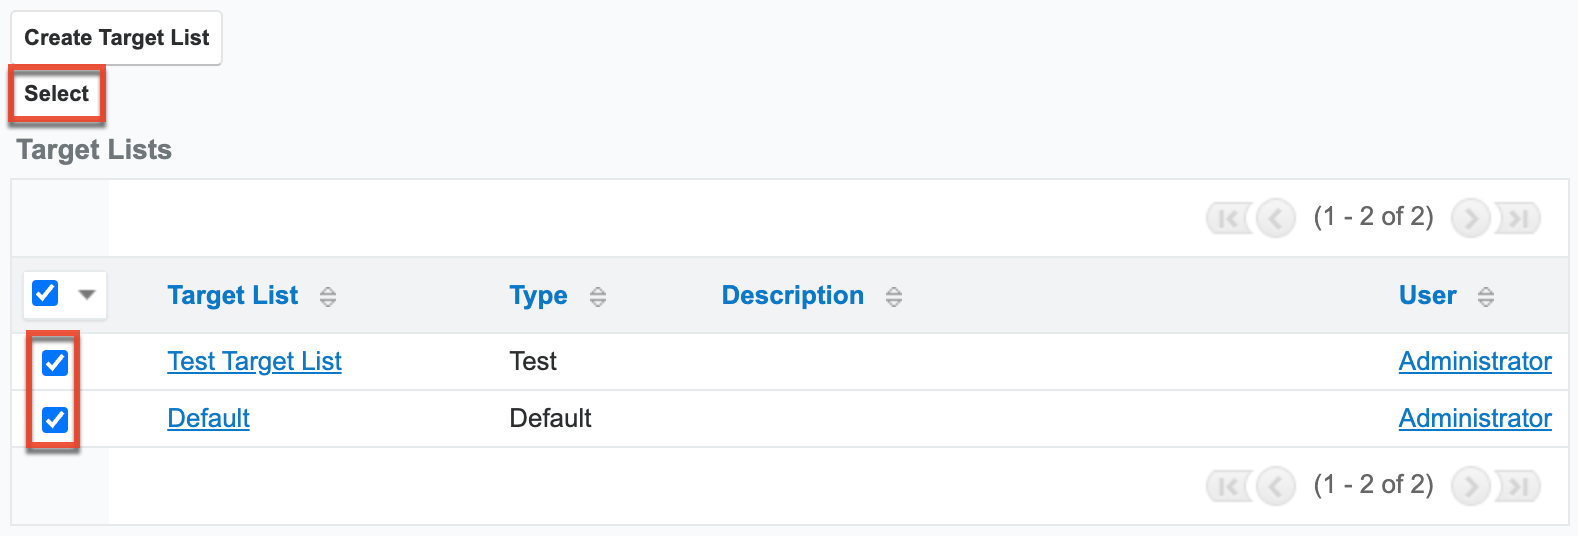
- Click the Select button, and the chosen target lists will appear in the Target List subpanel of your campaign.

Tracker URLs
Tracker URLs are links to websites that are hosted either internally or externally. These links can be embedded into your email template to help you understand how your recipients are using the campaign email. A unique key is generated for each tracker URL and target and is associated with the campaign email template. When the targets click on the tracker URL link, Sugar uses the unique key identifier to track the number of times the recipient clicks the link as click-thrus. The steps below will go over how to create a tracker URL for the campaign via the Tracker URLs subpanel.
- Click the Create button in the Tracker URLs subpanel.

- Enter the tracker URL information you want to include in the email campaign.
- Tracker Name: The internal name for the tracker URL.
- Opt-out Link: Mark the checkbox to insert the tracker URL as an opt-out link. This will include the unsubscribe link in the campaign email which will allow the targets to opt out of your campaign mailing list. You must manually add the opt-out link by inserting the tracker URL into the email template via the Email Marketing record. If the opt-out link option is not selected, then Sugar will add the default opt-out link to your campaign email.
- Tracker URL: This is the URL where the recipient should be directed when clicking the link, (e.g., http://www.sugarcrm.com. The http:// must be included in the link.
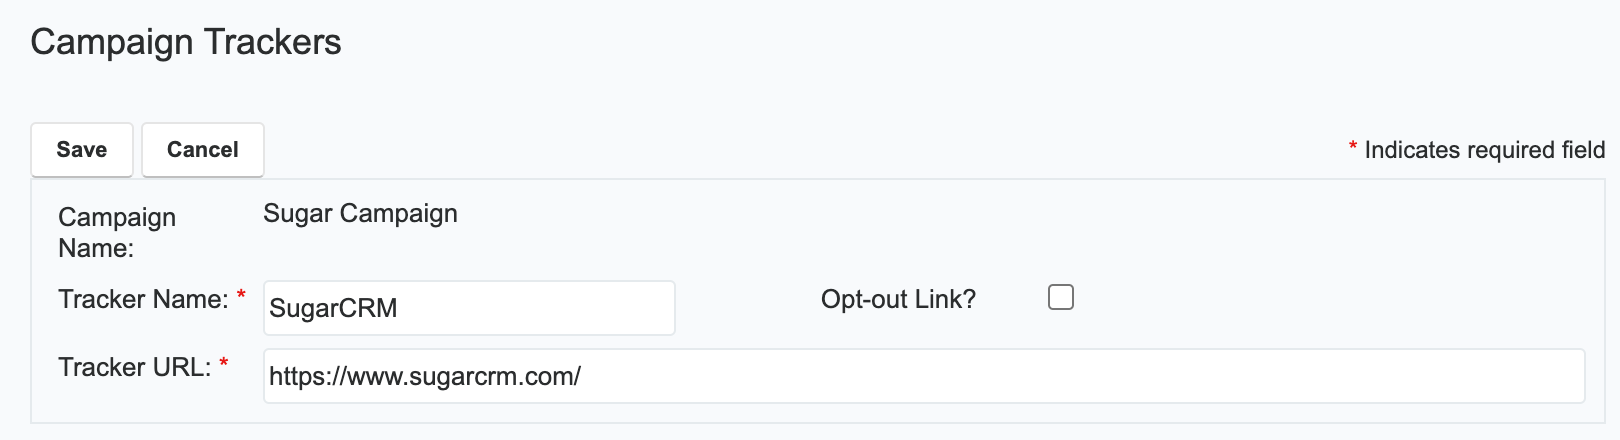
- Click "Save" and you will see the tracker record within the Tracker URLs subpanel of your campaign.

Email Marketing
Email Marketing can be thought of as what will actually be sent each time the campaign goes out. It contains the body of the message in the form of an email template, the bounce handling account which catches automated replies from bad email addresses, and the target lists which are your recipients. When you are sending more than once from a single campaign, as is the case in a Newsletter campaign, you will need to create a new Email Marketing record for each subsequent send. For example, a monthly newsletter campaign will have one Email Marketing record for each month. Sugar will not allow the same Email Marketing record to be sent to a recipient more than once. The steps below will go over how to create the email marketing record for the campaign via the Email Marketing subpanel.
- Click the Create button in the Email Marketing subpanel of your campaign.

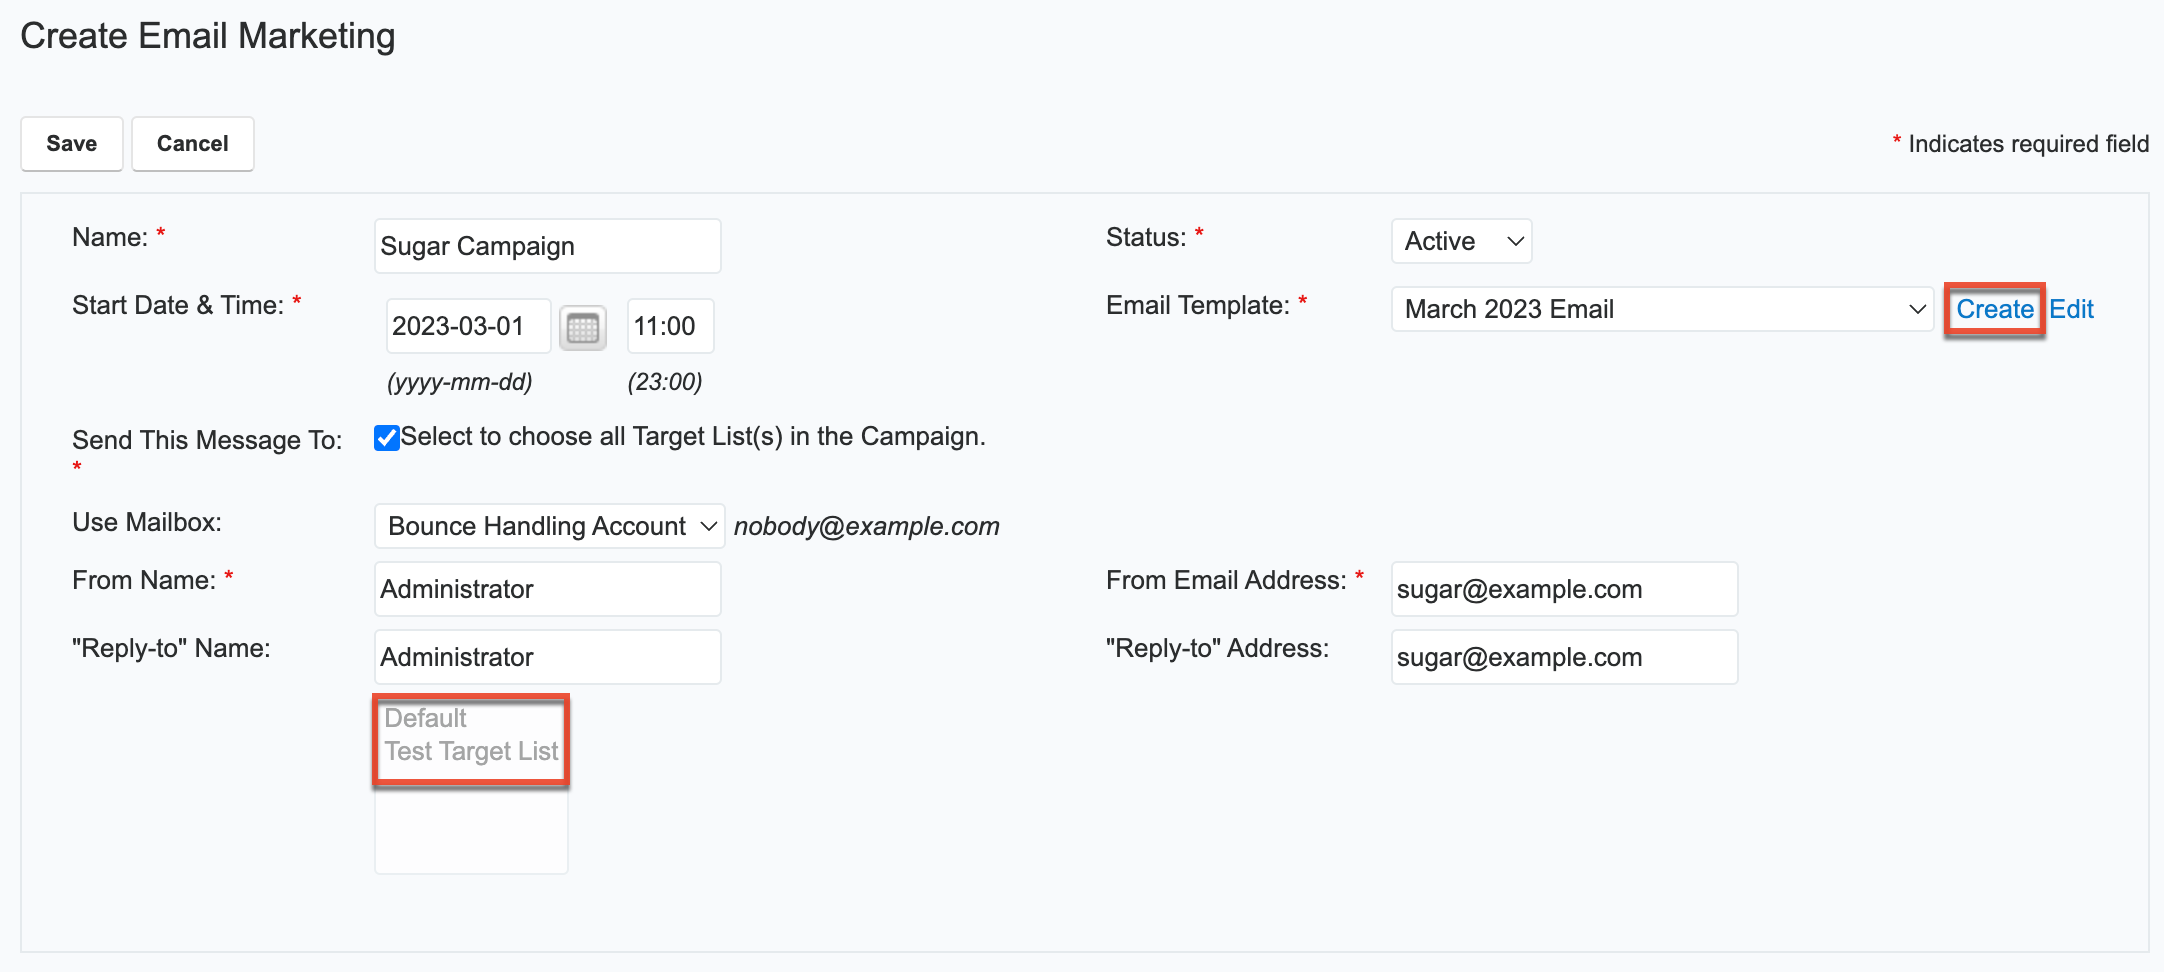
- Select the campaign email template, target lists, bounce handling account, and schedule the date and time the campaign is triggered.
- Name The internal name of the email marketing record.
- Status: Select "Active" if this email marketing record will be sent or "Inactive" to disable it.
- Start Date & Time: Click the calendar icon to schedule the date and time that the email campaign will be sent out. Setting this in the future will cause the email queue to push them out at the provided date and time. Setting this in the past will cause the emails to be sent on the next scheduled run after you click "Send Emails" from the Campaign's detail view.
- Email Template: Select the email template that will make up the body of the email. You can create a new template by clicking the Create link to the right of the dropdown field. If you wish to use a tracker link created in the steps above, click on the Edit link and insert the tracker URL.
- Send This Message To: Check this box if you would like to send to all the target lists you added to the campaign's Target List subpanel in the steps above. Otherwise, manually select the target lists you wish to include for the marketing message by individually highlighting the desired options in the box underneath Reply-to Name.
- Use Mailbox: Select a bounce handling account where any bounced back emails due to invalid email addresses will be directed.
- From Name: This will automatically populate based on the selected bounce handling account. You can enter a different name that will appear as the email's From name.
- From Email Address: This will automatically populate based on the selected bounce handling account. You can override the field to enter a different email address that the campaign will be sent from. Please note that your system outbound email account may need to grant specific 'Send As' permissions if you wish to use an alternate email address. If these permissions are not granted, emails may fail to send or the authenticated email account will be imposed in place of the address depending on your mail server settings.
- Reply-to Name: This will automatically populate if it is provided on the bounce handling account. You can override the field to put in a new reply-to name.
- Reply-to Address: This will automatically populate if it is provided on the bounce handling account. You can override the field to put in a new reply-to email address.
- Click "Save" and you will see the email marketing record within the Email Marketing subpanel of your campaign.

Testing the Campaign
It is recommended that you send a test email first to make sure that the message and layout are displayed properly before the campaign is finalized and sent to the default target list. A test-type target list must be selected under the Target Lists subpanel as well as in the Email Marketing record in order to send the test email campaign.
- Choose "Send Test" from the Actions dropdown menu in the campaign detail view.
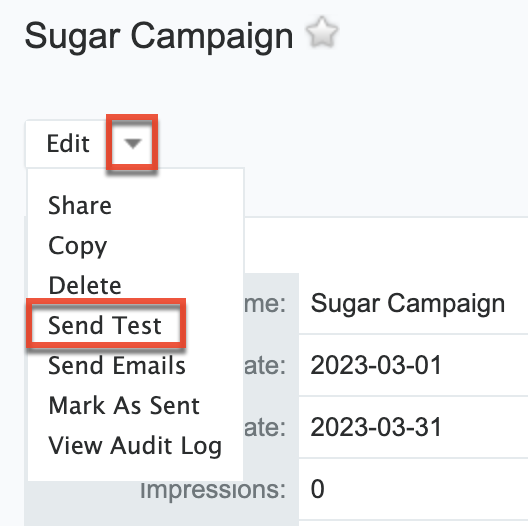
- Select the campaign record with the test target list that you would like to send the test email to. Click the Send button, and this will immediately send the email campaign to the members of the test target list you have selected.

- You can send the campaign to the test target list multiple times by clicking the Delete Test Entries button on the View Status page. You will need to do this after each test in order to delete the log entries on the campaign status and allow Sugar to send them to the test list recipients again. Sending to these recipients again will be prevented until the previous test's entries have been deleted.

- Check the respective email inboxes of each test recipient to make sure that the email is received successfully with the proper layout.
Sending the Campaign
Once the campaign has been tested successfully, you are now ready to send the email campaign to the default target list. The default target list must be selected under the Target Lists subpanel as well as in the Email Marketing record in order to send the finalized email campaign.
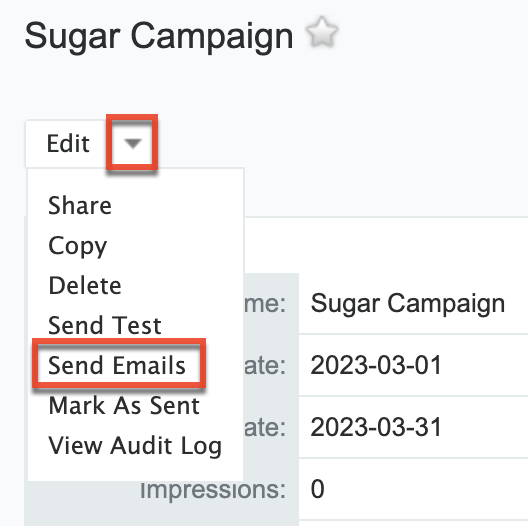
- Choose "Send Emails" from the Actions dropdown menu in the campaign detail view.
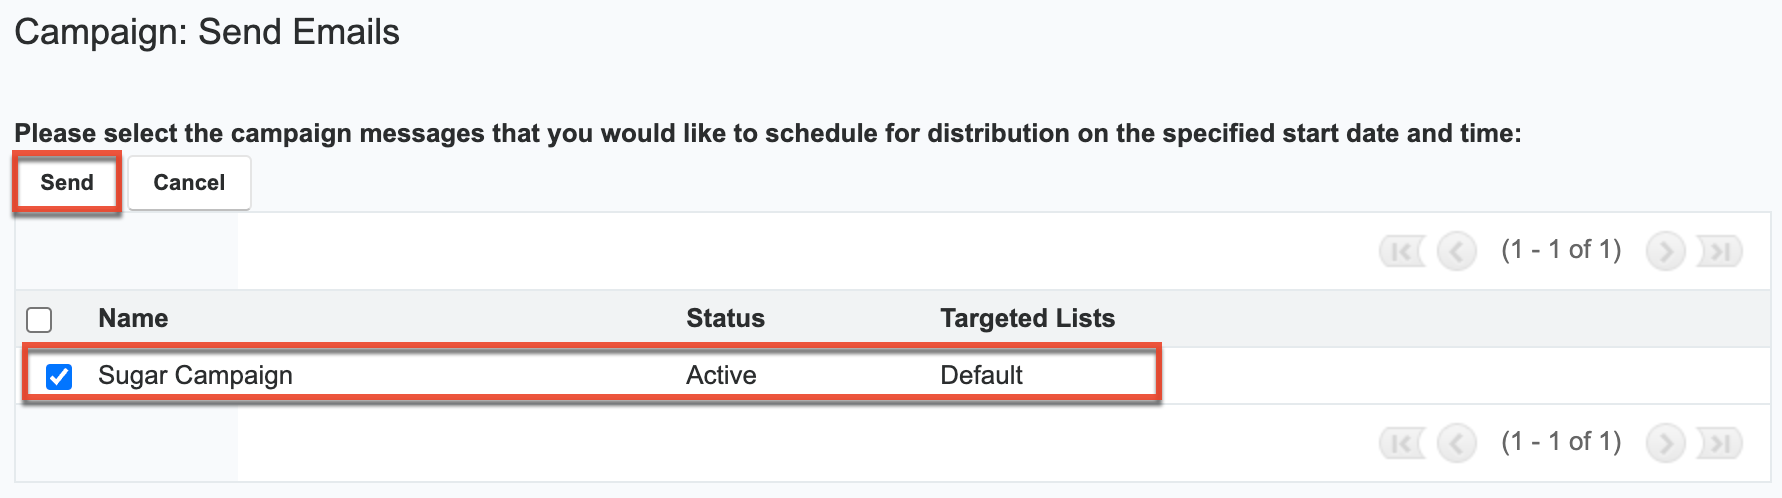
- Select the campaign record with the default target list that you would like to receive the email campaign. Click the Send button and this will push the emails to the email queue to be delivered on the scheduled date and time indicated on the email marketing record. If your scheduled date and time is in the past, the email queue will attempt to send the emails out immediately upon the next scheduled run as dictated in the Run Nightly Mass Email Campaigns Scheduler record.
Email Queue
The email queue (Admin > Email Queue) displays information on the emails that are queued to be delivered, the intended recipients, the scheduled date and time the emails will be sent, as well as the number of times Sugar has attempted to deliver the email. For more information on email queues, please refer to the Email documentation. As the emails start going out, the number of emails in the queue will decrease and the page will eventually be empty once all the emails have been sent.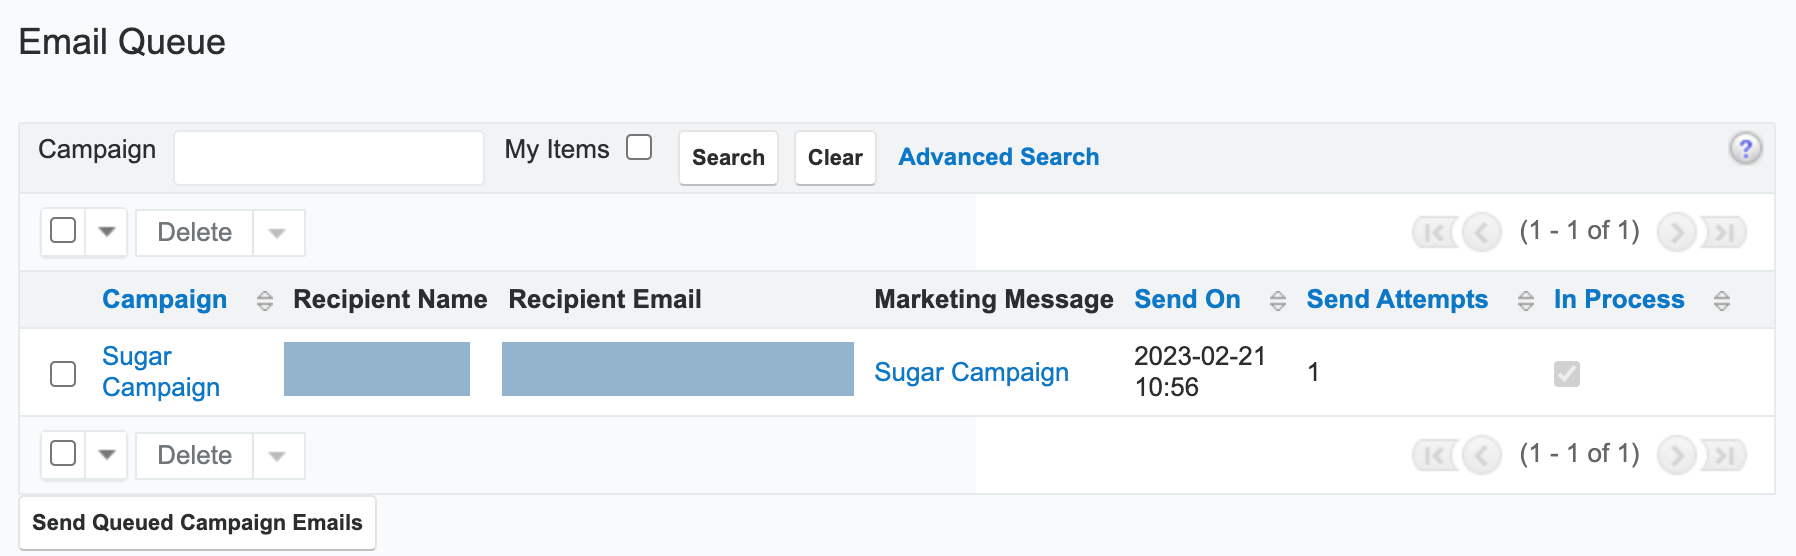
Campaign Status
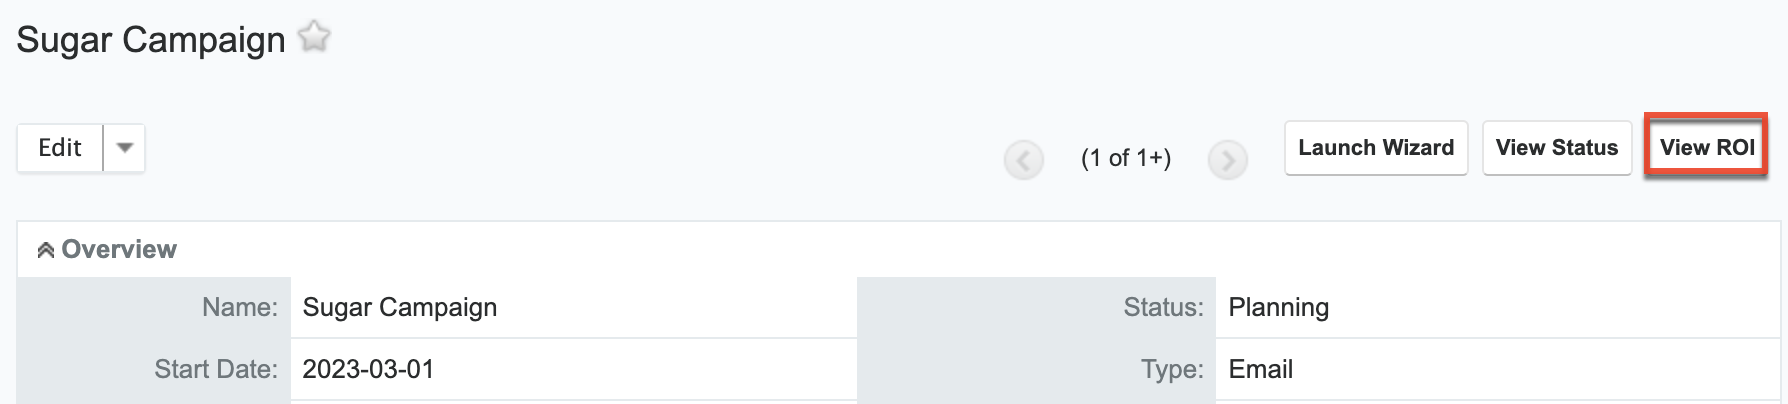
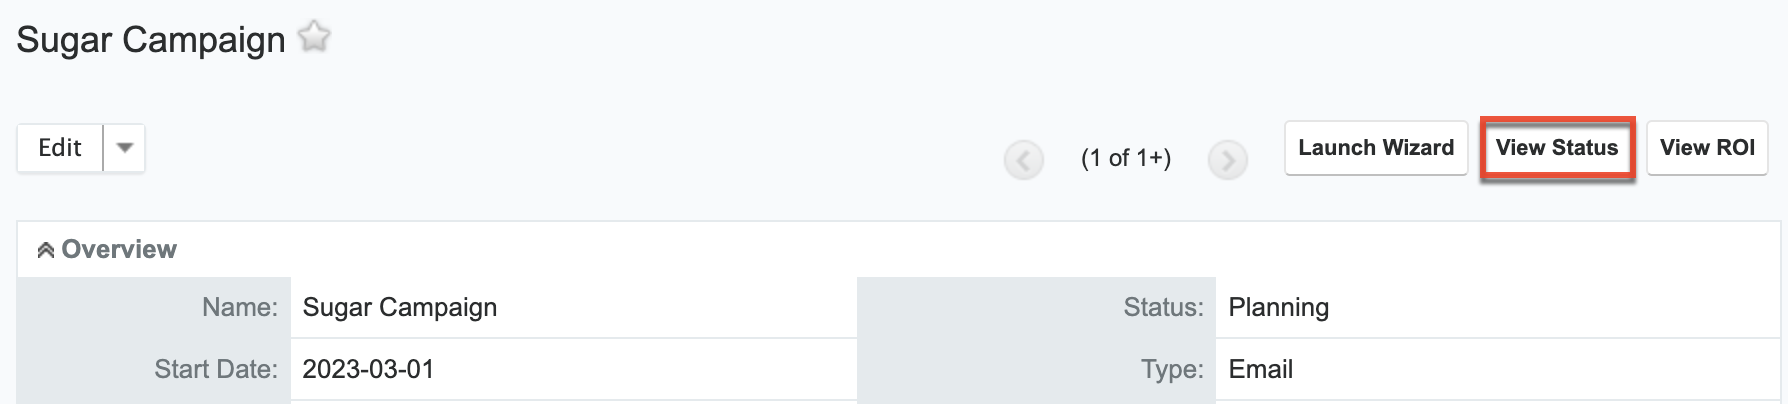
Once your campaign has been executed, you can view the results by clicking the View Status button on the campaign's detail view. The campaign status page includes several subpanels which display information such as the number of recipients who viewed the message, the number of recipients who clicked a tracker URL in the email, as well as how many leads and contacts were created from the campaign.
- Message Sent/Attempted: The list of campaign emails that were sent out to targets.
- Message Queue: The list of campaign emails in the email queue. All emails will be displayed within this subpanel after clicking "Send Emails" as they remain in the email queue until the start date and time.
- Viewed Message: The list of targets who viewed the emails that were delivered. Sugar includes a very small, invisible image in the email. When the recipient downloads this image, Sugar records that they viewed the email.
- Click-thru Link: The list of targets who clicked on the tracker URL links in the email.
- Contacts Created: The list of contacts created in Sugar when leads generated from the campaign are converted.
- Leads Created: The list of leads created in Sugar when targets generated from the campaign are converted.
- Bounced Messages, Invalid Email: The list of campaign emails that bounced back due to invalid email addresses.
- Bounced Message, Other: The list of campaign emails that failed to send six times and were removed from the queue.
- Opted Out: The list of targets who chose to opt out of receiving campaign emails by clicking the opt-out link.
- Suppressed by Email Address or Domain: The list of email addresses for those targets who opted out or had invalid email addresses.
Campaign ROI
For campaigns (Email and Newsletter) that are executed through Sugar, you can view the campaign's return on investment by clicking the View ROI button in the campaign detail view. The Return on Investment chart displays the actual revenue you earned through the campaign versus the estimated expected revenue. It also reflects the actual cost you incurred by executing the campaign versus the budget that you set for the campaign. The budget, actual cost, and expected revenue amount entered in the campaign overview screen are displayed as bars in the campaign's Return on Investment chart.