Cloud Drive
Overview
Users who store documents in Dropbox, Google Drive, or Microsoft OneDrive can access those documents in Sugar via the Cloud Drive dashlet. You can download, upload, and copy links to files from the Cloud Drive dashlet. This guide covers how to set up the necessary connectors for using the Cloud Drive dashlet and how to use the Cloud Drive dashlet.
Prerequisites
The following must be completed before using the Cloud Drive dashlet:
- A Sugar admin must complete the initial, system-wide Dropbox, Google, or Microsoft connector configuration. For detailed instructions on performing these set-ups, see the appropriate Help Article:
- Each user who wants to use the Cloud Drive dashlet must connect their account to Sugar. For detailed instructions on performing these set-ups, see the appropriate Help Article:
The Sugar administrator may also decide to configure default file paths for the Cloud Drive dashlet for users. For more information, refer to the Cloud Drive documentation in the Administration Guide.
Cloud Drive Dashlet
The Cloud Drive dashlet can be configured to display Dropbox, Google Drive, Microsoft OneDrive, or Microsoft SharePoint. Click the Add Dashlet button from the floating actions button on the dashboard and select "Cloud Drive". Choose your Cloud Provider from the dropdown menu and click "Save".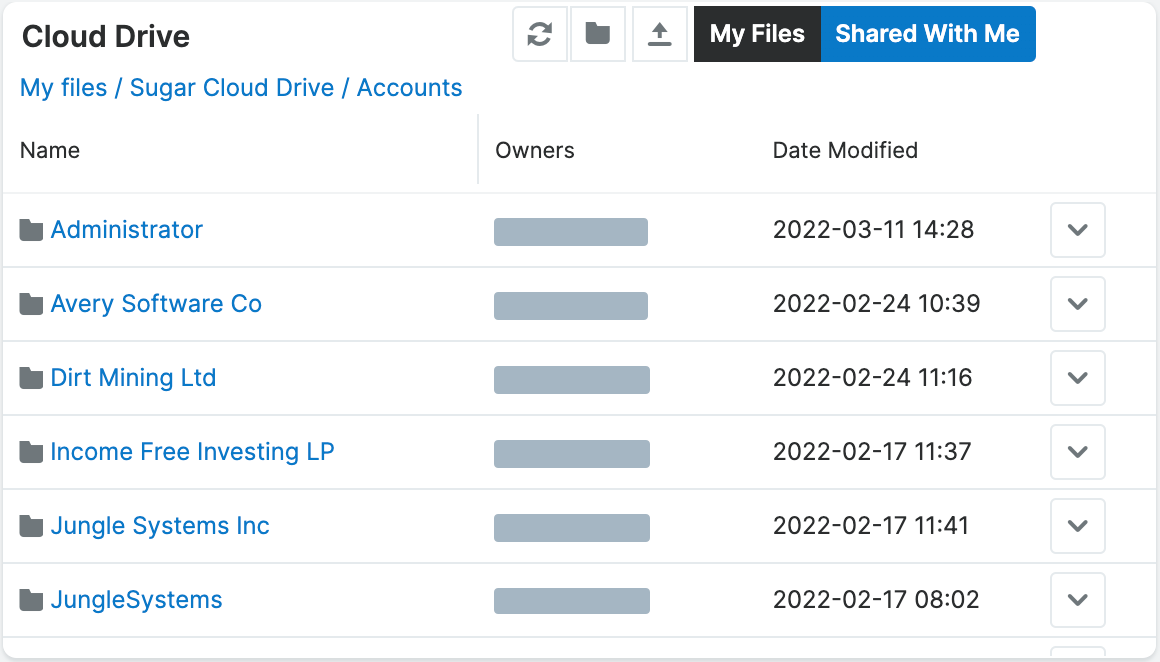
Working With the Cloud Drive Dashlet
The folder that you see by default in the Cloud Drive dashlet is determined by whether or not your admin has configured Cloud Drive paths.
Note: Microsoft SharePoint is organized into sites with document libraries that contain folders and files. In this documentation, we refer to sites, document libraries, and folders collectively as "folders" to simplify talking about SharePoint in conjunction with Dropbox, Google Drive, and OneDrive, which only use folders and files. Refer to the Microsoft documentation for more information on SharePoint structure.
Interacting with the Cloud Drive dashlet is similar to most file browsers. You can sort the contents alphabetically by clicking "Name" at the top of the name column. Note that to sort contents in SharePoint, you must be within a document library or folder. You can click on a folder name to open it and view its contents within the dashlet, and you can click on a file name to open the file in a new tab in the respective cloud drive application. The file hierarchy can be navigated by using the hyperlinked file path at the top of the dashlet.
The Gear icon on the upper right of the dashlet allows you to edit, refresh, and remove the dashlet accordingly. To collapse the dashlet, click the Up arrow to the left of the three-dots menu. To open up the dashlet, you can simply click the arrow again.
Dashlet Actions
The following are actions that can be performed at the dashlet level using the icons along the top of the dashlet:
| Action | Description |
| Refresh | Refresh the current folder in the dashlet. You can refresh the root directory by going to the gear icon in the top right of the dashlet and selecting "Refresh". |
| Add Folder | Add a new folder in the current folder. Note: For SharePoint, folders can be created only within a document library or a folder. |
| Upload | Upload a file to the current folder. Once you have chosen the file, click the up arrow to proceed with the upload. Note: For SharePoint, files can be uploaded only within a document library or a folder. |
| My Files/Shared With Me | Toggle whether the dashlet shows files that are owned by you or files that are shared with you. Since files that are shared via Sharepoint are also visible in your OneDrive, "Shared With Me" shows files that have been shared with you via OneDrive and Sharepoint. Note: This option is not available when the dashlet is configured to use SharePoint. |
| Send to DocuSign | This option is available in the three-dots menu. Select a document to send to DocuSign in an envelope. See the DocuSign and Cloud Drive section below for more details. Note: For SharePoint, this option is available only within a document library or a folder. |
| Doc Merge to Word/Excel/Powerpoint | From the three-dots menu, initiate a Doc Merge for the current record. See the Doc Merge and Cloud Drive section below for more details. Note: This option is available in the three-dots menu only on record view dashboards. For SharePoint, this option is available only within a document library or a folder. |
| Doc Merge to DocuSign | |
| Doc Merge to PDF |
Row Actions
The following are actions that can be performed in the Actions menu for a specific row (i.e., document or folder) in the dashlet:
| Action | Description |
| Send to DocuSign | A DocuSign envelope is created for the selected document and the sending process begins. You will be redirected to DocuSign in a new tab to complete the sending process. See the DocuSign and Cloud Drive section below for more details. Note: This option is only available for files. Folders, sites, and document libraries cannot be sent to DocuSign. Files must be in a compatible format: .doc, .docx, .pdf, .xls, .xlsx, .ppt, .pptx, .png, .jpg, .jpeg. |
| Download | Download the file. Note: This option is only available for files. Folders, sites, and document libraries cannot be downloaded. |
| Copy link | Copy the link to the file to your computer's clipboard. |
| Create Sugar Document | Convert the file to a Sugar document. The Sugar document record name will match the file name and the Publish Date will match the date the Sugar document was created. If this action is selected on a record view dashlet, the resulting document will be linked to the current record and added to the Documents subpanel. Note: This option is only available for files. Folders, sites, and document libraries cannot be converted to Sugar documents. You must have permission to access the Documents module in order to see this option. |
| Delete | Delete the file or folder. Click "Confirm" on the confirmation message to delete the file or folder. Note: Items deleted via the Cloud Drive dashlet are immediately deleted from Google Drive, moved to the recycle bin in Microsoft OneDrive, and moved to Deleted items in Dropbox. You cannot delete sites or document libraries from SharePoint via the dashlet. |
Sync to Cloud Drive
You can sync documents in the Documents subpanel to your cloud drive via the Actions menu on the Documents subpanel. This is a one-time sync from Sugar to your cloud drive. Refer to the Documents documentation for more information.
Doc Merge and Cloud Drive
Doc Merge options are available in the Cloud Drive dashlet's three-dots menu only on record view dashboards. There are three options depending on the type of document you want to generate or if your document should be sent to DocuSign: Doc Merge to Word/Excel/Powerpoint (i.e., a traditional Doc Merge), Doc Merge to PDF, and Doc Merge to DocuSign.
"Doc Merge to Word/Excel/Powerpoint" and the "Doc Merge to PDF" behave the same as the Doc Merge and Doc Merge to PDF options in the record view Actions menu, respectively. The Doc Merge will use the current record for the Doc Merge and then the merged document will be added to the Documents subpanel and uploaded to the file shown in the Cloud Drive dashlet when the merge was initiated.
The Doc Merge to DocuSign option has the added functionality that the merged document will be sent directly to DocuSign. Once the Doc Merge is complete, the merged document is added to the Documents subpanel, then the DocuSign envelope is created and the sending process begins. You will be redirected to DocuSign in a new tab to complete the sending process. Once the document is signed and completed, the document is appended with "- Completed", added to the Documents subpanel, and uploaded to the folder shown in the Cloud Drive dashlet when the process was initiated.
Note: You must fulfill the Doc Merge prerequisites and the DocuSign integration prerequisites in order to use Doc Merge and DocuSign from the Cloud Drive dashlet.
DocuSign and Cloud Drive
Sending a document to DocuSign from the Cloud Drive dashlet can occur from either the dashlet level (using the option in the three-dots menu) or from the row level (using the option in the row Actions menu). When you use the option in the three-dots menu, a Search and Select Documents drawer opens so that you can choose which Sugar document you want to use to create a DocuSign envelope. Once the document is selected, the DocuSign envelope is created and the sending process begins. If you use the option in the row Actions menu, a DocuSign envelope is created for the selected document and the sending process begins. In either case, you will be redirected to DocuSign in a new tab to complete the sending process.
If you use the Send to DocuSign option from a record view dashboard, the selected document is added to the Documents subpanel before being signed. Once the document is signed and completed, the document is appended with "- Completed", added to the Documents subpanel, and uploaded to the folder that was shown in the Cloud Drive dashlet when the process was initiated. The Parent field in the DocuSign Envelopes module is filled with the name of the record displayed when the action was initiated.
If you use the Send to DocuSign option from a home, list view, or focus drawer dashboard, once the document is signed and completed, the document is appended with "- Completed' and uploaded to the folder shown in the Cloud Drive dashlet when the process was initiated. If the action is initiated from a home dashboard, the Parent field in the DocuSign Envelopes module is filled with the name of the dashboard. If the action is initiated from a list view or focus drawer dashboard, the Parent field is empty.
Note: You must fulfill the DocuSign integration prerequisites in order to use DocuSign from the Cloud Drive dashlet.