Amazon Connect Settings
Overview
Amazon Connect is an Amazon Web Services (AWS) tool that receives incoming calls and chats and routes them to your own customer service or sales automation system (e.g., SugarLive). It also facilitates the customer side of chat sessions (e.g., chat sessions initiated in Sugar Portal ). Both the agent and the customer communicate using Amazon's Contact Control Panel (CCP) embedded in Sugar.
Once you have set up your Amazon services so that you can use them with SugarLive and Sugar Portal Chat, there are a few settings within Sugar to complete before you can start using these features. These settings are found under the Amazon Web Services section of the Admin page from within Sugar, split between two tabs on the Amazon Connect Settings page.
The General tab includes basic settings to connect Sugar to your Amazon Connect instance and set your identity management system. The Sugar Portal Chat tab includes additional settings to enable a chat window in the portal so your customers can chat with a chatbot or your customer service representatives. In this tab, there are also settings to customize the chat window to match your organization's branding. See the below sections for details on the settings found in each tab.
General Tab
In order for SugarLive and Sugar Portal Chat to communicate with your Amazon Connect instance, you must complete the following configuration fields: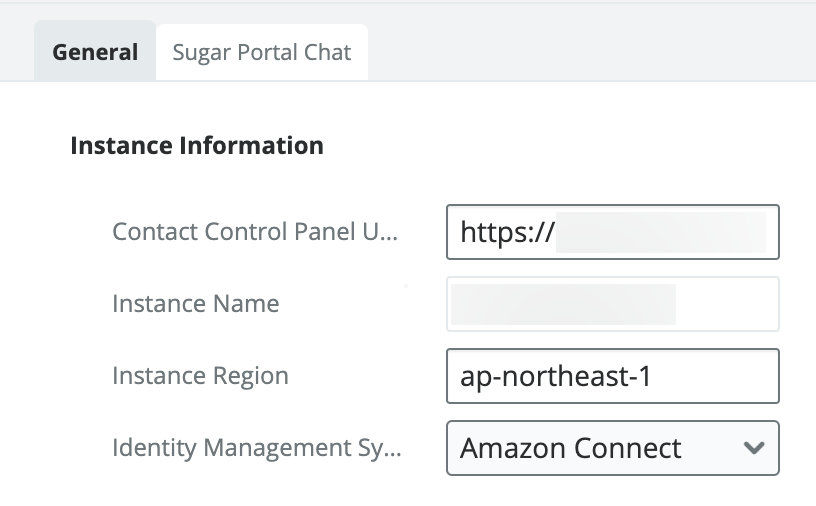
- Contact Control Panel URL: Enter the complete URL used to access your Contact Control Panel (CCP), for example "https://example.my.connect.aws/ccp-v2". See the Launch the CCP article on Amazon's website to determine what the URL to your CCP is.
- Instance Name: Enter the name of your Amazon Connect instance. The instance name is the first portion of your Amazon Connect URL. For example, in the URL "https://example.awsapps.com/connect/ccp-v2", the instance name is "example".
- Instance Region: Enter the region code of your Amazon Connect instance (e.g., "us-west-2"), which can be found in the top right corner of the Amazon Connect console. Click on the name of the region to open the Region menu, where you can see the code that corresponds to that region.
- Identity Management System: Enter the identity management system you wish to use. Options include Amazon Connect and SAML 2.0. If you choose Amazon Connect, users will log in to SugarLive using their Amazon Connect credentials. If you choose SAML 2.0, you must set up an identity provider (e.g., OneLogin), configure SAML in your Sugar instance, and use an Amazon Connect instance that uses SAML 2.0-based authentication. Note that an existing Amazon Connect instance that does not use SAML cannot be updated to start using SAML. You must create a new instance that uses SAML 2.0-based authentication. See the Plan your identity management in Amazon Connect article on Amazon's website for more details on identity management options in Amazon Connect.
- Note: SAML 2.0 in SugarLive can only automatically log users in if SAML is configured in Sugar and users log in to Sugar using single sign-on (SSO). If SAML is not configured in the instance or users choose not to use it, they will have to manually log in to SugarLive using their SSO credentials.
- Endpoint URL: Enter the SAML endpoint to which users must connect to authenticate with your single sign-on identity provider using SAML. This field is only displayed if "SAML 2.0" is selected as the identity management system.
To disable Amazon Connect in your Sugar instance, simply set the Contact Control Panel URL, Instance Name, and Instance Region fields to blank and save the page. This removes the SugarLive button from Sugar's navigation bar when you save the Amazon Connect Settings page. It also prevents the portal chat from working but does not remove the chat window from the portal; to remove it from the view, you must disable the Enable Amazon Connect Chat checkbox in the Sugar Portal Chat tab.
When you enable SugarLive by saving a value in the Contact Control Panel URL, Sugar automatically updates the Content Security Policy (CSP) Settings so that the domains required by SugarLive are included in the database. These values are not shown in the user interface and no extra action is required by an admin. If you disable SugarLive by removing the value in the Contact Control Panel field, the domains are automatically removed from the CSP settings. See the System page for more details on the CSP.
If you are configuring Amazon Connect for use with SugarLive, refer to the SugarLive page in the Application Guide for details on how your customer service or sales representatives can start using it. If you are also configuring Amazon Connect to use Sugar Portal Chat, refer to the Sugar Portal Chat documentation in the Portal User Guide for details on how your customers can start using it.
Sugar Portal Chat Tab
To allow your customers to chat with your agents or a chatbot from the portal, you must complete the fields in the Settings section of the Sugar Portal Chat tab in addition to the fields in the General tab described above. To customize the appearance of the chat window to match your organization's branding, update the remaining settings on this tab; these settings have minimal default values that can be used if you wish to leave them as is.
Settings
The following fields are required for Sugar Portal Chat to work in the portal:
- Enable Amazon Connect Chat: Turn this setting on to enable chat in the portal. Once enabled, the below three fields appear and are required to finish configuring Sugar Portal Chat.
- API Gateway: Enter the API Gateway endpoint URL used to start a chat session; in Amazon API Gateway, this is the Invoke URL. This field is only displayed if Enable Amazon Connect Chat is enabled.
- Contact Flow ID: Enter the ID of the contact flow you wish to use in the portal chat. If a contact flow's ARN is "arn:aws:connect:us-west-2:123456789012:instance/1111/contact-flow/2222", the contact flow ID is "2222". This field is only displayed if Enable Amazon Connect Chat is enabled.
- Amazon Connect Instance ID: Enter the ID of your Amazon Connect instance for use in the portal chat. If your instance ARN is "arn:aws:connect:us-west-2:123456789012:instance/1111", the instance ID is "1111". This field is only displayed if Enable Amazon Connect Chat is enabled.
Header
Use the following fields to customize the appearance of the header in the portal chat window: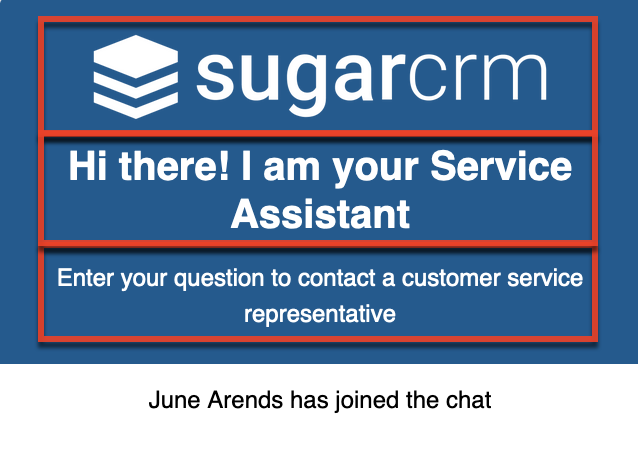
- Image URL: Enter the URL of the image you wish to display at the top of the chat window.
- For reference, the SugarCRM logo that is displayed by default has dimensions of 790 x 147 px, but the image you provide will be scaled down if necessary to fit in the chat window.
- When you enter a URL, a preview of the image is displayed directly below the field; if you do not see a preview, the image cannot be found using the URL and will not appear in the portal.
- It is recommended to log in to the portal to verify that the image is displayed as you would like and to resize the image if it is not.
- If you do not enter a URL, the SugarCRM logo is displayed by default.
- Title: Enter the title text you want to be displayed at the top of the chat window. The default title, as shown in the example image, is "Hi there! I am your Service Assistant".
- Title Color: Choose the color of the header's title text by entering the hex color code or clicking in the text field to open the color picker.
- Subtitle: Enter the text you want to be displayed below the title at the top of the chat window. Its font is slightly smaller than that of the title.
- Subtitle Color: Choose the color of the subtitle text by entering the hex color code or clicking in the text field to open the color picker.
- Background Color: Choose a background color for the header at the top of the chat window by entering the hex color code or clicking in the text field to open the color picker.
Footer
Use the following fields to customize the appearance of the footer in the portal chat window: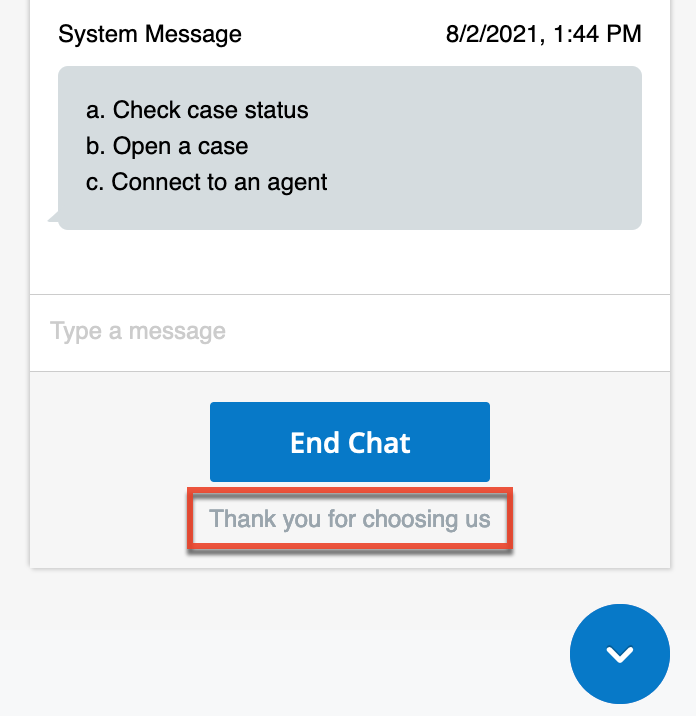
- Title: Enter the text you want to be displayed at the bottom of the chat window.
- Title Color: Choose the color of the footer's title text by entering the hex color code or clicking in the text field to open the color picker.
End Chat Button
Use the following fields to customize the appearance of the End Chat button in the portal chat window: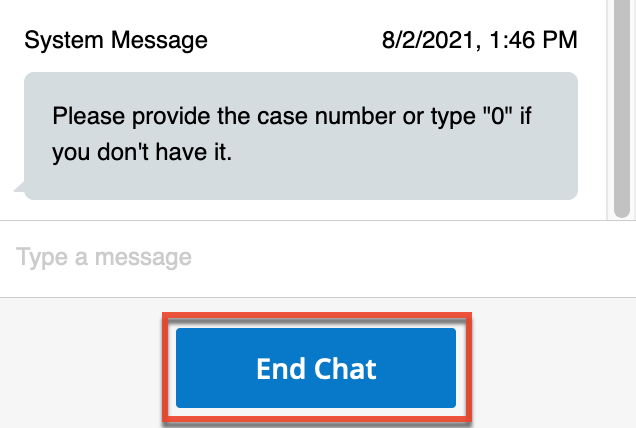
- Text Color: Choose the color of the text in the End Chat button by entering the hex color code or clicking in the text field to open the color picker.
- Size: Specify the height and width of the End Chat button in pixels.
- Button Fill: Choose the color of the background in the End Chat button by entering the hex color code or clicking in the text field to open the color picker.
Messages
Use the following fields to customize the appearance of the chat messages in the portal chat window: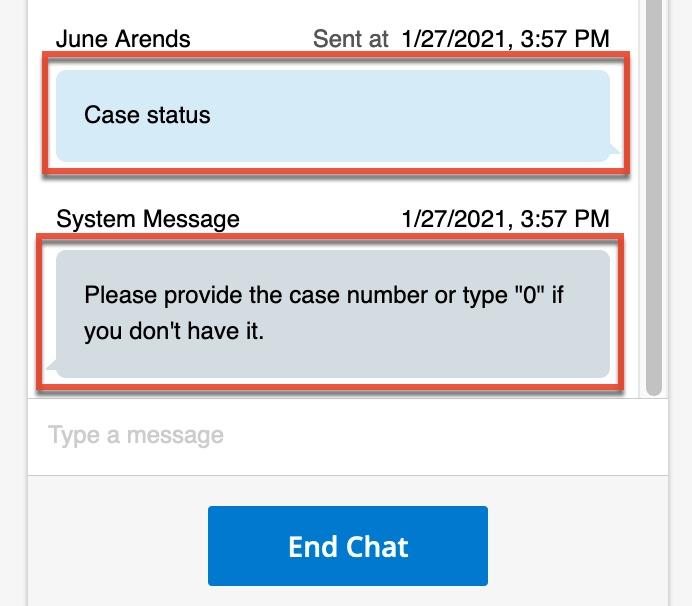
- Text Color: Choose the color of the text in all messages sent and received in the chat window by entering the hex color code or clicking in the text field to open the color picker.
- Customer Chat Bubble Color: Choose the color of the background in the customer's chat bubbles by entering the hex color code or clicking in the text field to open the color picker.
- Agent Chat Bubble Color: Choose the color of the background in the agent's chat bubbles by entering the hex color code or clicking in the text field to open the color picker.