Sugar Maps
Overview
With Sugar Maps, our integration with Microsoft Bing Maps, users can quickly see which records are in close proximity to each other, plot records on a content-rich map, and generate driving directions between records. This guide walks through the steps to configure Sugar Maps. For information on using Sugar Maps once it has been installed, please refer to the Sugar Maps User Guide.
Note: If you have Sugar Sell Premier, Sugar Maps powers the geo-mapping capability. Sugar Maps is automatically enabled and you do not need a separate license key for Sugar Maps.
Prerequisites
- Sugar Maps is included with Sugar Sell Premier and Enterprise+, and it enables the geo mapping capability. Sugar Maps can also be purchased as an add-on for Sugar Serve. Please contact your Sugar partner or representative to learn more.
- If you purchased Sell Premier, users who are assigned the Sell Premier license type are granted access to geo mapping.
- If you purchased Enterprise+, you must assign the Enterprise and Sugar Maps license types to the users so that they have access to geo mapping.
- If you purchased Sugar Maps as an add-on for Sugar Serve, you must assign the Sugar Maps license type and the Sugar Serve license type to users who should have access.
- You must be a System Administrator to complete the configuration on this page.
Configuring Sugar Maps
Once Sugar Maps is enabled in your instance a System Administrator will need to perform a series of configuration steps to control the behavior and visibility of Sugar Maps. These steps can include creating schedulers, enabling and configuring modules, configuring the subpanel, setting measurement units, and disabling Sugar Maps.
Sugar Maps Schedulers
The Records Geocoder and Geocoder Resolver schedulers trigger the Sugar Maps geocoding process. Geocoding generates the latitude and longitude of a record's address, which then allows Sugar Maps to map a record. The Records Geocoder sends the records to the geocoding server in batches of 1000, and the Geocode Resolver polls the server for the geocoded results and imports the information into Sugar. Sugar Maps schedulers are created and enabled automatically in Sugar Sell Premier instances that did not have Sugar Maps enabled prior to upgrading. If you have purchased Sugar Maps as an add-on you will need to create the schedulers manually.
Note: The Records Geocoder scheduler's "Job Name" may vary based on how and when the scheduler was created. Please refer to the Understanding Sugar Maps Scheduler's Job Names help article for more information.
Creating Sugar Maps Schedulers
If you have purchased Sugar Maps as an add-on you will need to create the needed schedulers manually.
Note: The Sugar Maps schedulers must be created by a System Administrator that is assigned a Sugar Maps license.
Use the following steps to create the Records Geocoder and Geocoder Resolver schedulers:
- Navigate to Admin > Scheduler.
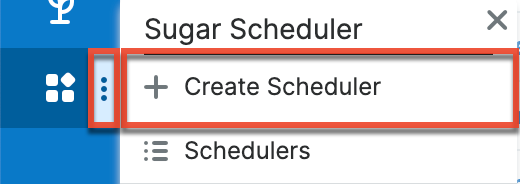
- Click the three-dots menu in the Sugar Scheduler module tab and select "Create Scheduler".
- Set the Job Name field to "Records Geocoder".
- Set the Job field to "Geocoder Maps".
- We recommend setting the Sugar Maps schedulers to run 30 minutes apart from one another, with the Records Geocoder scheduler running first. To achieve this, check the Advanced Options checkbox field to reveal the additional interval settings. Then set the interval to 0 min for the Records Geocoder scheduler. Under Advanced Options, set the Date and Time Start to a future date and time starting at the top of an hour.
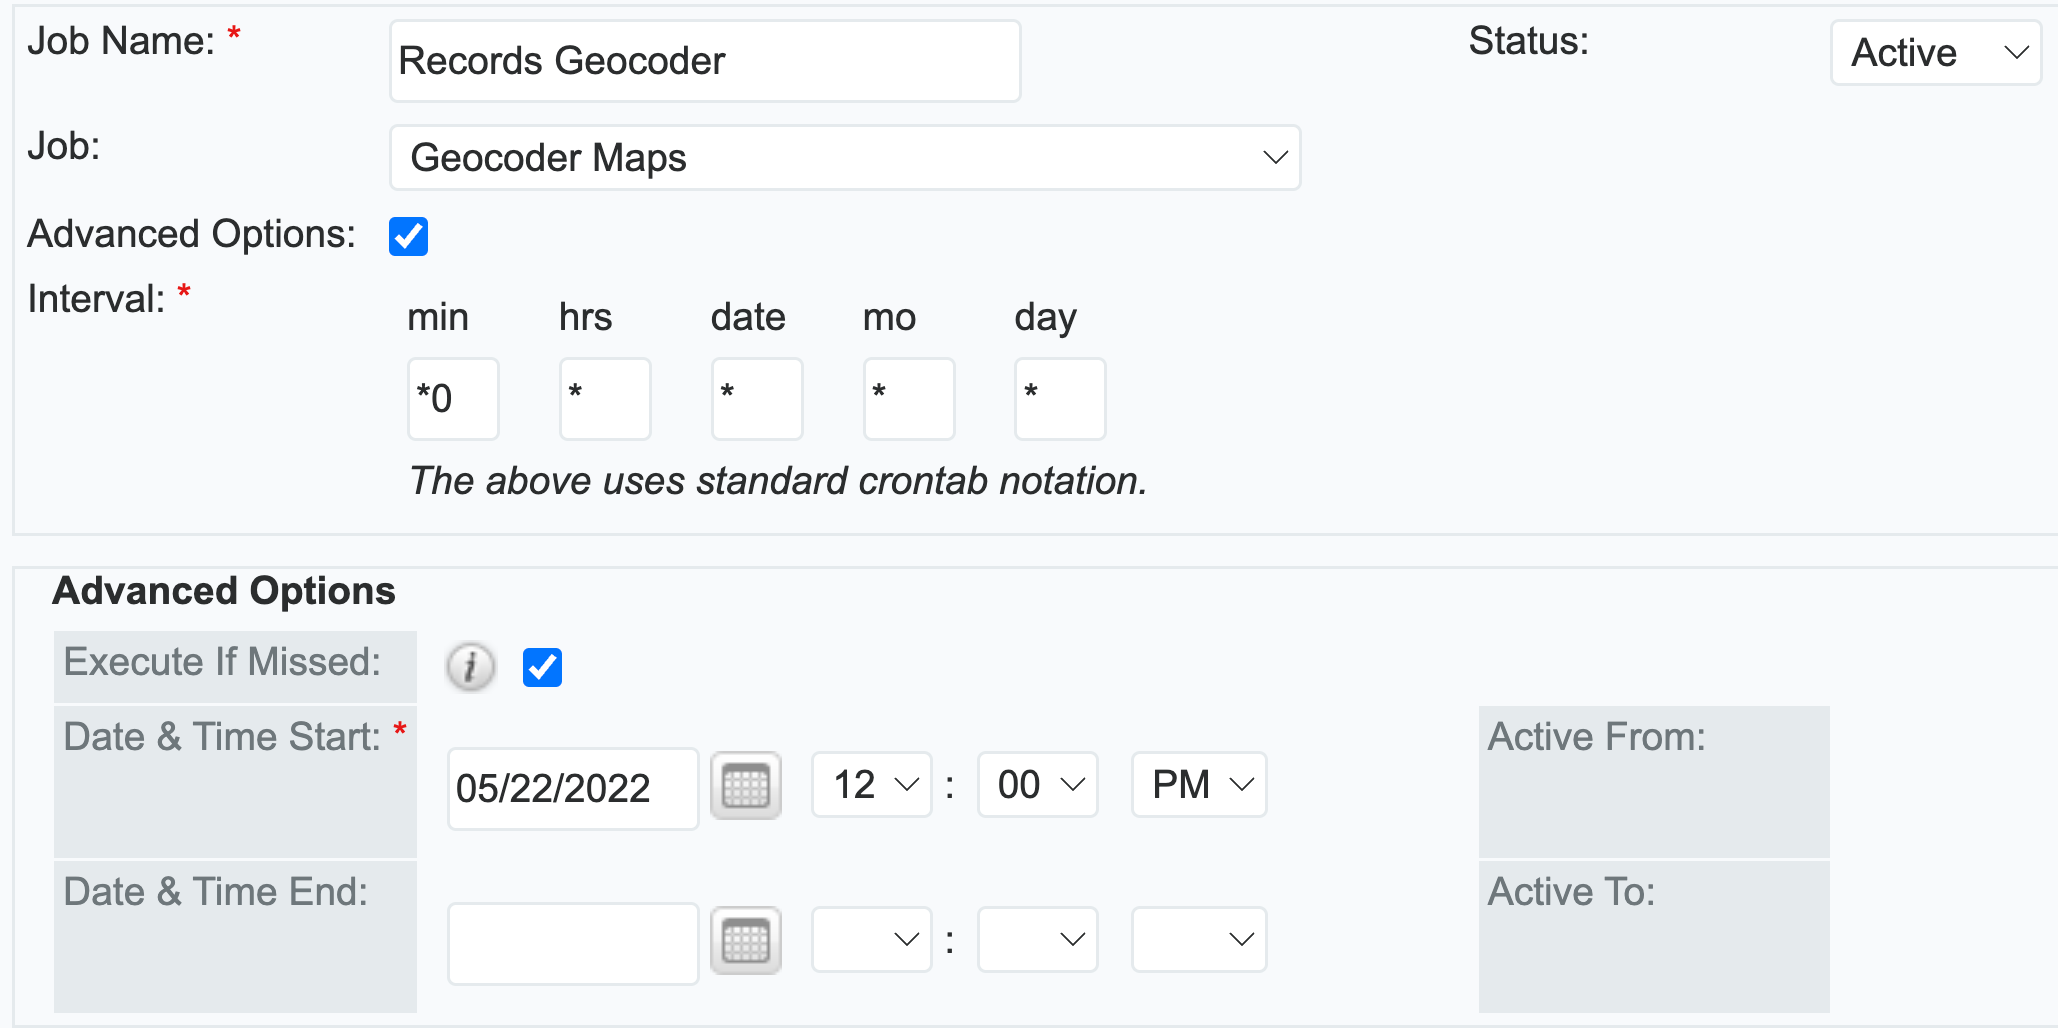
- Click the Save button to create the scheduler.
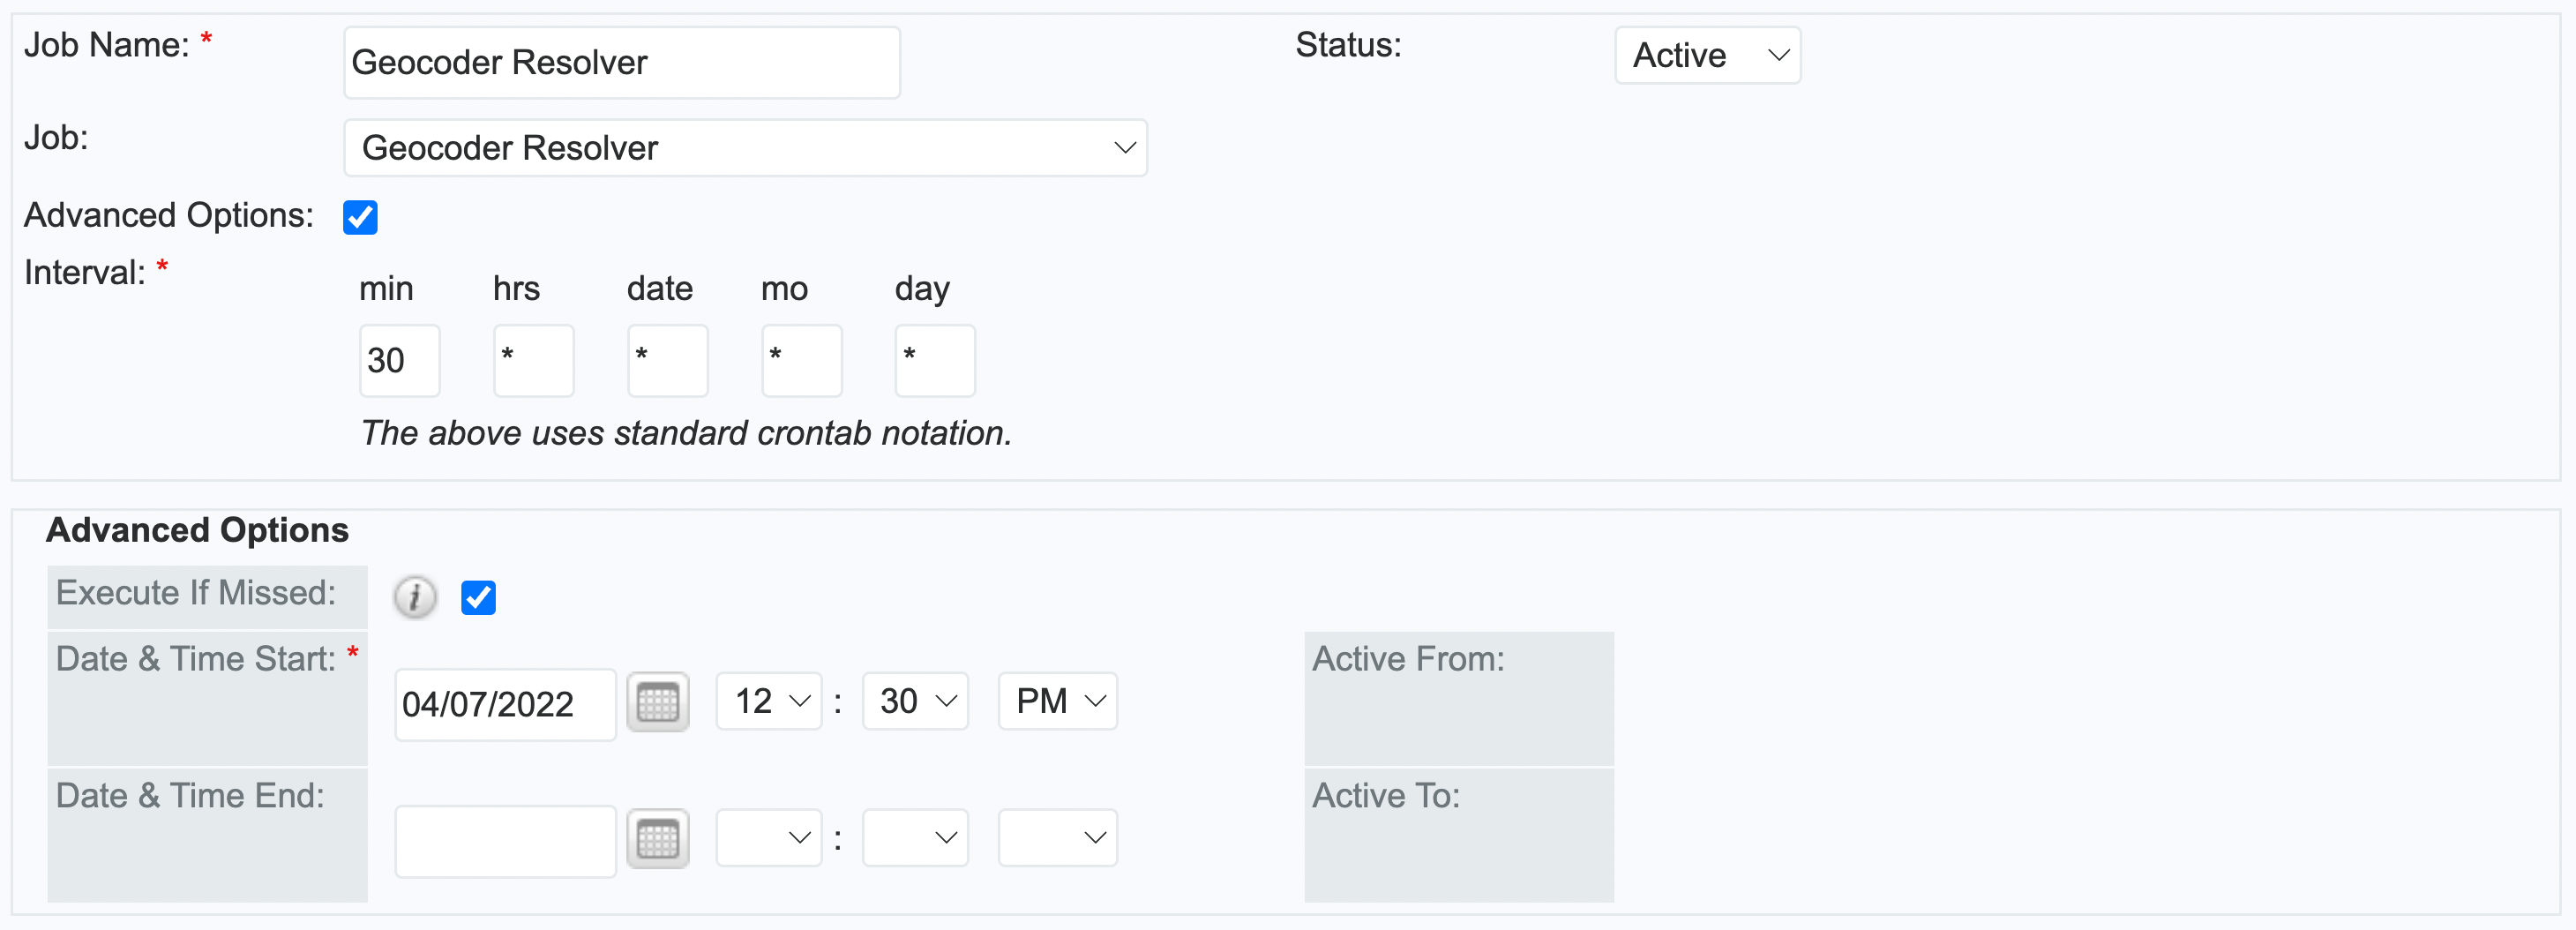
- Repeat steps 1-6 to create the Geocoder Resolver scheduler, setting the scheduler job to "Geocoder Resolver". The Geocoder Resolver scheduler "Interval" should be set at 30 min intervals, with the Date and Time Start set a half-hour after the Records Geocoder scheduler start date and time.
Refer to the Schedulers documentation for complete steps on creating schedulers.
Enabling and Configuring Modules for Sugar Maps
Sugar Maps can be enabled for a range of stock modules as well as custom modules. To enable a module, you will need to add the module in your Maps Configuration settings and map the module's fields or a related module's fields for geocoding.
Use the following steps to enable a module for Sugar Maps:
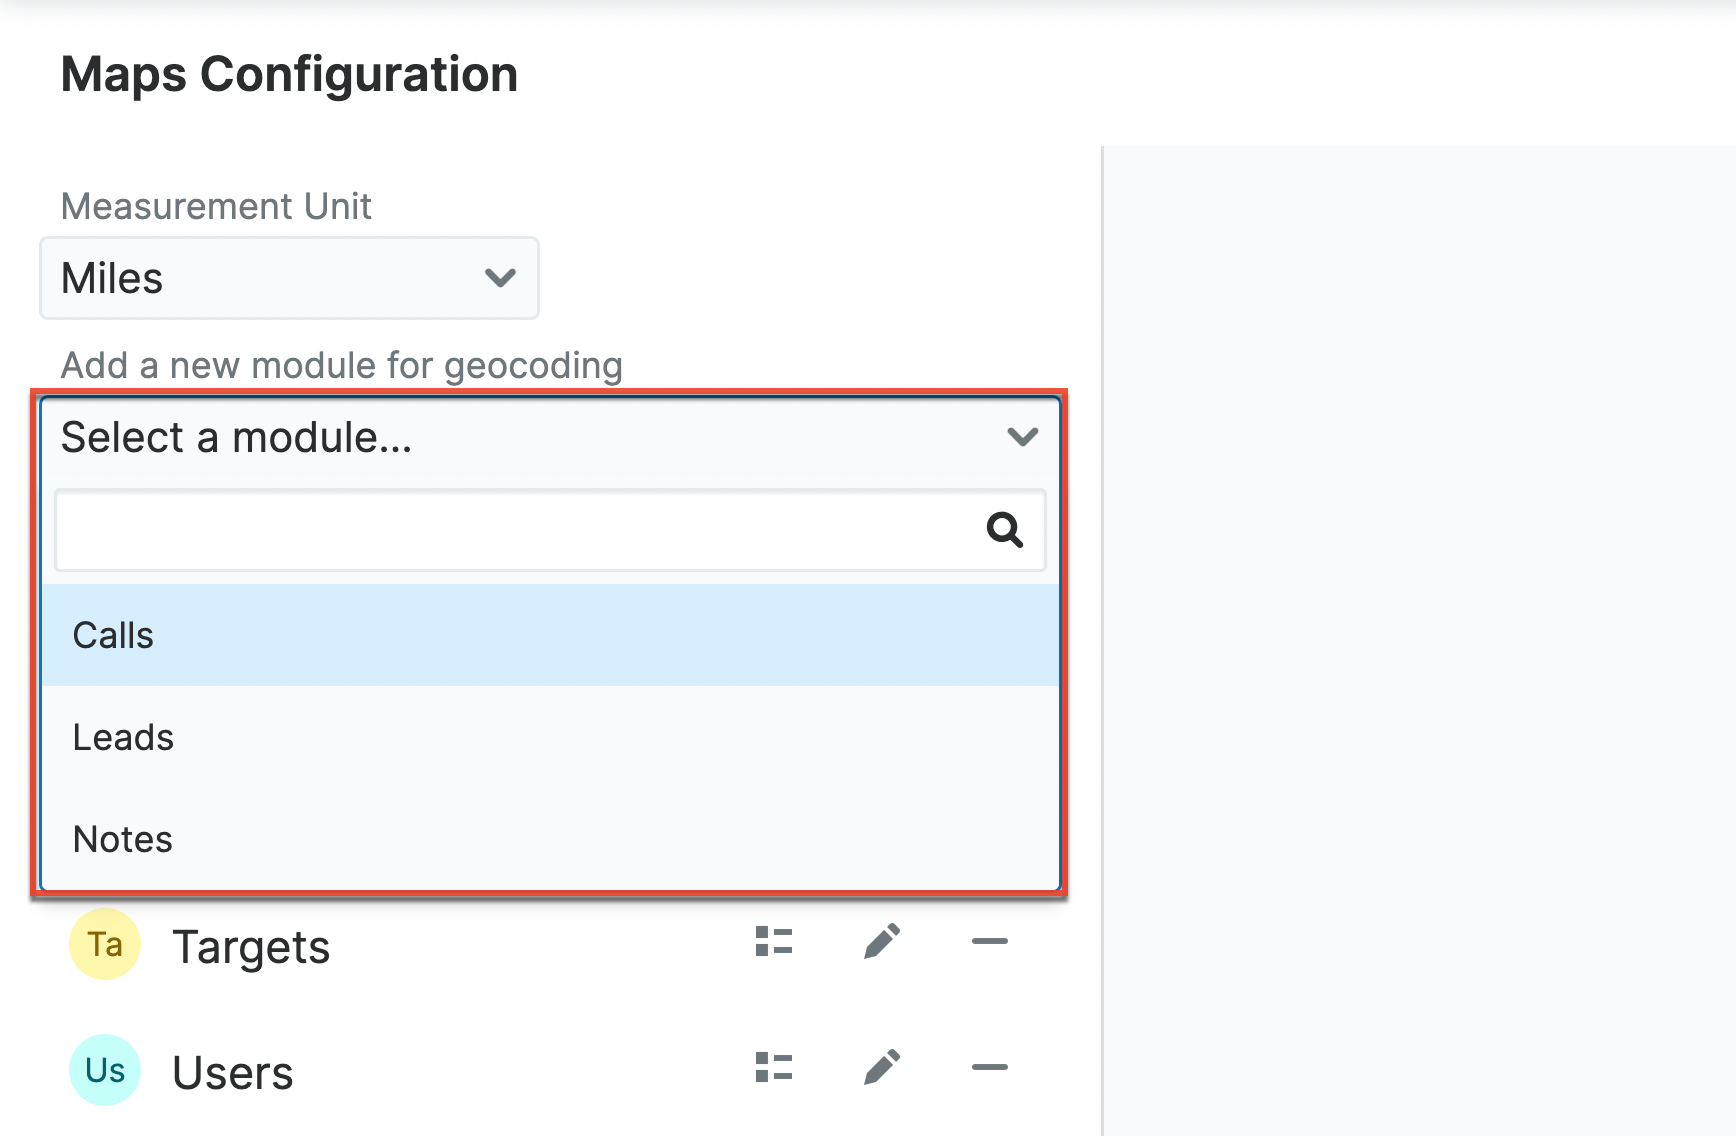
- Navigate to Admin > Maps.
- From the Maps Configuration page, select the module you want to add from the Add a new module for geocoding dropdown.
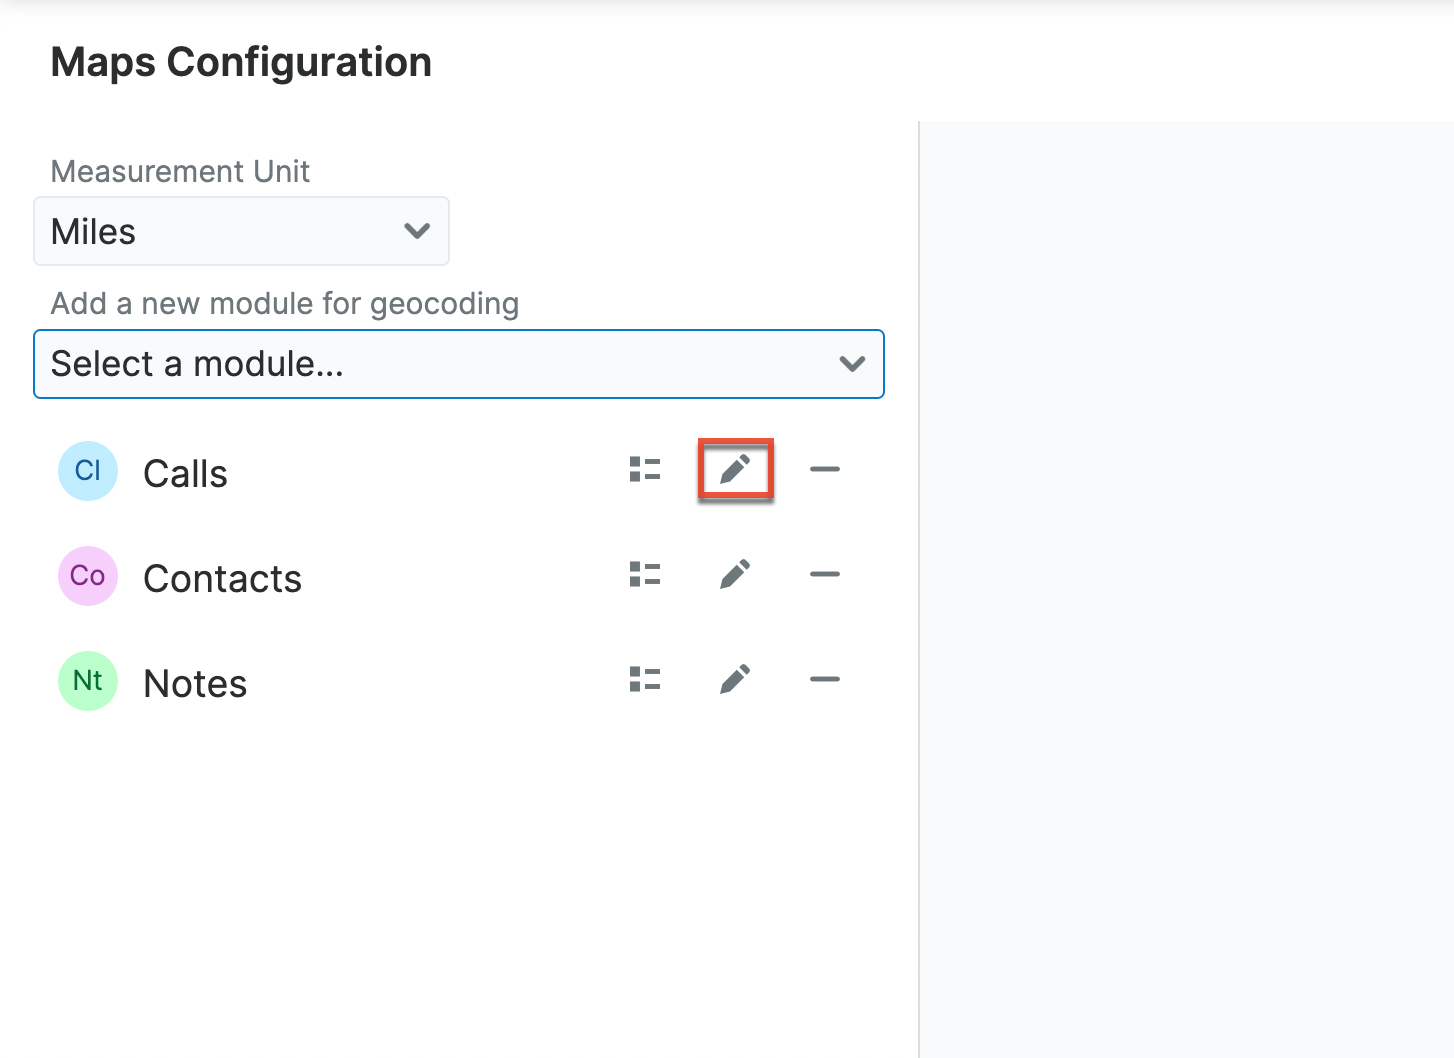
- Click the pencil icon to access the module's mapping settings for geocoding.
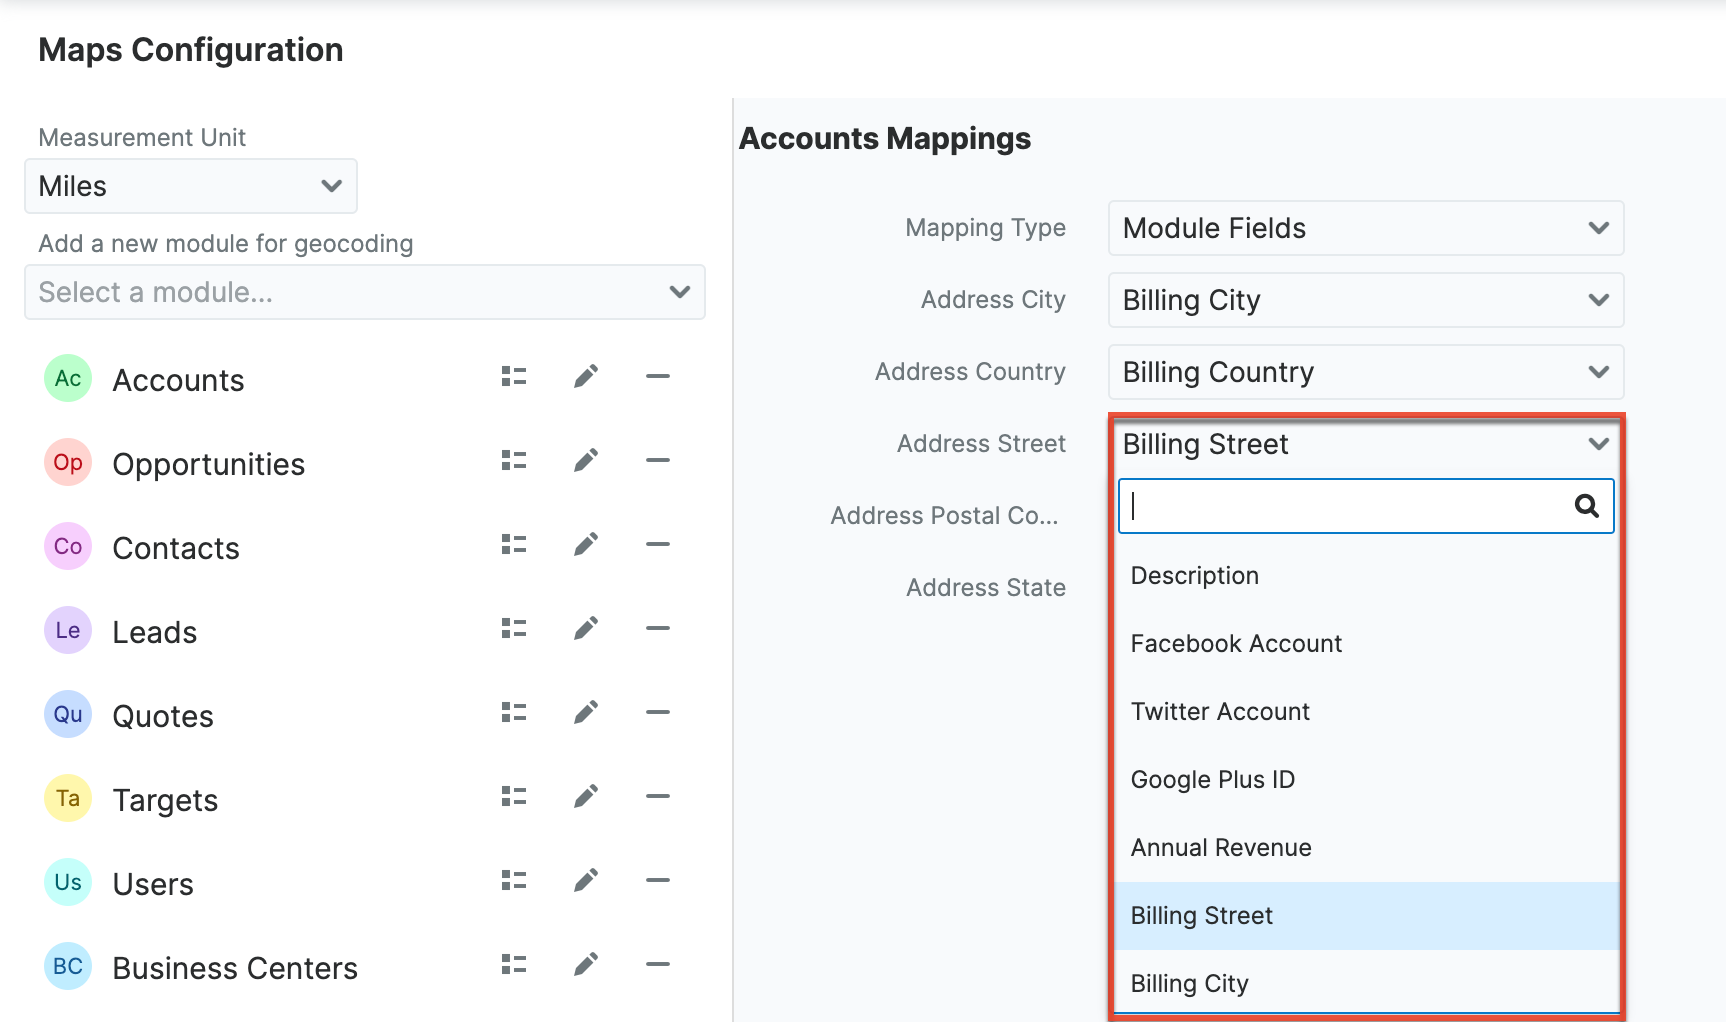
- From the mappings page, use the Mapping Type dropdown to select if you would like to configure your field mappings to the selected module's fields or to a related record's fields.
Note: When mapping to a related record only related records with an address field will be available. - When mapping to the selected module's fields, use the dropdowns to map each address field to the module field that matches the address value you want to use for geocoding.
- Click the Save button.
Configuring the Maps Subpanel
Once a module is enabled for Sugar Maps, the Maps subpanel is automatically added to the module's record view. From your Maps Configuration settings, you can edit the columns displayed when viewing records from a specific module type within the Maps subpanel.
Use the following steps to configure the columns shown in a Maps subpanel:
- Navigate to Admin > Maps.
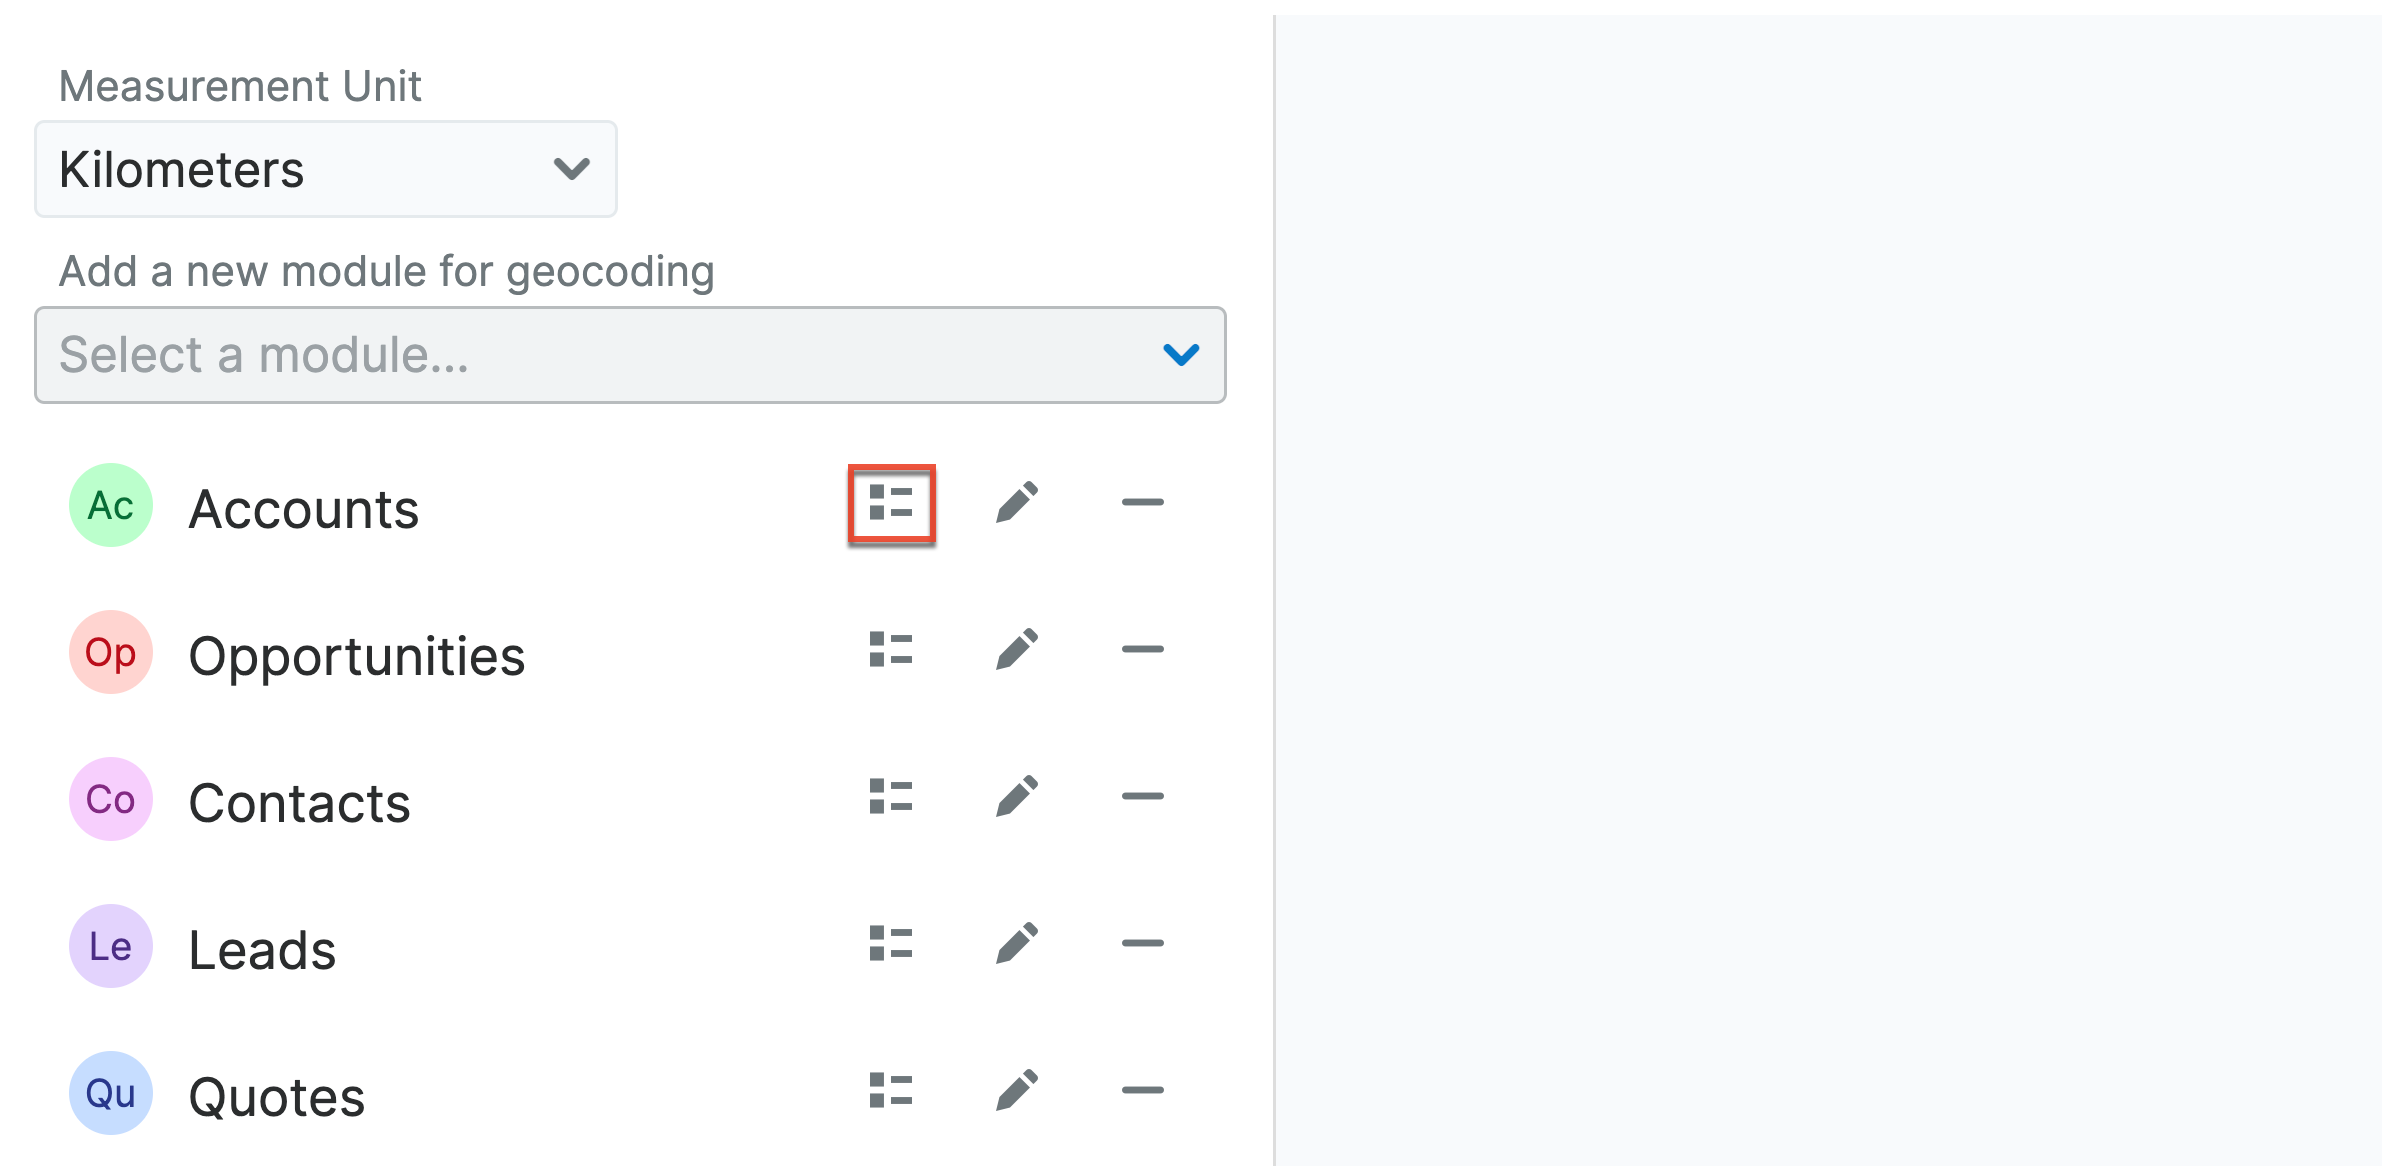
- Click the subpanel icon for an enabled module.
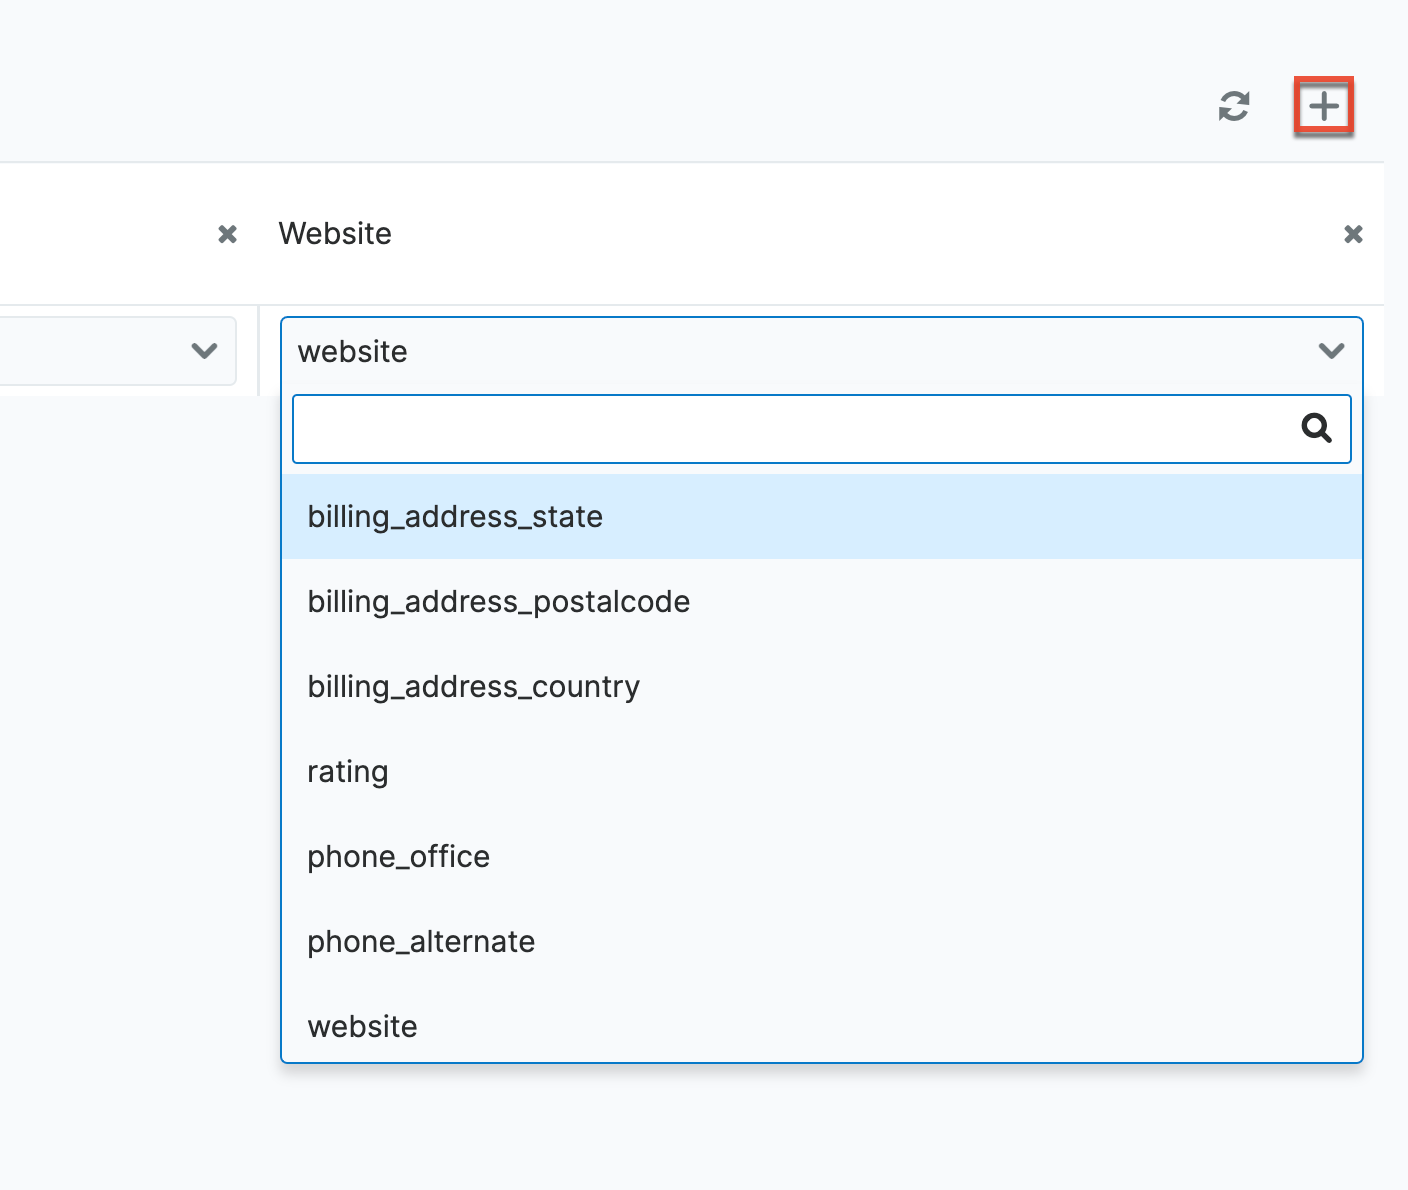
- Click the plus icon to add a column.
- Use the dropdown to select the column field.
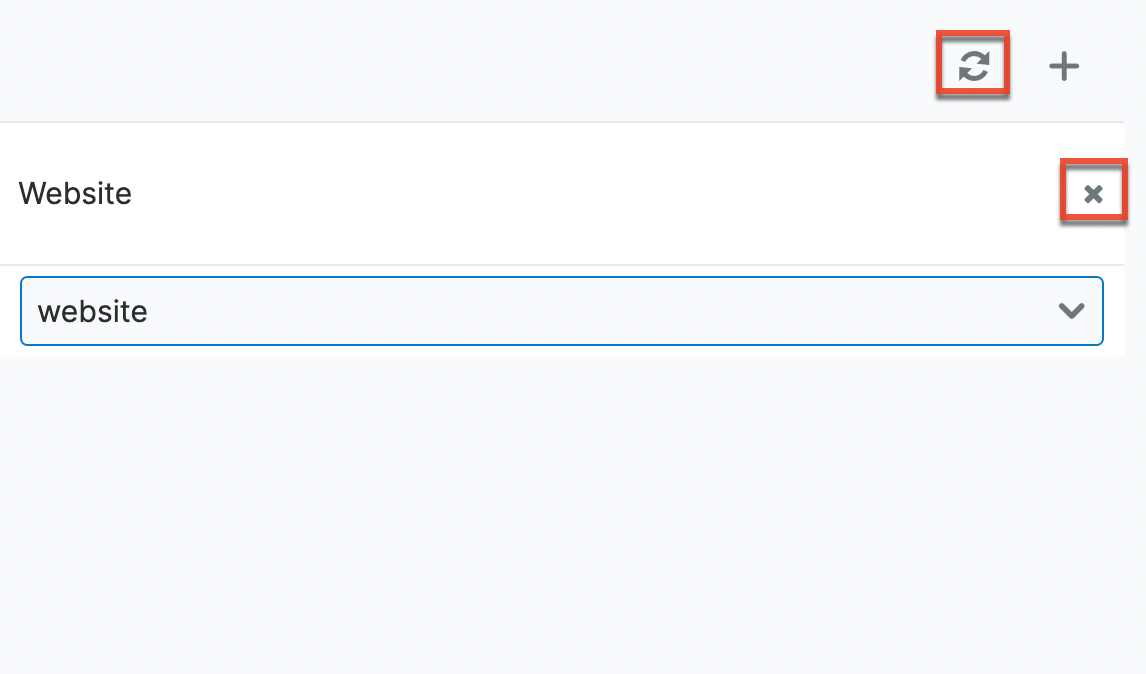
- To remove columns, click the x icon. If you need to reset the subpanel configuration to the default settings click the refresh icon.
- Click the Save button.
Setting the Measurement Unit for Driving Directions
You can choose to display driving direction distances in kilometers or miles.
Use the following steps to set the default measurement unit used for driving directions:
- Navigate to Admin > Maps > Maps.
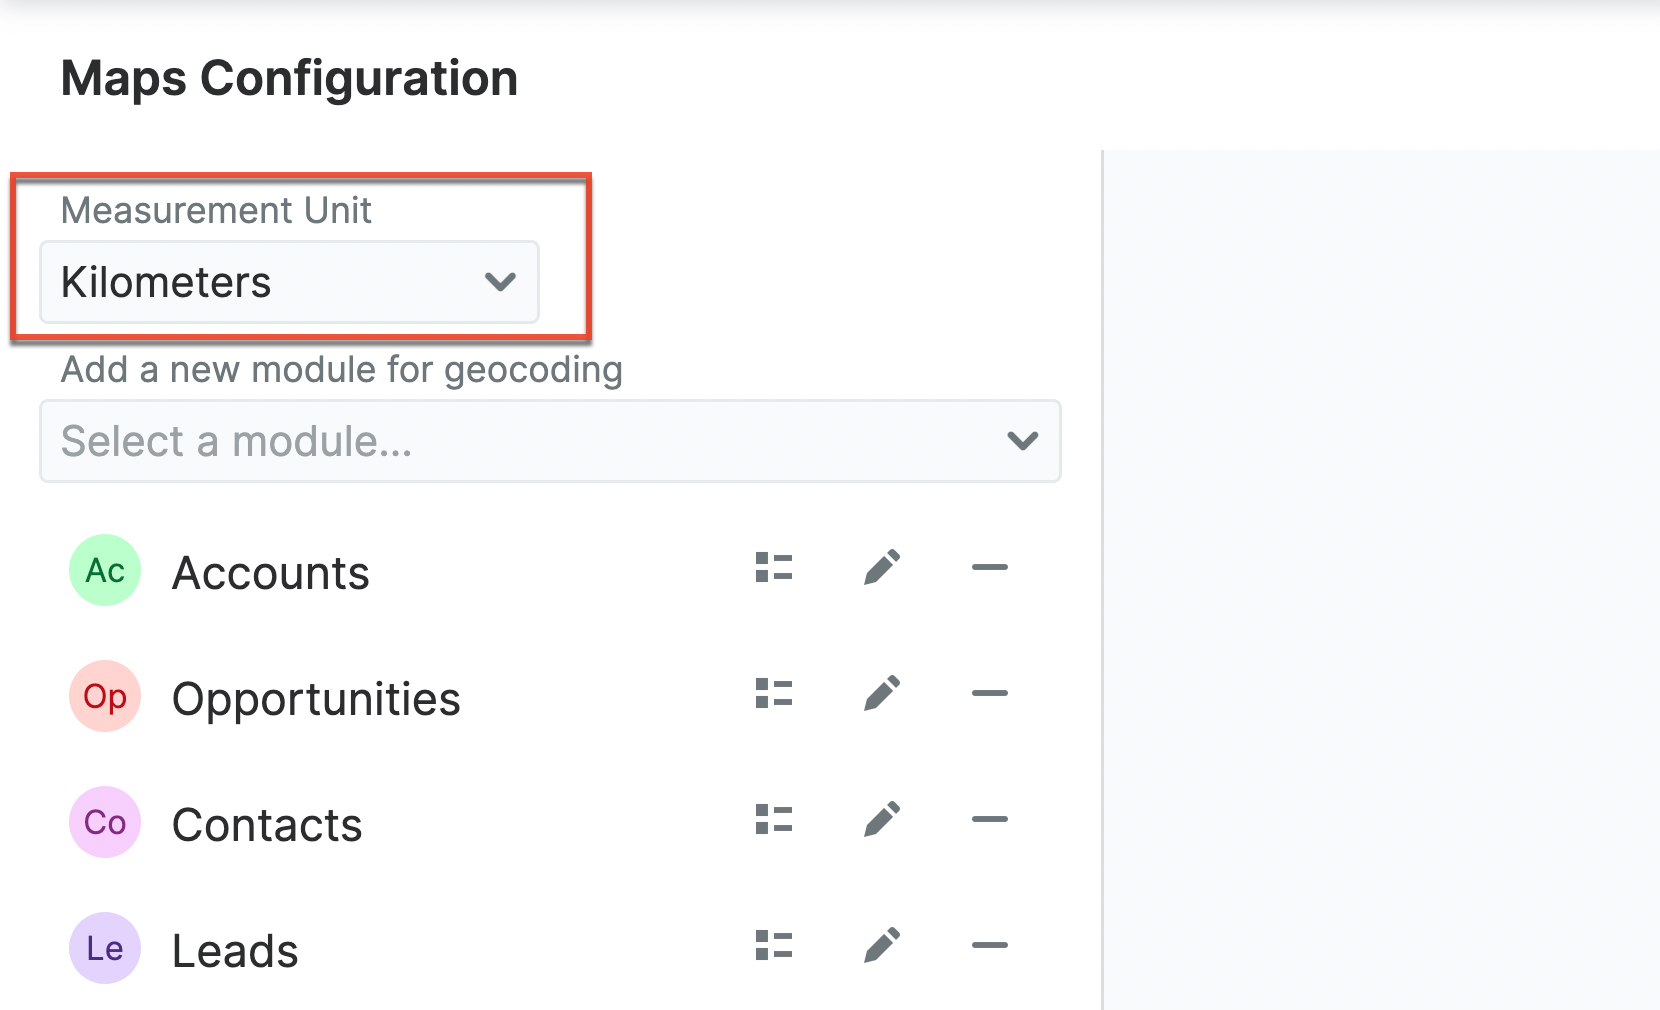
- Select the default measurement unit from the Measurement Unit dropdown field.
- Click the Save button.
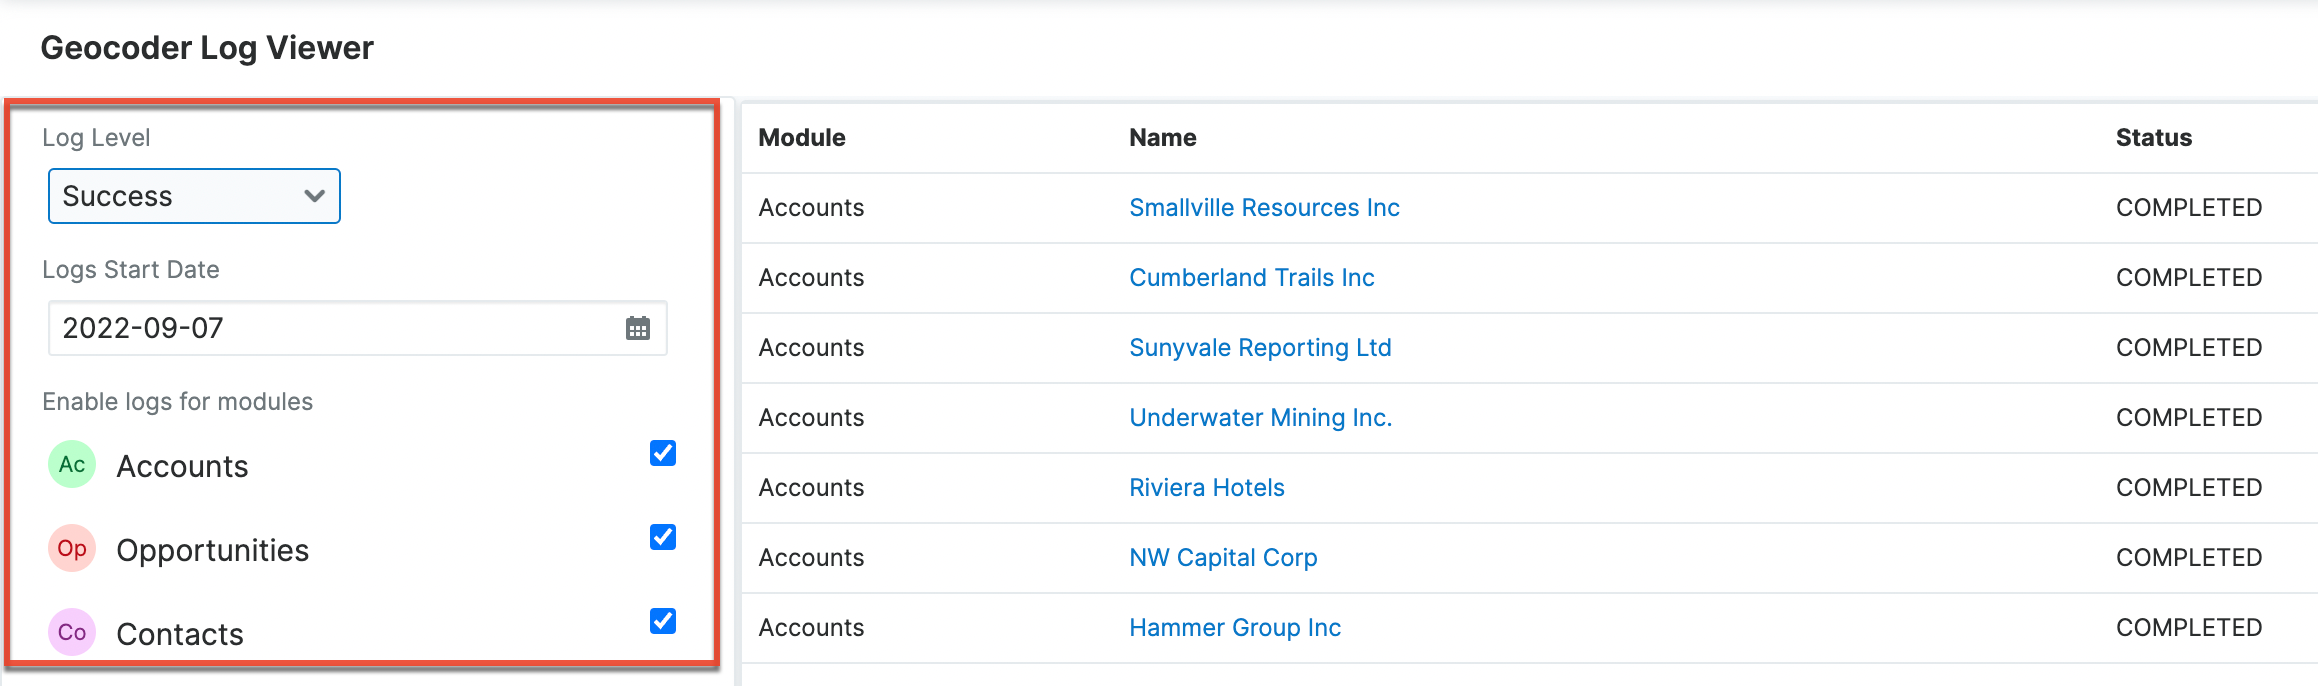
Geocoder Log Viewer
System Administrators can access the Geocoder Log Viewer to review all geocoding activity. This view provides a quick and comprehensive way to troubleshoot geocoding for your enabled modules.
Use the following steps to access the Geocoder Log Viewer:
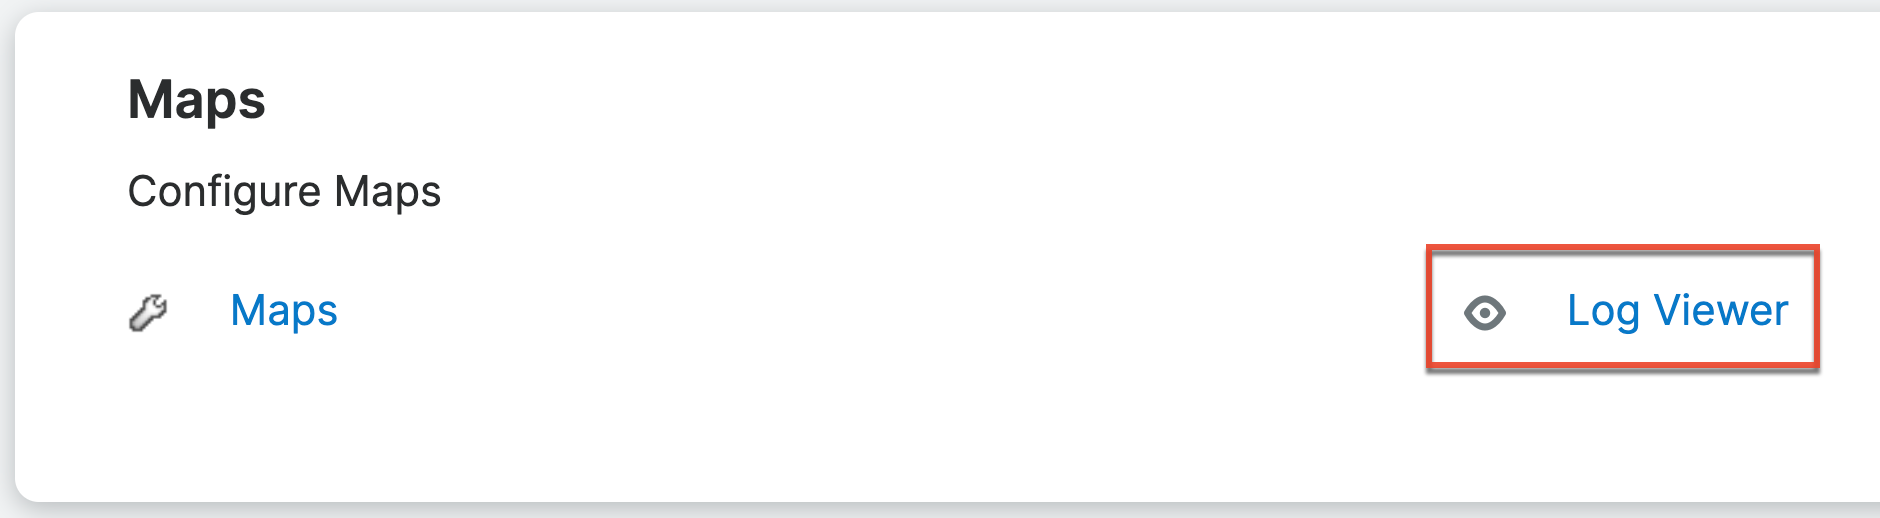
- Navigate to Admin > Maps > Log Viewer.
- Adjust the available fields to filter your results by the geocode activity status, date and module.