Studio
Overview
Studio enables administrators to modify Sugar's fields, page layouts, and more to fit your organization's needs and terminology. Only users with administrator or developer access can make changes via Admin > Studio.
Scope
This documentation covers how to use Studio, including the various actions and options available within Studio. The Studio documentation contains the following pages:
- Studio (current page)
- Fields
- Action Buttons
- Relationships
- Layouts
- Mobile Layouts
- Subpanels
- Sugar Logic
Additionally, the User Interface page in the Application Guide contains documentation for the user-facing elements that are configured in Studio, and the Knowledge Base contains several business use-case tutorials and best practices to employ when using Studio.
Navigation
Studio's navigation is different than other modules within Sugar. Studio is divided into three main sections: the main panel, the Modules panel, and a footer.
Main Panel
The main panel in Studio is where you can access the modules, add fields, configure layouts, and perform other in-app customizations. It displays to the right of the Modules panel and houses the various components (e.g., fields, layouts, subpanels, etc.) of the module. As you select the different components, they will load in new tabs on the main panel. 
For example, if you select "Fields" on the main panel, the list of available fields along with the options to configure will appear under the Edit Fields tab. Additional tabs that appear as you configure the module can be closed by clicking the "X" within the tab. 
The main panel also includes a breadcrumb bar showing your current location in Studio. You can navigate to a specific section by clicking the link within the breadcrumb bar.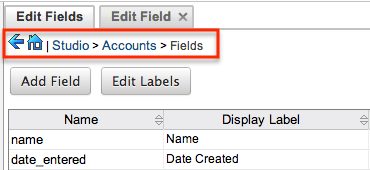
To go back to the previous page that you were viewing, click the Left arrow on the breadcrumb bar. Clicking the Home icon to the right of the arrow will navigate you back to the Developer Tools home page.
Modules Panel
The Modules panel is located to the left of the page and displays a list of existing stock and custom modules that are editable through Studio. Please note that all modules (e.g., Campaigns, etc.) using the Legacy user interface will display an asterisk (*) to the right of the module's name in Studio. The associated fields, labels, layouts, subpanels, etc. are grouped within each module. Click the plus sign (+) preceding the module name to expand the module tree and display the associated items (e.g., fields, layouts, etc.). Simply select an item in the Modules panel to load the view in the main panel to the right. 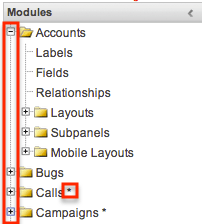
Please note that if you do not see the Modules panel, it may be collapsed. Locate the gray bar to the left of the main panel and click the Right arrow to expand the Modules panel. 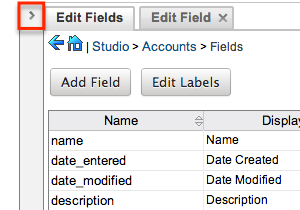
Footer
The footer is located at the bottom of Studio pages and displays buttons that enable you to navigate to the different areas (e.g., Dropdown Editor) of Developer Tools.
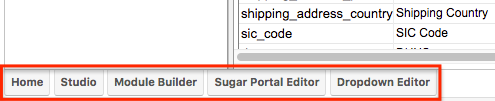
The options in the footer allow you to navigate to the following locations:
| Menu Item | Description |
| Home | Navigates to the home page of the Developer Tools |
| Studio | Navigates to the home page of Studio |
| Module Builder | Opens Module Builder to create or edit modules |
| Sugar Portal Editor |
Opens the Sugar Portal Editor to configure the Portal |
| Dropdown Editor | Opens the Dropdown Editor to modify dropdown options |
Editing Labels
Labels are used throughout Sugar to designate field headers, subpanel titles, error messages, and more. To modify the labels for a module, select "Labels" from the Modules panel under the desired module (e.g., Accounts). Please note that HTML tags are not supported in labels. If you need to define labels for more than one language profile in Sugar, refer to the Editing Labels for Localized Languages section.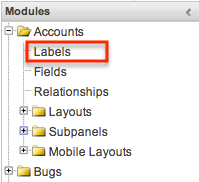
The Edit Labels tab will open in the main panel displaying all the labels associated with the module. If the label you want to change cannot be found, change the filter dropdown option from "Frequently used labels" to "All Labels". 
Modify the labels accordingly per the selected language and click "Save and Deploy" when complete. This will save your changes and instantly deploy them to your Sugar instance. 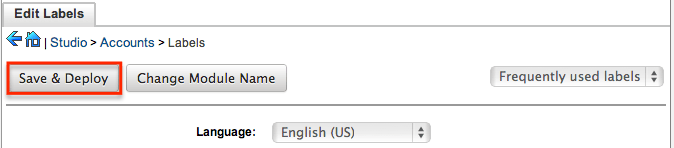
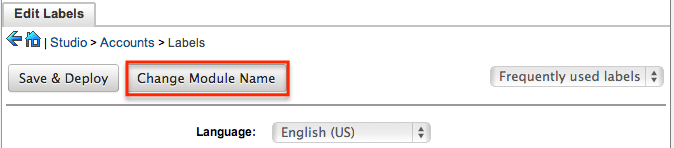
To change the name of the module, click "Change Module Name" to the right of the Save & Deploy button.
This will direct you to the Module Names and Icons page where you can change the labels for the module accordingly. For more information on how to rename modules, please refer to the Module Names and Icons section of the Developer Tools documentation.
Editing Labels for Localized Languages
For instances where localization is needed, use the Language dropdown to select a language other than the system default.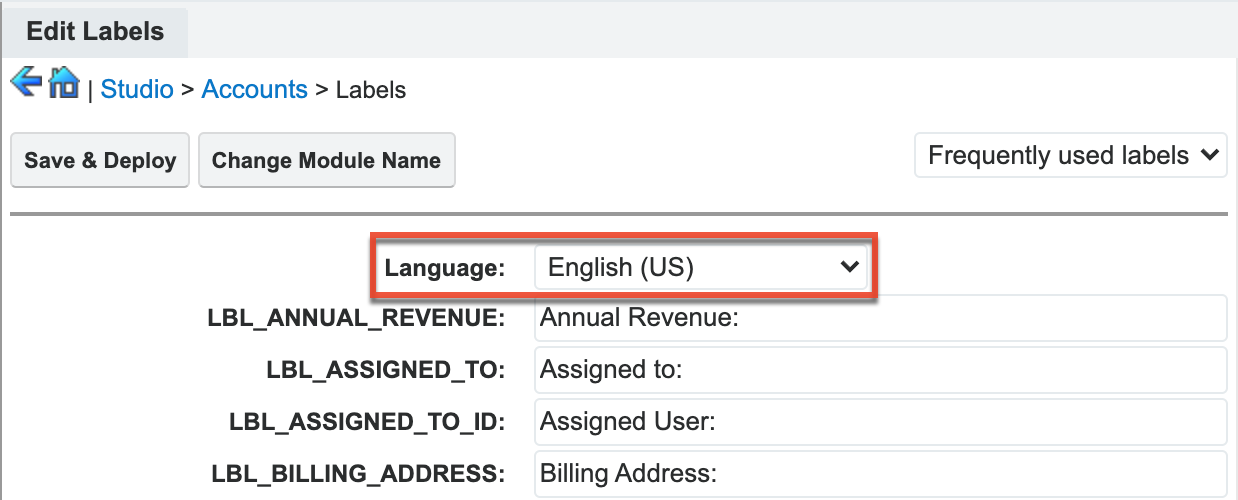
When a non-default language is selected, the system's default language and associated labels will appear on the right side of the screen in the Comparison Language column. The Comparison Language dropdown can then be changed as needed. The labels should be updated in the left column and are read-only in the right column. Please note that some labels may appear with a help button indicating that "This label may not be translated". Once you have made the necessary changes to your labels, click "Save & Deploy".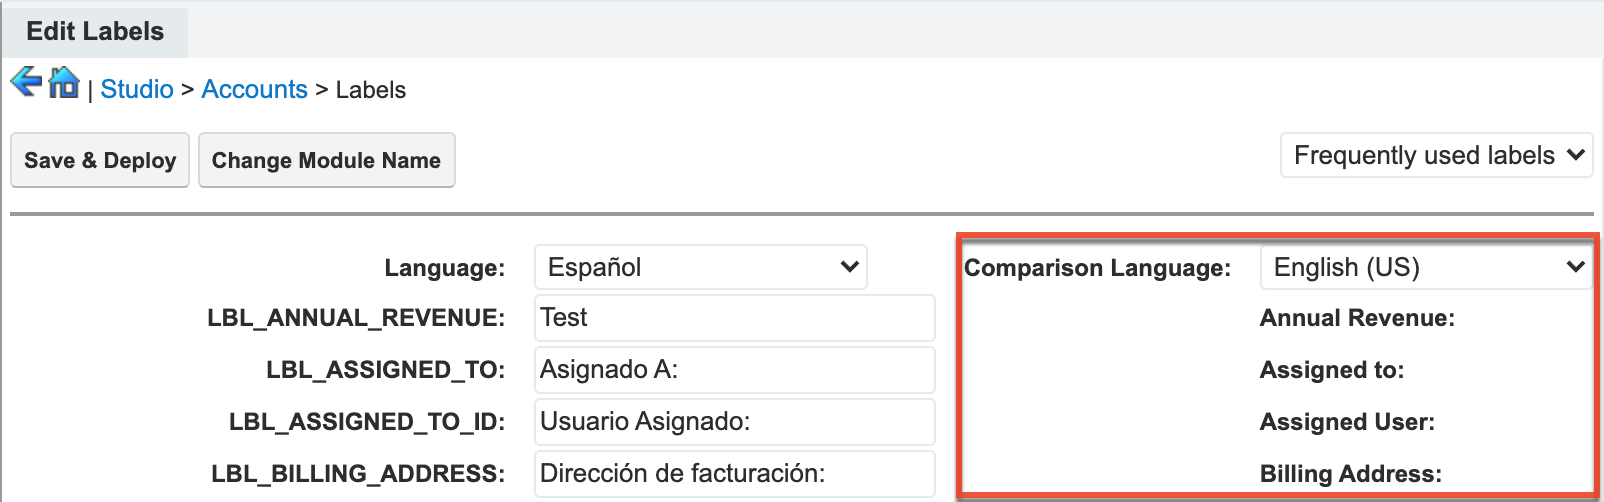
Configuring Timeline
The Timeline dashlet can be added to the record view dashboard of most modules and shows a complete view of the parent record and up to ten relationships in a chronological view. The Timeline option in Studio allows you to choose these eight relationships, including custom relationships with custom modules.
Note: The relationship must be visible in Navigation Bar and Subpanels in addition to being enabled in Studio > {Module} > Timeline in order for the card to appear in the timeline.
To set the relationships shown, click the Timeline icon in Studio after selecting the desired module (e.g., Accounts):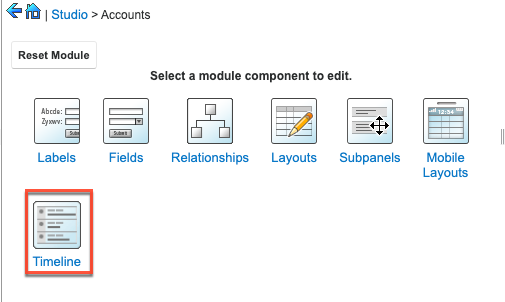
Next, check the boxes next to the modules you wish to see in the Timeline dashlet: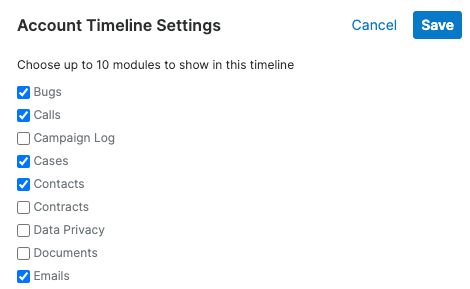
For more information regarding the Timeline dashlet, please refer to the Sugar Dashlets documentation.
Resetting Modules
Sugar comes with the ability to reset an entire module back to the default settings. You can also pick and choose which customizations you would like to remove. To reset a module, select the module from the Modules Panel and click "Reset Module" in the Main Panel. 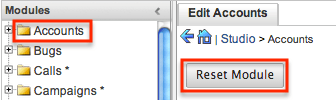
The next screen will give you the following options to remove specific customizations:
- Clear Relationships: Deletes all relationships added via Studio.
- Remove Custom Fields: Deletes all fields added via Studio.
- Reset Layouts: Resets the layouts back to the out-of-the-box configuration. You will need to click "Save & Deploy" on edit view and detail view layouts to be able to access the layouts.
- Reset Labels: Deletes the custom language files located in ./custom/modules/{Module Name}/language/ which sets the labels for the module.
- Clear Extensions: Deletes any customizations made to stock or custom fields and sets them back to the default. Deletes the module folder located in ./custom/Extension/modules/.
Select the desired options and click "Reset" to execute the reset. 
Exporting Customizations
Sugar allows you to export a module's customized layouts, fields, and field labels from one Sugar instance to import into another Sugar instance. To do this, you will need to package the customizations in Studio, export it to your local machine, and then upload it into another Sugar instance. The system applies the customizations to the appropriate layouts, fields, and field labels.
Note: Safari users will need to change the default browser setting to disable automatic unzipping of files to ensure that exported packages install properly in Sugar. Navigate to Safari > Preferences > General and uncheck "Open 'safe' files after downloading" to disable the setting.
Use the following steps to export your customizations via Studio:
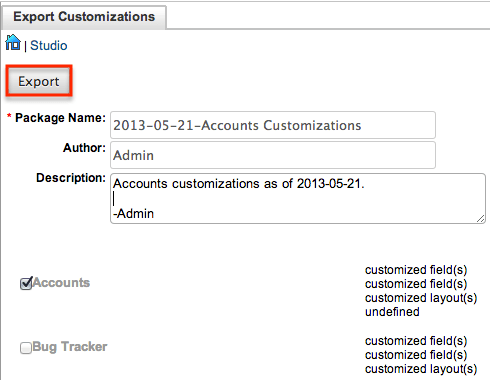
- From the Studio home page, select "Export Customizations" in the main panel.

- Enter appropriate values in the following fields. All required fields are marked with a red asterisk and must be completed prior to saving.
- Package Name: Enter the name of the package to be displayed during installation.
- Author: Enter the name of the author creating the package to be displayed during installation.
- Description: Enter a description of the export to be displayed during installation.
- Select at least one module to include in the customization export and click "Export".
- The customizations are saved to your computer in a zip file that can be loaded into a different instance of Sugar via the module loader. For more information regarding installing packages, please refer to the Module Loader documentation.
Note: Sugar Sell Essentials customers do not have the ability to upload custom file packages to Sugar using Module Loader.
Exporting Role-Based and Dropdown-Field-Based Customizations
If you have created role-based or dropdown-field-based custom record views or custom dropdown lists, these customizations will be included in your exported package. When installing the package on another Sugar instance, you will be given the opportunity to map role-based customizations from the package's roles to the destination instance's roles. Please refer to the Module Loader documentation for more information.