Alerts
Overview
Alerts help you segment, monitor, and take action against customer behavior based on their sales, product, and CRM data. For example, you could create an alert to segment all customers who spent 20% less last month than they did the month before, helping you spot potential churn early.
When an alert is created, customers who meet the criteria at the time of creation are surfaced in an alert report, and the alert is flagged directly on the customer record. From both the report and customer records, you can quickly create an interaction to take action against the alert.
Alerts are a powerful way to leverage your data to stay ahead of important customer behavior and uncover new opportunities.
This guide covers:
Creating Alerts
Alerts are created from the Alert Builder page and are composed of sales, product, and CRM customer data filters checked against a specific date range. Follow these steps to create a new alert:
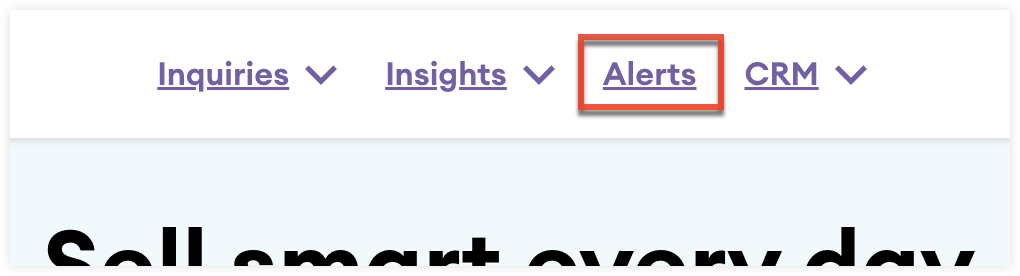
- Click “Alerts” from the top navigation bar to open the Alert Builder page.
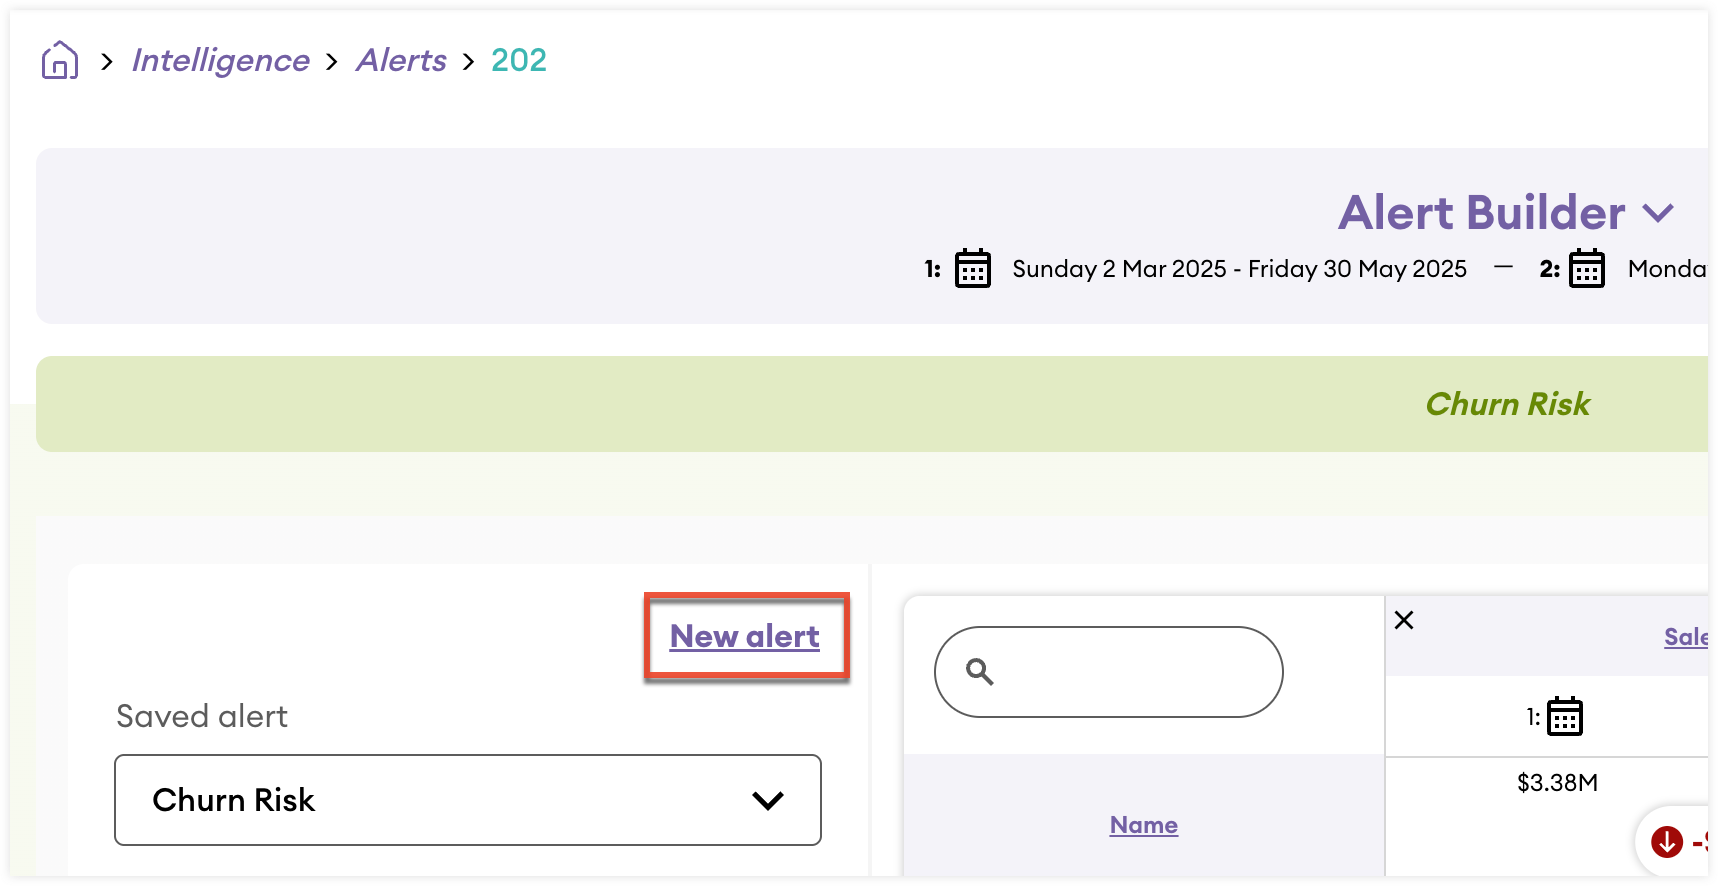
- From the Alert Builder page, click “New alert”.
- Use the Date Range field to select the time period that the customer data filters will be checked against.
- Use the "Compare To" field to select a time period compared to the one set in the "Date range" field. This comparison will appear as a variance view in the alert report. Comparing date ranges also enables certain customer data filters to check against the difference between the two time periods. For example, you can create some customer Sales data filters with "X percent up or down" operators.
- If you do not want to compare two date ranges, uncheck the Compare to previous period check box and use the Date range field to set a single time period.

- If you choose to set custom date ranges for an alert, you can configure the dates to be rolling. This allows the date range of the alert to dynamically adjust whenever the alert is re-run.
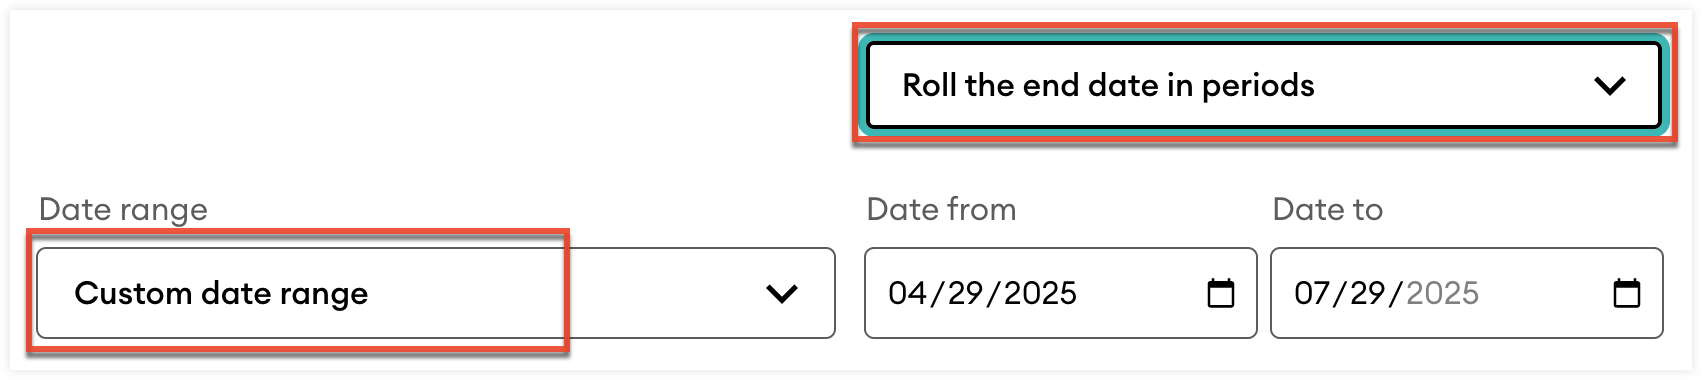
When an alert is re-run, the number of days that have passed since it was last run is added to the end date, or to both the start and end dates, depending on the configuration you select:
- Select "Roll the end date in periods" to only roll the end date of the range.
- Select "Roll both dates in periods" to roll both the start and end dates of the range.
- To filter customers included in the alert by account level, use the Account Level fields to select an operator and then the desired account level.
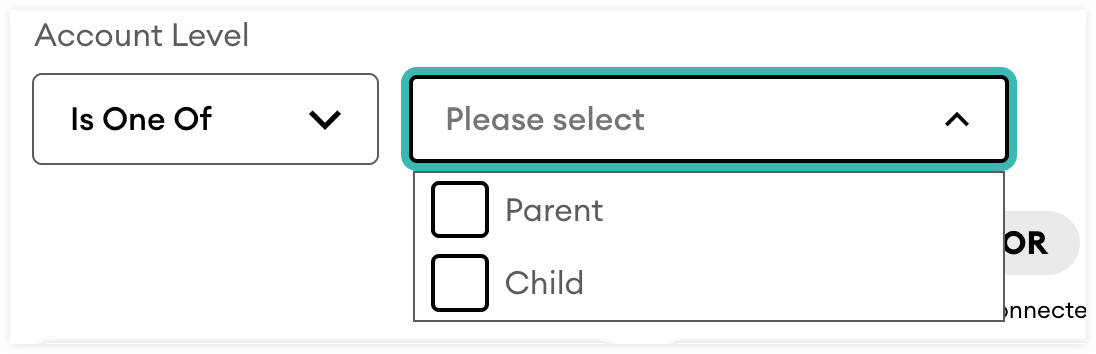
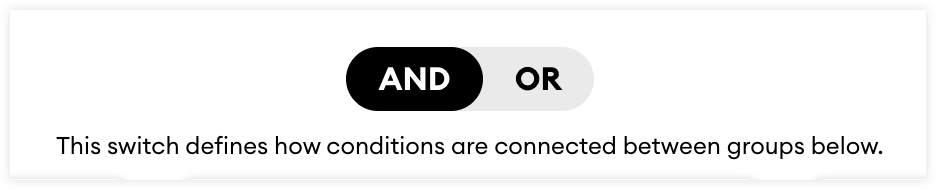
- Use the toggle to select either the AND or OR operator. The selected logic applies to all filters added to the alert.
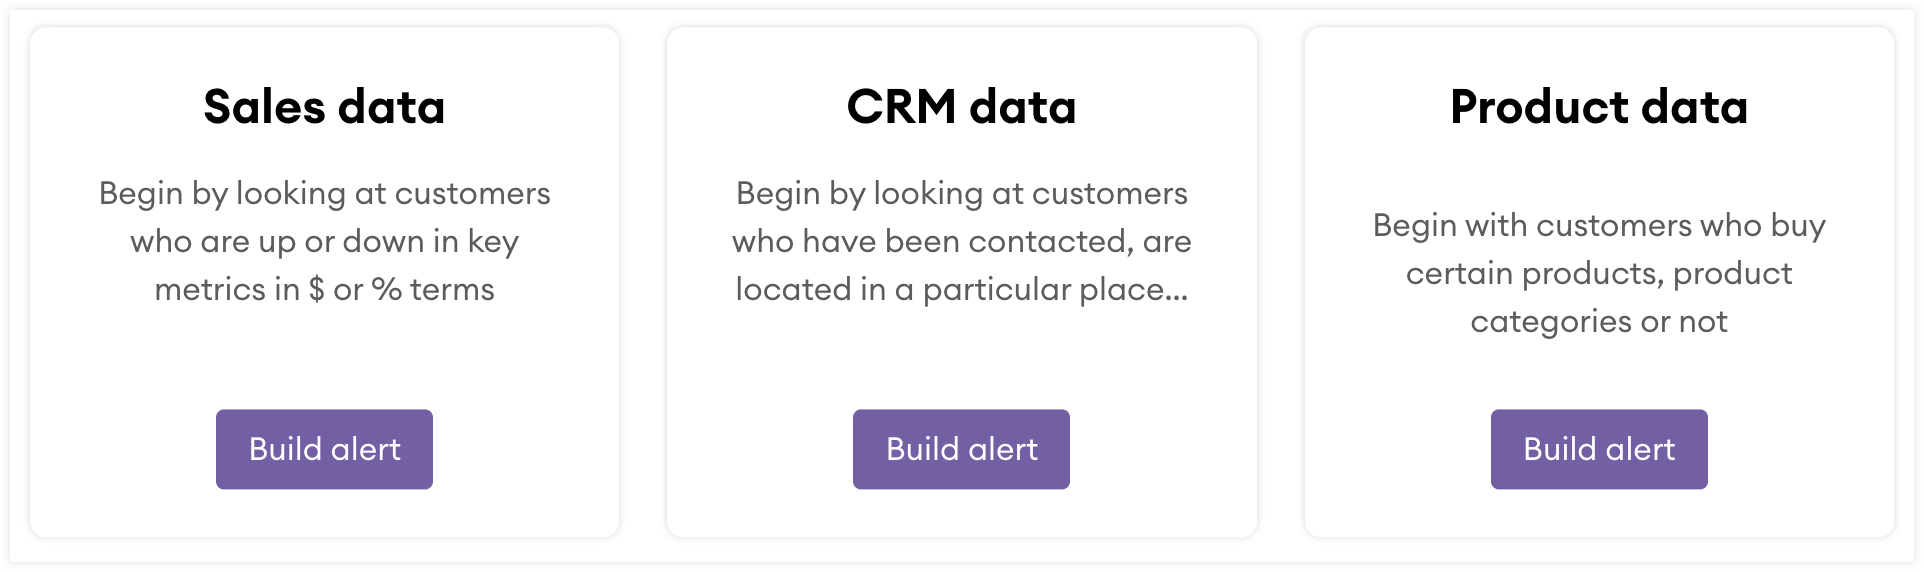
- Click the Build alert button from one of the customer data categories to begin adding filters from that category. You will be able to combine filters from all of the categories.
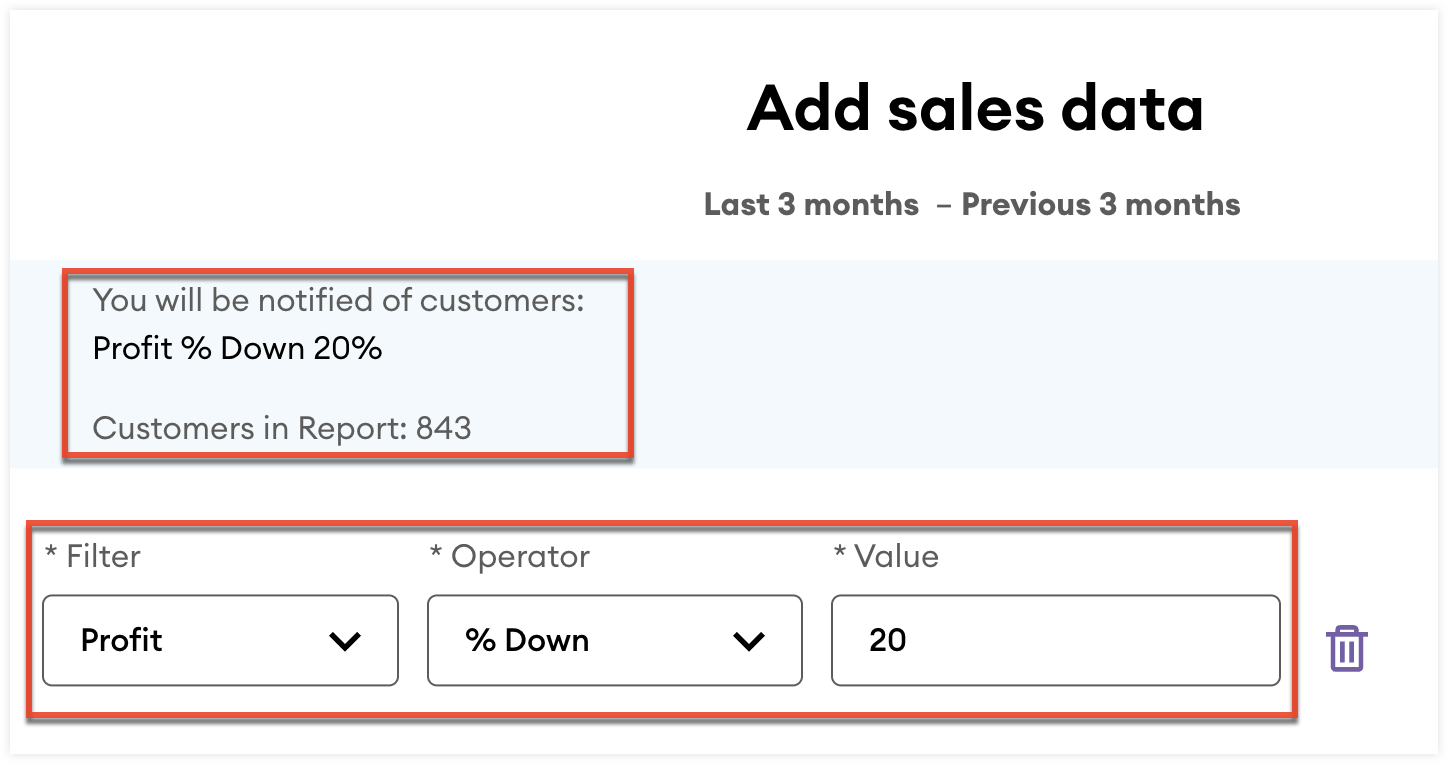
- Use the available fields to configure the filter. Once you have added the filter, the criteria are listed at the top of the builder, along with the number of customer who currently meet all added filters in the set date range.
- Once a filter is configured, you can add another filter by selecting the "+" button and then from the dropdown, select the logic that will connect the filter to the preceding filter.
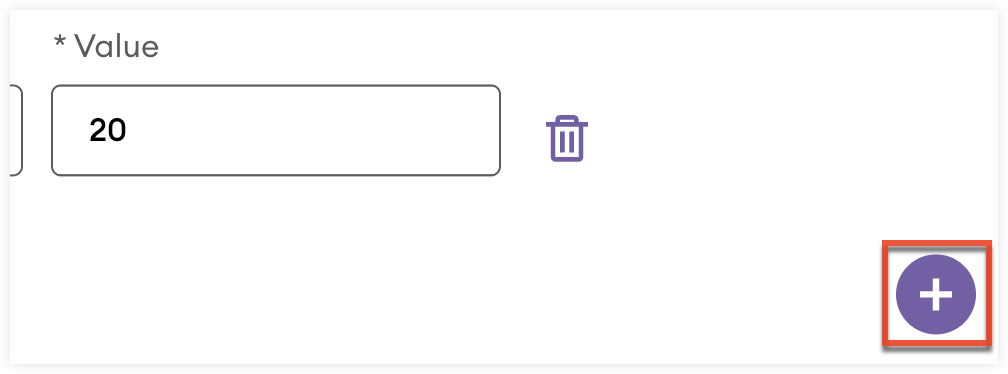
- If you need to delete a filter, click the trashcan icon to the right of the filter.
- Once you are done configuring the filters for a category, click the Continue button.
- If you need to add filters from another category, click the Add CRM data button from one of the remaining categories.
- If you are done adding filters, click the "No thanks, I’m done" button.
- Use the Alert Name field to name the alert.
- Optionally:
- Use the Estimated value field to specify the total potential gain or loss tied to this alert.
- Use the Promo Material field to add a link to promotional content that will display alongside the alert on the customer record.
- Use the Description field to add additional details for the alert.
- Click “Save Alert” to create the alert.
Viewing and Managing Alerts
When an alert is created, customers that meet the criteria at the time of creation are surfaced in an alert report and the alert is flagged directly on the customer’s records.
When an interaction is created against an alert, from either the alert report or the alert on the customer record, the customer will be removed from the report the next time it is run. If a customer no longer meets the criteria of the alert they will be removed from the report the next time it is run.
You must re-run a report to pull the latest customer data and track how many interactions have been created against the alert over time. If needed, you can re-run a report and clear the history of created interactions, which resets the alert in the report and across customer records that meet the alert criteria.
Alert Builder Page
From the Alert Builder page, you can view all of your created alerts. To navigate to the page, click “Alerts” from the top navigation bar to open the Alert Builder page.
Alert Report
From the Alert Builder page, you can view created alert reports. By default, the most recently created alert's report will be displayed. You can use the Saved alert dropdown field to select another report.
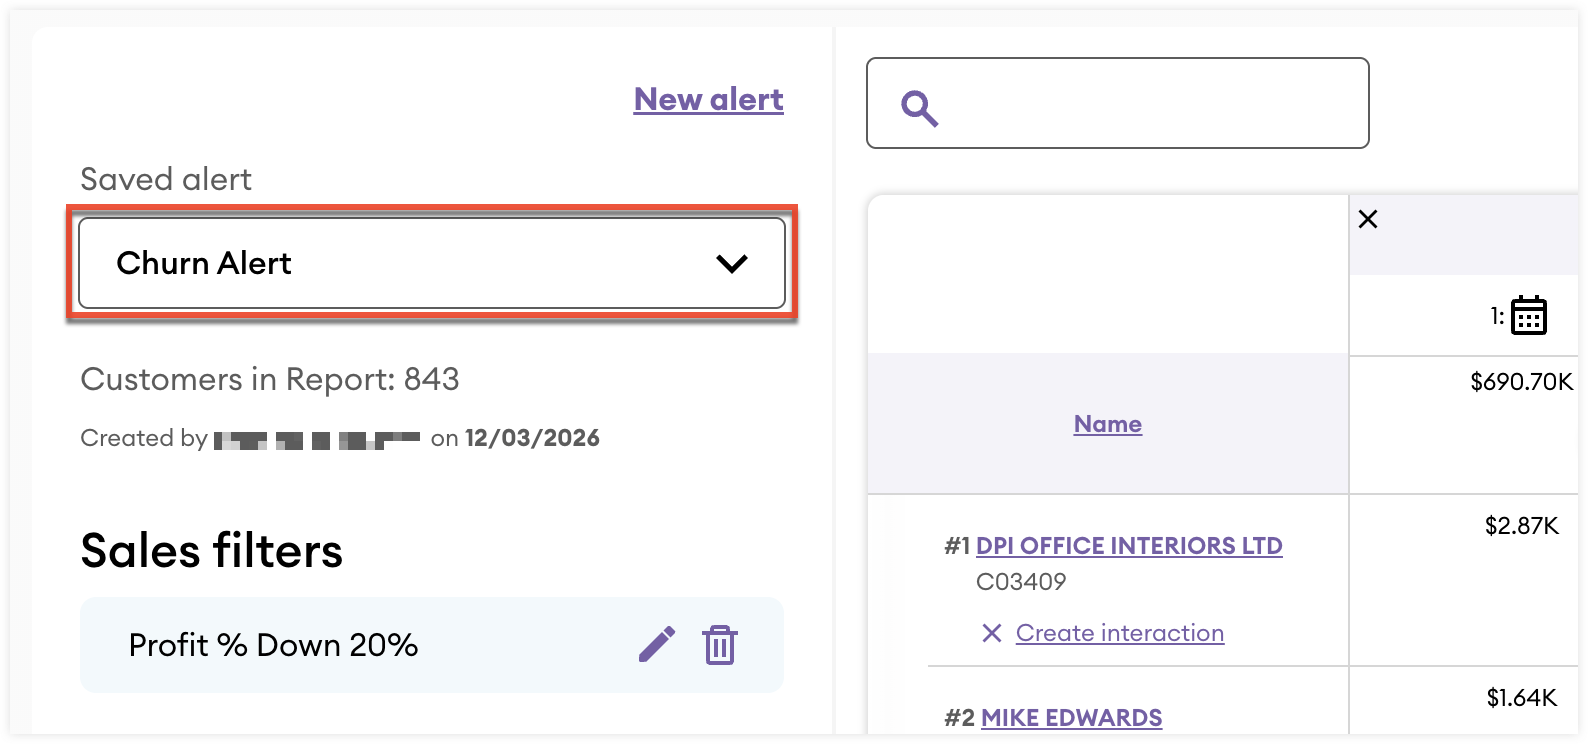
From the column to the left of the report you can:
- View the number of customers currently in the report.
- View which user created the report and when.
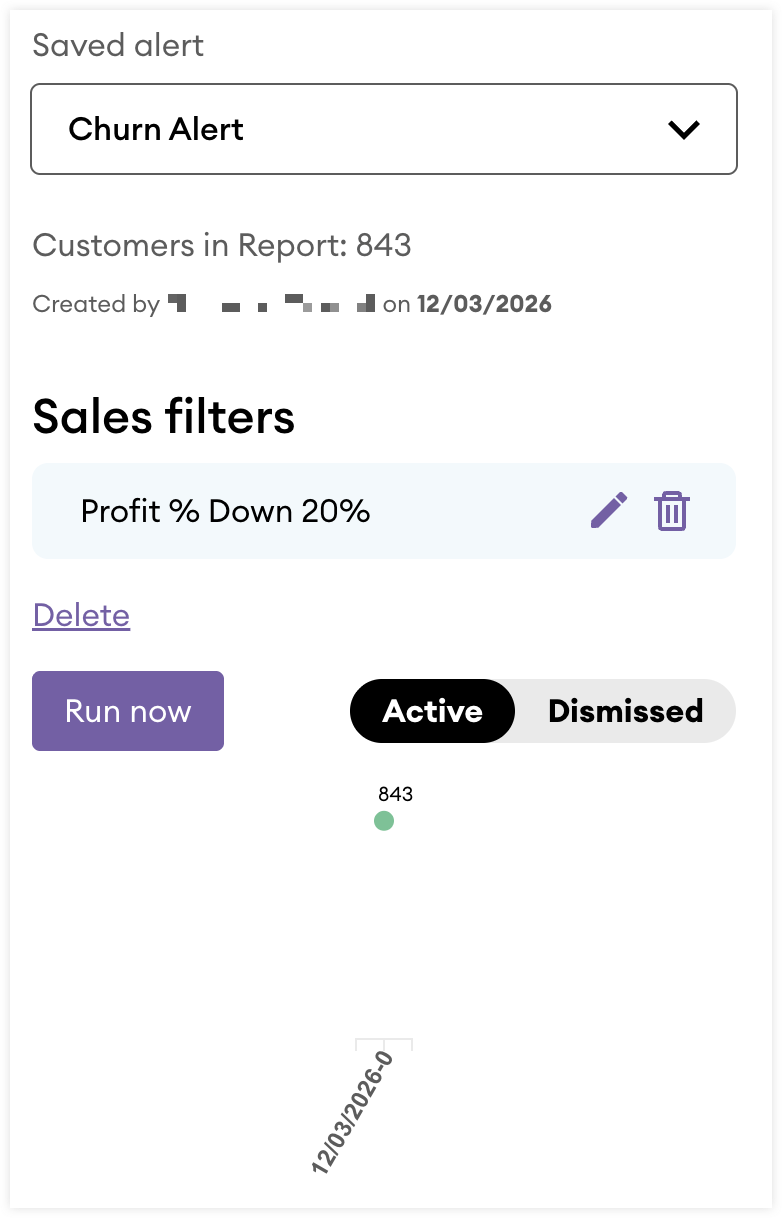
- View and manage the filters used in the alert.
- Click “Delete” to delete the alert. Deleting the alert will also remove the alert from all customer records included in the report.
- Click the Run now button, then choose one of the following options:
- Select "Carry over linked interactions" to update the report and continue tracking interactions created against customers in the alert over time.
- Select "Clear linked interactions" to update the report and clear any past interactions created against customers in the alert.
- Use the Active/Dismissed toggle to filter the report by customers with either active or dismissed alerts.
- View the burn down chart to understand when the report was last generated and how interactions linked to this alert are being created over time.
From the report you can: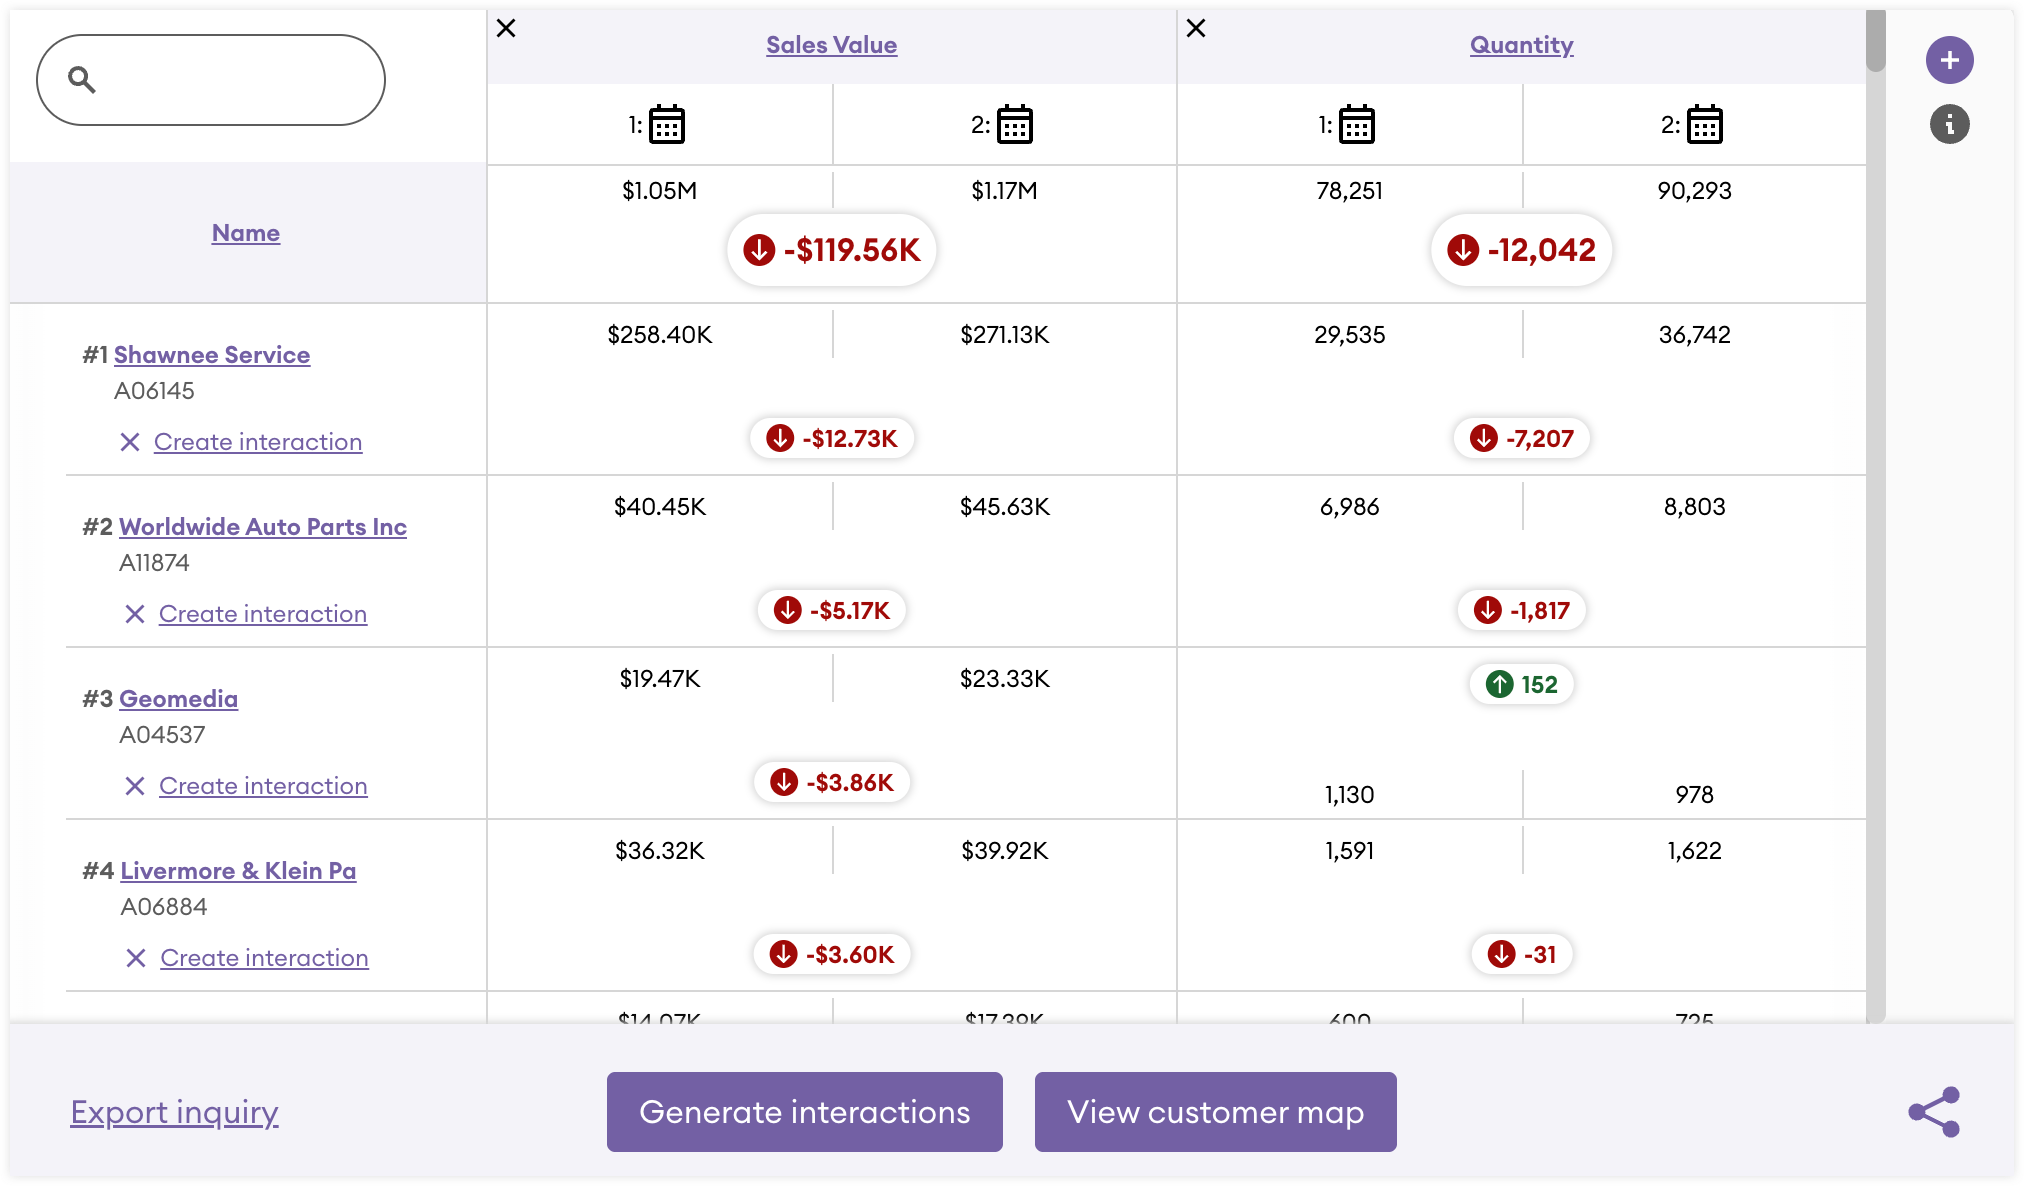
- View, sort, and search the customers currently included in the report. Reports will appear in a variance view if the alert compares two date ranges. If the alert uses a single date range, the report will appear in a table view.
- Click the "+" button in the top-right corner of the report to add more columns.
- Click the “X” next to a customer to dismiss the alert for that customer.
- Click “Export inquiry” to export the report as a CSV or XLSX file.
- Click “Create interaction” next to a customer to create an interaction against the alert for that customer.
- Click the Generate Interactions button to generate interactions in bulk against the alerts for the select customers.
- Click the View customer map button to view the locations of the customers in the report in Google Maps.
- Click the Share icon, then:
- Select “Share” to share this report with users via a sales-i notification.
- Select “Add to dashboard” to add this report to your dashboard.
Alerts on the Customer Record
If a customer has an active alert, it will be displayed on their customer record in a section titled “Account alerts”.
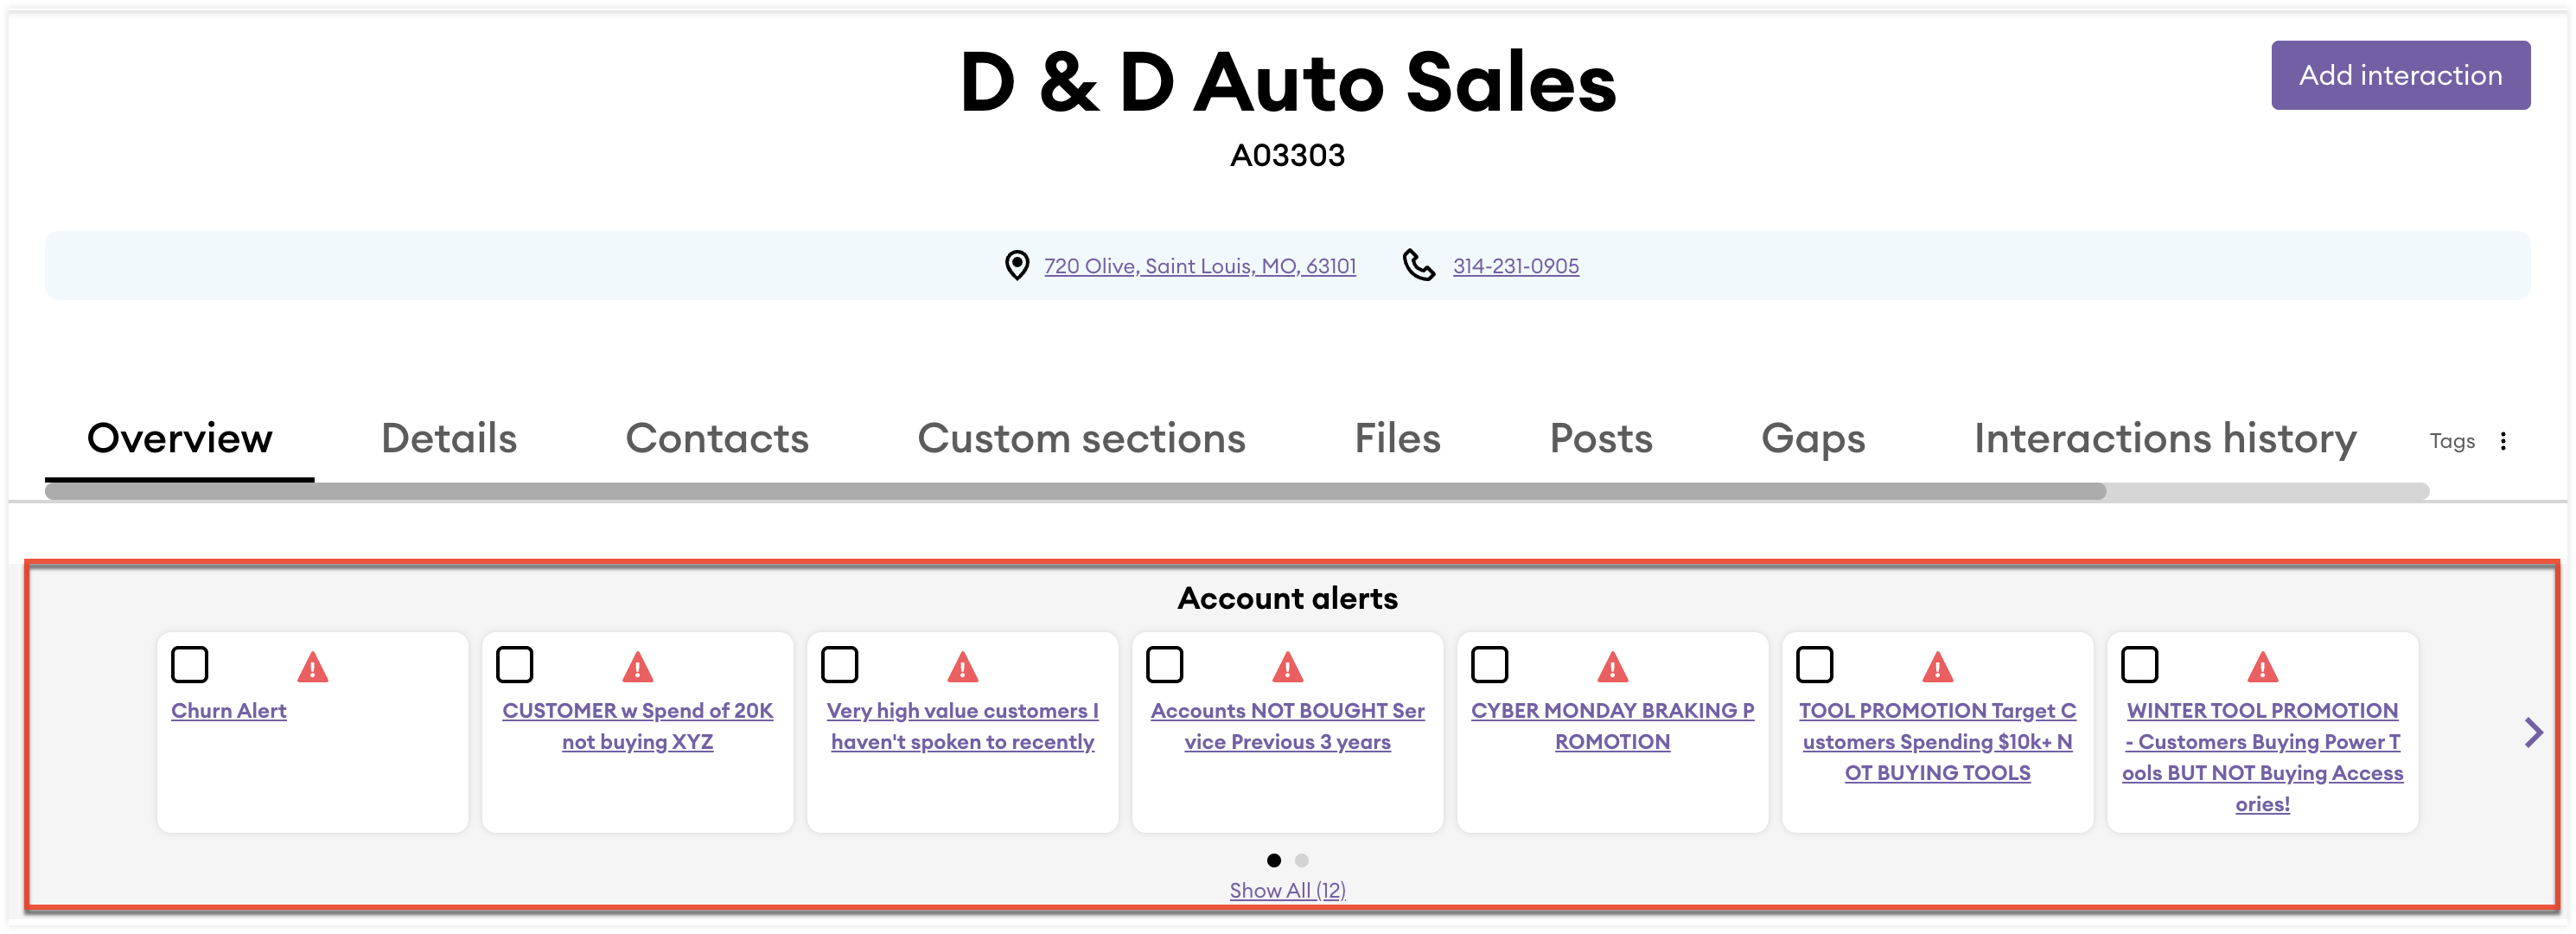
From the Account alerts section you can:
- Click the title of the alert to view the associated alert report on the Alert Builder page.
- Check the checkbox of an alert or alerts and then:
- Click the Dismiss button to dismiss the selected alerts.
- Click the Create interaction button to create an interaction against the selected alerts.
- Click the arrows to move the carousel and view more alerts.
- Click “Show All” to expand the Account alerts section to display all active alerts.