How to add future appointments to your MyCalls diary
Overview
The guide below details how to schedule a follow up call. If you do want to add a Follow-up for your calls in sales-i, you will need to select this checkbox and proceed to schedule your next call.
Desktop
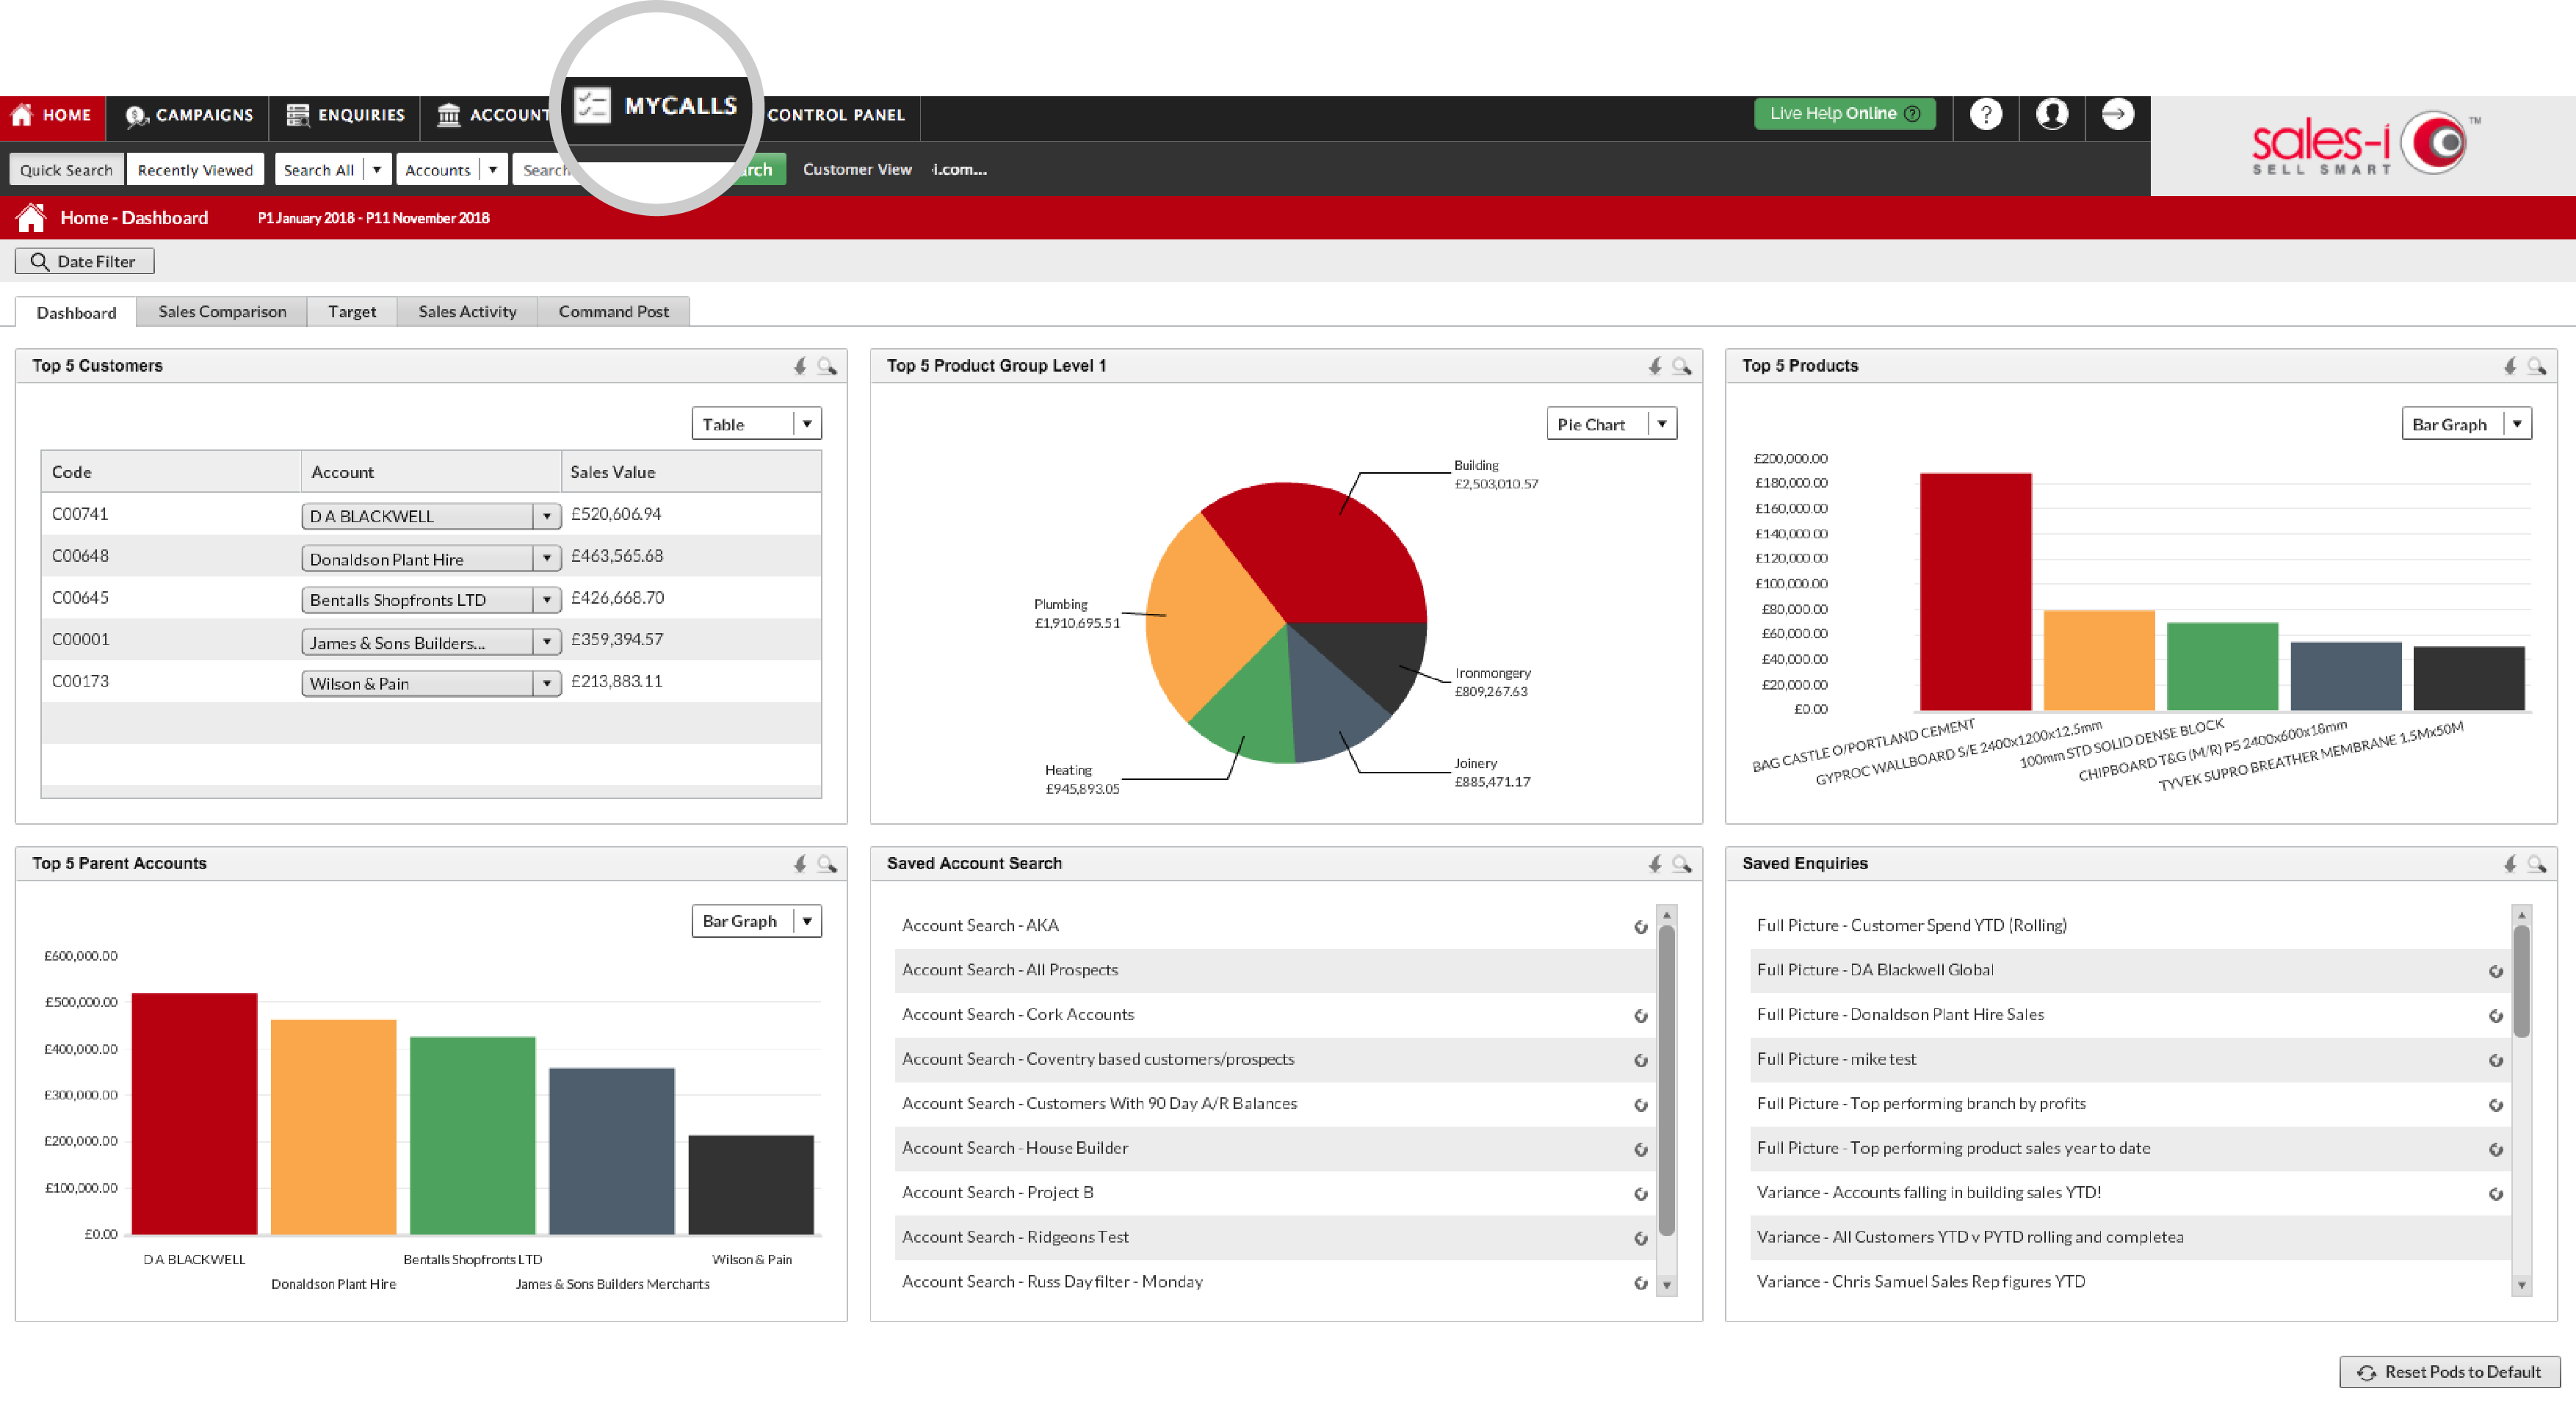
Step 1: Go to MyCalls
From the top navigation, click MyCalls.
Step 2: Search for Account
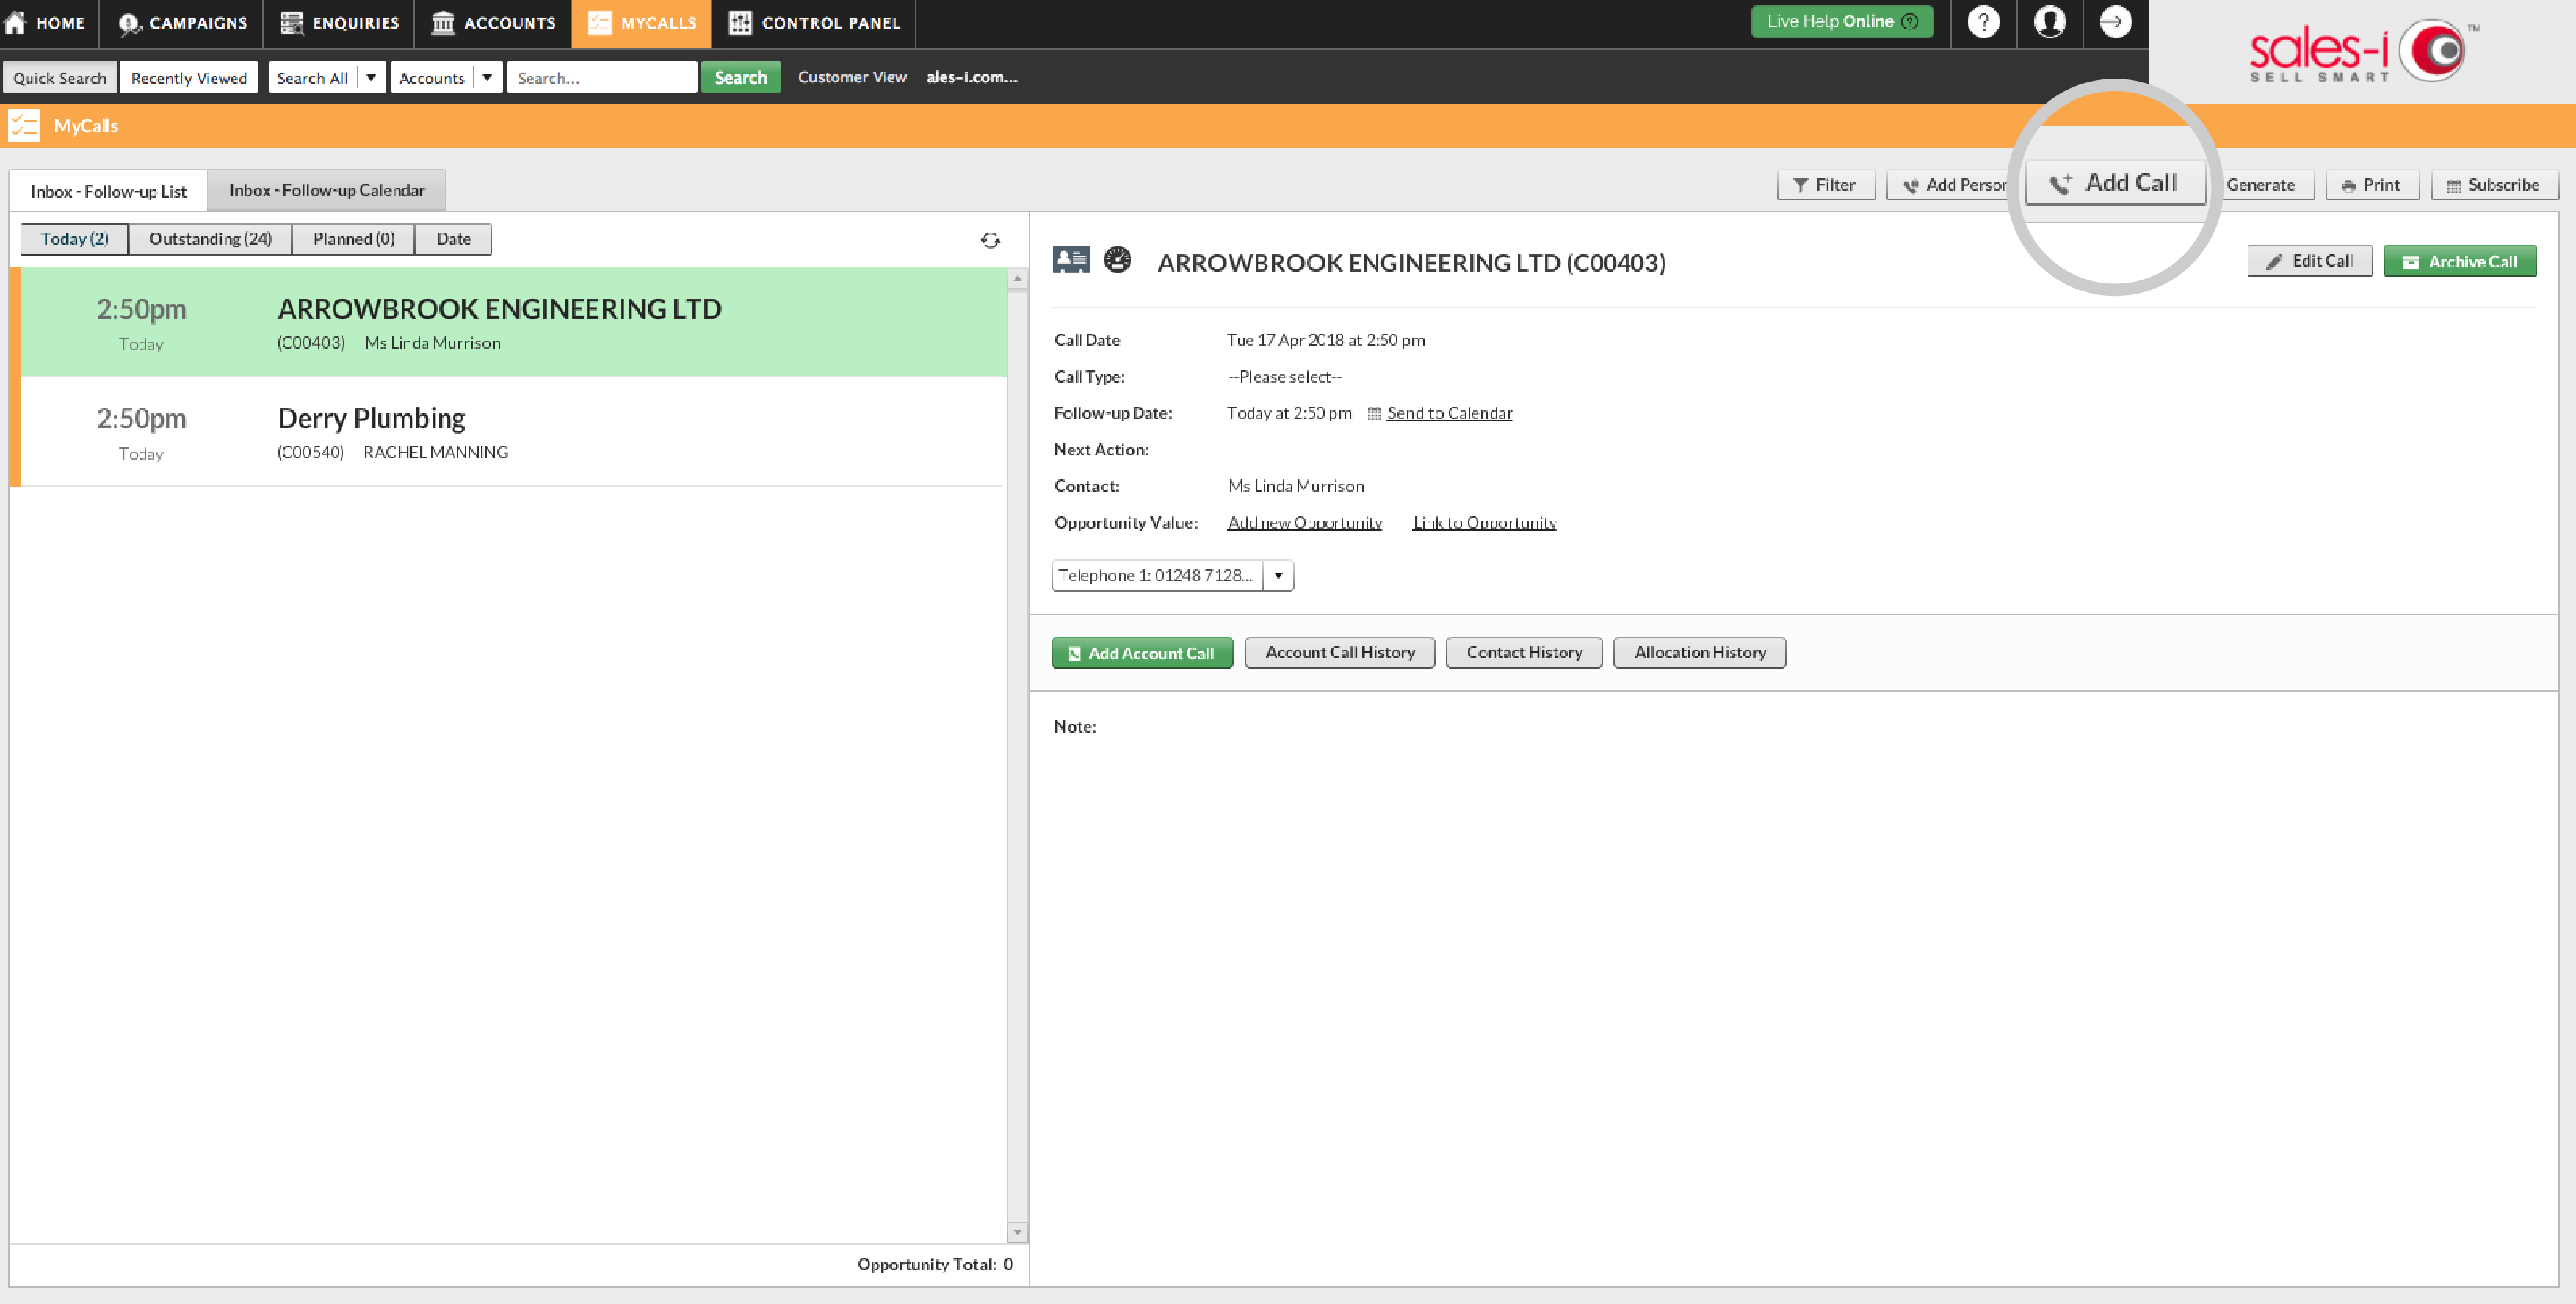
Click Add Call to search for an existing account.
*Accounts need to pre-exist prior to booking an interaction.
Step 3: How to Search
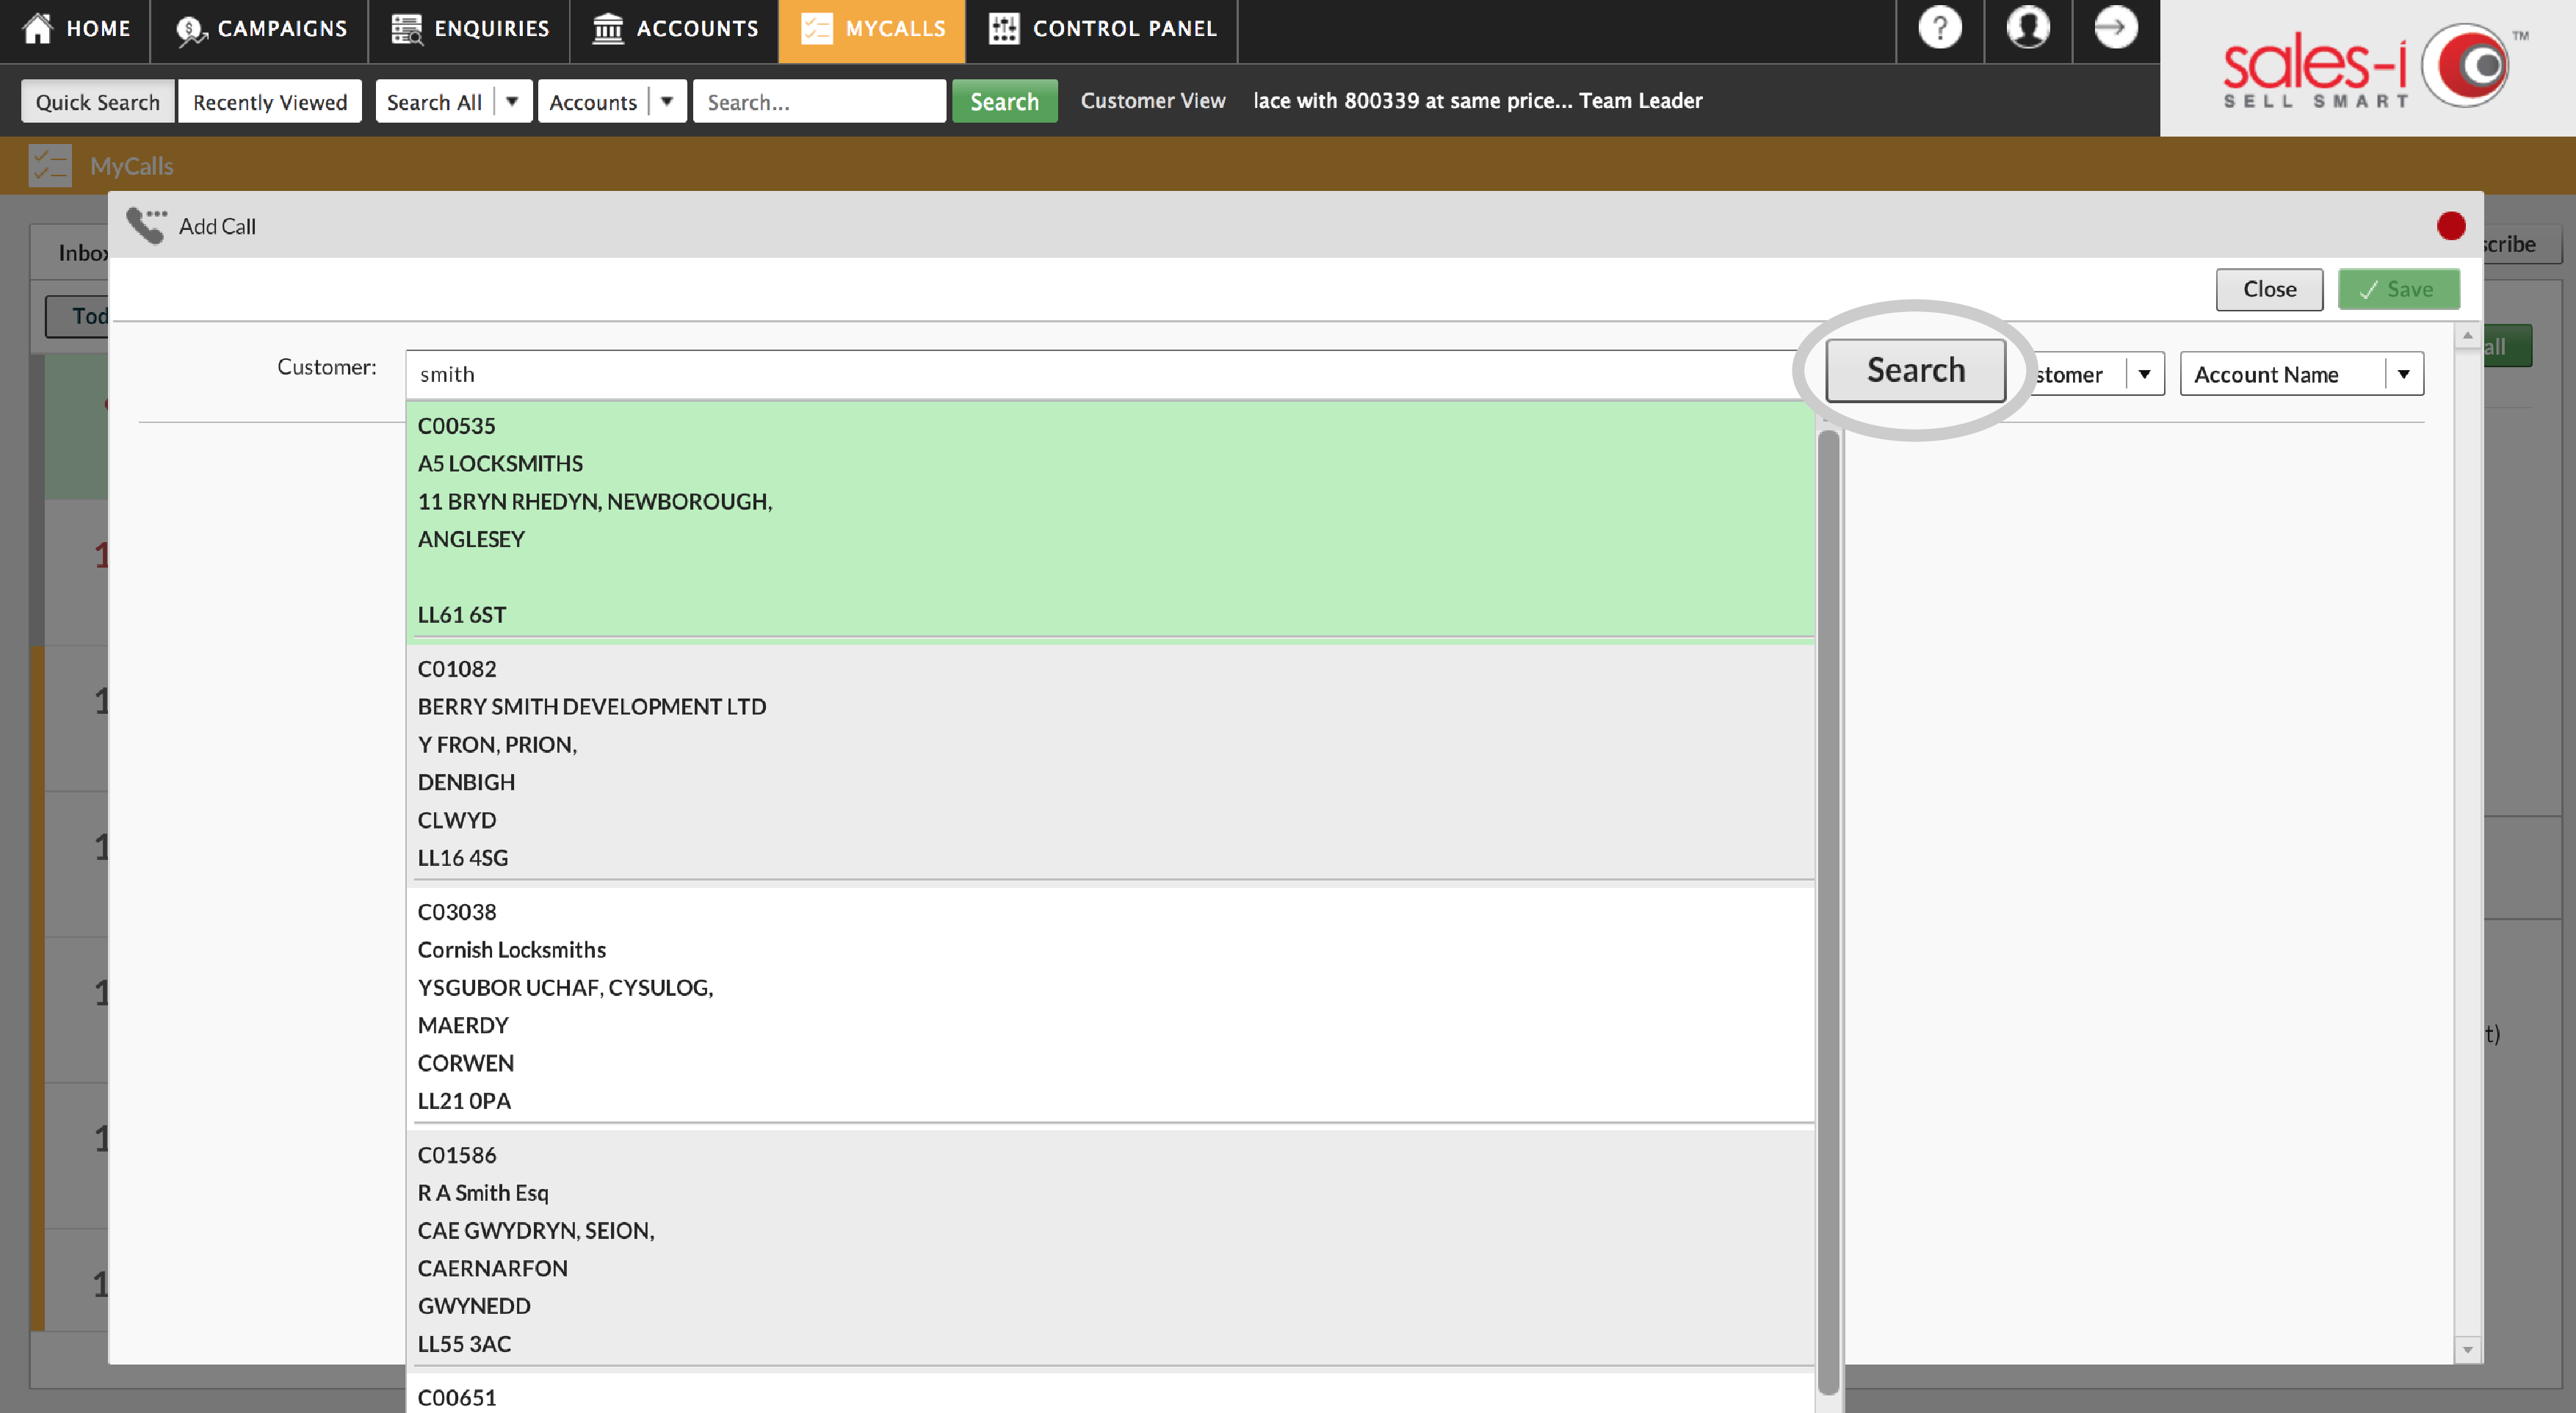
Search for your customer or prospect by full / partial account name or via the account number using the drop-down options and the search field.
Step 4: Set a Follow-up Call
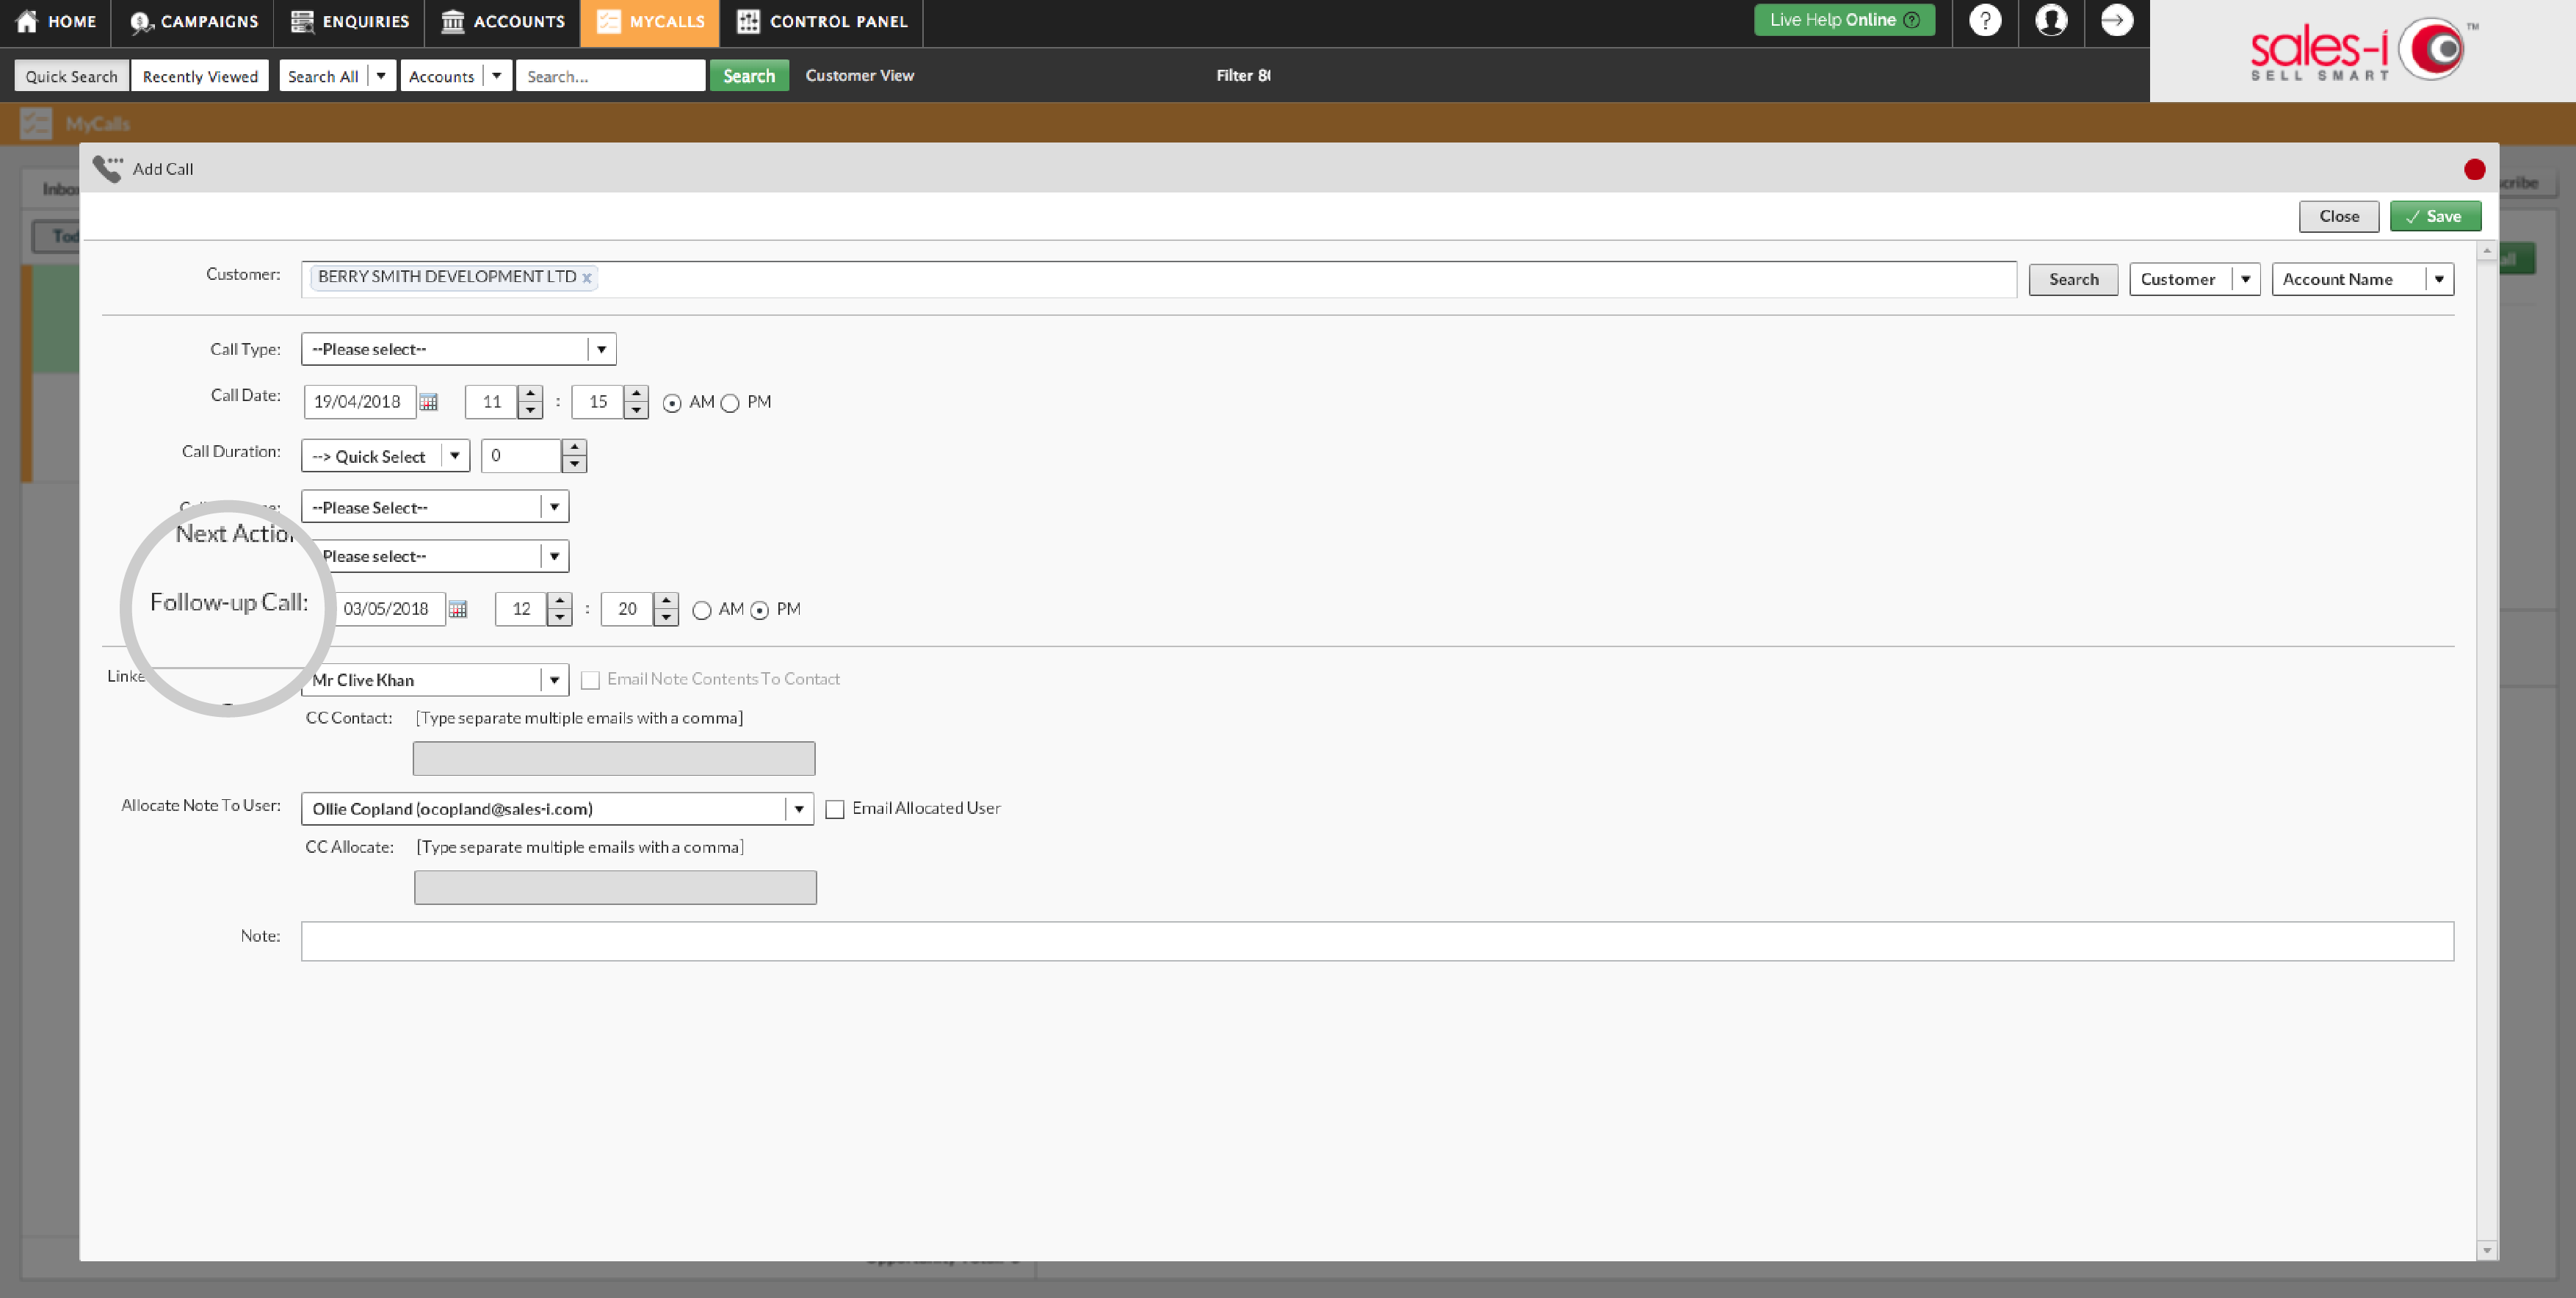
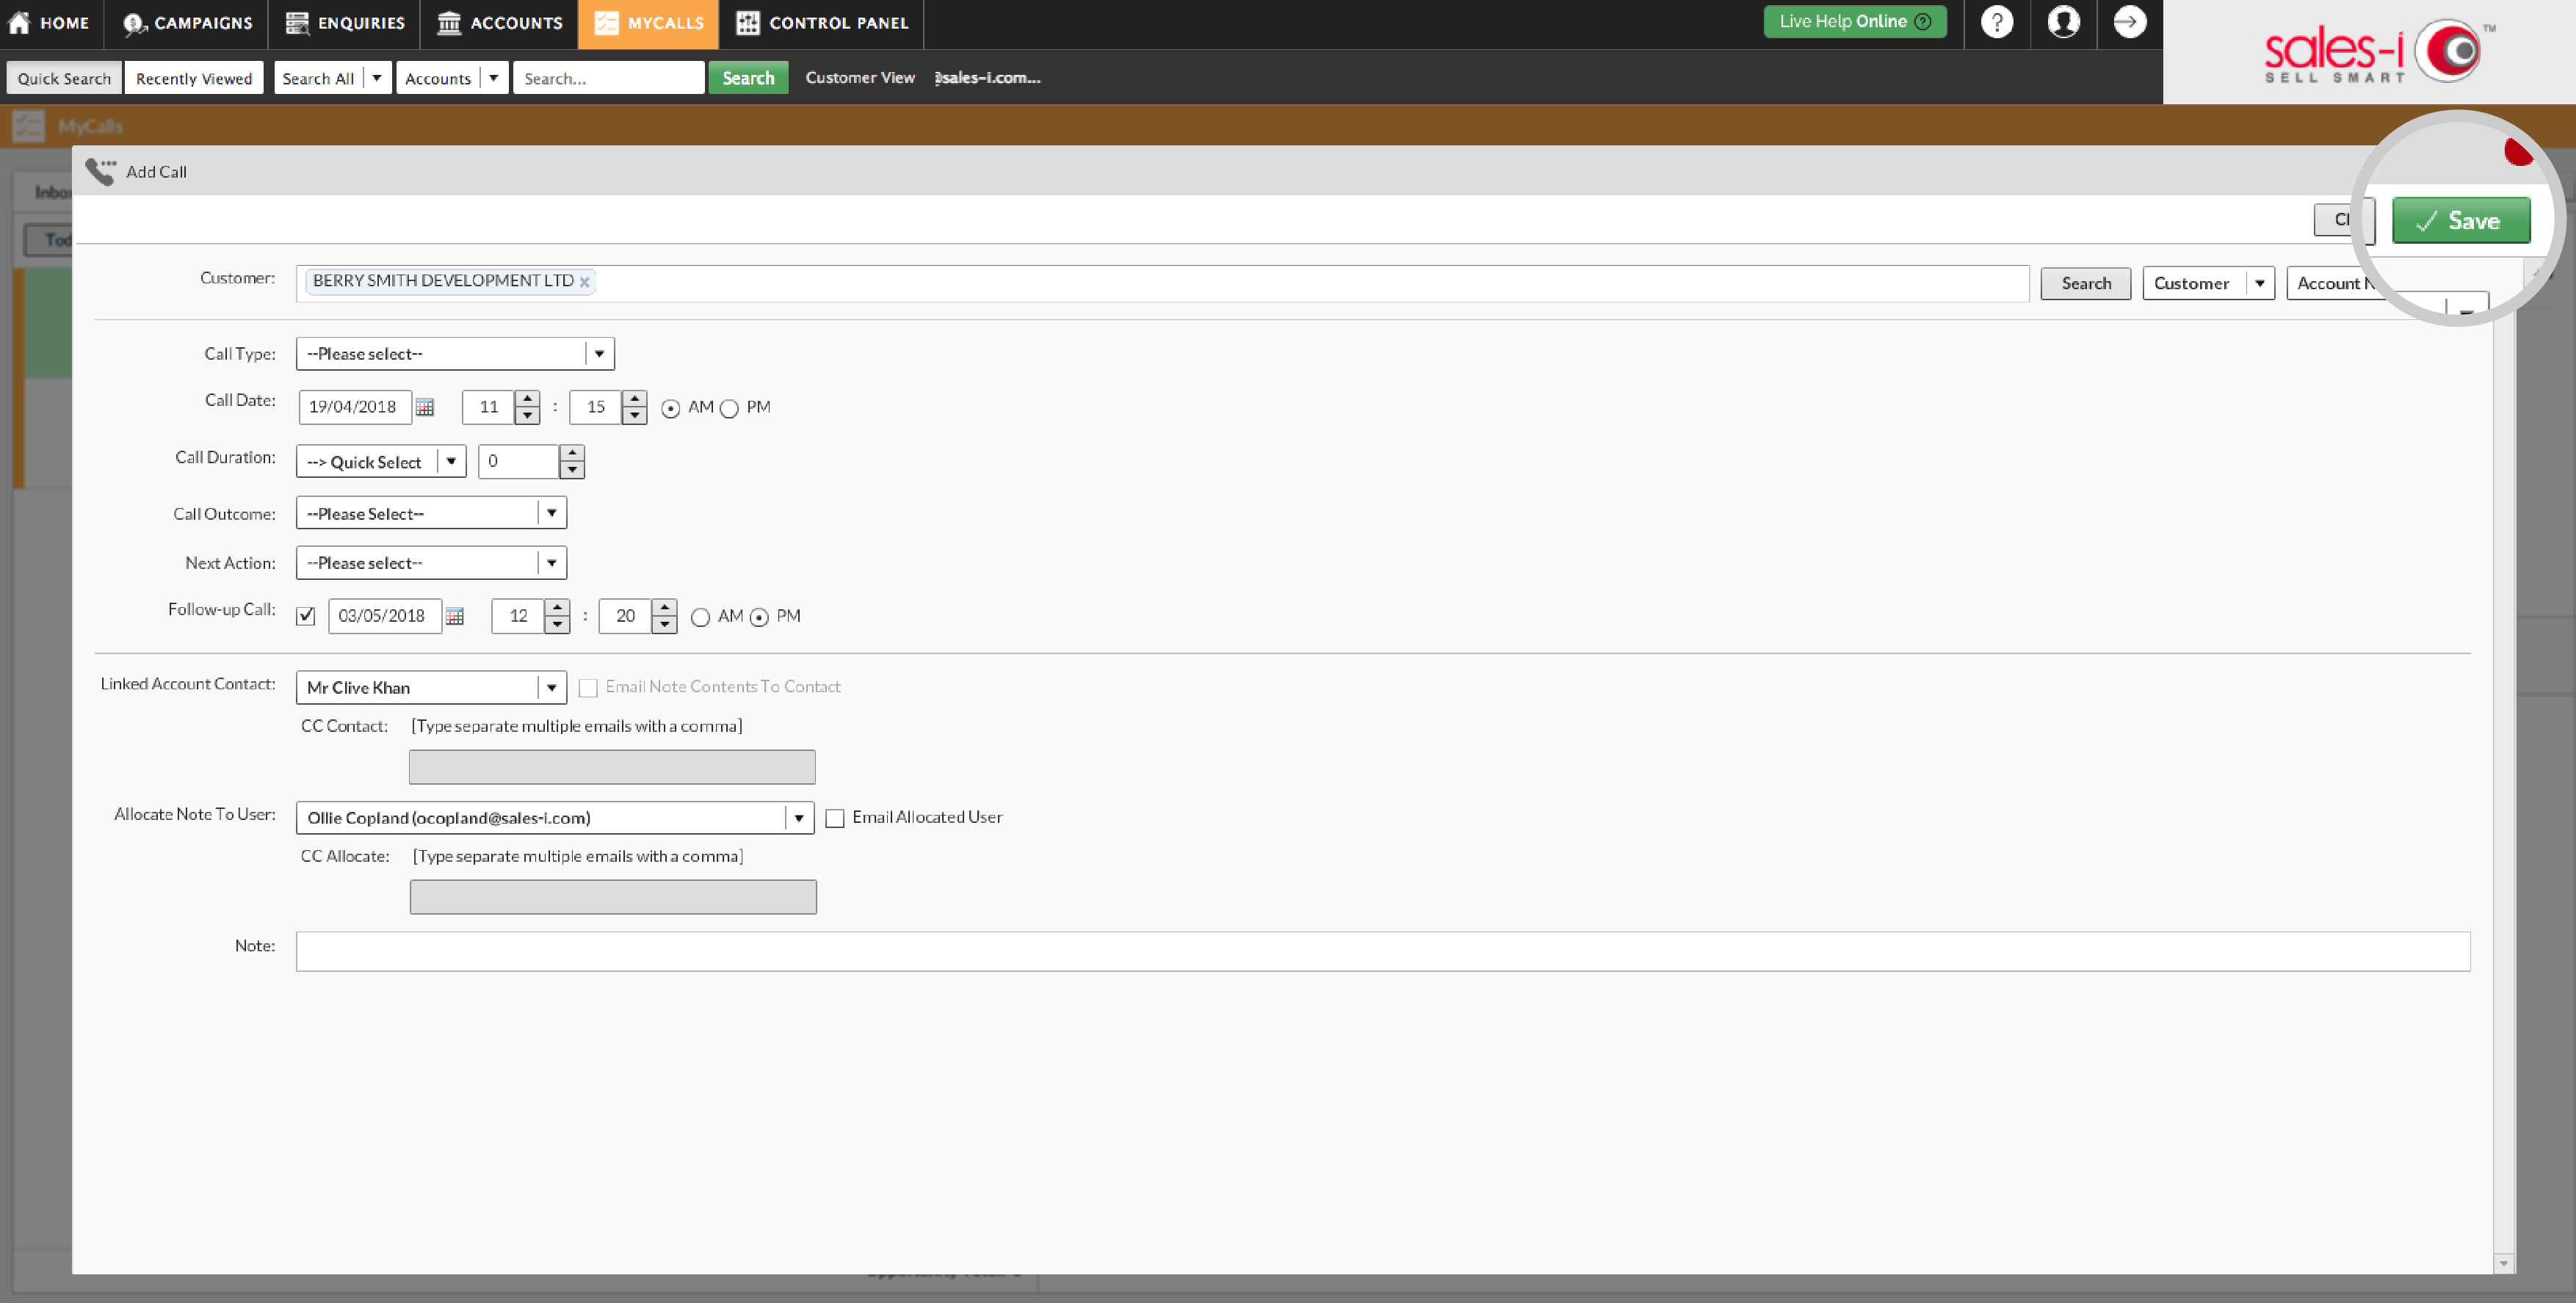
You will now need to tick the Follow-up call time & date selector box to drive your diary and schedule the next interaction with the account.
Step 5: Save Notes
Complete any other notes relating to this call and when you are ready, click onto the Save button in the top right hand corner.
Step 6: View Interaction
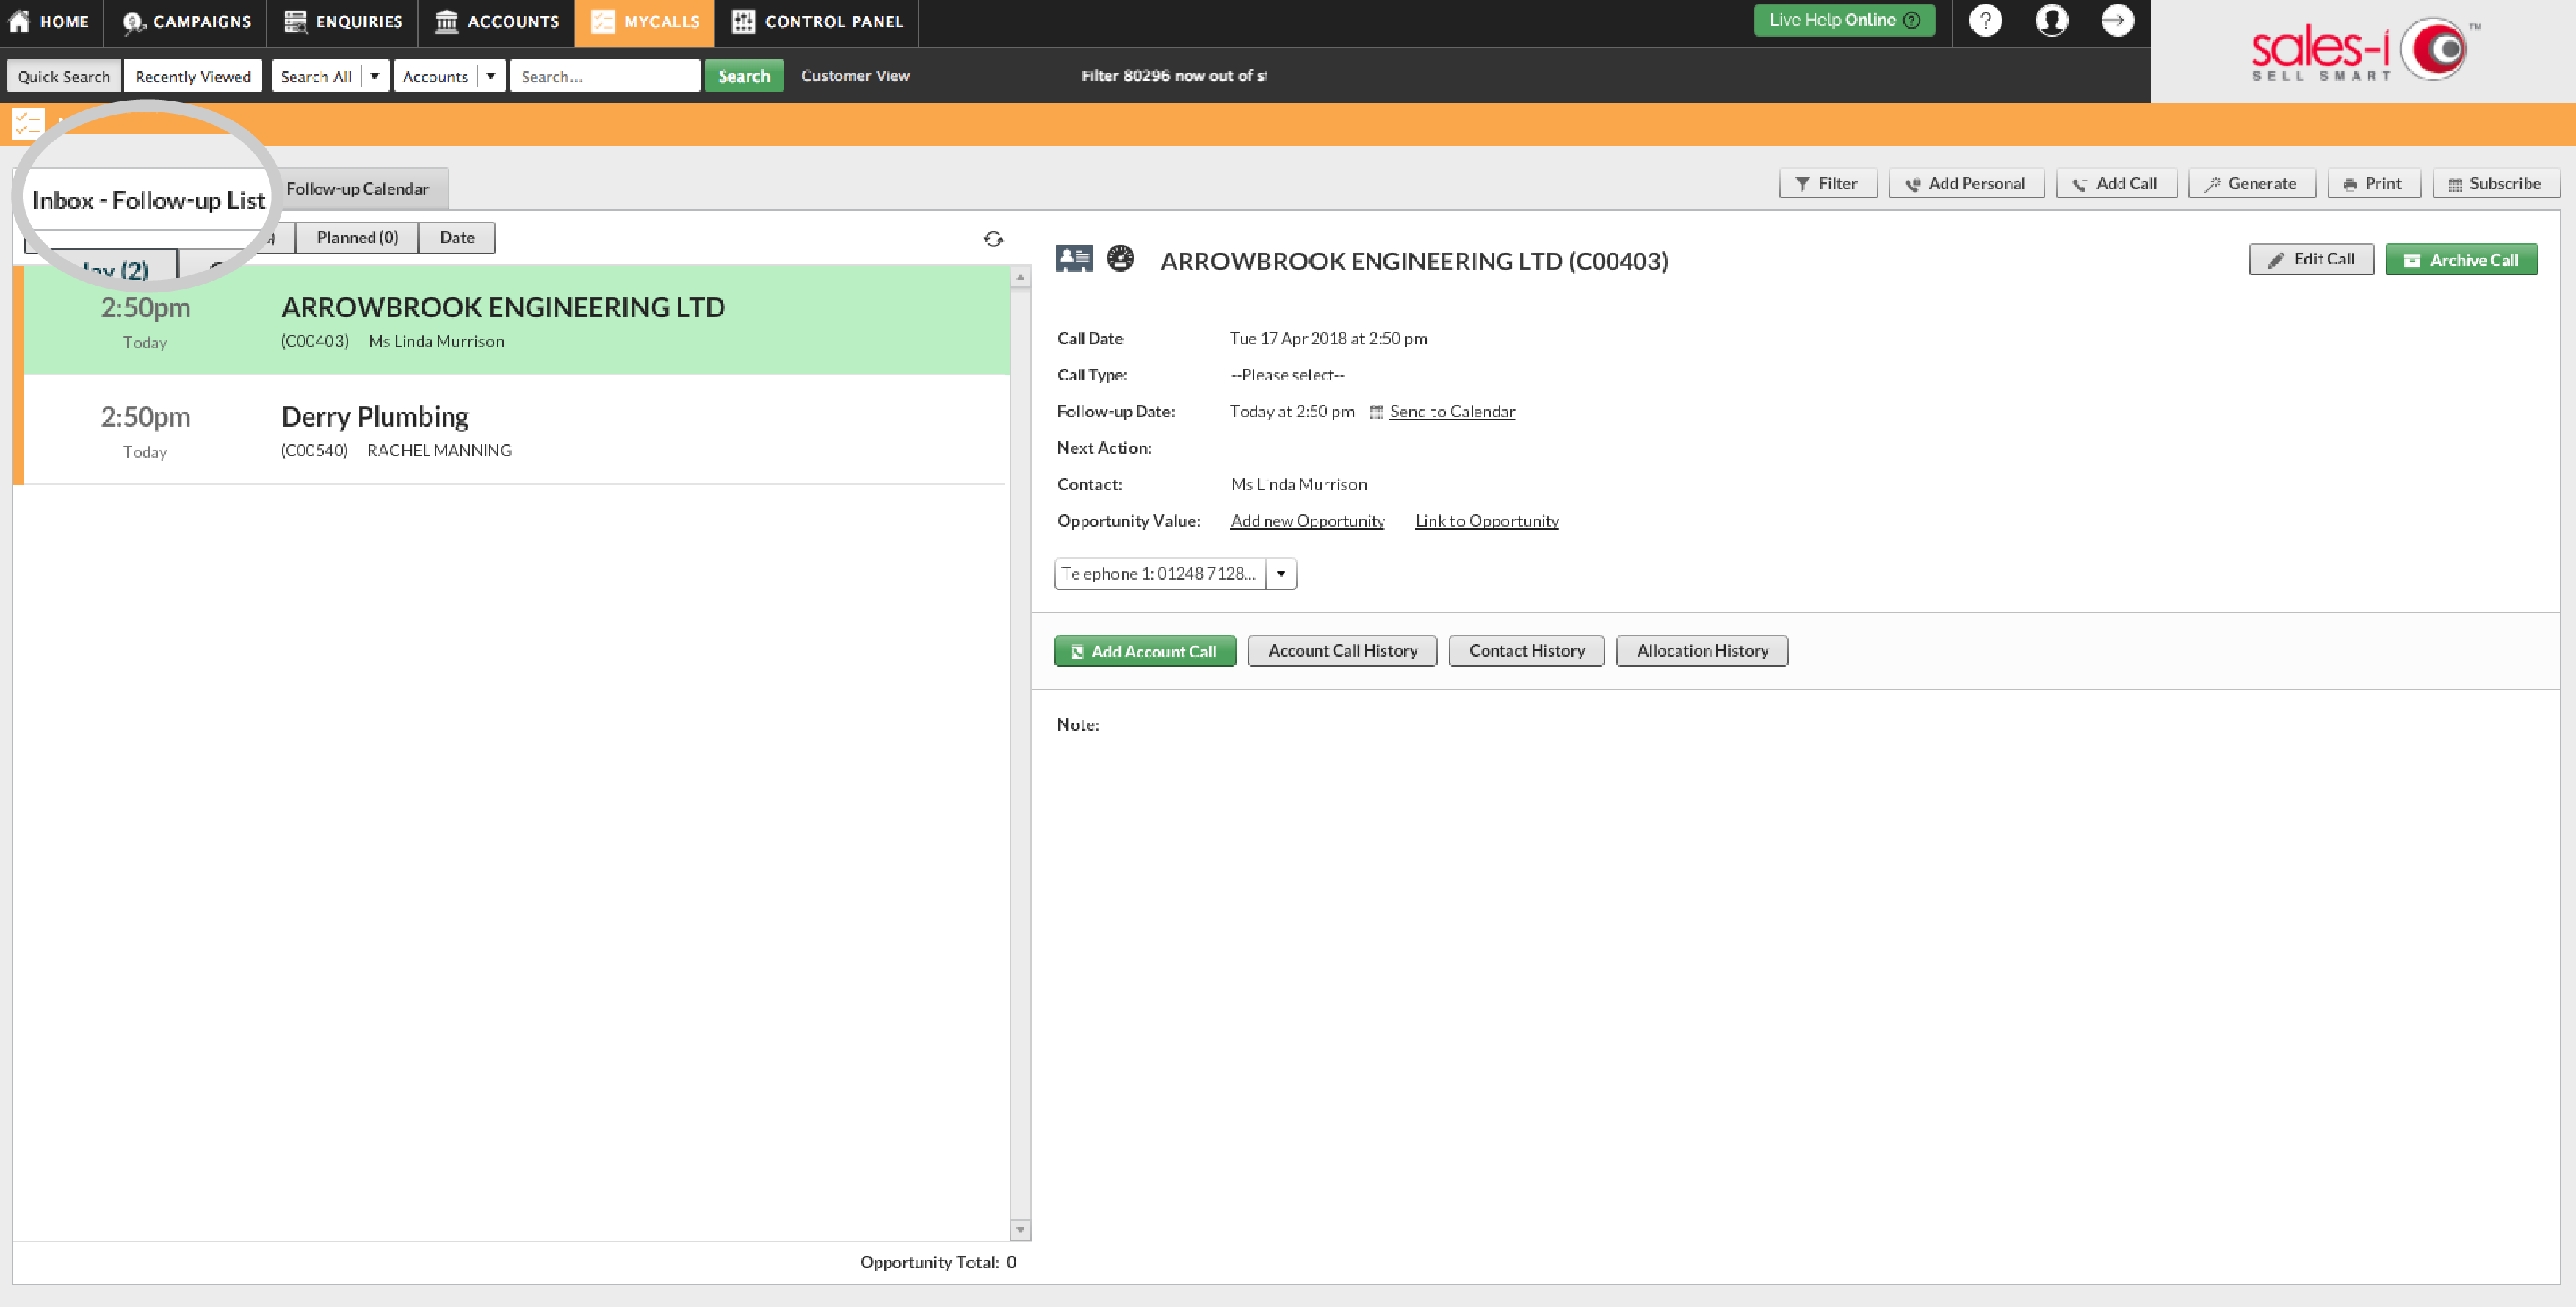
You can view your booked interaction in the Inbox – Follow-up List view, in the relevant section.
Step 7: Sync with Office – Optional
Our Microsoft Exchange/Office 365 integration tool allows you to seamlessly update both your sales-i and Exchange accounts at once. It has been designed to allow contacts, emails and appointments to be viewable and editable within both your Microsoft Exchange/Office 365 email client and sales-i.
Apple
Download a PDF version
Step 1: Tap MyCalls
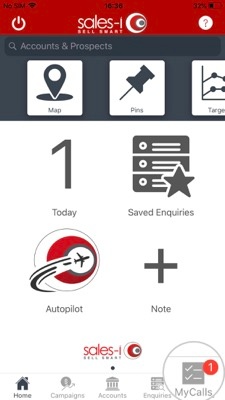
From the bottom navigation menu, tap MyCalls.
Step 2: Tap +
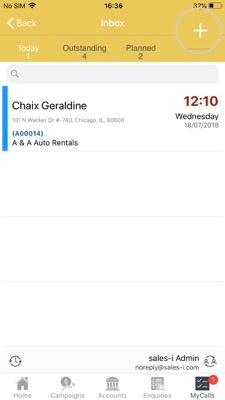
Tap the + at the top of the screen, then tap Account to search for an account.
Please Note: Accounts need to pre-exist prior to booking an interaction.
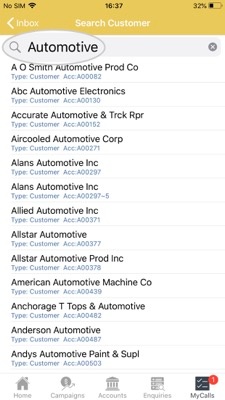
Step 3: Search for customer
Search for your Customer or Prospect by typing the (full or partial) account name or number.
Then, select the desired Account from the results list.
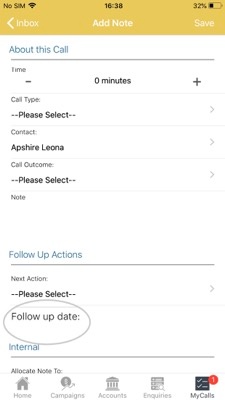
Step 4: Tap Follow up date
Tap the Follow-up Date time & date selector box to schedule your next interaction with the account.
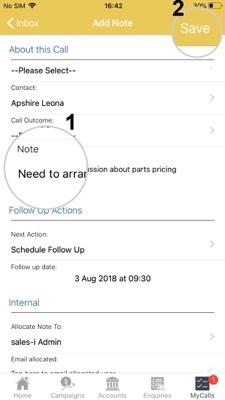
Step 5: Add note and Tap Save
Complete any other notes relating to this call (i.e. Future action/talking points).
When you are ready, tap Save in the top right hand corner.
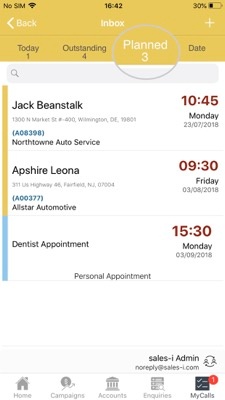
Step 6: Tap Planned
Tap Planned in the Inbox menu to view your future appointments.
Alternatively, tap MyCalls in the top left hand corner and then
to view your planned calls on a specific date.
Step 7: Email integration
Our Microsoft Exchange/Office 365 integration tool allows you to seamlessly update both your sales-i and Exchange accounts at once.
It has been designed to allow contacts, emails and appointments to be viewable and editable within both your Microsoft Exchange/Office 365 email client and sales-i.