Setup
Overview
After purchasing sales-i, you will designate an administrator to complete the setup process. This guide walks through each step of the setup process.
Logging Into sales-i
The administrator selected to complete the setup process will receive an email containing the following:
- Instructions to create their password and log into sales-i.
- A link to our Data Import Guide, which explains how to format your sales data for import. This step must be completed before starting the setup process.
Setting up sales-i
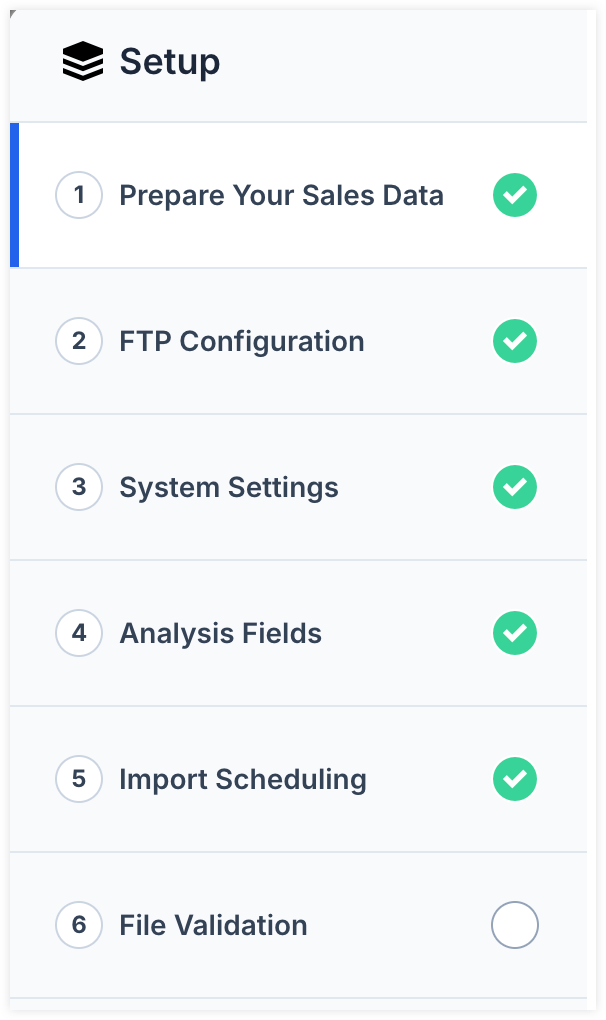
One you have prepared you sales data for import, log into sales-i to begin the guided setup process. Setup is broken into a series of steps that must be completed in order. You can return to completed steps at any time, and your progress is saved automatically as you move through the process.
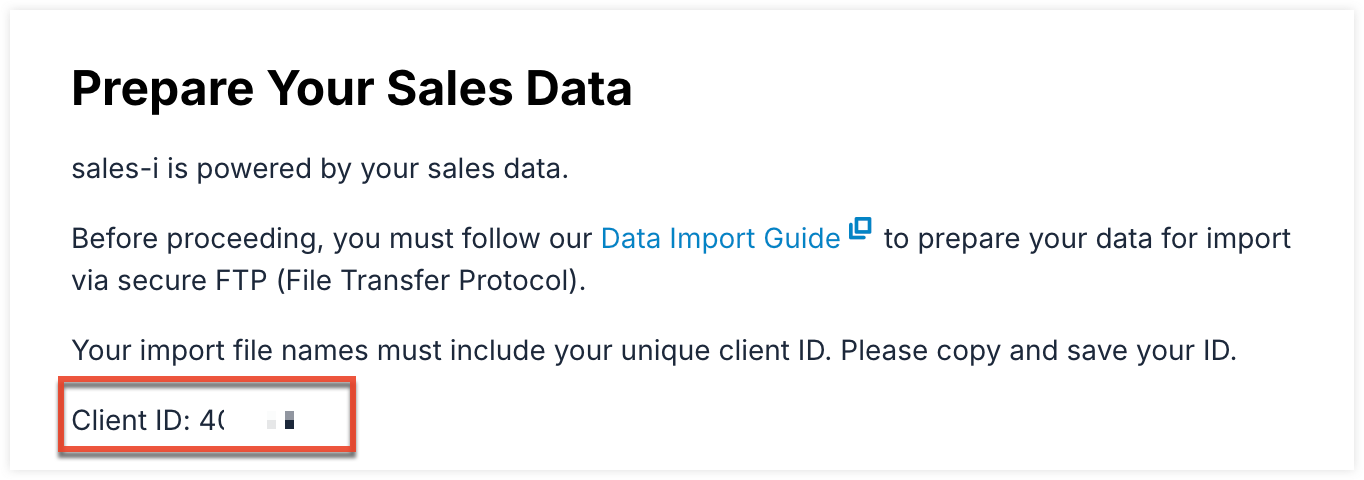
Step One: Prepare Your Sales Data
In this step, you must prepare your sales data for import before moving forward. During this step, you are also provided with your client ID, which must be included in your import file names. Please refer to our Data Import Guide for more information on import file naming.
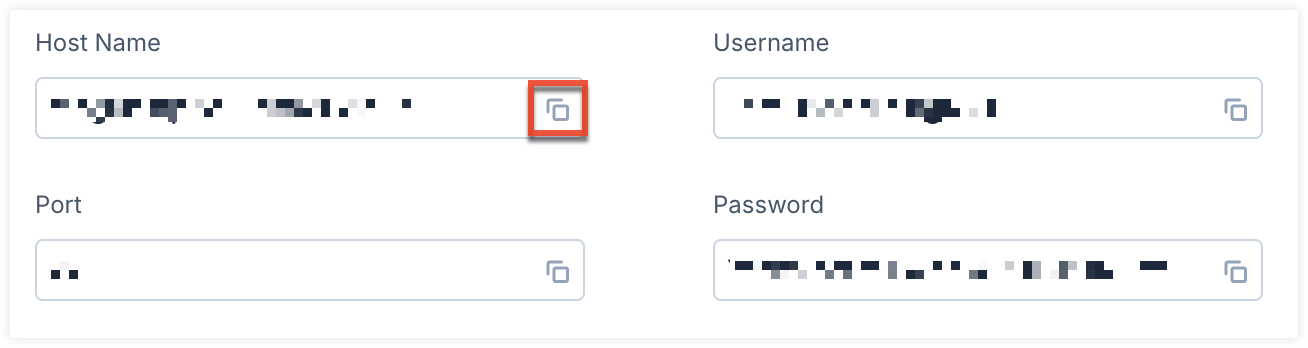
Step Two: FTP Configuration
In this step, you will configure your FTP solution and confirm that all required files can be located:
- Copy and paste the provided credentials into your FTP solution. You can use the copy icon to quickly copy each field value.
- Add all required files into your FTP solution.
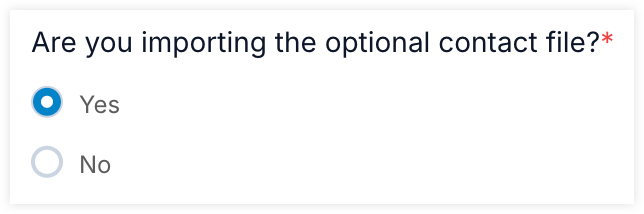
- If you are importing the optional contact file, select "Yes".
- Click Locate files to validate that the required files can be found.
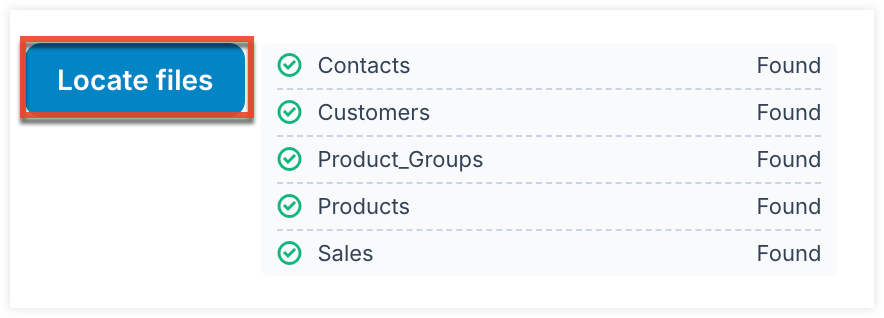
- If a file cannot be located, an error message is displayed. All required files must be located before you can proceed to the next step.
Step Three: System Settings
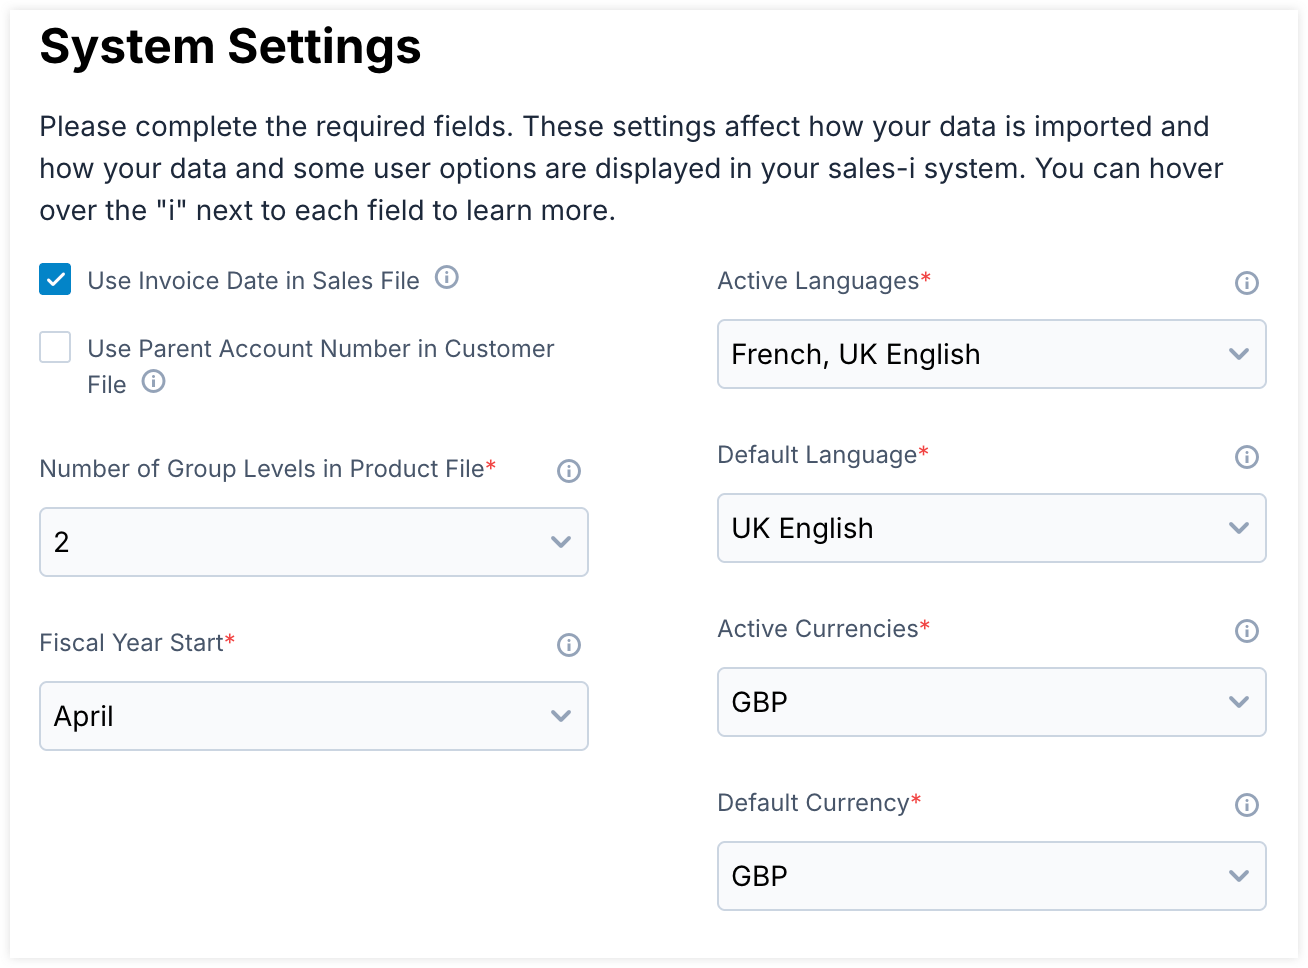
In this step, you will configure settings that affect how your data is imported and how your data and some user options are displayed in your sales-i system. Below is more information about each setting.
| Name | Description |
| Use Invoice Date in Sales File | When selected, sales data is grouped sequentially by the “Invoice Date” column in your Sales file. If not selected, the data is grouped using the “Account Period” and “Accounting Year” columns instead. |
| Use Parent Account Number in Customer File | When selected, the “Parent Account Number” column in your Customer file is used to define parent-child relationships. When not selected, the column is ignored. |
| Number of Group Levels in Product File | Select the number of product group levels included in your Product file. If your file contains more group levels than the number selected, the additional levels will be ignored. |
| Fiscal Year Start | Select the month your fiscal year starts. |
| Active Languages | Select which languages are available to your users. |
| Default Language | Select which language will be selected for users by default. |
| Active Currencies | Select which currencies are available to your users. |
| Default Currency | Select which currency will be selected for users by default. |
Step Four: Analysis Fields
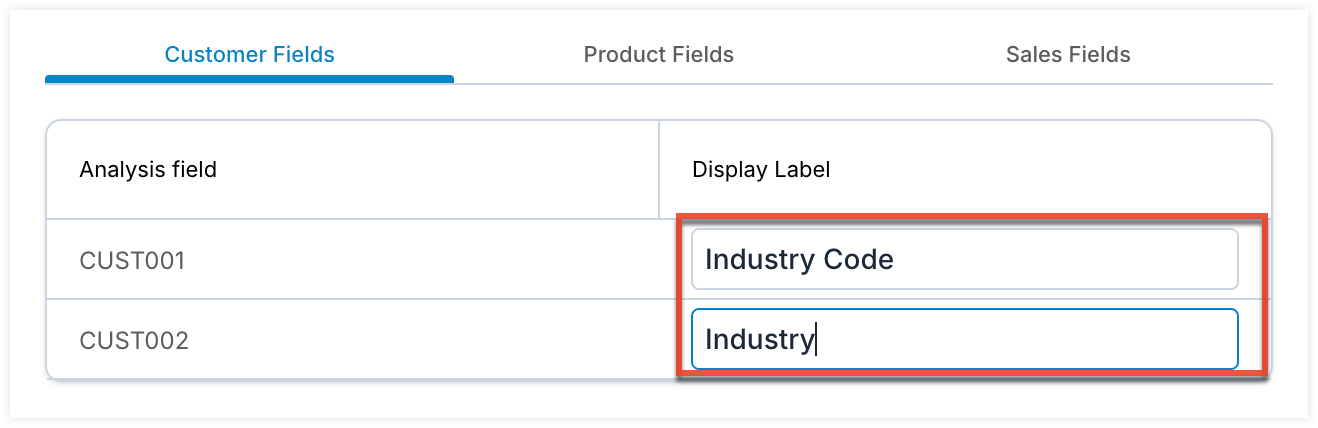
In this step, you will configure any additional custom analysis fields added to your Customer, Products, or Sales files:
- Use the tabs to switch between fields for each file type.

- The Analysis field column list the header title for each custom analysis field.
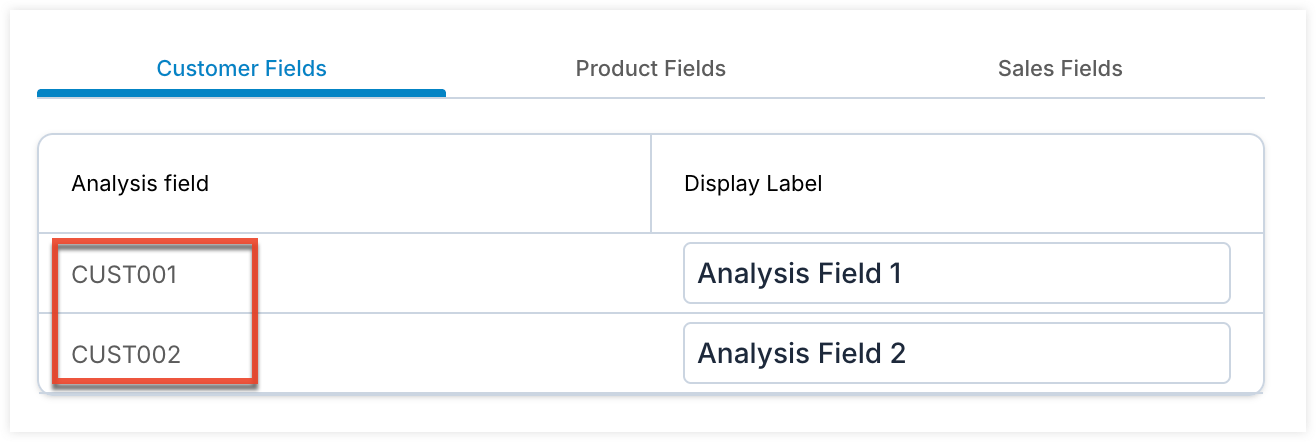
- Use the Display Label column to set the display label for each field.
Step Five: Import Scheduling
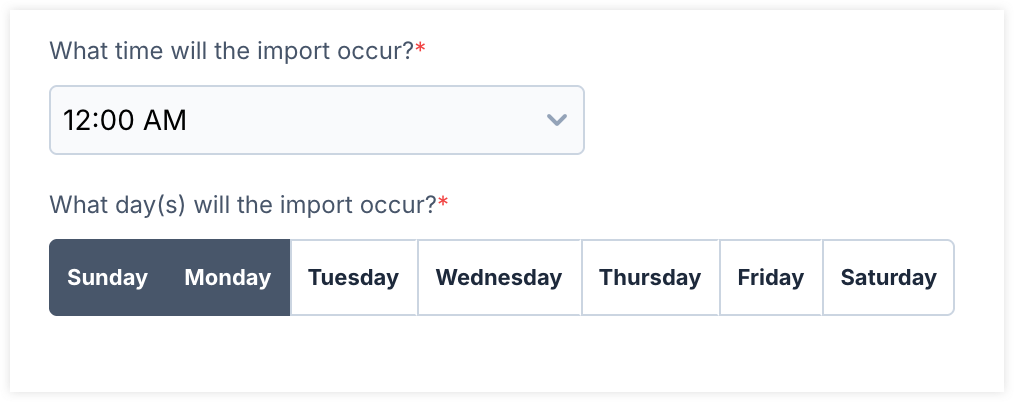
In this step, you will configure the time and days each week your files will be imported from your FTP solution:
- Use the "What time will the import occur?" field to select the time the import will run.
- Use the "What day(s) will the import occur? field to select the days the import runs each week.
Step Six: File Validation
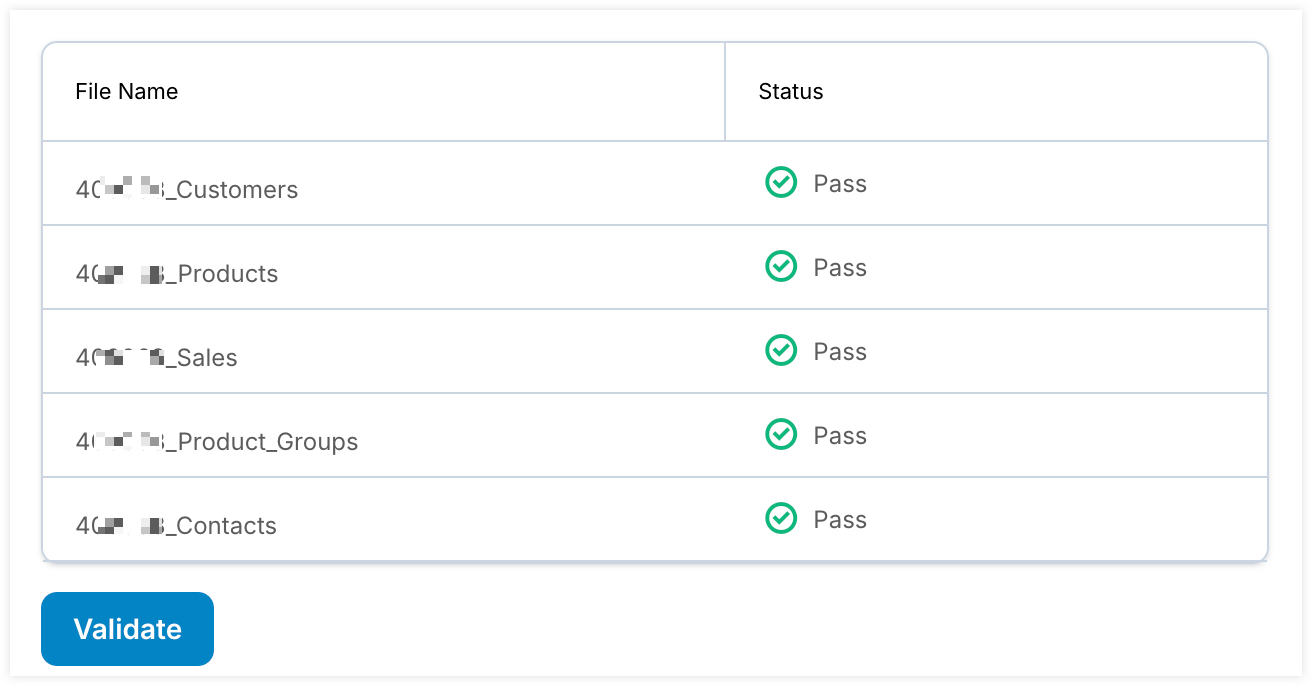
In this step, you will validate the contents of your import files to ensure the data is formatted correctly:
- Review your files and confirm there are no validation errors. All files must pass validation before you can begin the import process.
- If one or more of your files trigger a validation error, review the error message and work to resolve the issue in the affected import file.
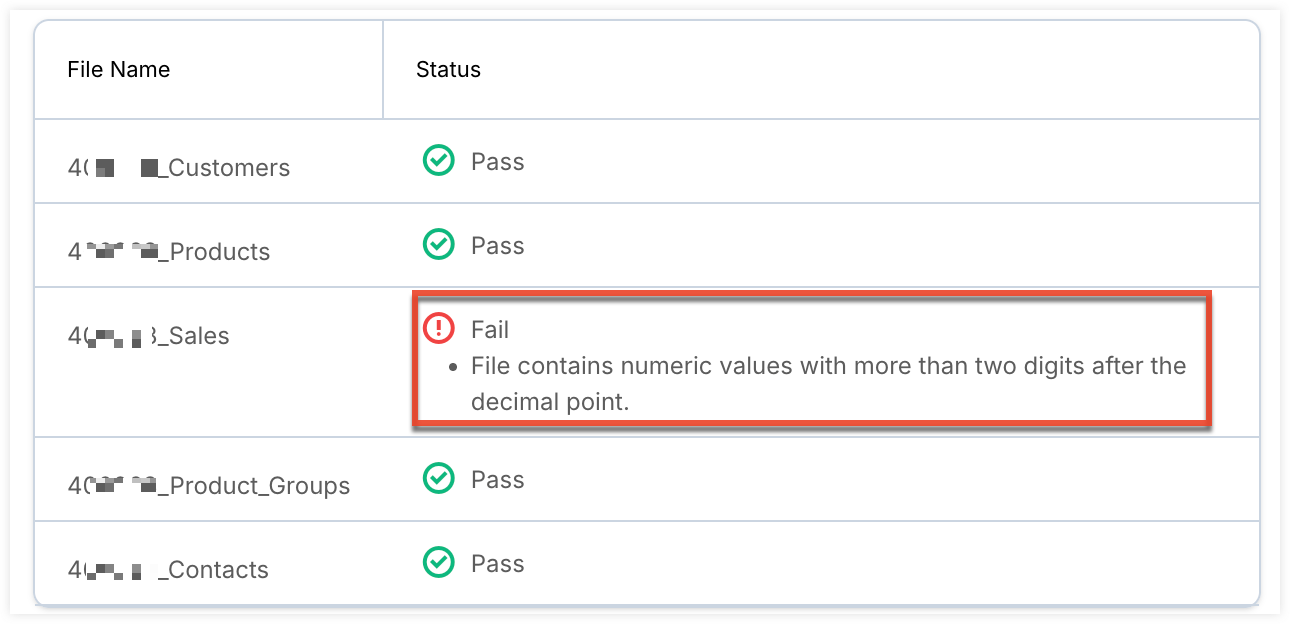
- Once the issue is resolved on the file level, click the Validate button to re-trigger the validation process.
- After all files pass validation, click "Import" to begin the import.
- Depending on the amount of data, the import process may take up to a few hours. You will receive an email once the import is completed.
Contacting Support
If you need help at any point during the setup process you can reach out to our support team:
- Click the question mark icon on any step.

- Use the Message field to describe your issue.
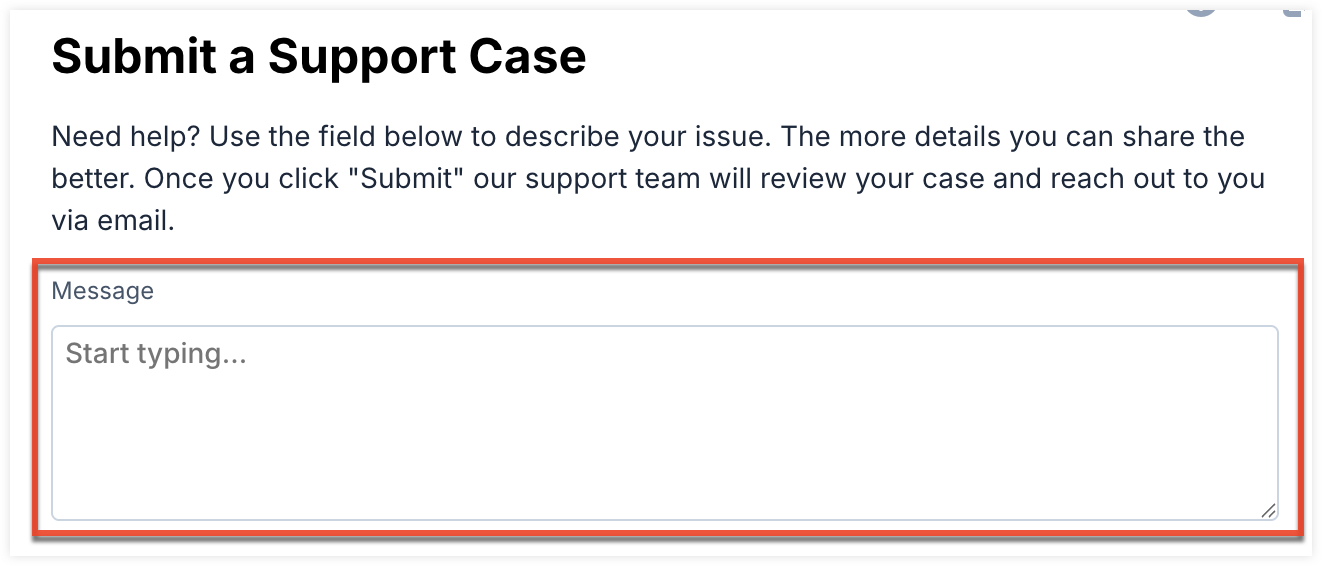
- Click "Submit".
Once our support team reviews your case they will reach out via email.