How to add a prospect
Overview
Adding a potential customer to sales-i is the perfect way to ensure you track any and all conversations you're having with them and set you up for future success when you win their custom.
Desktop
Download a PDF version
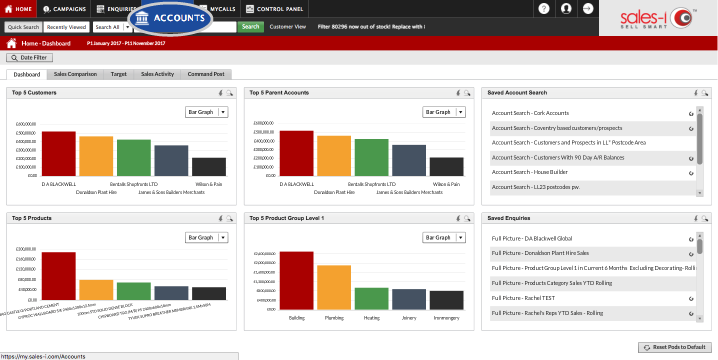
Step 1: Click Accounts
Click Accounts.
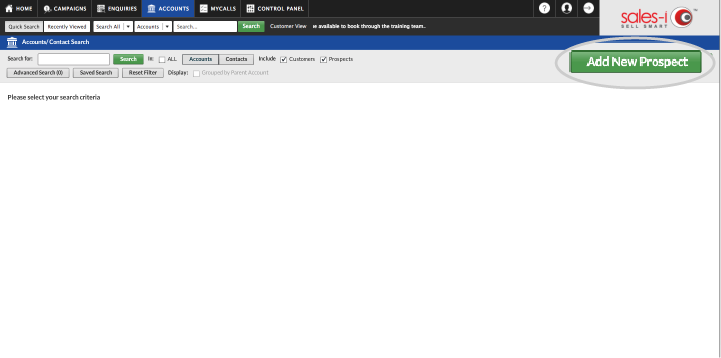
Step 2:Click Add New Prospect.
Click Add New Prospect.
Top tip: It’s a good idea to search for this prospect first to check they don’t exist on sales-i already.
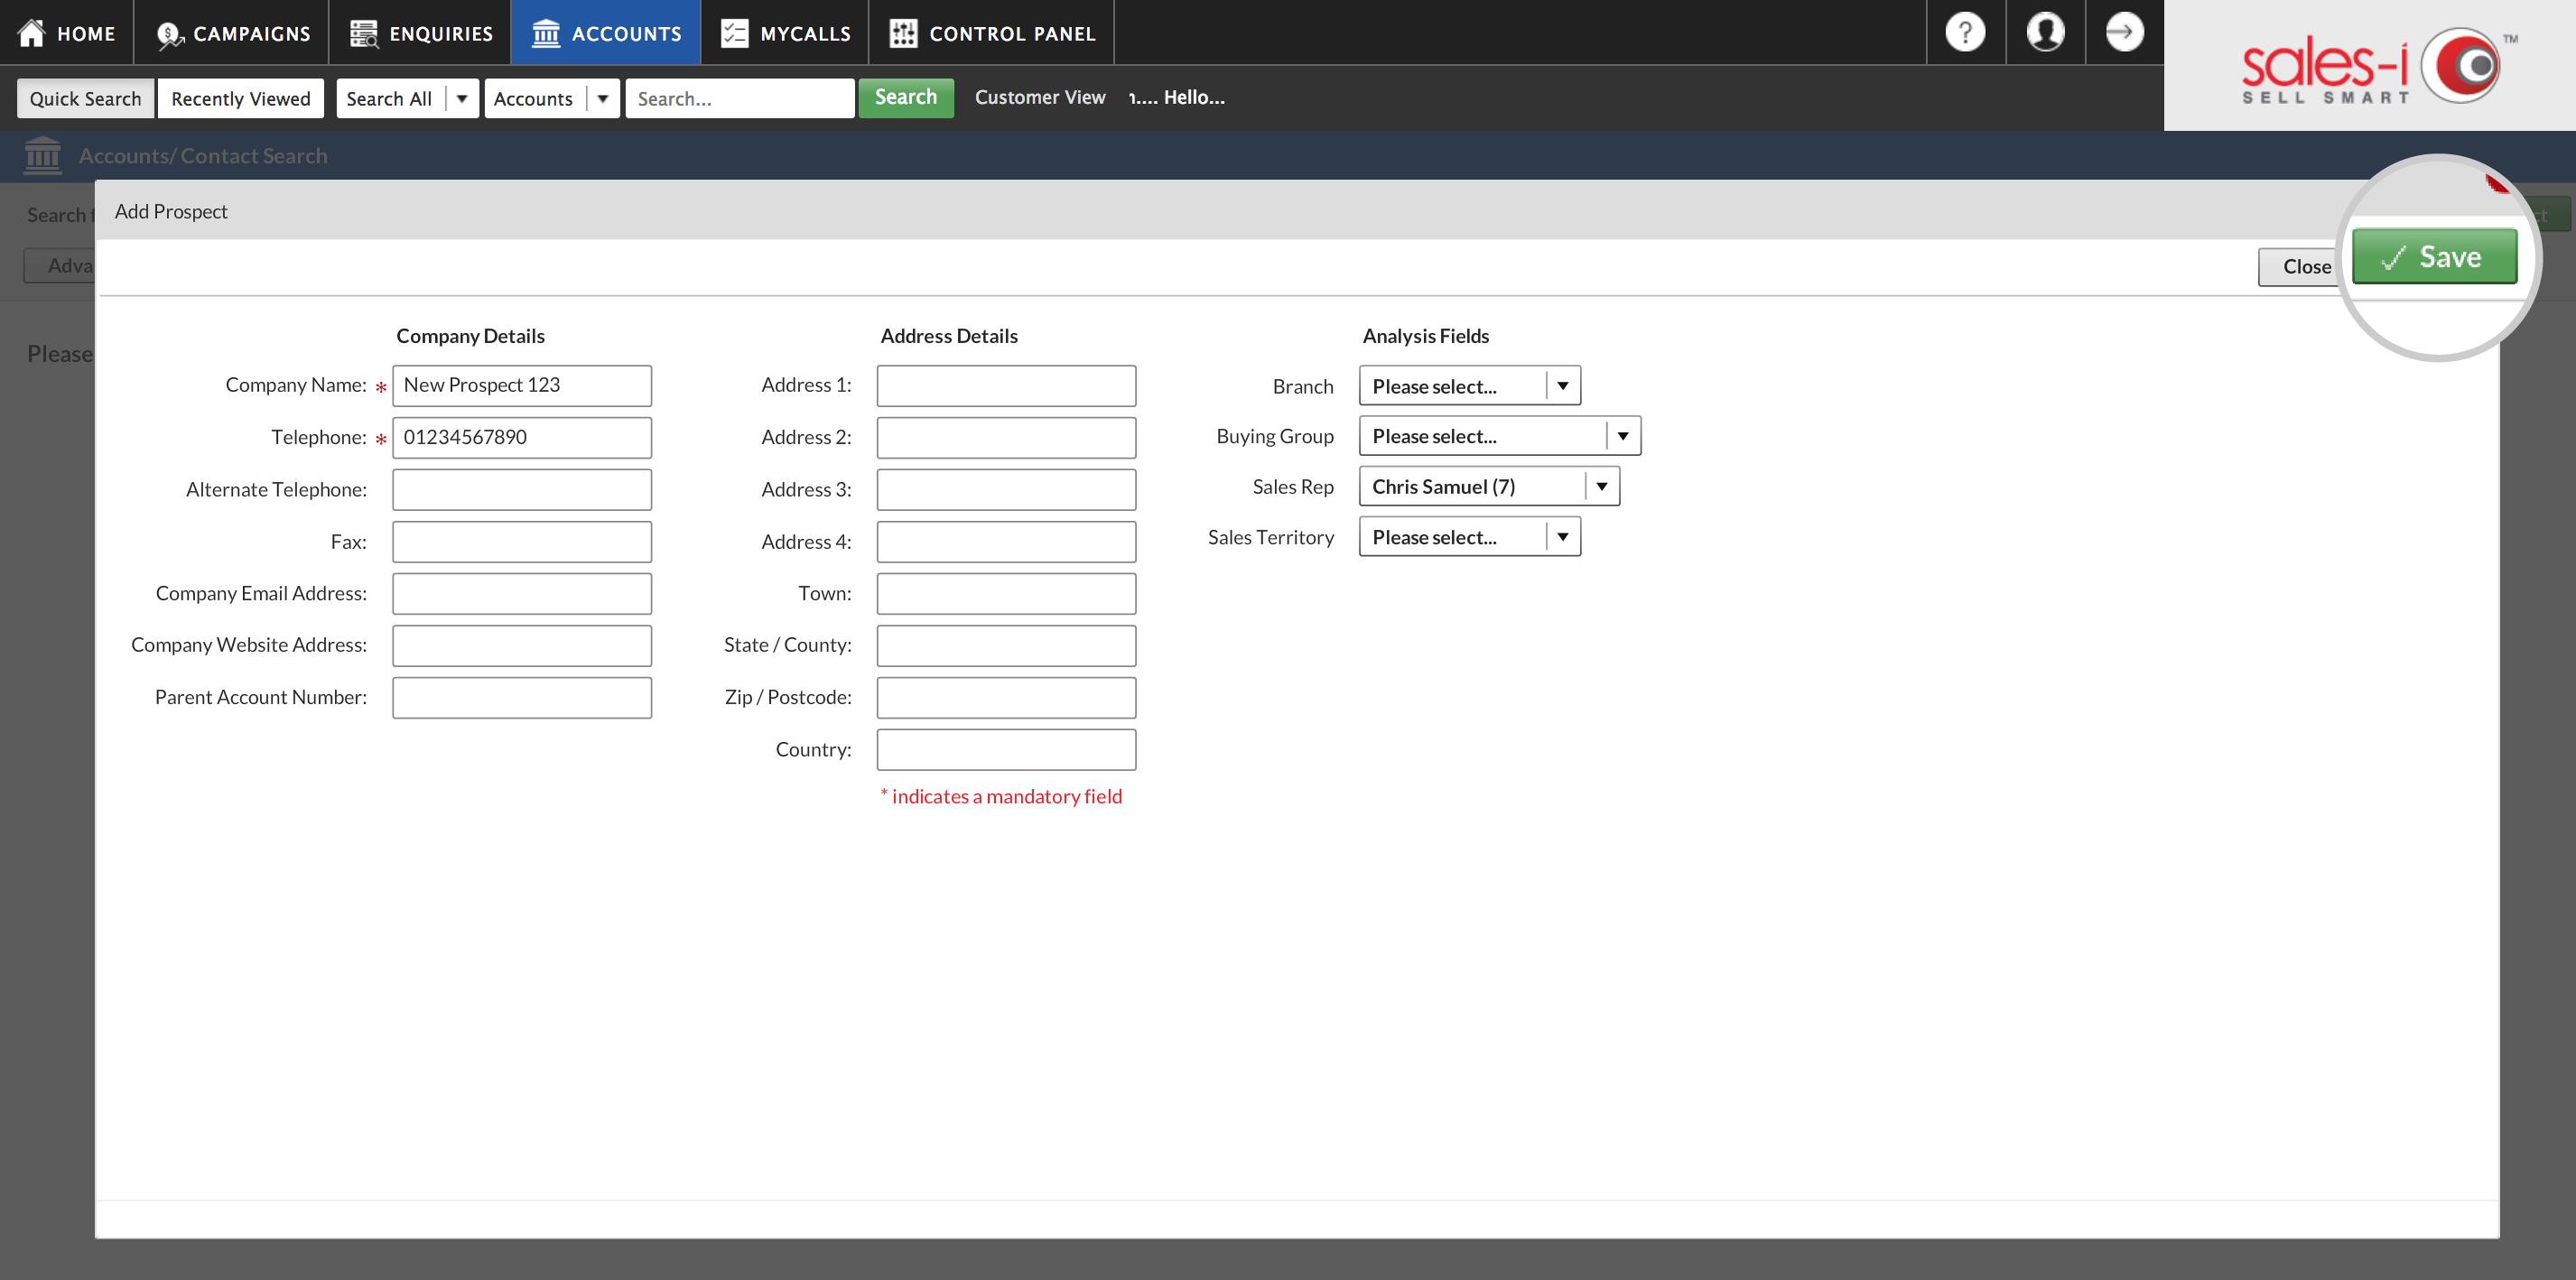
Step 3: Fill in details
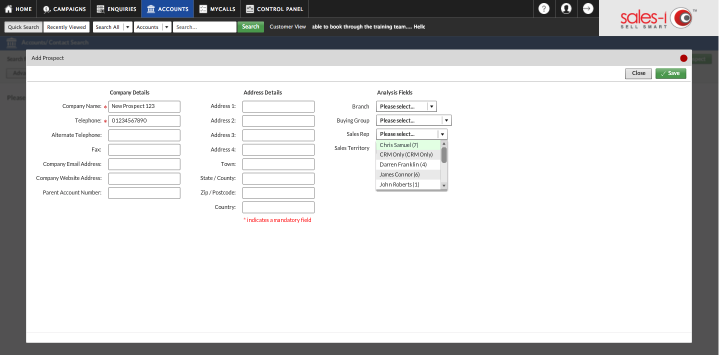
Fill in the necessary details (these can be edited at a later date).
Mandatory fields are indicated with an * asterisk.
Please note: if you are restricted by Sales Rep code – make sure you add this prospect to your own code.
Step 4: Click Save
Click Save.
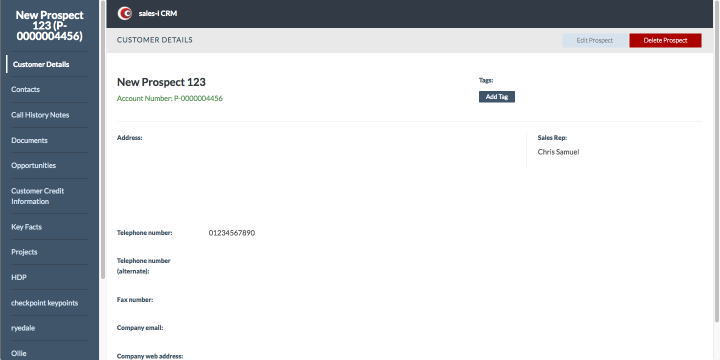
Step 5: Customer Details.
A new browser tab will open showing this new prospect’s details.
From here you can make a note of your calls/conversations with this prospect.
Read this article for our guide on how to do this.
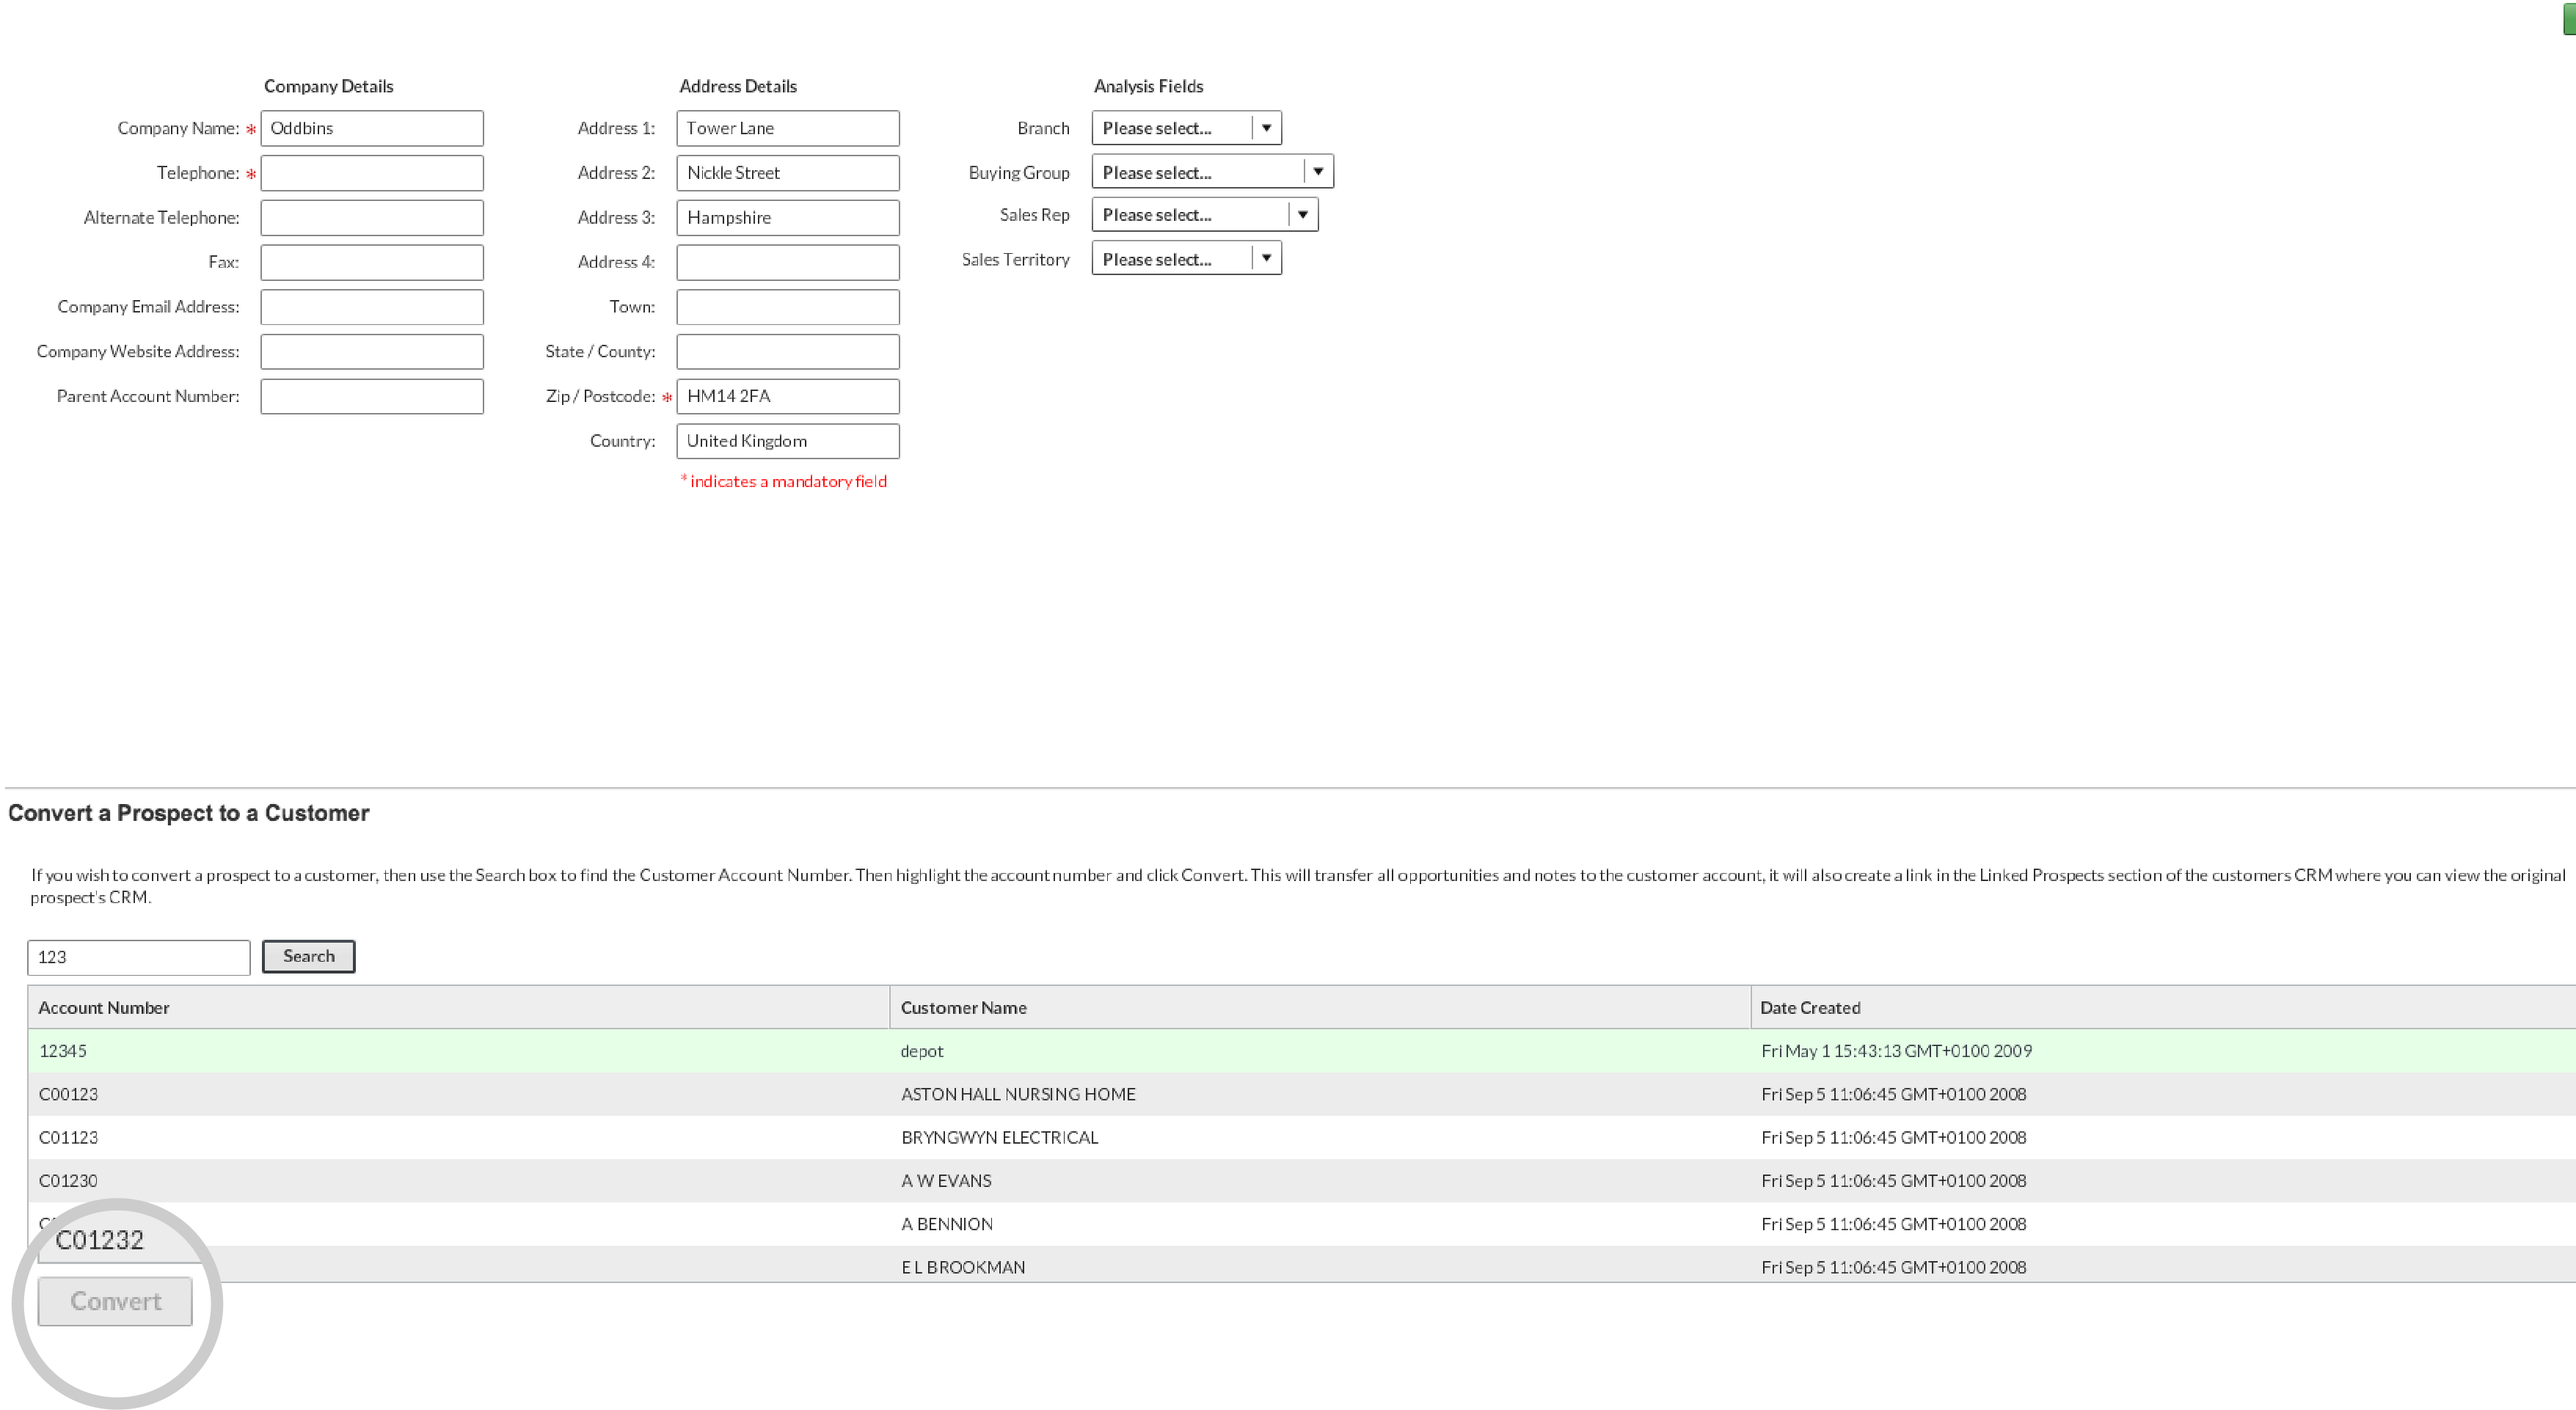
Step 6: Merging prospect to customer
When this prospect starts spending with you, they will appear as a customer in sales-i.
Your Power User can merge the prospect with the customer to ensure none of your hard work, time and effort are lost.
Read this article for our guide on how to do this.
Apple
Download a PDF version
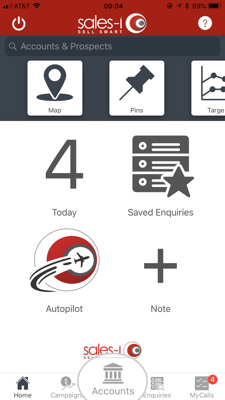
Step 1: Tap Accounts
From the sales-i home page, tap Accounts.
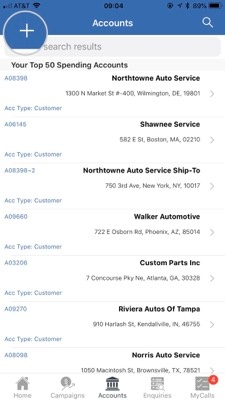
Step 2: Tap +
Tap the + icon (top left hand corner).
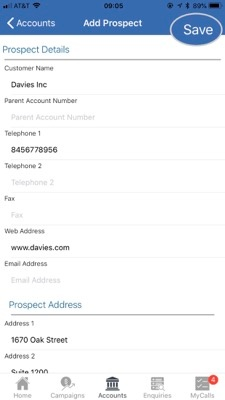
Step 3: Enter info and tap Save
Enter all relevant details for the account and tap Save (top right hand corner).
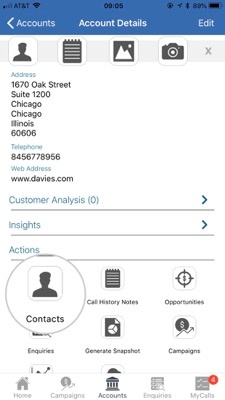
Step 4: Contact info
Now you have saved details of your prospect account, you may wish to enter details of any contacts related to this account. To do so, Select Contacts from the accounts Actions tab.
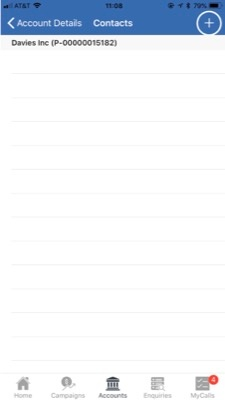
Step 5: Tap +
Tap the + icon (top right hand corner).
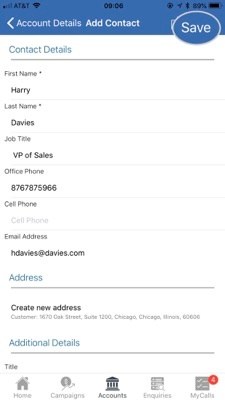
Step 6: Enter contact info
Next, enter your contact's details. You can do this manually or if you already have contacts on your iPhone or iPad, you can upload their details by tapping the Upload icon (located next to the Save Icon in the top right hand corner). Once you have entered all relevant details, tap Save. (Right hand corner).
Android
Download a PDF version
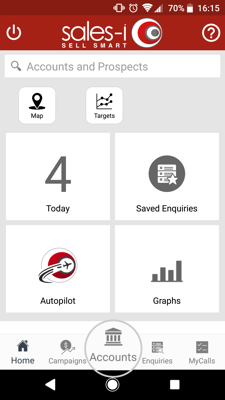
Step 1: Tap Accounts
From the sales-i home page, tap Accounts.
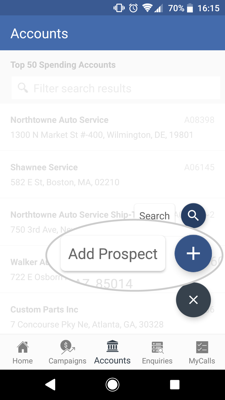
Step 2: Tap three lines icon followed by Add Prospect
Tap the three lines icon in the bottom left corner, this will open up a further menu, tap the Add Prospect + icon.
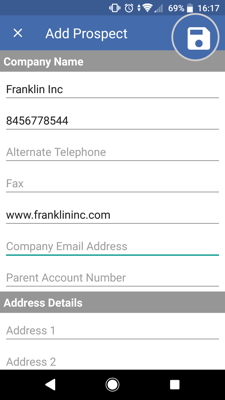
Step 3: Enter account details and save
Now, enter all relevant details for the account and tap the Save icon (top right hand corner).
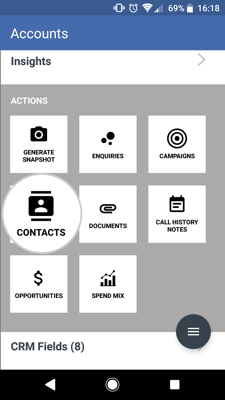
Step 4: Contact info
Now you have saved details of your prospect account, you may wish to enter details of any contacts related to this account. To do so, Select Contacts from the accounts Actions tab.
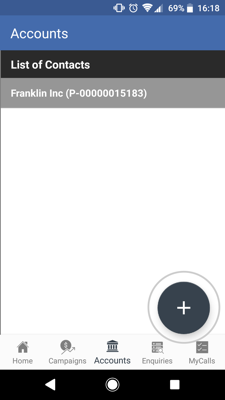
Step 5: Tap +
Tap the + icon to add a contact.
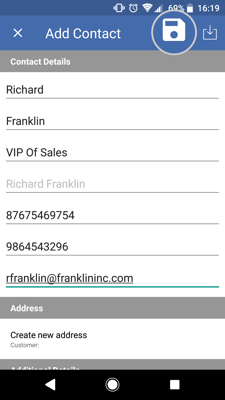
Step 6: Enter contact details and tap Save
Next, enter your contact's details. You can do this manually or if you already have their contact details stored on your Android device, you can upload their details by tapping the Upload icon (located next to the Save Icon in the top right hand corner). Once you have entered all relevant details, tap the Save icon. (Top right hand corner).
