How to add a contact
Overview
This guide will show you how to add a new contact to a Prospect or Customer Record Card allowing you to track your conversations with multiple contacts at any one company.
Desktop
Download a PDF version
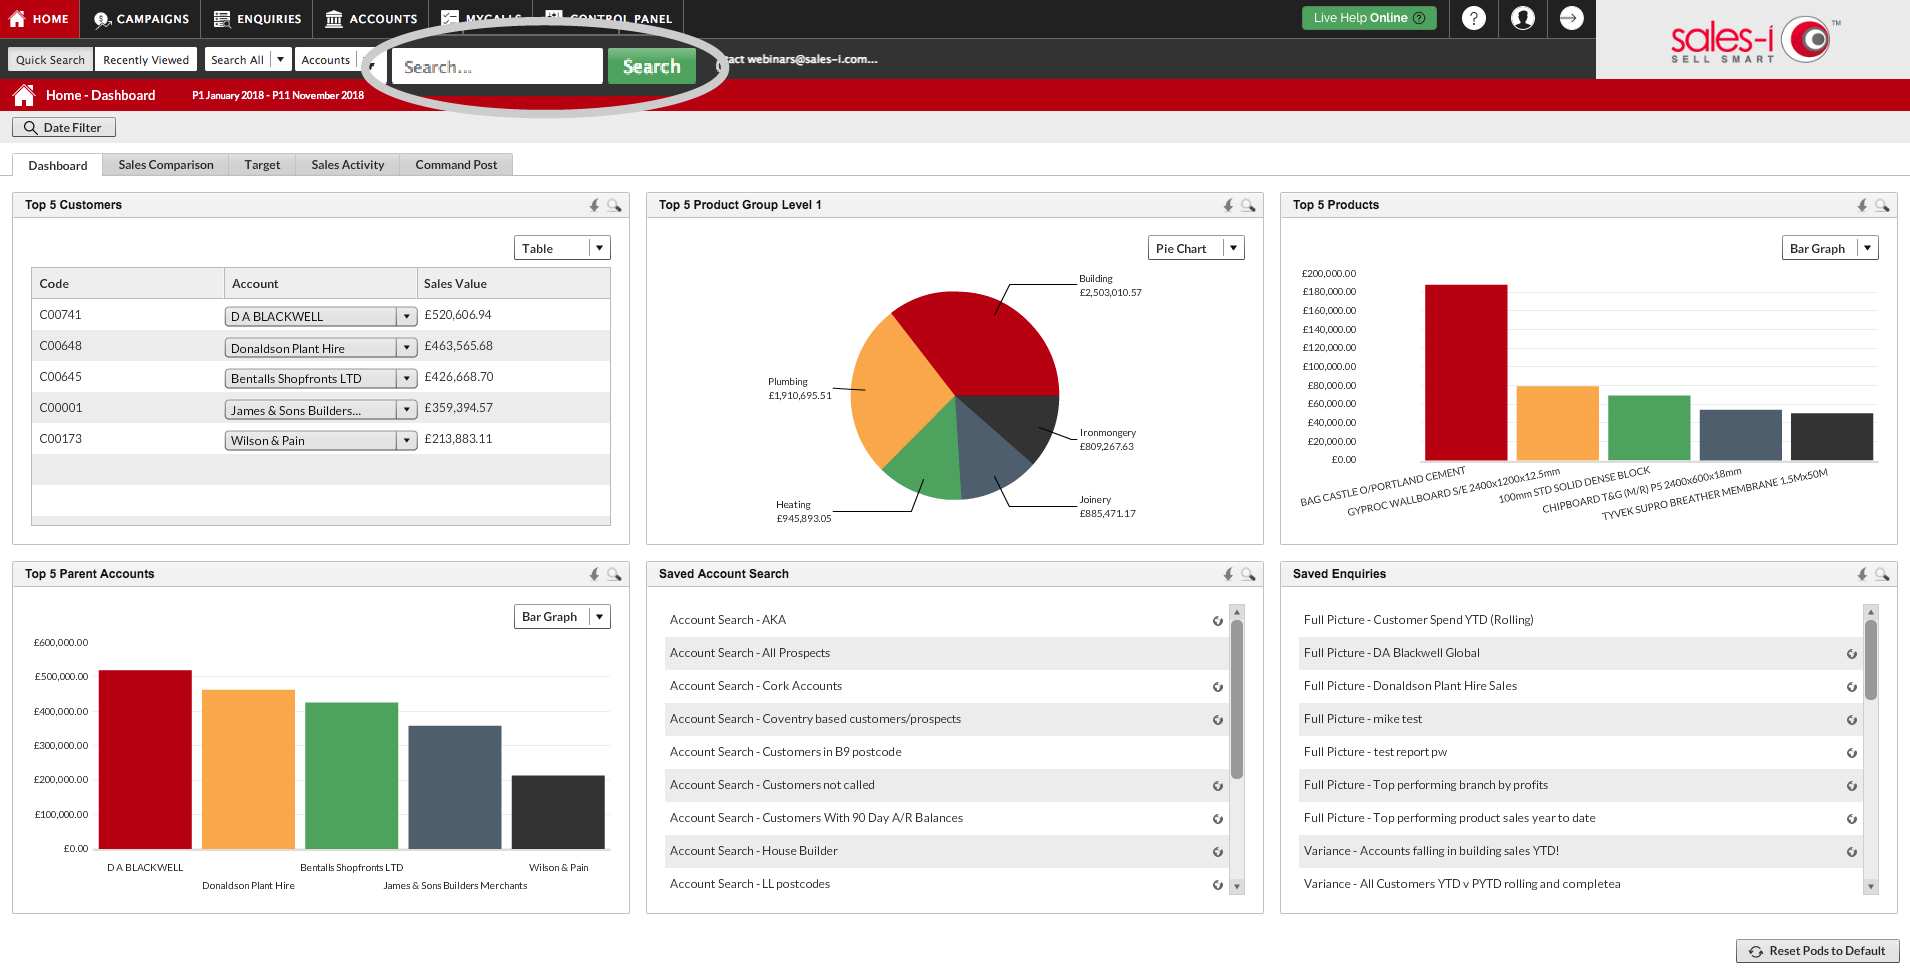
Step 1: Quick Search
Use the Quick Search to find the account you wish to add a contact to.
Step 2: Click CRM
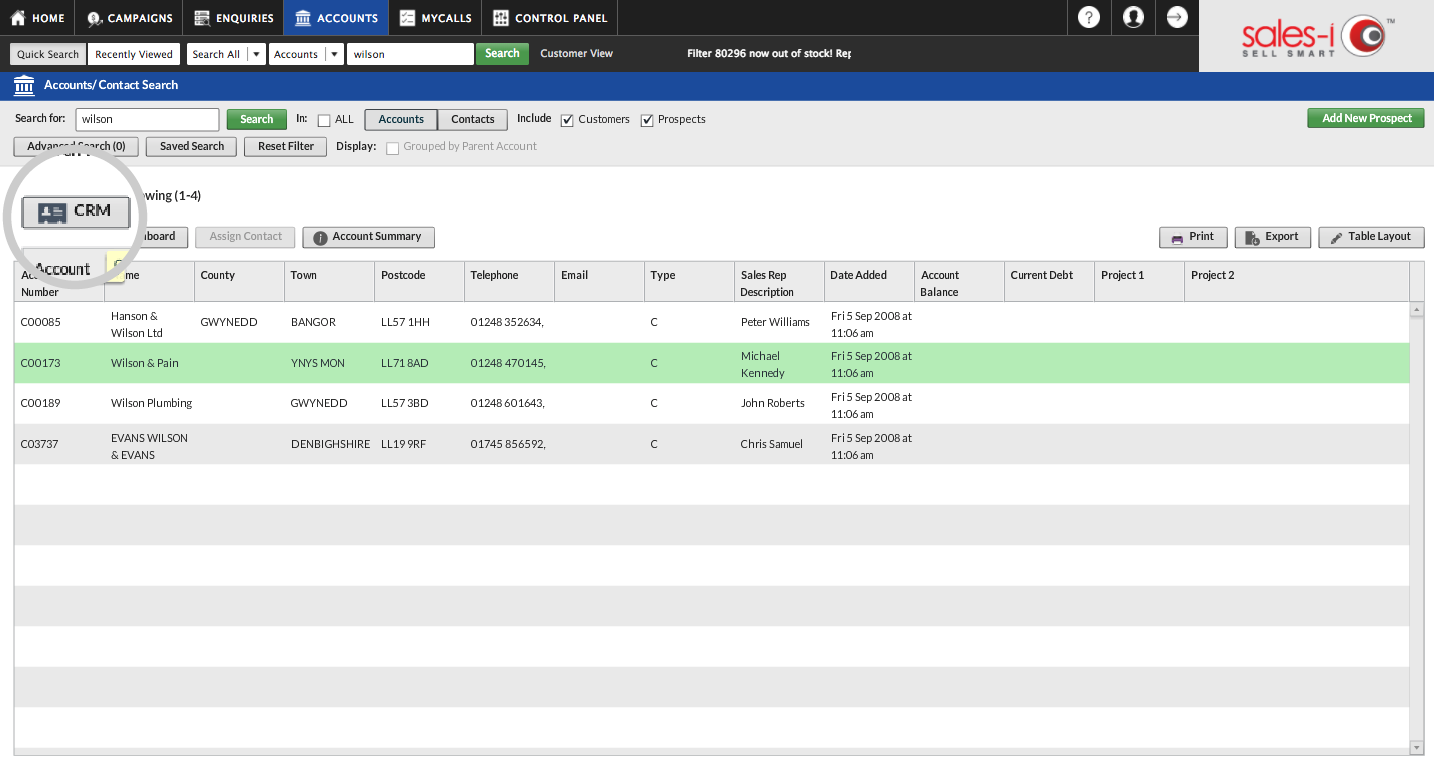
Select the correct customer/prospect from the results list and click CRM to open their record card.
Step 3: Click Contacts
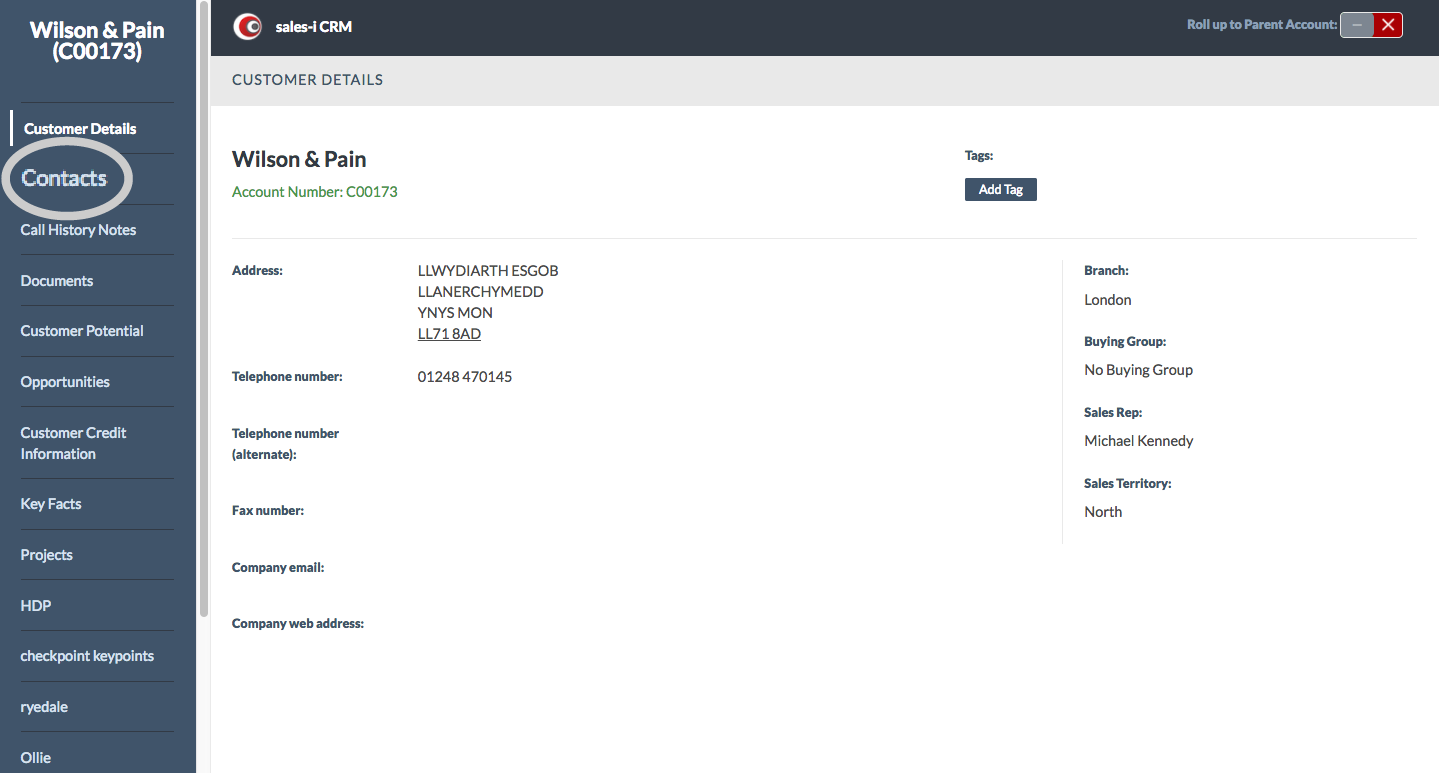
Click Contacts from the menu at the left of the screen.
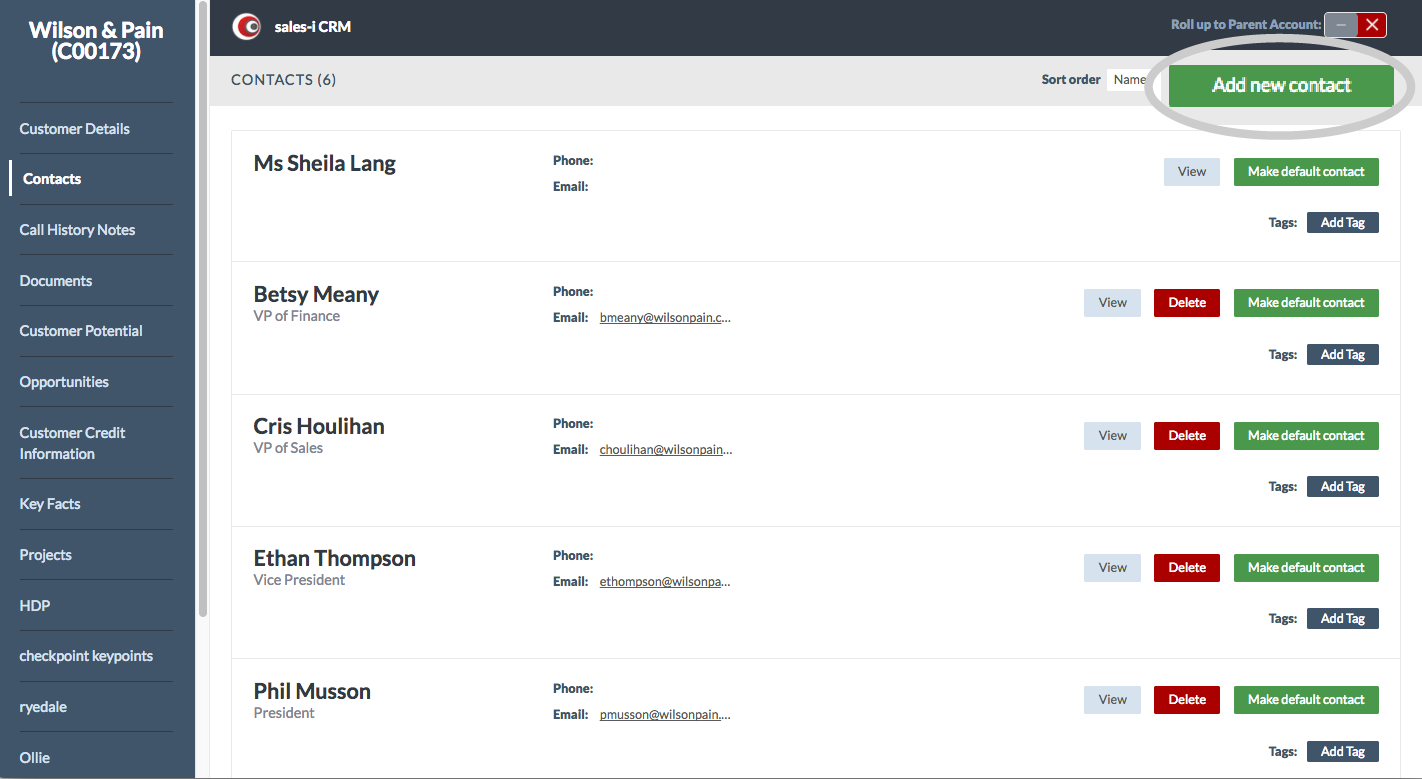
Step 4: Click Add New Contact
This will show any existing contacts for this customer.
Click the green Add New Contact button to add a new contact to this list.
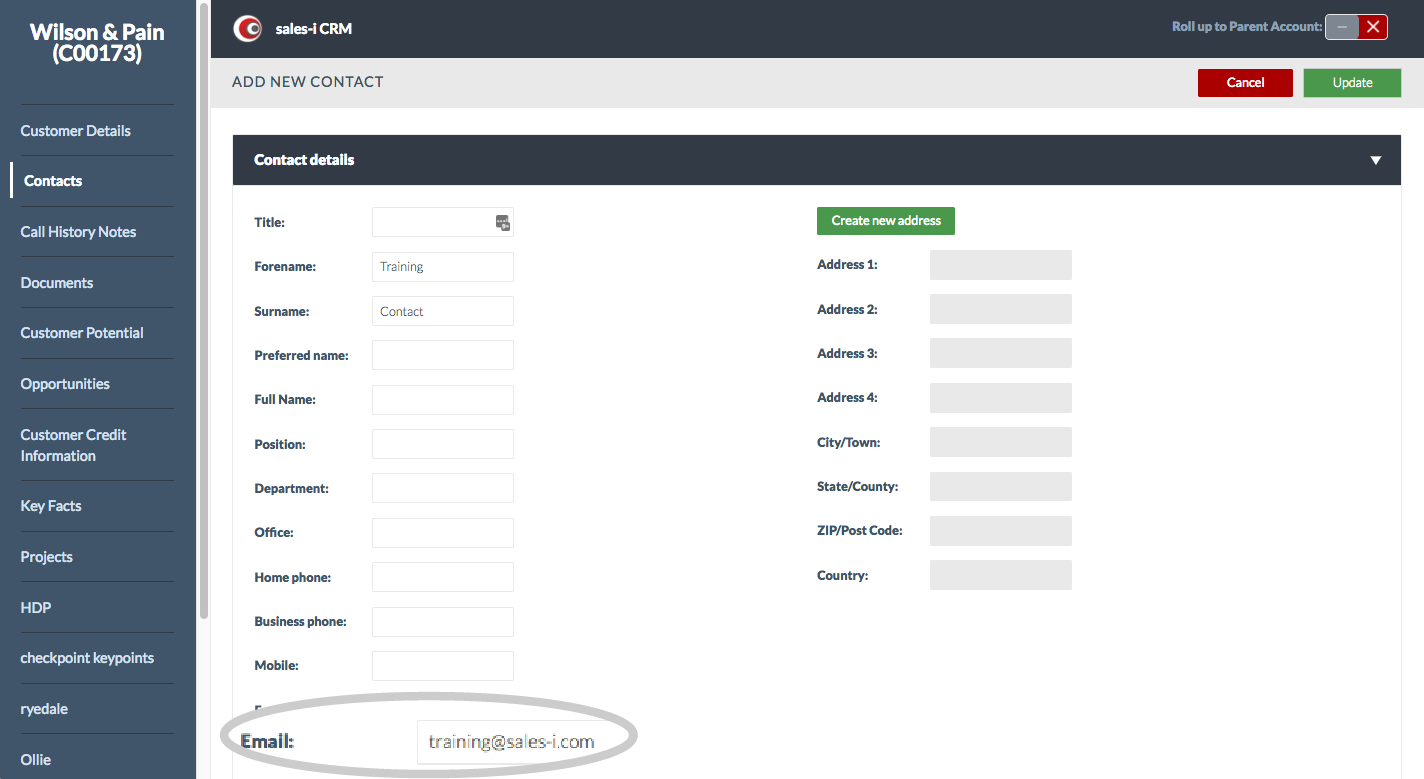
Step 5: Fill in required information.
Fill in the required information.
Please note: You will need to add an email address if you want to use the ’email contact’ functionality.
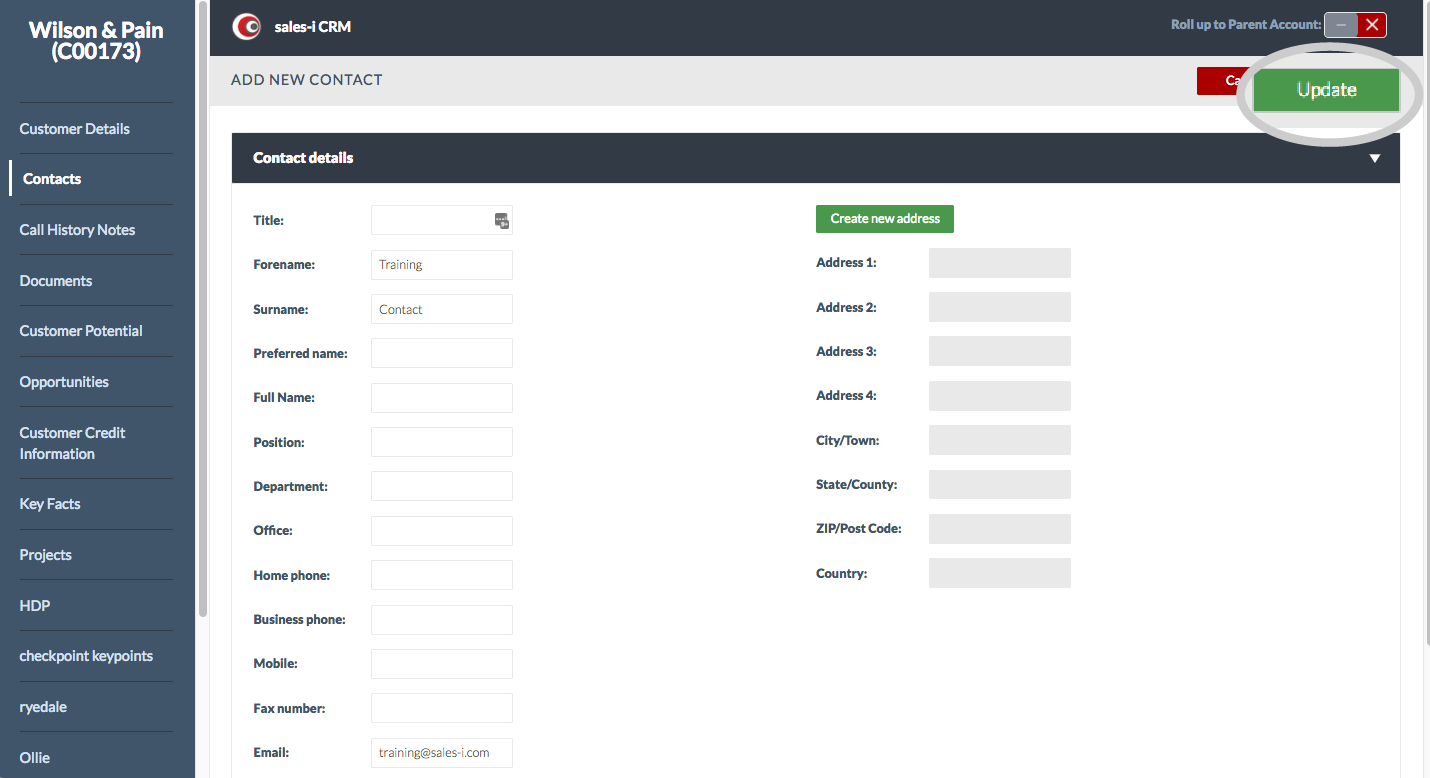
Step 6: Click Update
Click the green Update button in the top right.
Please note: Your Power User may have set some fields as mandatory (e.g. first name, surname, email address, etc…) – these will be indicated in red at the top of the screen should you miss any required fields.
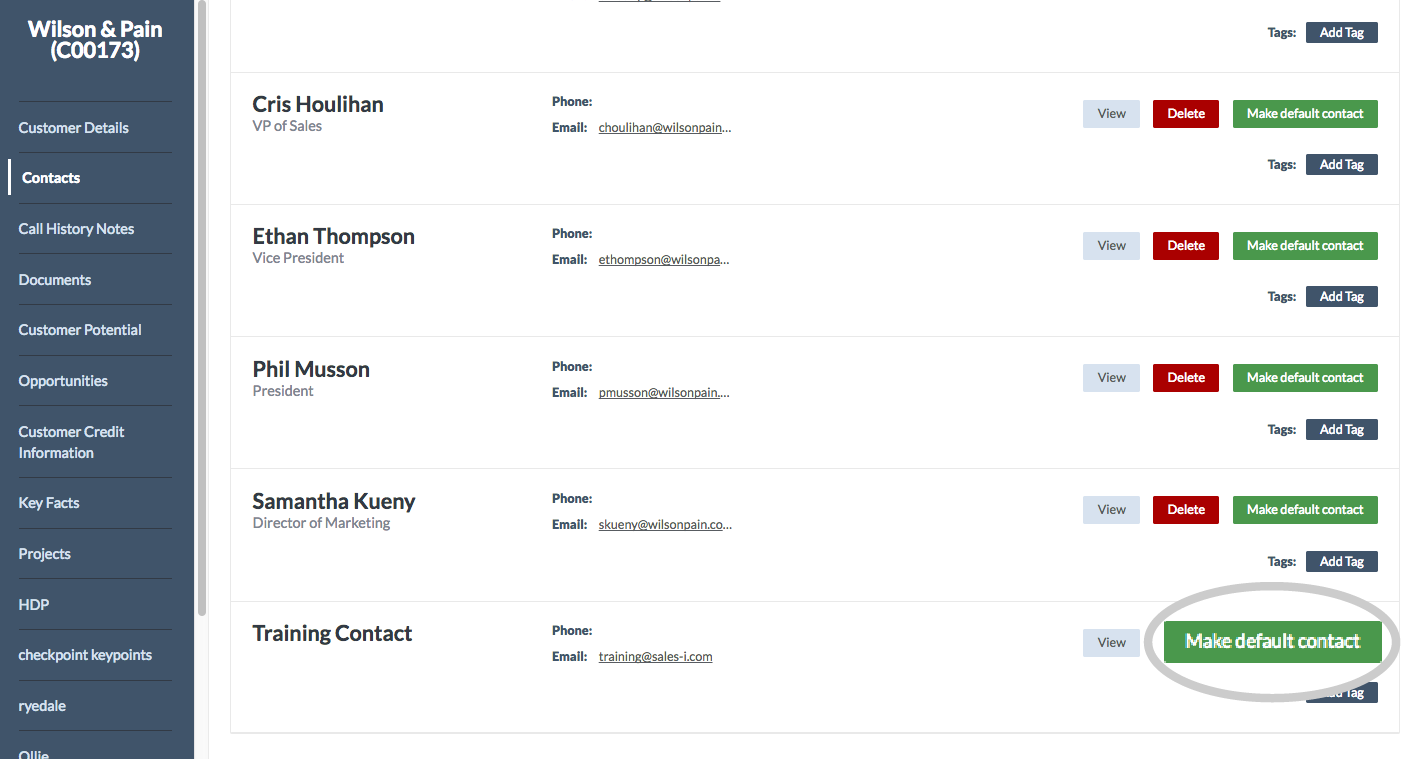
Optional Step: Default Contacts
You can make this contact the Default contact by clicking the green Default contact button next to their contact details.
Doing this means the contact will be auto-selected when adding call notes to sales-i in the future.
Apple
Download a PDF version
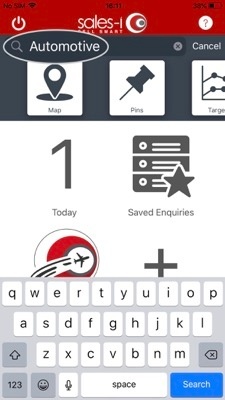
Step 1: Quick Search bar
From the sales-i home screen, use the Quick Search bar to search for the account you would like to add a contact to.
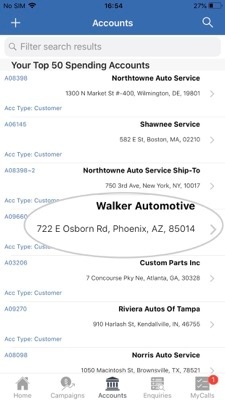
Step 2: Select Account
Select the desired Account from the results list.
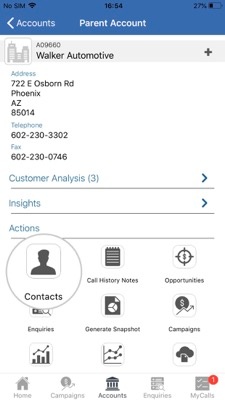
Step 3: Tap Contacts
Scroll down to the Actions section and tap Contacts.
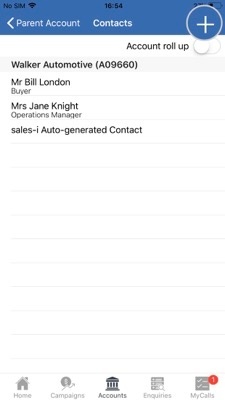
Step 4: Tap +
Tap the + symbol in the top right hand corner of your screen.
Step 5: Enter contact info
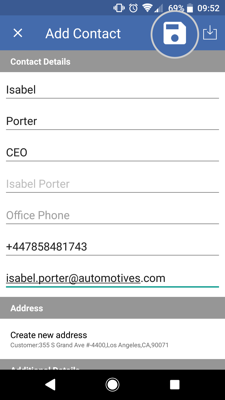
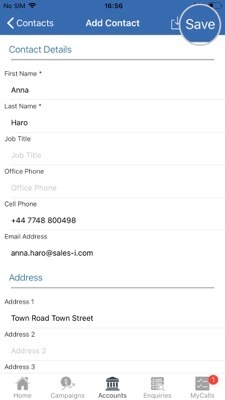
Next, enter your contact's details. You can do this manually or if you already have contacts on your iPhone or iPad, you can upload their details by tapping the Upload icon (located next to the Save Icon in the top right hand corner). Once you have entered all relevant details, tap Save. (Right hand corner).
Android
Download a PDF version
Step 1: Quick Search bar
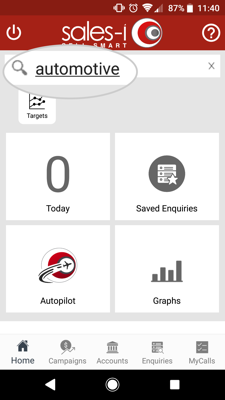
From the sales-i home screen, use the Quick Search bar to search for the account you would like to add a contact to.
Step 2: Select Account
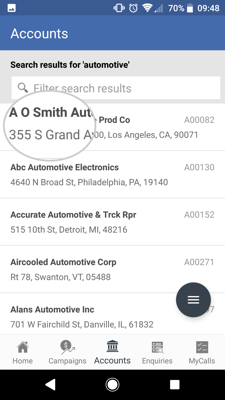
Select the desired Account from the results list.
Step 3: Tap Contacts
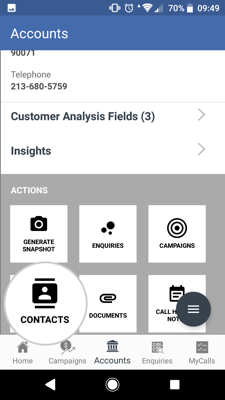
Scroll down to the ACTIONS section and tap CONTACTS.
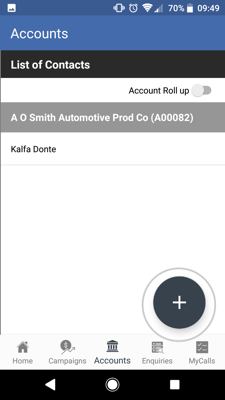
Step 4: Tap +
Tap the + symbol in the bottom right hand corner of your screen.
Step 5: Enter contact details and tap Save
Next, enter your contact's details. You can do this manually or if you already have their contact details stored on your Android device, you can upload their details by tapping the Upload icon (located next to the Save Icon in the top right hand corner). Once you have entered all relevant details, tap the Save icon. (Top right hand corner).
