Preference Lists
Overview
When selecting your email recipients, preference lists let you segment contacts based on their email subscription preferences. By giving your contacts control over the type of emails they receive, you can improve engagement, increase open and click rates, and reduce the chance of contacts unsubscribing from all emails. Each preference list represents a different email subscription type. Some common examples are:
- Newsletter
- Product Updates
- Events
Subscription types are shared with your customers via your preference page. When a contact subscribes or unsubscribes from a subscription type, they are automatically added to the respective preference list and their subscription status is updated accordingly. You can also share subscription types and allow visitors to unsubscribe from all subscription types via a form. This is a great way to facilitate sign-up for a specific subscription type.
Creating Preference Lists
Follow these steps to create a preference list:
- Click the Open button at the top of the navigation bar to view all available modules.
- Click the Lists module.

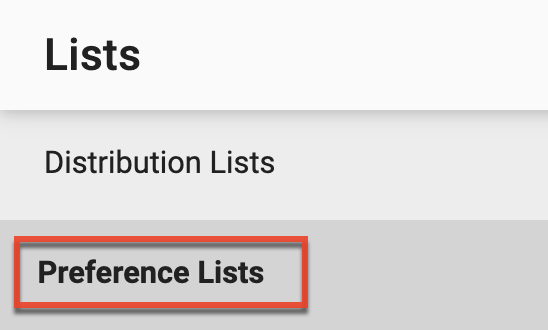
- Click the Preference Lists submodule.
- Click the Create button.
Adding Contacts to Preference Lists
Contacts can also be added to a preference list via listeners, from a distribution list, via an external import file, or manually.
Adding Contacts Via a Listener
- Create a Listener.
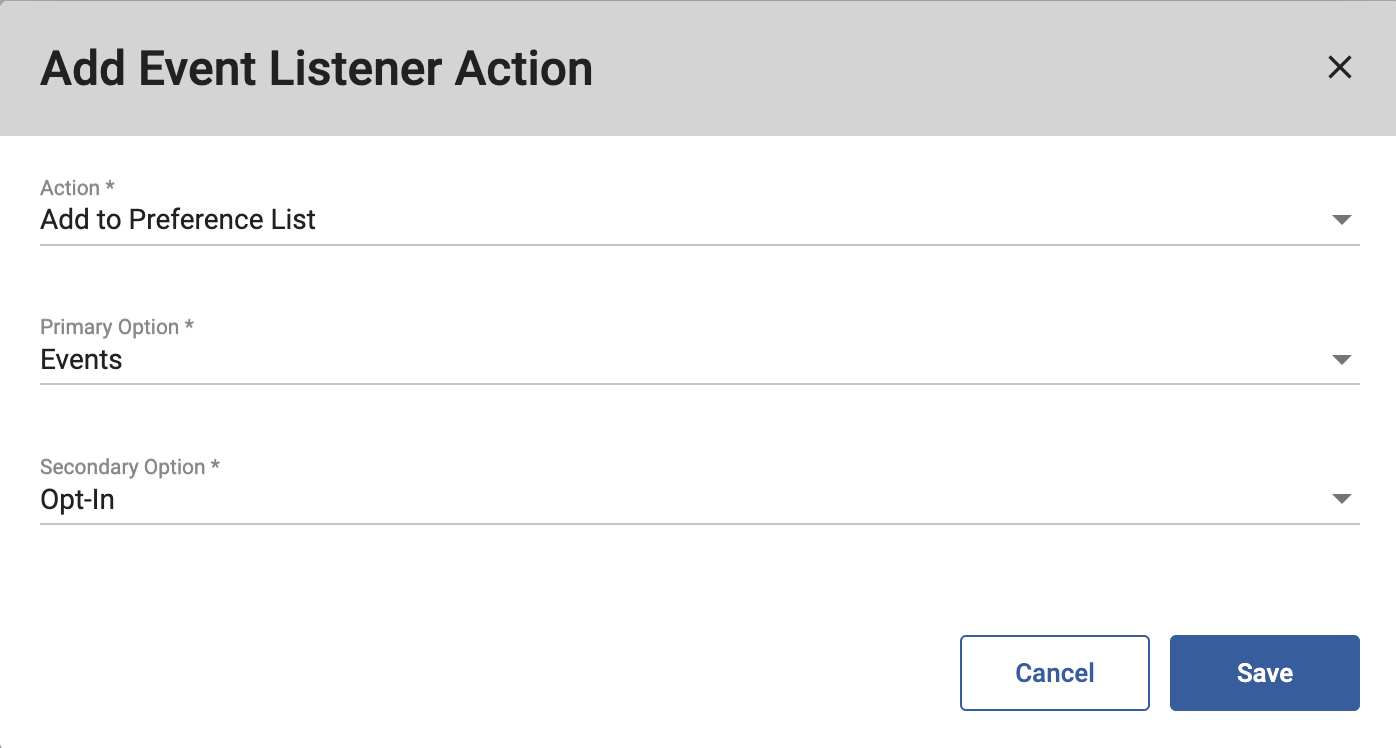
- Add a Listener Action and set the Action field to "Add to Preference List".
- Using the Primary Option field, select a preference list.
- Using the Secondary Option field, select the subscription status for contacts added to the preference list.
- Click "Save".
Adding Contacts From a Distribution List
- From the Preference Lists submodule, select and open a preference list.
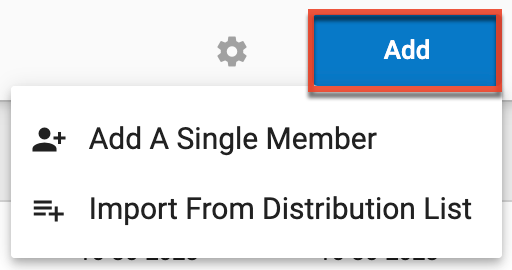
- Click the Add button.
- Select the Import From Distribution List option.

- Select a distribution list and select and Opt-In Status.
Note: The selected distribution list cannot contain more than 10,000 records. - Click the Add Button.
Adding Contacts Via an External Import File
- From the Preference Lists submodule, select and open a preference list.
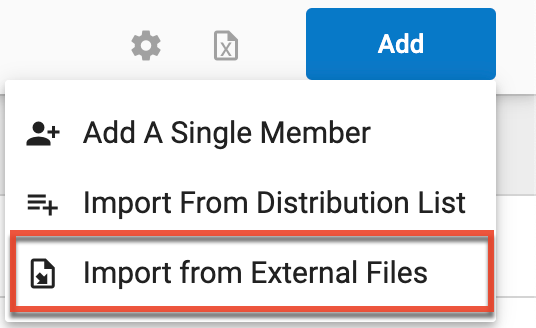
- Click the Add button.
- Select the Import from External Files option.
- Use the Select File field to select your import file.
Note: The selected import file cannot contain more than 10,000 records. Please use the Preference List Import template to ensure your file is formatted correctly. - After configuring the remaining settings, click the Import button.
Adding Contacts Manually
- From the Preference Lists submodule, select and open a preference list.
- Click the Add button.
- Select "Add A Single Member" to add a single contact.
Managing Preference Lists
From the Preference Lists list view you can manage your existing preference lists.
Searching Preference Lists
You can search for a specific preference list as as well as search for a specific contact within a list by following these steps:
- To search for a specific list, navigate to the Preference Lists submodule.
- Type the name of the list you are searching for into the search field in the toolbar, and then either click the magnifying glass icon or press Enter.
- To search for a specific contact in a list, open the list, and then type the contact's name into the search field.

Renaming Preference Lists
You can update the name and description of any preference list by following these steps:
- From the Preference Lists submodule, select and open a preference list.
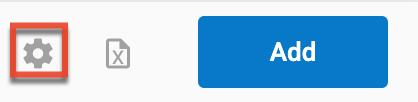
- Click the gear icon in the toolbar.
Exporting Preference Lists
You can export your preference list as an Excel file by following these steps:
- From the Preference Lists submodule, select and open a preference list.
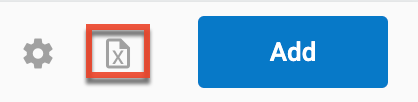
- Click the Excel file icon in the toolbar.
Configuring and Customizing Your Preference Page
Once you have created your preference lists, you can configure which subscription types are displayed on your preference page as well as customize the appearance of your page. Follow these steps to access the preference page builder:
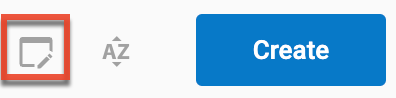
- From the Preference Lists submodule, click the Edit Page icon from the toolbar.
Configuring Your Preference Page
From the Preference Page builder, you can use the Preference Lists section to configure which lists are displayed as subscription types on the page by following these steps:
- From the Preference Page builder, expand the Preference Lists section from the sections available on the left.
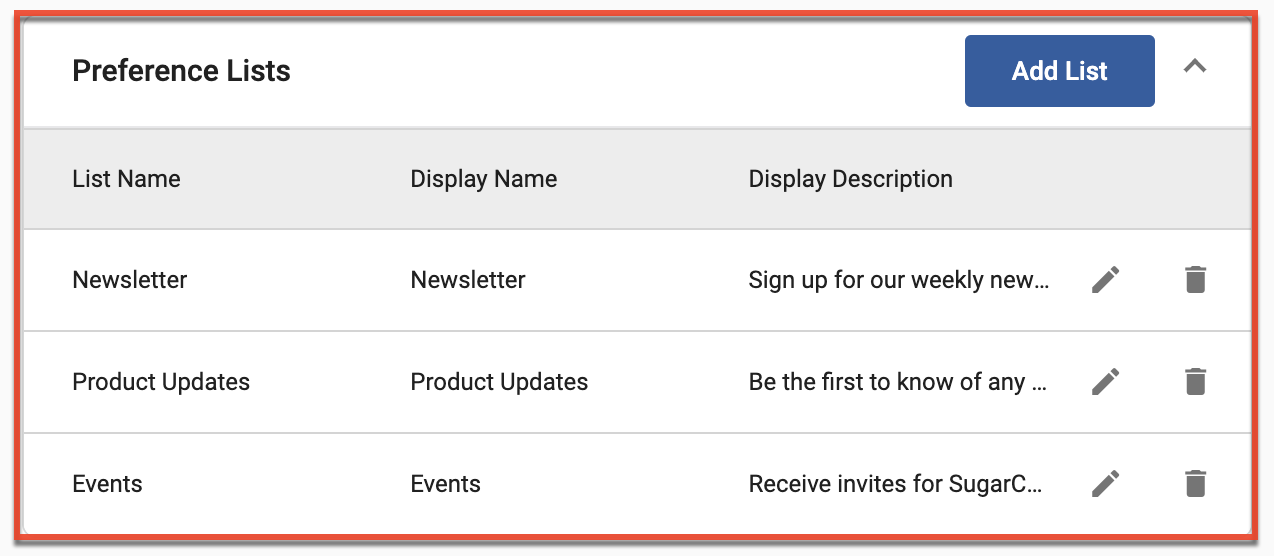
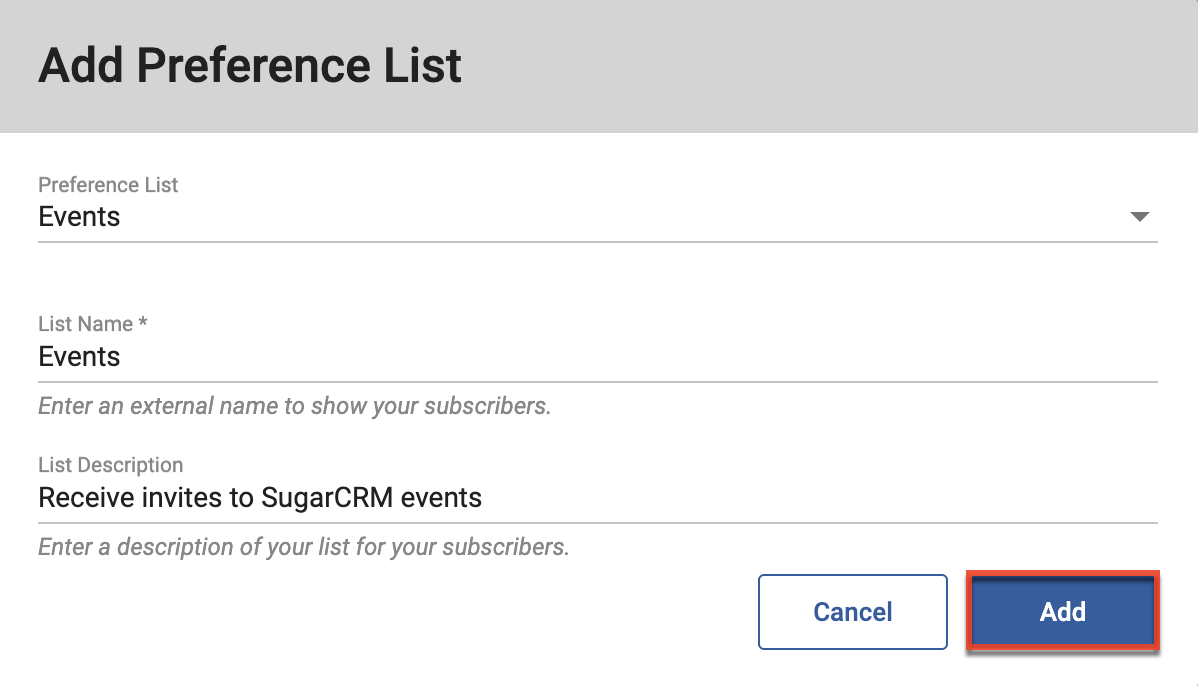
- Click the Add List button.
- First, select a preference list.
- Use the List Name field to name the subscription type. You can also use the List Description field to describe the subscription type.
- Click the Add button.
- To edit the List Name and List Description of an added subscription, type click the pencil icon.

- To remove a subscription type, click the trashcan icon.

Customizing Your Preference Page
From the Preference Page builder, you can also customize the appearance of your page. A preview of how the page will appear is displayed on the right. On the left, each section in the builder can be expanded and used to customize specific elements of your page: 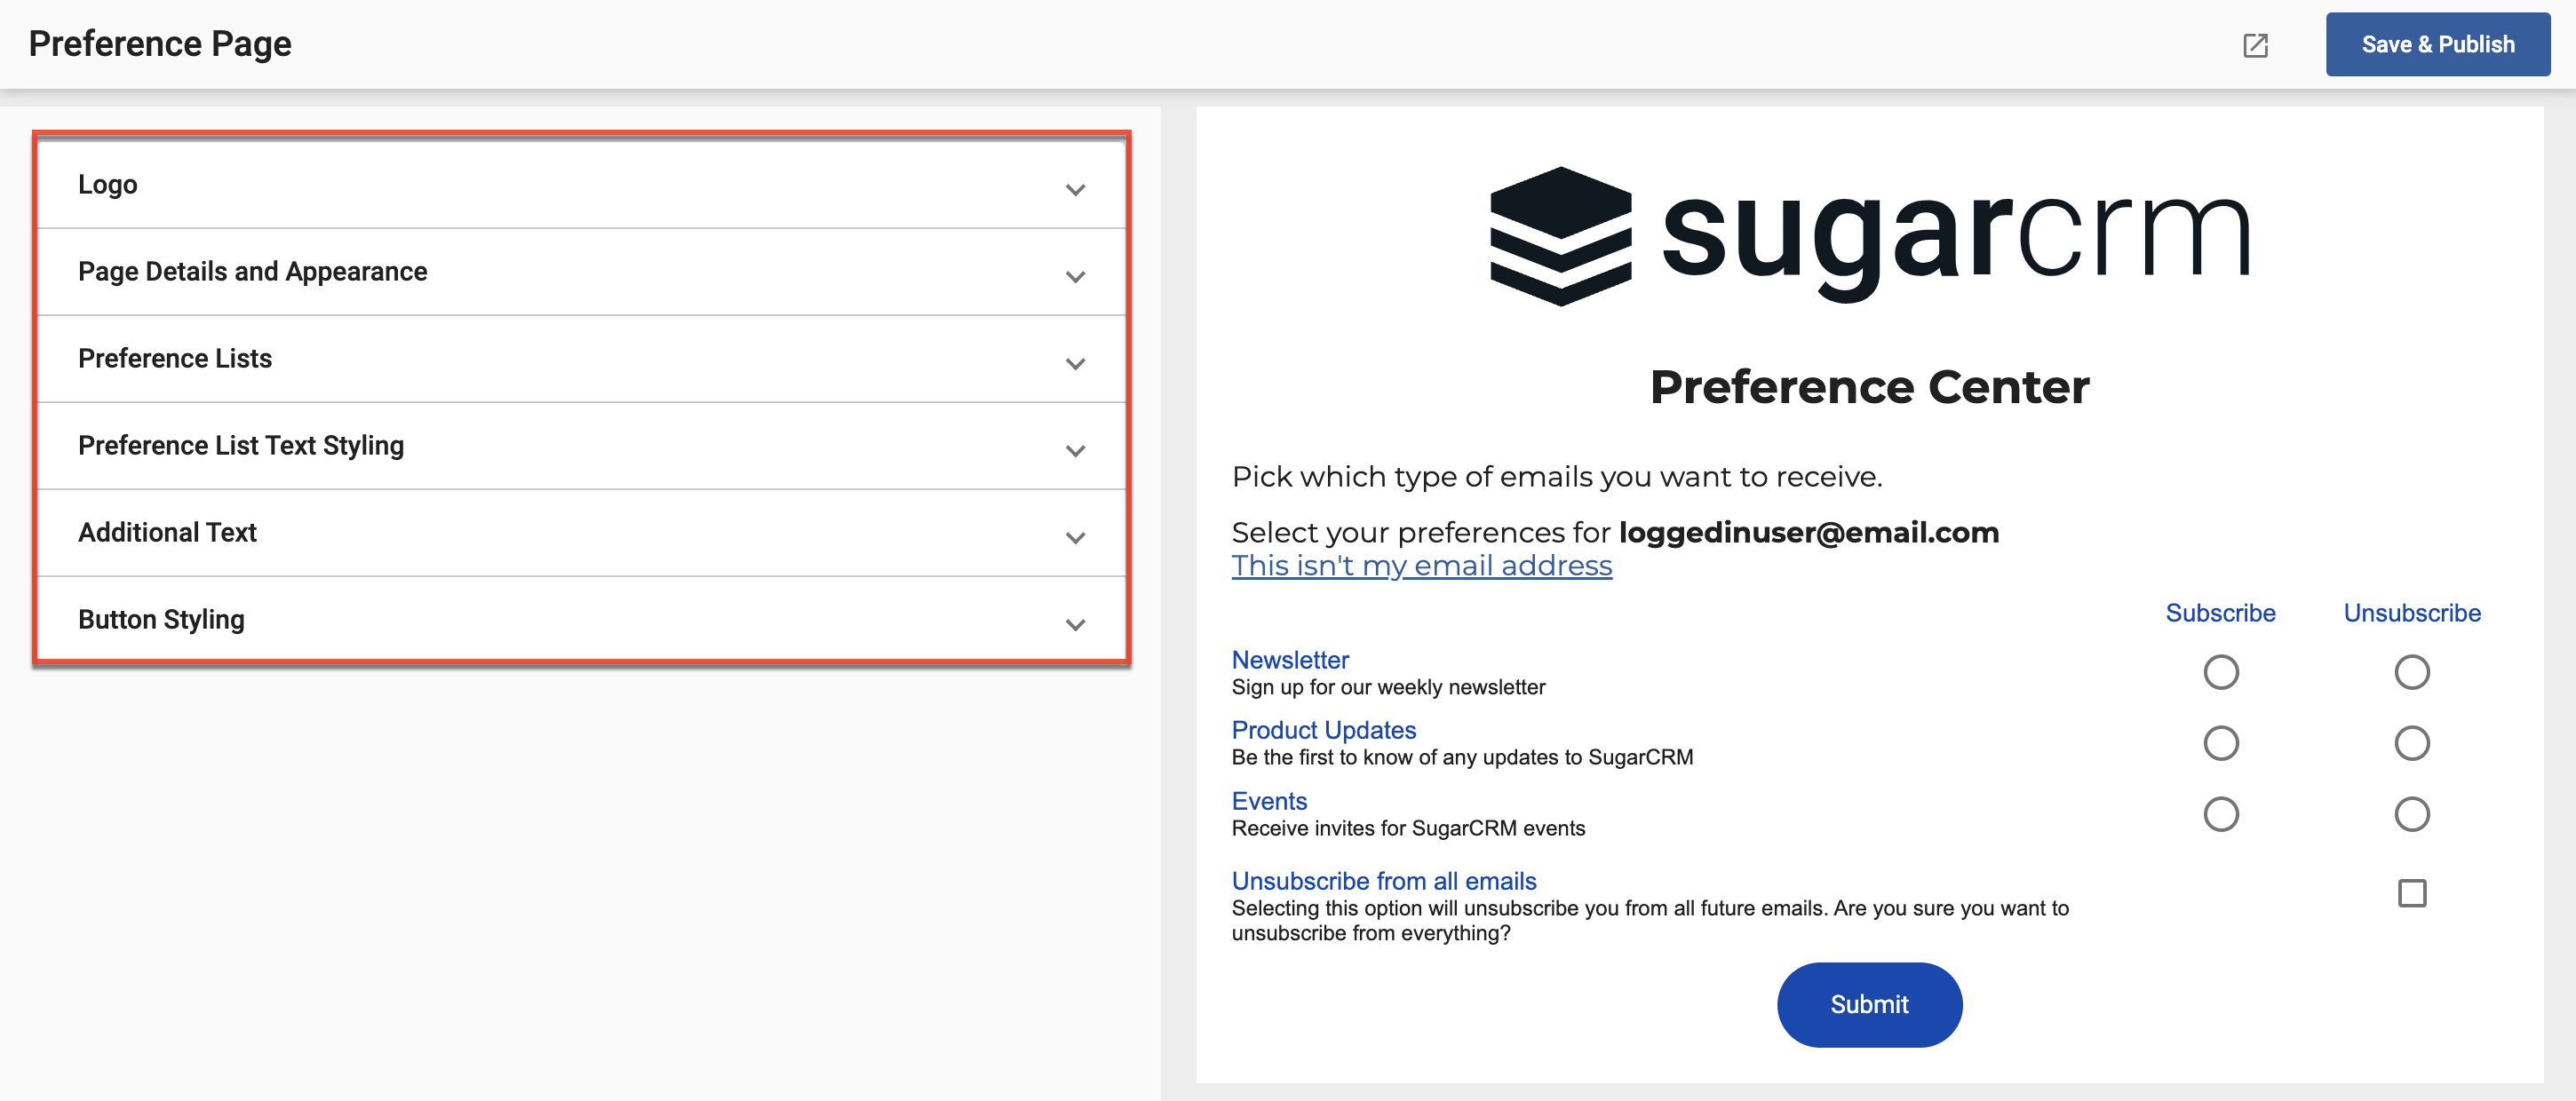
| Section | Description |
| Logo | Add and configure an image of your logo. |
| Page Details and Appearance | Set and configure your page’s title, description, background color, and the language used for uneditable text. |
| Preference Lists | Configure which preference lists are displayed as subscription types on your preference page. Set the name and description of the selected subscription types. |
| Preference List Text Styling | Adjust the style of the subscription types text. |
| Additional Text | Set and configure additional text that appears above the submit button on the page. |
| Button Styling | Set and configure the text and style of the submit button. |
Saving and Publishing Your Preference Page
Once you have configured and customized your preference page, click the Save & Publish button to save and publish your changes. Once done, any existing preference page links will display the published changes, including links in emails that have already been delivered.
Linking Your Preference Page
By default, the "Include Unsubscribe Link" option is enabled in the email builder's Setup step, adding a link to your preference page at the bottom of the email. You can also add the link manually as a merge tag by following these steps:
- From the Email builder, navigate to the Build step.
- Add a Text Element to your page.
- Select the text element and click the Merge Tags edit option.
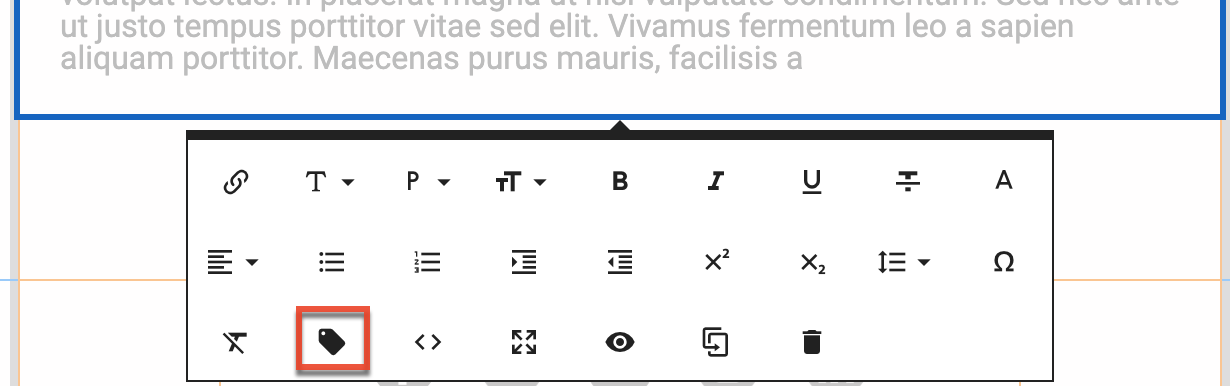
- Click the Merge Tag Modal option.
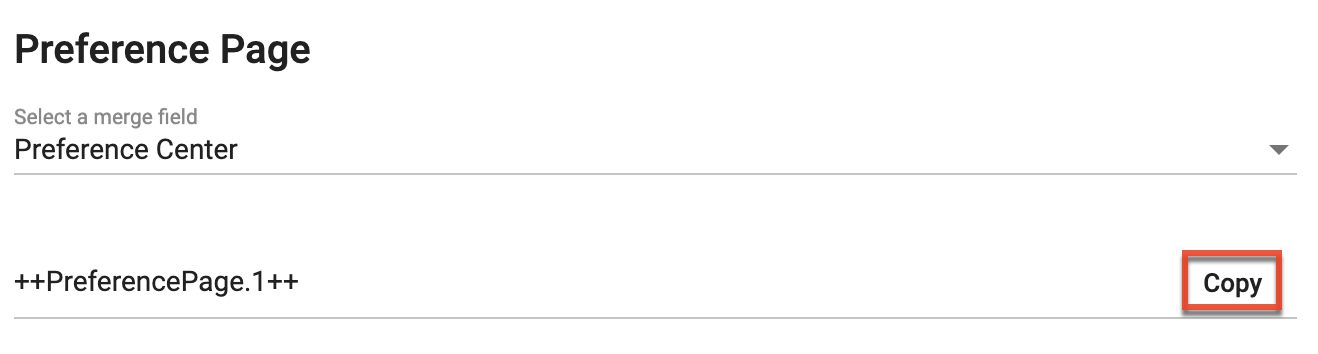
- Scroll down to the Preference Page merge tag selector.
- Select "Preference Center" from the "Select a merge field".
- Click "Copy".
- Paste the merge tag in the text element.
Using Preference Lists to Configure One-Click Unsubscribe
When enabling one-click unsubscribe for an email, you can configure which preference list the recipient is removed from when they click the one-click unsubscribe option in their inbox. Follow these steps to use preference lists to configure one-click unsubscribe:
- From the email builder, navigate to the Setup step.
- From the Subscription Options section, ensure that the Enable One-Click Unsubscribe checkbox field is checked.
- Click the One-Click Unsubscribe Action dropdown field.
- From the dropdown, select the "Targeted One-Click unsubscribe" option and then from the "Search for Preference List to Unsubscribe Contact from" field select the preference list you want recipients to be removed from if they click the one-click unsubscribe option in their inbox. The preference list selected should align with the contents of the email, for example, if you were sending a newsletter you would set your Newsletter preference list.

Note: Although Sugar Market includes the required headers to support the one-click unsubscribe feature, a link or button will not always appear for all recipients. Google and Yahoo use complex algorithms to determine when to show the unsubscribe option. These algorithms consider factors such as user engagement (i.e., how users interact with emails from the sender), sender reputation, and the nature of the email. If Gmail doesn’t consider the email to be eligible, it might not display the unsubscribe link.
Using Preference Lists to Segment Email Recipients
When selecting the recipients for an email, you can use preference lists to segment your contacts and ensure they are sent only emails that they have subscribed to. Follow these steps to segment your email recipients with a preference list:
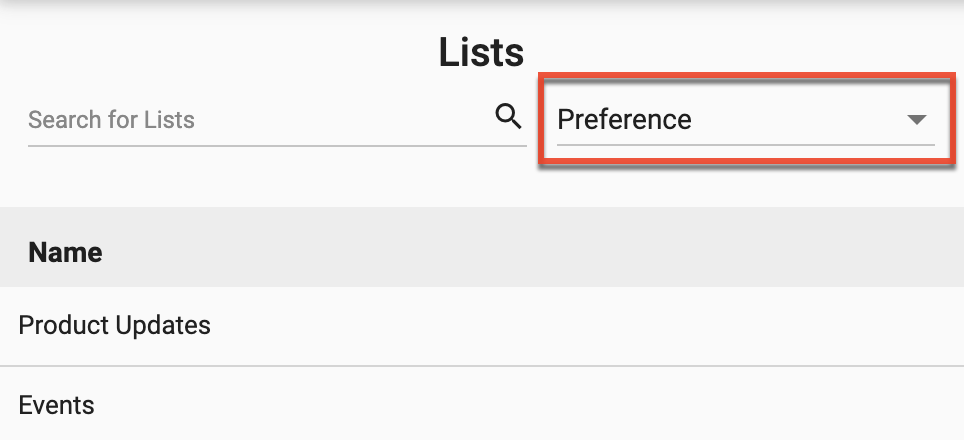
- From the email builder, navigate to the Recipients step.
- From the Lists section, select "Preference".
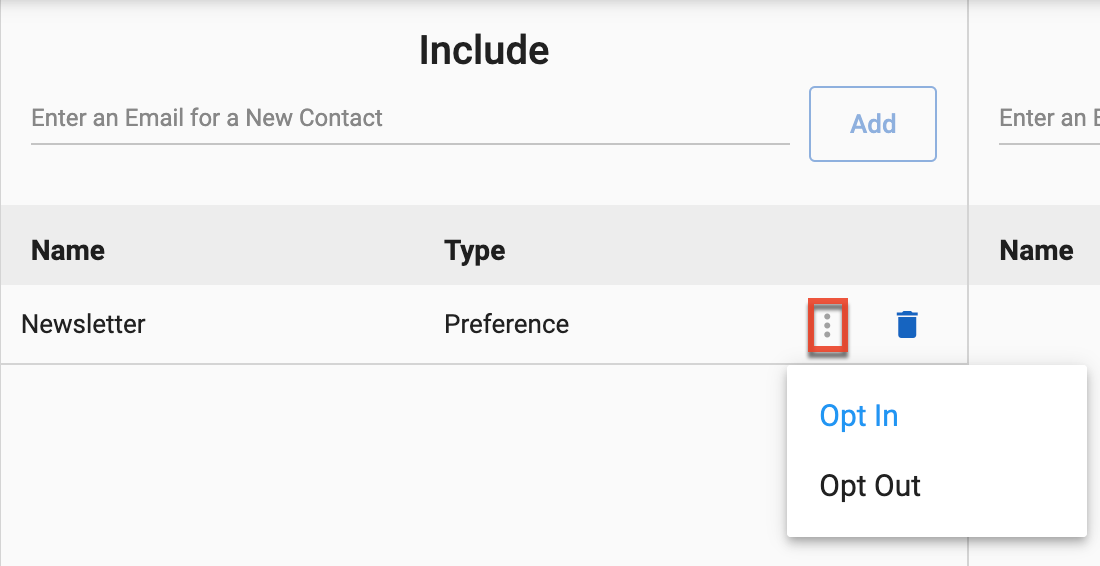
- Drag and drop the preference list into the Include or Exclude sections.
- Click the three-dots menu on the preference list to configure the qualifier applied to it.
Adding Email Preferences to Forms
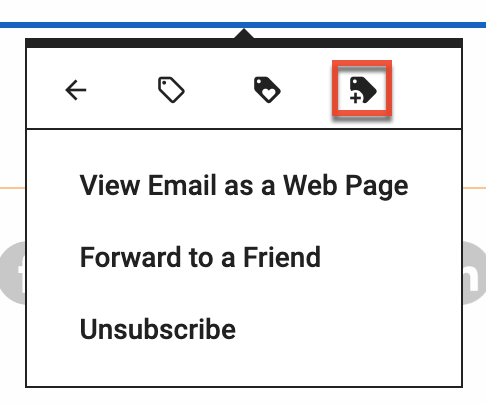
In addition to your preference page, contacts can subscribe and unsubscribe from specific subscription types using Email Preference fields and unsubscribe from all emails using the Unsubscribe field on a form.
Adding Email Preference Fields
Follow these steps to add Preference fields to a form:
- Create a form.
- In the Basic step, set the Type field to "Email Preferences".
- Navigate to the Build step.
- Add an Email Preferences field.

- Select the field and open the field's settings.
- Using the Preference List field, select the preference list that is mapped to the field.

Note: Web tracking is dependent on the visitor's environment and can be inconsistent. Due to this, a contact's current subscription status may not be reflected correctly when a contact visits a form.
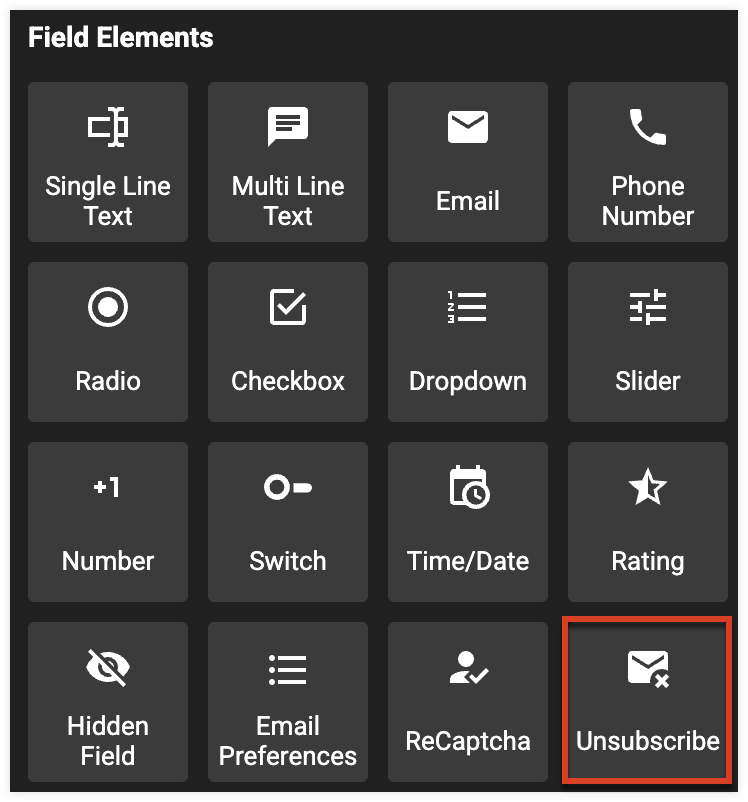
Adding the Unsubscribe Field
Follow these steps to add the Unsubscribe field to a form:
- Create a form.
- In the Basic step, set the Form Type field to "Email Preferences".
- Navigate to the Build step.
- From the Form builder, navigate to the Build step.
- Add an Unsubscribe field.
- Set the Field Name and Field Label.
Note: Only one Unsubscribe field can be added to a form.