Managing Participants
Overview
Once you have created a session for your event you can begin to manage your participants. Participants can be registered for a session manually, from an event-connected form submission, or from a sync with Zoom or GoToWebinar if your session is a webinar. Once a participant is registered they can be managed from the Events Participants page.
- Accessing the Events Participants Page
- Syncing Registrations with Webinars
- Manually Adding Participants
- Manually Removing Participants
- Editing Participant Status and Details
- Exporting Participant Data
Accessing the Events Participants Page
From the Events Participants page, you can update the status of registered participants and add and remove participants. To access the Events Participants page:
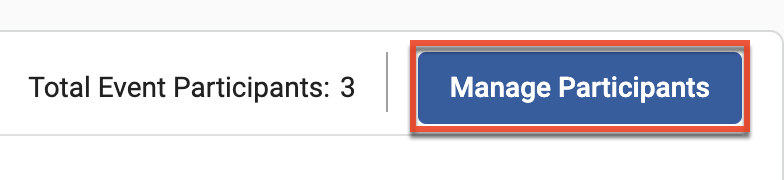
- From the Events module builder.
- Click the Manage Participants button within the Events Profile section.
- If your event has multiple event sessions, use the Session dropdown field to select your session.
- To manage all participants across all the sessions of an event select the All option from the Session dropdown field.
You can also access the Events Participant page from the Events module list view:
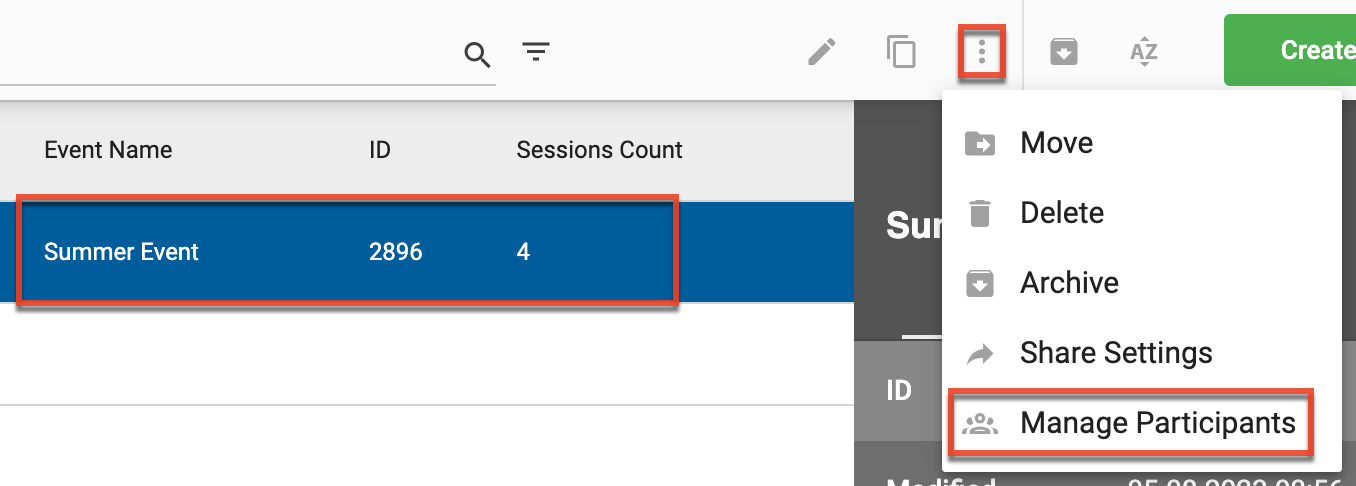
- From the Events module list view select an event.
- Click the three-dot menu from the toolbar and select "Manage Participants".
Syncing Registrations with Webinars
Webinar event session registrations can be synced with Zoom or GoToWebinar.
Note: If you are syncing your event session to a Zoom webinar, Registration must be marked as required in the Zoom webinar settings. If registration is not market as required Zoom will be unable to push webinar data to Sugar Market.
The sync is automatic but you can also manually trigger the sync:
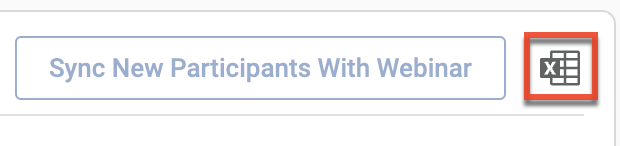
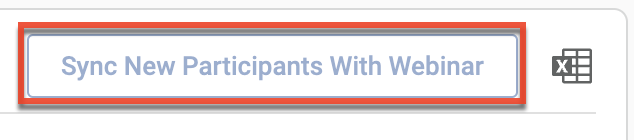
- To manually push participant data from Sugar Market to Zoom or GoToWebinar, click the Sync New Participants With Webinar button.
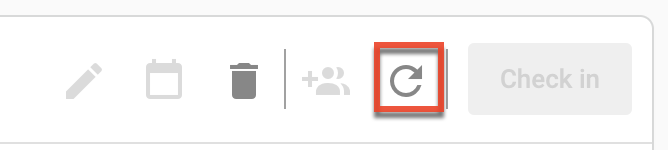
- To manually pull participant data from Zoom or GoToWebinar to Sugar Market, select all participants and then click the refresh icon.
Manually Adding Participants
There are three different ways to add participants from the Events Participants page:
Import
Using the Import option, you can import a .csv and .xls or .xlsx. file to add participants and their details in bulk. To import participants:
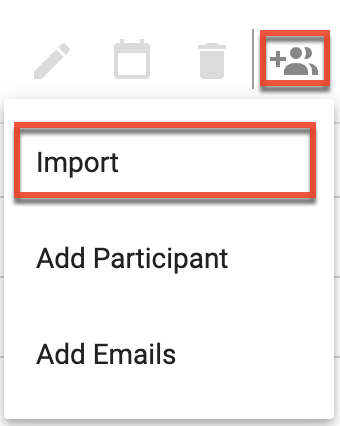
- Click the Add Participants icon and select the Import option.
- Using the Select File field, upload your import file with the Participant Import Template.
Note: Use "Y" and "N" in the status columns. - If you want to set all imported participants to the same status select a status from the radio options. This will override any status values in the import file.

- Check the checkbox confirming that the participants have confirmed consent or legitimate interest.
- Click the Import button.
Add Participant
Using the Add Participant option, you can add a single participant and their details. To add a participant:
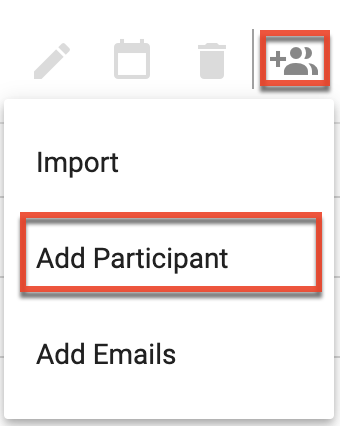
- Click the add participants icon and select the Add Participants option.
- Complete the fields.
- Check the checkbox confirming that the participants have confirmed consent or legitimate interest.
- Click the Save button.
Add Emails
Using the Add Emails option, you can add multiple participants by their emails. To add emails:
- Click the Add Participants icon and select the Add Emails option.
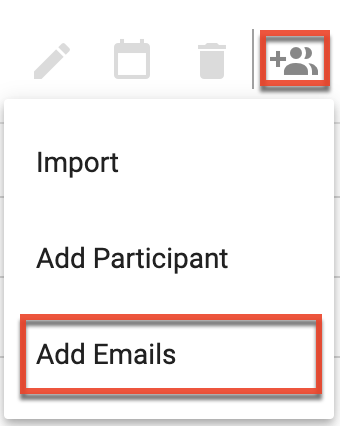
- Use the New Email field to add emails as needed.
- Check the checkbox confirming that the participants have confirmed consent or legitimate interest.
- Click the Add Emails button.
Manually Removing Participants
Participants that you no longer need to associate with an event session can be deleted. To delete a participant:
- Using the list checkboxes, select the participants you want to delete.
- Click the trashcan icon in the toolbar.
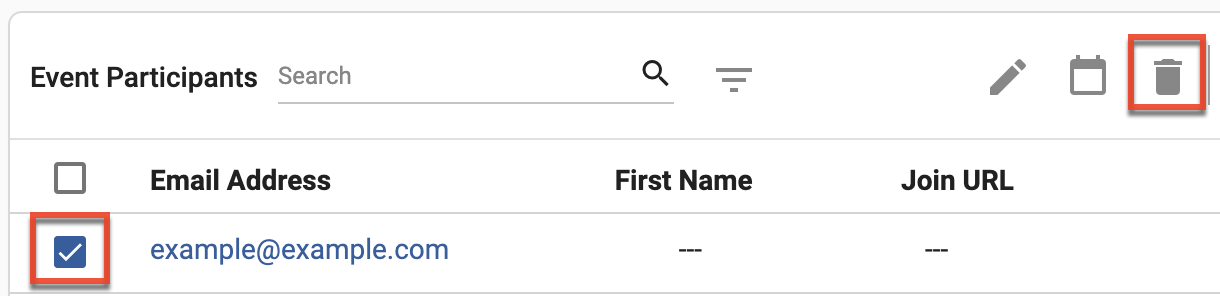
- Click the Yes, delete button.
Editing Participant Status and Details
Once a participant is added to your session you can edit the participant's status and details. To edit a participant's status:
- Using the list checkboxes, select the participants you want to edit.
- Click the calendar icon in the toolbar.
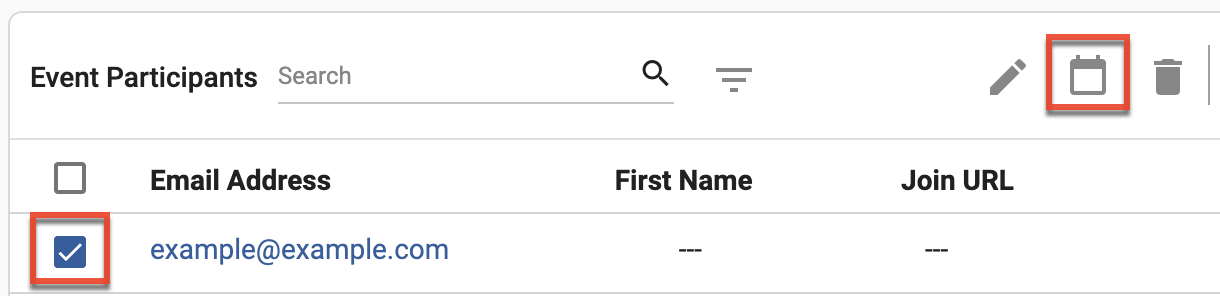
- Select a status and then click the Save button.
Note: Changing a participant's status may trigger an event session trigger email to be sent to the participant.
To edit a participant's details:
- Using the list checkboxes, select the participant you want to edit.
- Click the pencil icon in the toolbar.
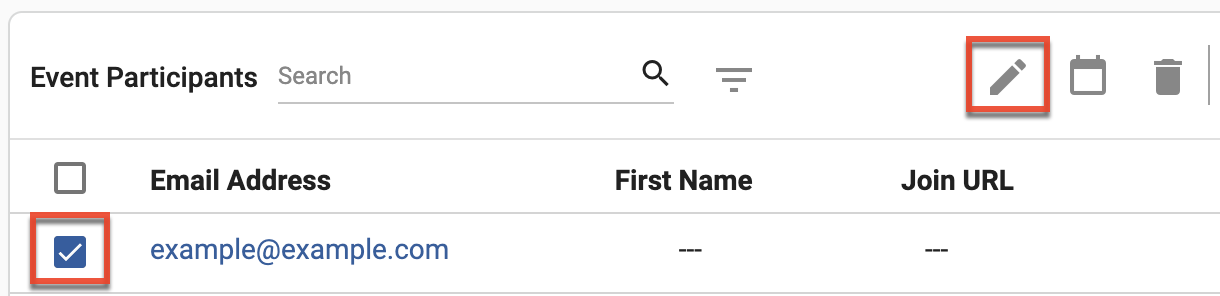
- After you make the needed changes click the Save button.
Exporting Participant Data
You can export a list of participants and their details for a specific session. To export a list of participants:
- If your event has multiple event sessions, use the Session dropdown field to select your session.
- Click the export icon.