Working With Segments
Overview
Segments are configured contact record groupings used to target dynamic email options and dynamic email elements in the Email Builder. For example, you can create a segment including your customers that have attended a specific event or expressed interest in a particular product so that you can show them content specific to future events or to similar products in the emails they receive. This guide will cover creating, defining, and managing segments in Sugar Market.
Prerequisites
Users must have the Marketing Admin - Segment Creation/Editing permission enabled to create and edit segments.
Creating Segments
You can create segments from the Segments page or directly in Email Builder. The following is a list of the places where you can create segments:
- From the Segments page: Navigate to Manage > Segments. Once on the Segments page, click the Create button.
- From the setup stage in Email Builder: For more information on creating segments in the setup stage in Email Builder, refer to the Using Dynamic Email Options section of the Creating Emails page.
- From the build stage in Email Builder: For more information on creating segments in the build stage in Email Builder, refer to the Dynamic Elements section of the Designing Emails page.
Defining Segments
Once you have created a segment, you will then configure the segment options and the filters that control which contact records are included in the segment.
Follow these steps to configure a segment:
- Fill in the name of the segment using the Name field.
- Within a grouping, use the Record Type dropdown field to select the record type for that grouping.
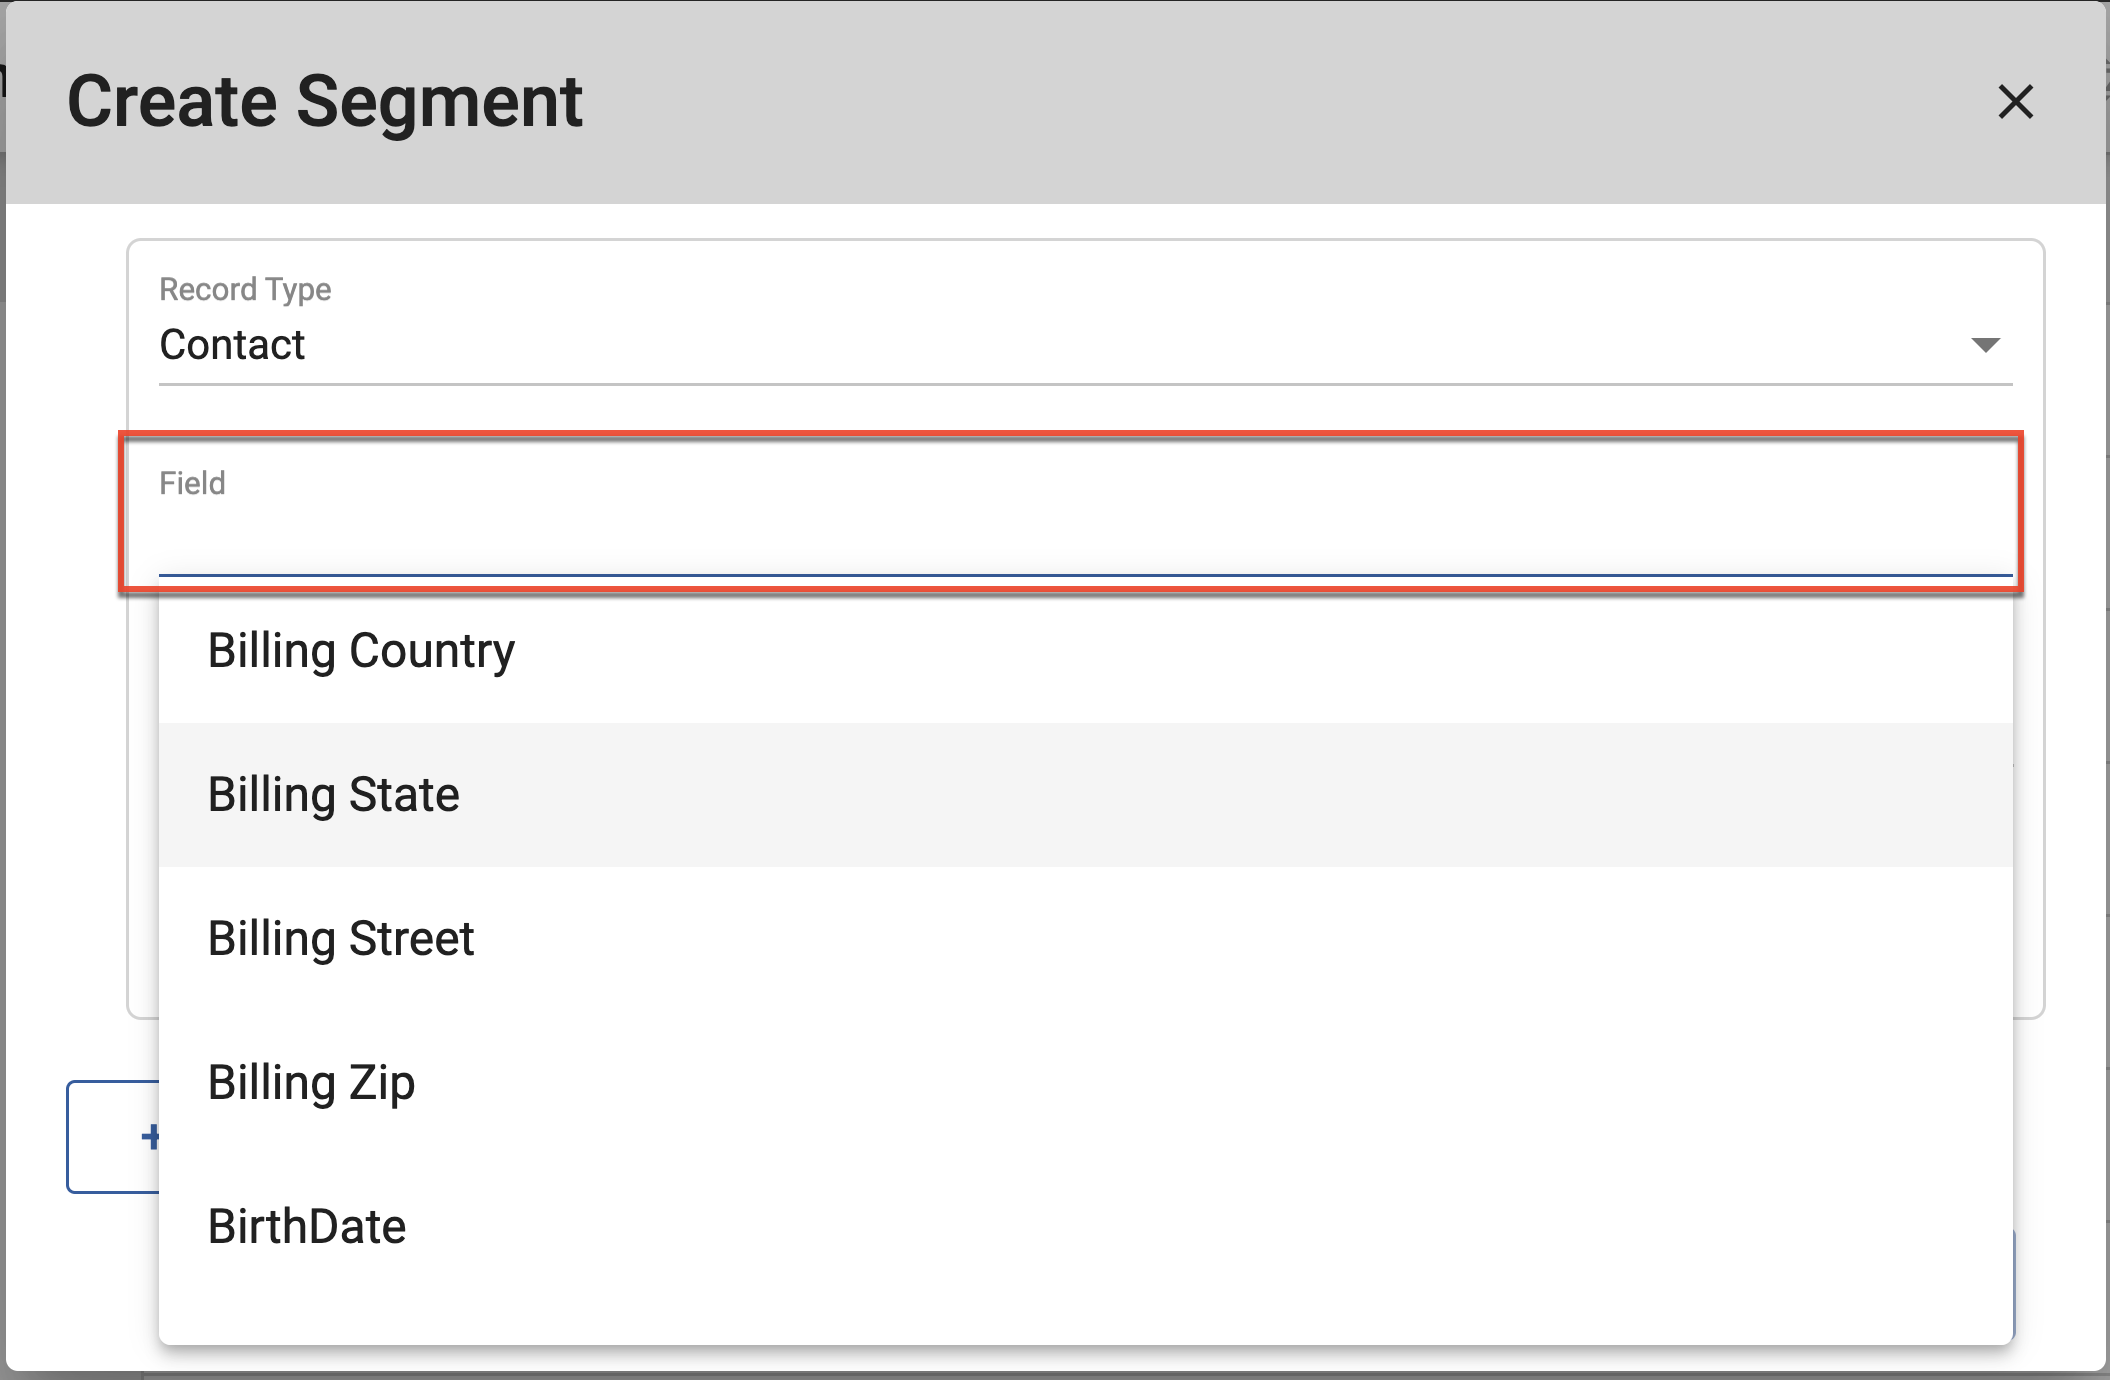
Note: Segments are made up of only contact records. When selecting a record type other than contacts, only the contacts associated with that record type will be included in the segment. - Select the field you wish to filter the selected record type by.
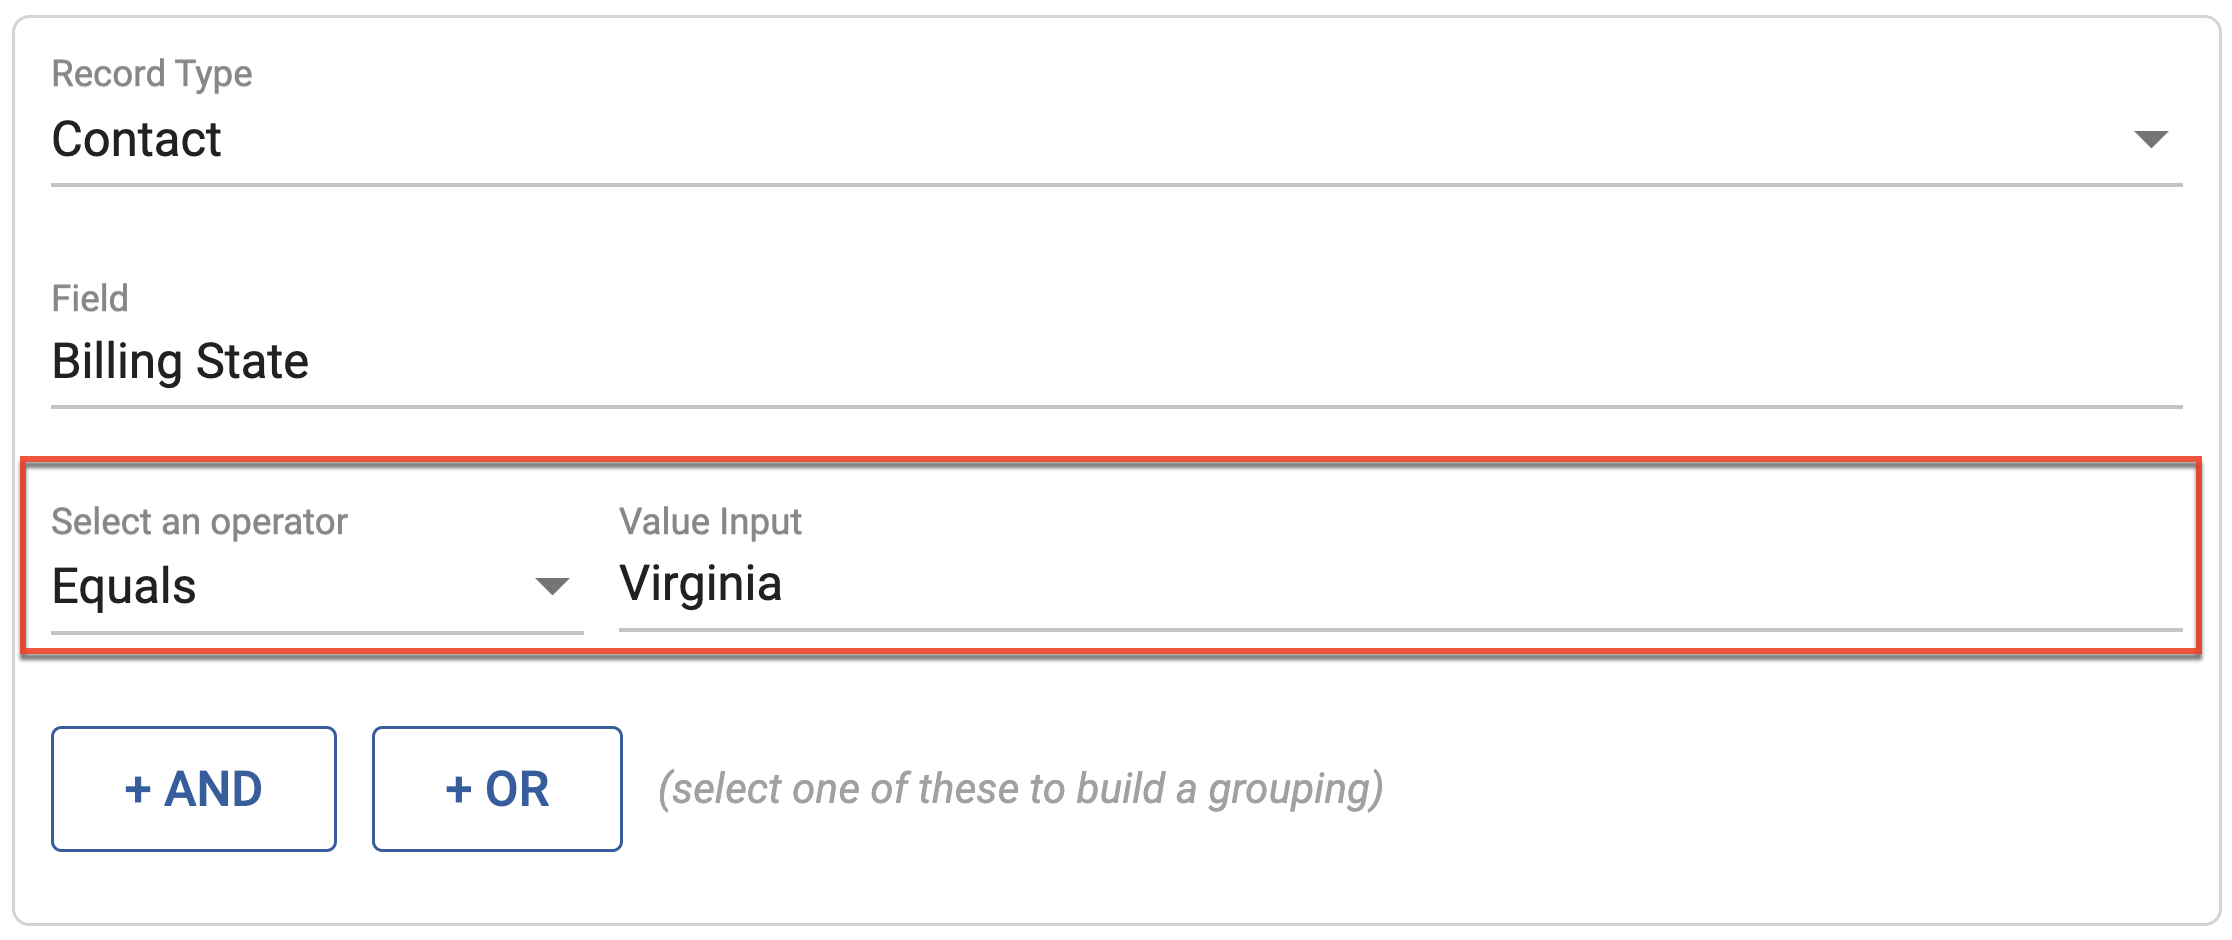
- Select an operator and input a value to apply to the selected filter field.
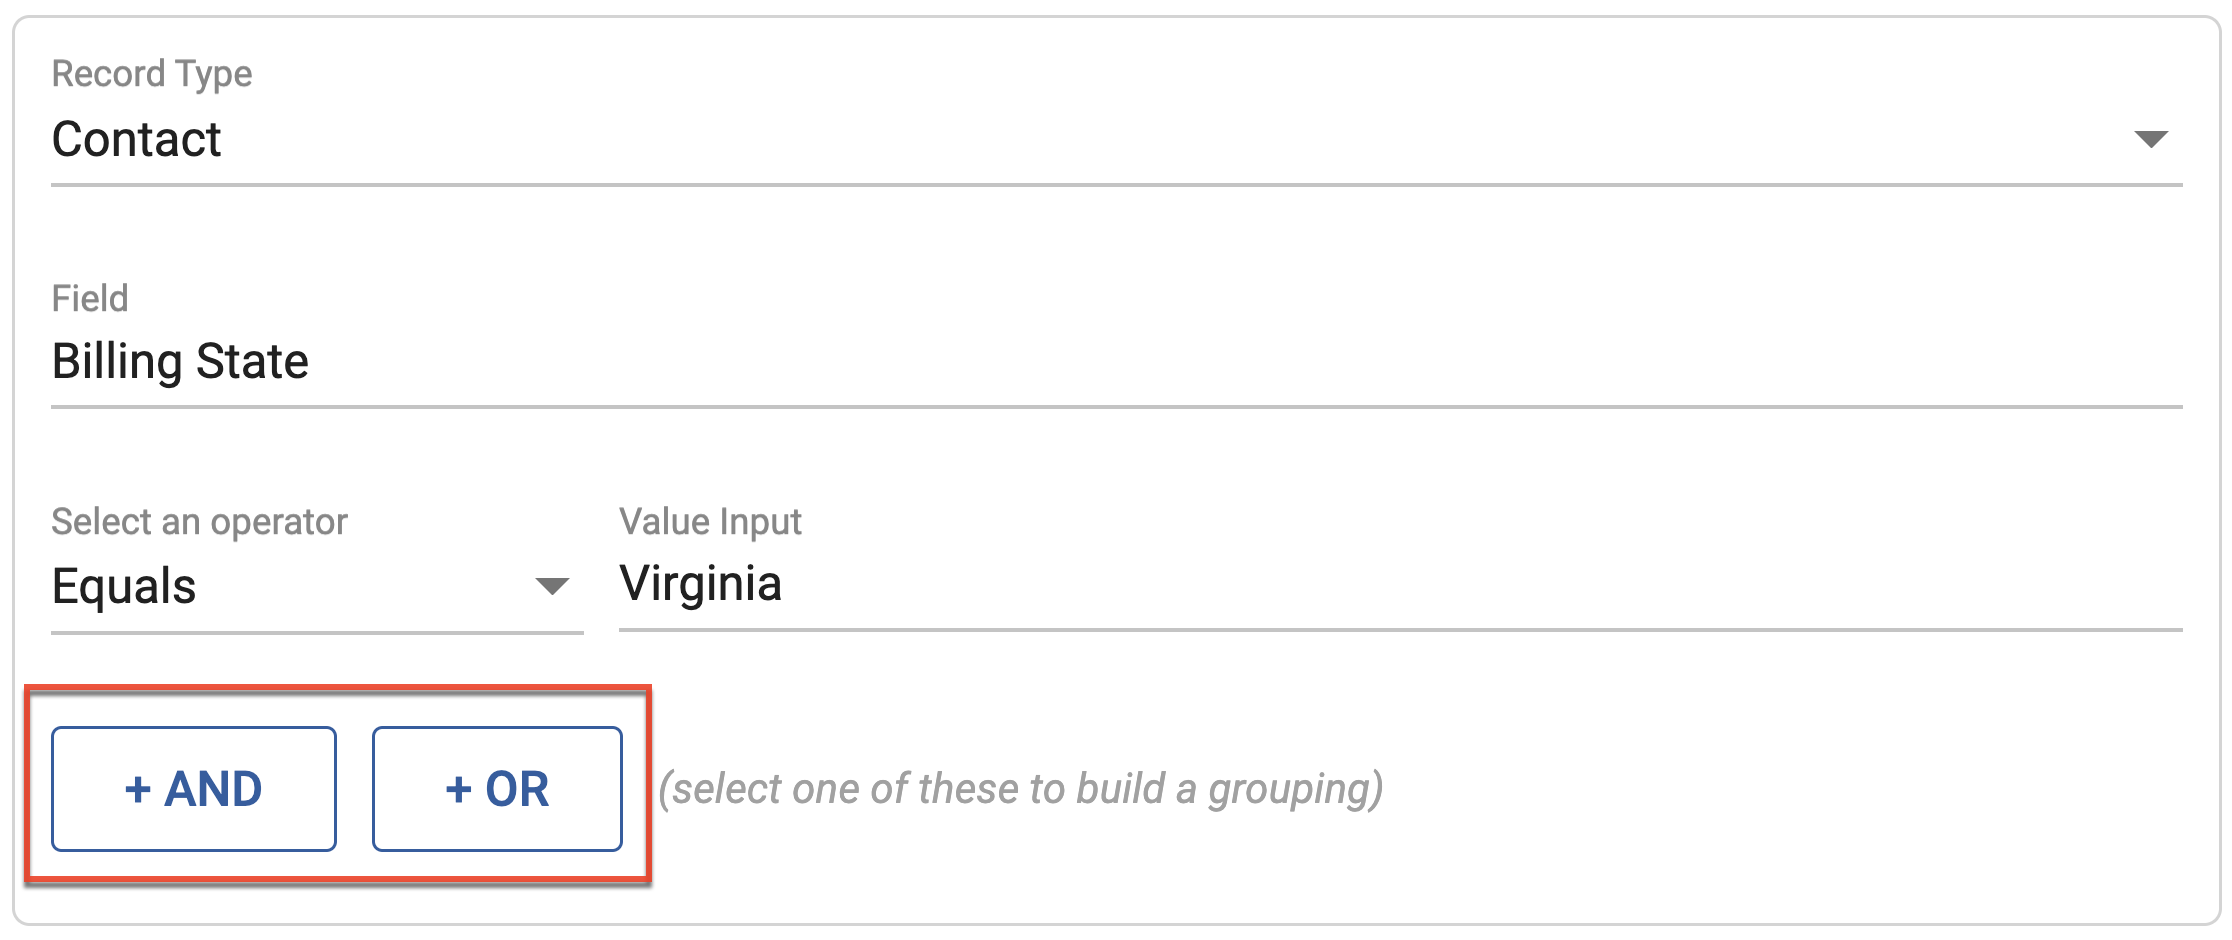
- To add additional filtering conditions within the grouping click either the "+ And" or the "+ Or" button.
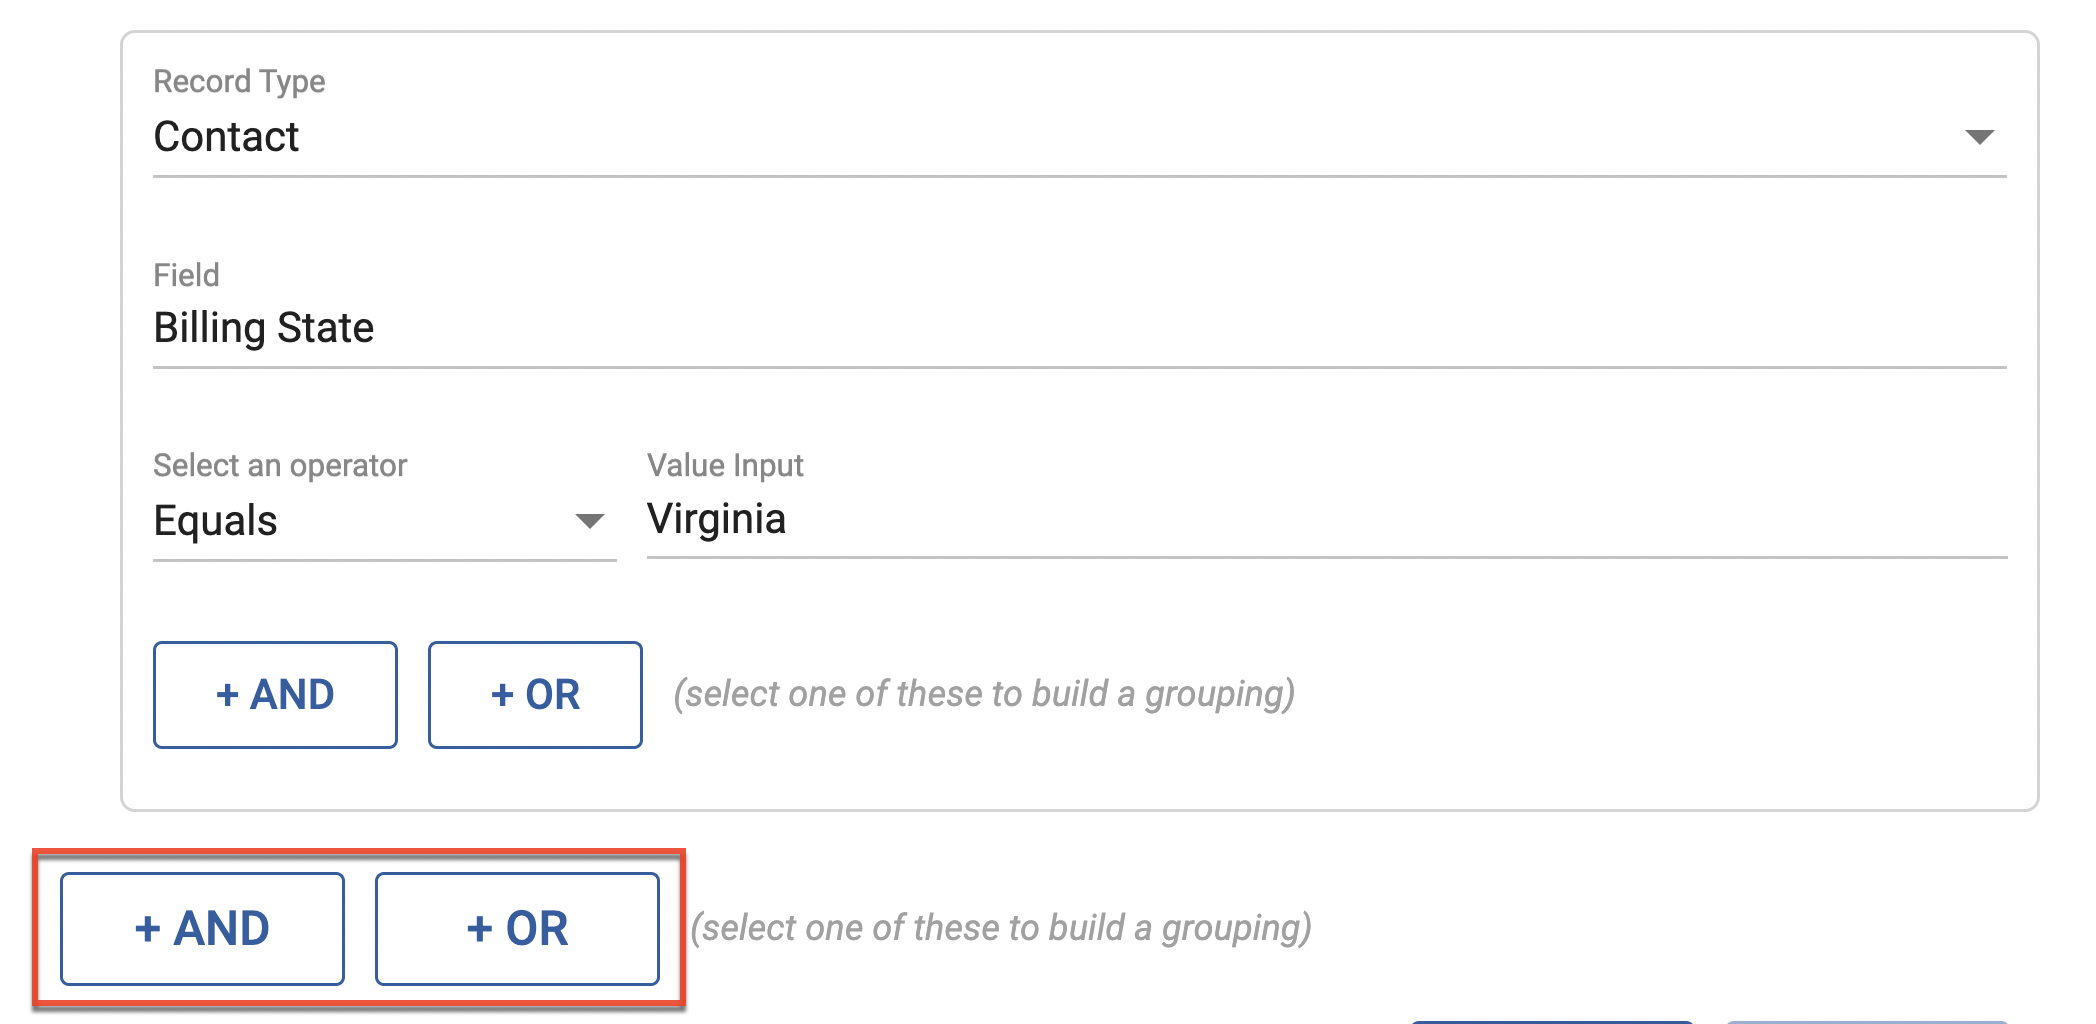
- To create an additional grouping with independent filtering conditions click either the "+ And" or the "+ Or" button below the existing grouping or groupings.
- Once your groupings are configured, you can use the Description field to fill in a description for the segment.
- Click the Save button to save your segment.
Managing Segments
All of your created segments can be managed on the Segments page. You can get to the Segments page by navigating to Manage > Segments.
On the Segments page, you can use the Search field to search for a specific segment. Additionally, you can click the filter icon to filter out specific segments based on a set condition.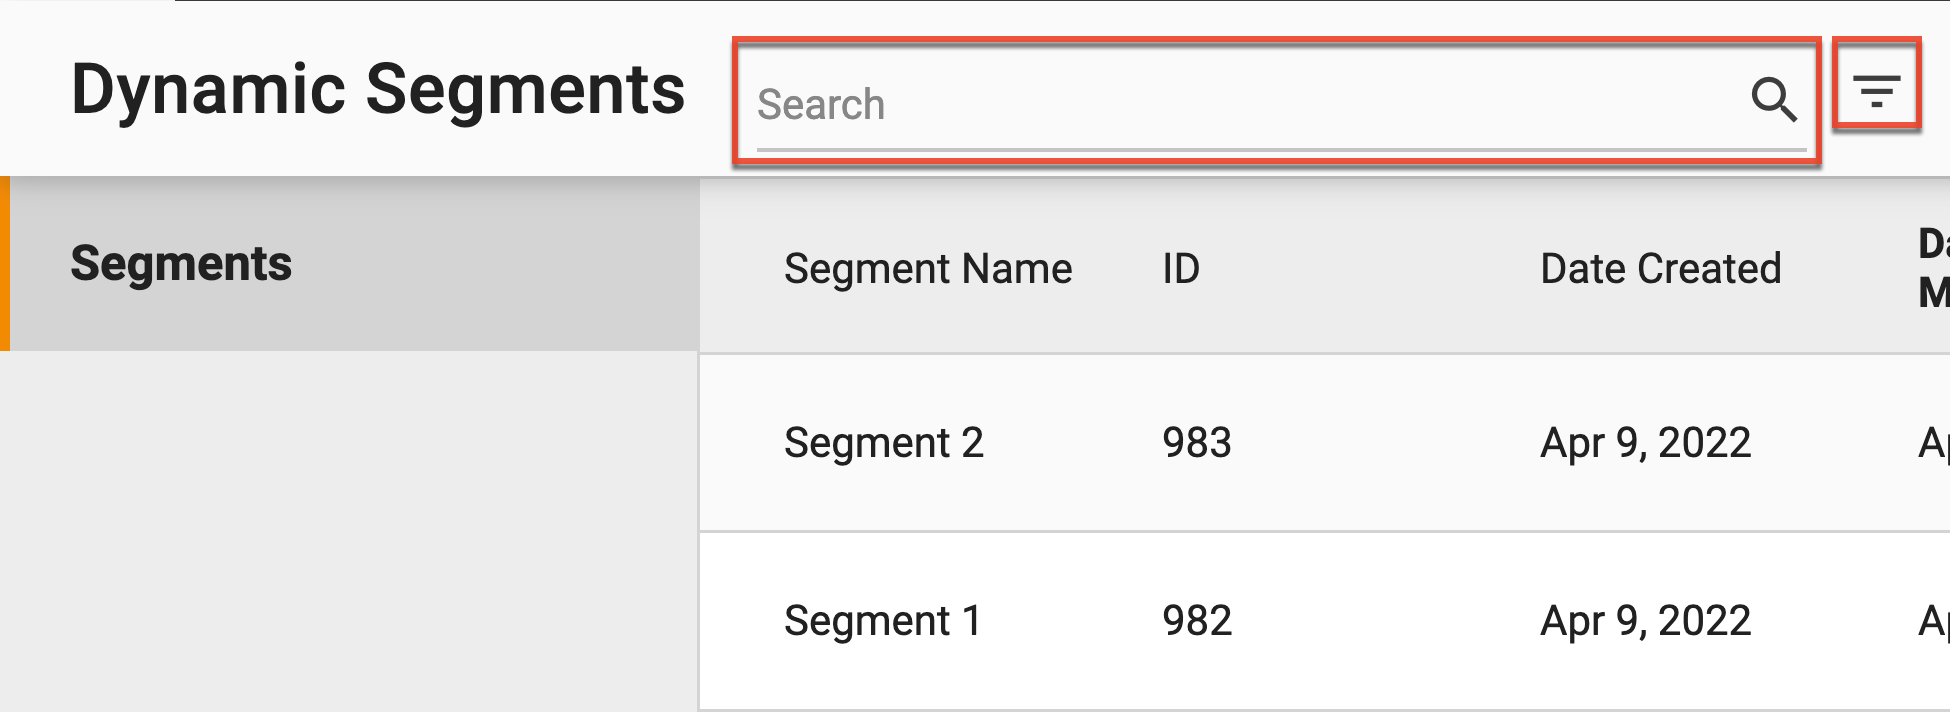
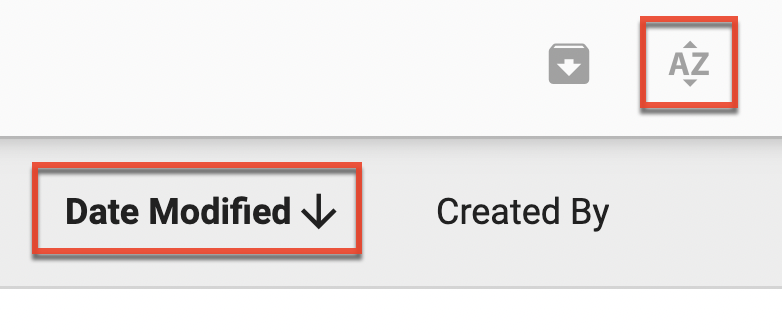
After searching or filtering for the needed segments, you can sort the displayed segments using the sort icon. Additionally, you can click any column header to sort the displayed segments by that column.
When a segment is selected, you can click the pencil icon from the toolbar to edit the segment's name, grouping definitions, and description. You can also archive a selected segment by clicking the archive icon.
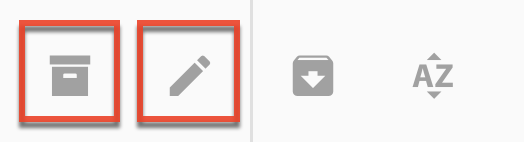
To view all archived segments click the view archive icon from the toolbar.