Netsuite Connector for Sugar Market
Overview
This page covers integrating Sugar Market with Netsuite CRM, including configuring, syncing, and using data mappings.
Important: Review Integration Overview: All CRM Types before proceeding with this topic.
Topics
- Supported Versions
- Installing the Sugar Market Bundle in Netsuite CRM
- Configuring the Buyer's Journey Integration
- Token-Based Authentication
- Accessing the Netsuite Connector
- Configuring the Netsuite Connector
- Uninstall the Sugar Market Unmanaged Bundle from Netsuite
- Netsuite CRM Mappings (separate page)
Supported Versions
Refer to the Sugar Market Supported Platforms page for the current list of Netsuite CRM versions that Sugar Market supports.
Installing the Sugar Market Bundle in Netsuite CRM
Step 1: Log in to Netsuite Account
Note: To gain access to install the bundle, we must grant your Netsuite Account permission to do so. Please reach out to your Sugar Market Marketing Automation Consultant with your Netsuite Account number to start this process.
Step 2: Install Bundle
If you are an account administrator or you have the SuiteBundler permission, you can complete the following steps to install our Sugar Market bundle in your account.
- Go to Customization > SuiteBundler > Search & Install Bundles, then search for "Sugar Market". Ensure that the version is at least 2.0 and Managed is Yes as this is where TBA is enabled.
- Review the Preview Bundle Install Page.
- Click the Install Bundle button to begin the installation process. After successful installation of the bundle you will see the new bundle installed with Status as check marked.
Configuring the Buyer's Journey Integration
The Buyer's Journey integration allows you to view the entire lifecycle of a prospect's marketing activity. With the Journey, your sales representatives will have access to our invaluable marketing journey, which is located in your contact and lead records directly in your CRM. This section explains how to set up the Buyer's Journey Integration in Netsuite CRM.
Step 1: New Configuration
- Go to Sugar Market > Sugar Market Configuration Overview > Sugar Market Configuration.
- Click on New.
Step 2: Enter Organization ID
While creating the new Configuration, record you will need to provide the Buyer's Journey URL as mentioned below as well as your Salesfusion OrganizationID:
- Buyer's Journey URL: Enter the URL as follows: https://iframe.salesfusion.com/?
- OrganizationID: This is the unique key you will generate from the Sugar Market app.
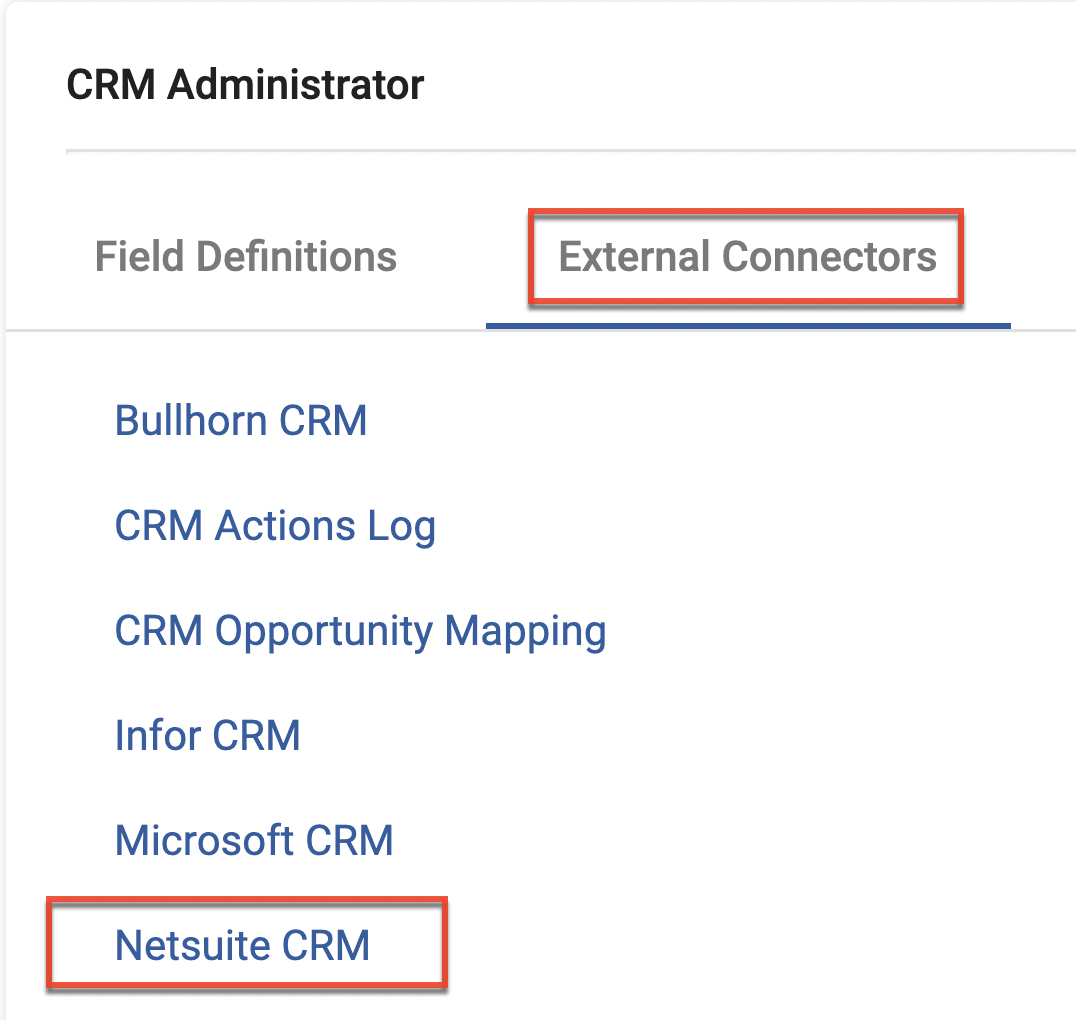
- Log into the Sugar Market App > User Menu > Admin > CRM Administrator > External Connectors > Netsuite CRM.
- Generate the Unique Organization Key (if you have not previously).
- Save Profile.
- Copy and paste the Unique Organization Key that was generated into this OrganizationID in Netsuite.
If you have multiple Sugar Market accounts/instances, and are syncing each of those to a unique Subsidiary in Netsuite, be sure to check the "Enable Multiple Subsidiary" checkbox, and define the Organization ID and Subsidiary for each.
Token-Based Authentication (TBA)
The following must be completed after the syncing user has been created. The next few steps are required to set up TBA within NetSuite. (Do note it will require Account Administrator level access).
Enable the Token-based Authentication Feature
- Go to Setup > Company > Setup Tasks > Enable Features.
- Click the SuiteCloud subtab.
- Scroll down to the SuiteScript section, and check the following boxes:
- Client SuiteScript.
- Server SuiteScript. Click I Agree on the SuiteCloud Terms of Service page.
- Scroll down to the Manage Authentication section, and check the Token-based Authentication box. Click I Agree on the SuiteCloud Terms of Service page.
- Click Save.
Create New Role for Token-Based Authentication
An account administrator can modify existing roles to add token-based authentication permissions, then assign users to those roles as needed. To create a new role that does not start with a list of associated permissions, go to Setup > Users/Roles > Manage Roles > New.
Steps to Complete
- Select Centre Type as "Classic Centre", and "Web Services Only Role".
- Click on the Permissions tab as seen in the screenshot, and add the permissions in the table below.
|
Tab Name |
Entity |
Level of Access |
|
Transactions |
Opportunity |
Edit |
|
|
|
|
|
Lists |
Employees |
Edit |
|
|
Employee Record |
Edit |
|
Customers |
Edit |
|
|
Contacts |
Edit |
|
|
CRM Groups |
Edit |
|
|
Tasks |
Edit |
|
|
Events |
Edit |
|
|
Perform Search |
Full |
|
|
Locations |
Full |
|
|
Setup |
Custom Entity Fields |
Edit |
|
|
Custom Body Fields |
Edit |
|
Customer Status |
Full |
|
|
Add Login in using Access Token |
Full |
|
|
Deleted Records |
Full |
|
|
Web Services |
Full |
|
|
Accounting Lists |
Full |
|
|
CRM Lists |
Full |
|
|
Custom Records |
Include all custom records created for Entities (Customer, Contact Opportunity) |
Edit |
Assign Users to Token-based Authentication Roles
After modifying roles with the appropriate token-based authentication permissions, an account administrator can assign users to those roles. The following is a brief procedure for assigning a role to an existing employee. Our syncing user must be assigned to this newly created token role. To do so, follow these steps:
- Go to Lists > Employees > Employees.
- Click Edit next to the name of the employee you want to assign the token-based authentication role.
- Click the Access subtab.
- In the Role field, select the token-based authentication role for this employee.
- Click Add.
- Click Save.
Create Applications for Token-based Authentication
Account administrators must create applications for use with token-based authentication before tokens can be created and assigned to users. Administrators use the Integration record to create applications for use with token-based authentication. To do so, follow these steps:
- Go to Setup > Integration > Manage Integrations > New.
- Enter a Name for your application.
- Enter a Description, if desired.
- The application State is Enabled by default. (The other option available for selection is Blocked.)
- Enter a Note, if desired.
- Check the Token-based Authentication box on the Authentication subtab. Clear the User Credentials check box if you want Sugar Market to only be able to authenticate using tokens.
- Click Save.
- After clicking Save, you are presented with the Consumer Key and Consumer secret. Please make note or save these as they will be necessary to set up sync between Sugar Market and Netsuite. For security reasons, the only time the Consumer Key and Consumer Secret values are displayed is on the confirmation page. After you leave this page, these values cannot be retrieved from the system. If you lose or forget these credentials, you will need to reset them to obtain new values.
Example Consumer Key and Consumer Secret: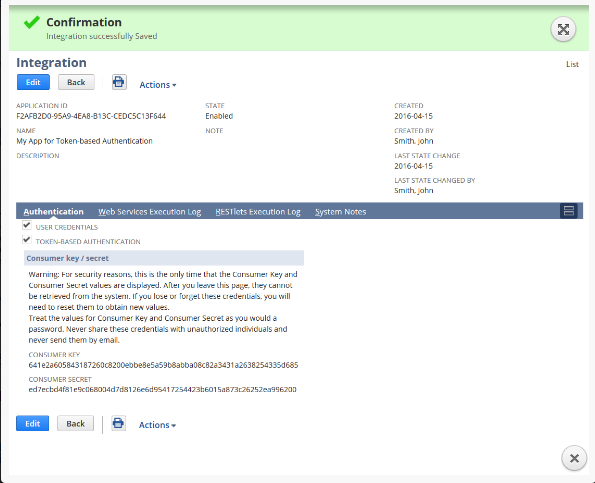
Manage Token-based Authentication Tokens
Users assigned a role that has the Access Token Management permission can create, assig/n, and manage a token for any user in the company. For example, they could assign a token to those users who are assigned a role with only the Log in using Access To-kens permission. To create and assign a TBA token:
- Log in as a user with the Access Token Management permission.
- Go to Setup > Users/Roles > Access Tokens > New.
- On the Access Tokens page, click New Access Token.
- On the Access Token page:
- Select the Application Name.
- Select the User. (User with Token-based Authentication created on page 7)
- Select the Role.(TBA Role created on Page 6)
- The Token Name is already populated by default with a concatenation of Application Name, User, and Role. Enter your own name for this token, if desired.
- Click Save. After clicking Save, you will be presented with the Token ID and Token Secret. Please make note or save these as they will be necessary to set up sync between Sugar Market and Netsuite. For security reasons, the only time the Token ID and Token Secret values are displayed is on the confirmation page. After you leave this page, these values cannot be retrieved from the system. If you lose or forget these credentials, you will need to reset them to obtain new values.
Create Saved Search
- Create Saved search: Click on List > Search > Saved Searches > New
- Select entity for the saved search:
- For account and Lead entities, select 'Customer'.
- For Contact entity, select 'Contact'.
- For Opportunity entity, select 'Opportunity'
- Fill the required information as follows:
- Add Search title
- Make it Public
- Specify select criteria as per the entity:
Account: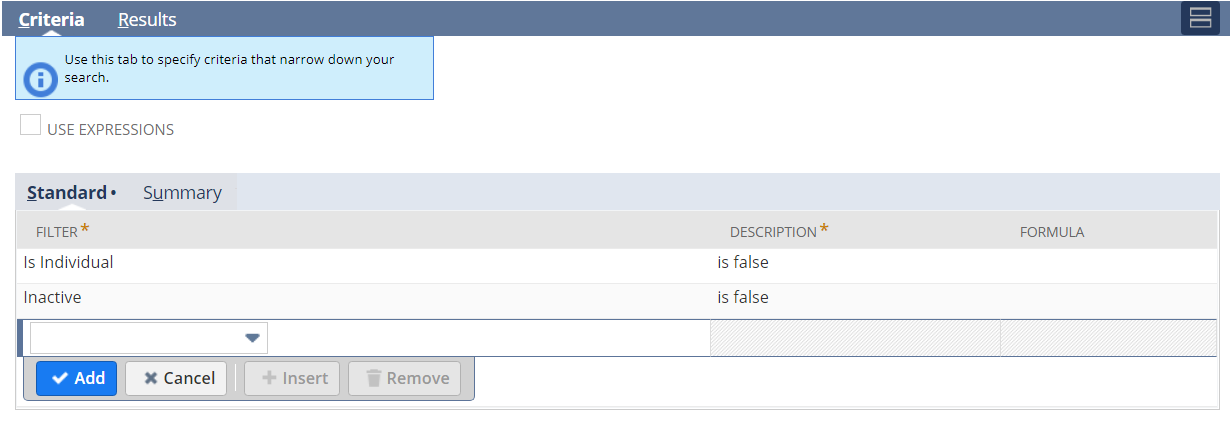
Contact: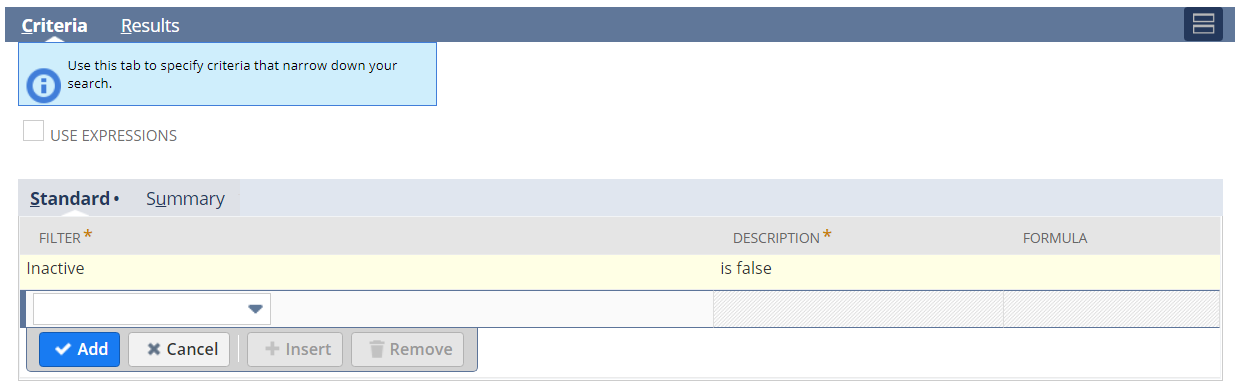
Note: For the Contacts of type Employee, we will be saving ownerId = 1 (default owner) in Sugar Market database, as employees does not have owner. For the contacts of type Vendor/Partner/Other Name, we will be saving account Id as 1 (default account) in Sugar Market database, as we are not syncing Vendor, Partner and Other Name entities].
Lead: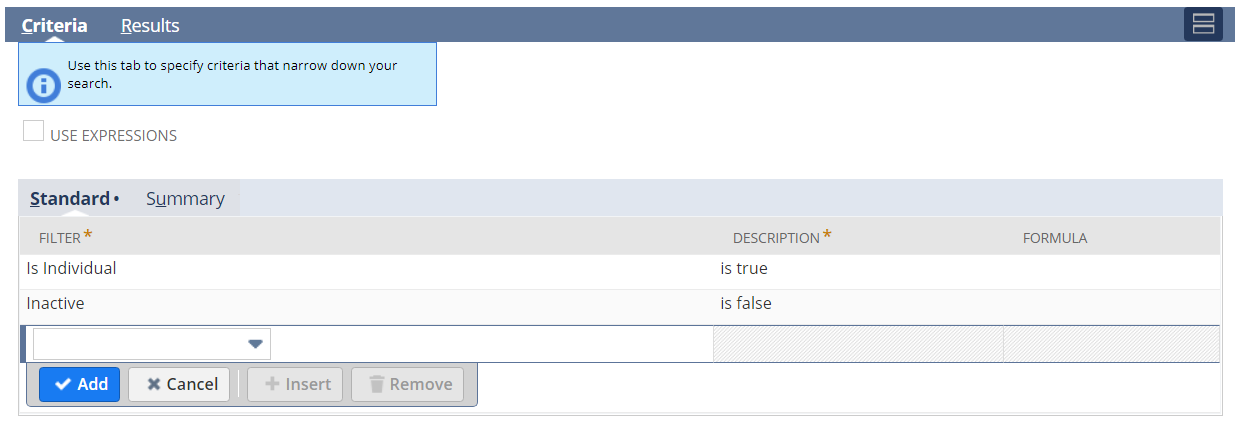
Opportunity:
Note: Keep the criteria as empty.
Note: You can add more filters as per your requirement for all of the four entities mentioned above. - Click on result tab.
- Remove all the columns which get added by default from "columns" tab.
- Only add the Internal id and last modified fields.
- Also, remove all columns from the "drill down fields" tab.
- Check "Run unrestricted".
- Add Sort by "Last Modified".
Note: Only for contact entity, along with the internal id and last modified fields, add Owner field in the result column.
Accessing the Netsuite Connector
Your Sugar Market CRM Connector will provide access to set up and modify your password access, synchronization preferences and a timetable of the last completed sync with your CRM.
To access the Netsuite connector:
- Log in to your Sugar Market account and from the user menu, click "Admin".
- In the CRM Administrator section, within the External Connector tab, click "Netsuite CRM".
Configuring the Netsuite Connector
Step 1: Syncing Credentials
The first thing you will do is enter the username and password that Sugar Market will use to access your Netsuite CRM. Remember if you change this password in Netsuite, you will need to update in this location as well. Otherwise, the sync will not be able to authenticate.
Fields:
- Username: The Netsuite CRM username we should authenticate via your web services.
- Password: The Netsuite CRM username's password.
- Account Number: The NetSuite account number for the instance
- Token based Authentication Details: These are generated by setting up Token-Based Authentication within your Netsuite CRM. For instructions on how to set this up, please see the Installing the Sugar Market Bundle in Netsuite CRM section of this page.
After entering the credentials as mentioned above, click Save Connection to the right.
Step 2: Syncing Dates
No Action Needed - this table will show you the last time Sugar Market has synced with your CRM. These will be updated once we have completed the initial integration.
Step 3: Entering Netsuite Details
Complete the Netsuite connection information. This will instruct our system how to connect to your CRM. Below is an explanation of each item:
|
Unique Organization ID |
This is a GUID unique to the customer in Sugar Market for use as an authentication via the Journey IFrame. |
|
Is OneWorld Account |
Whether or not the NetSuite instance is of a OneWorld account. |
|
Subsidiary Id |
If the NetSuite instance of a OneWorld account, specify the Subsidiary Id for the instance we are integrating with. |
|
Default User for New Leads |
The user assigned as the default (catchall) owner of a new lead when it is pushed up to Netsuite and the user does not already exist in Netsuite (the user only exists in Sugar Market). When the user does not already exist in Netsuite, Sugar Market assigns the defined user in this setting as the lead record owner. The user name only populates this list after the initial sync is complete. |
Step 4: Syncing Preferences
Set up your syncing preferences. This includes what information you want Sugar Market to sync down and what information you'd like Sugar Market to update and create, among other preferences. See the full explanation of each item below.
Pull Data
|
Pull Accounts |
Whether or not Sugar Market should sync down Accounts from Netsuite CRM |
|
Pull Contacts |
Whether or not Sugar Market should sync down Contacts from Netsuite CRM |
|
Pull Opportunities |
Whether or not Sugar Market should sync down Leads from Netsuite CRM |
|
Include Contacts and Leads without an email address (EmailAddress1 field) |
Whether or not Sugar Market should include Contacts and Leads from Netsuite CRM that do not have email addresses assigned to them |
|
Pull Marketing Lists to Distribution Lists |
Whether or not Sugar Market should sync down Marketing Lists from Netsuite CRM |
|
Keep Picklist values in sync |
Whether or not Sugar Market should sync down PickList values from Netsuite CRM |
Push Data
|
Allow Updates for Lead and Contact Records |
Allows Sugar Market to push updated values to Lead and Contact records in Netsuite CRM |
|
Allow creation of New Leads and/or Contacts |
Allows Sugar Market to create new Lead and/or Contact records in Netsuite CRM. The Sugar Market default is to create new records as Leads, unless the collected record has a specified CRMType as "Contact". |
|
Allow Updating of mapped Score Field |
Allows Sugar Market to push Scoring values to Netsuite CRM as mapped by Scoring Profiles. Records are pushed to Netsuite one record at a time. |
|
Allow Updating of Unsubscribe Status |
Allows Sugar Market to update the Unsubscribe status of Lead and Contact records in Netsuite CRM |
|
Allow the creation of new Opportunities |
Allows Sugar Market to create activity records in Netsuite from Opportunities created in Sugar Market. |
|
Allow Sugar Market to create Tasks |
Allows Sugar Market to create activity records in Netsuite from Tasks created in Sugar Market. |
|
Allow Sugar Market to update the Delivery Status and Delivery Message |
Direct Sugar Market to push the Delivery Status Message to a specific Lead/Contact field in Netsuite. This field should be a string field created in Netsuite. |
|
Allow Sugar Market to push landing page completion data |
Allows Sugar Market to push landing page completed to Lead or Contact activity records in Netsuite CRM |
|
Allow Sugar Market to push Event data |
Allows Sugar Market to push Event data completed to Lead or Contact activity records in Netsuite CRM |
Step 5: Default Custom Form IDs
If using custom form for creation of new leads, contacts, opportunity, Tasks and Events you will need to provide Custom Form Ids. If using standard forms then default value is 0.
- Custom Lead Form ID
- Custom Contact Form ID
- Custom Opportunity Form ID
- Custom Task Form ID
- Custom Event Form ID
Step 6: Sync Alert
Insert the email addresses of whom should be alerted should there be an issue with your sync. We typically recommend you include the CRM Admin and any primary Sugar Market Users. You can separate multiple email addresses with a semicolon.
Uninstall the Sugar Market Unmanaged Bundle From Netsuite
Step 1 - Login into Customer NetSuite Account.
Login into customer Netsuite account -> Go to Customization > SuiteBundler > Search & Install Bundles -> List. It shows the bundles list.
Step 2 - Search "Salesfusion Integration" unmanaged bundle.
Then search for "Salesfusion Integration" in the list and Ensure that the version is 1.6 or below - unmanaged bundle (this bundle must be already installed).
Step 3 - Uninstall the unmanaged bundle.
Click on "ACTION" -> Uninstall. It uninstalls the unmanaged bundle from the customer NetSuite instance.