Editing a Module's Layouts
Overview
Sugar® offers administrators and users a wide range of configuration, and one of the most common changes administrators will perform is editing the various layouts in Studio to suit their organization's needs and processes. For more information regarding the various layouts and how to edit them, please refer to the Studio documentation.
Prerequisites
You must have administrator access in Sugar to make the necessary changes in Studio.
Layout Controls
This article will go over the different options available when editing layouts as well as breakdown the record view and list view layouts in detail.
Standard Options Defined
When editing layouts in Studio, some or all of the following buttons will be available:
- Save: Stores the layout change but does not push any changes to users.
- Save & Deploy: Stores the change and pushes the new layouts to users.
- View History: Lists previous changes along with the date and time of each change while providing the option to preview or restore these previous versions.
- Restore Default: Reverts the layout back to Sugar's default configuration for the module.
- Role: Displays the customized layout based on a user's role.

- Role: Displays the customized layout based on a user's role.
Breakdown of Record View Layouts
The record view, edit view, and detail view layouts are modified via Studio in similar fashions. As an example, we will go over the different parts of the record view layout.
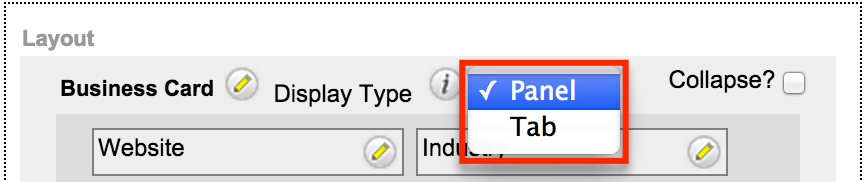
- Display Type: Each section can be displayed as a separate tab or as a panel within the tab above. Choosing tabs for this dropdown helps to reduce necessary screen real estate while choosing panels keeps all fields simultaneously visible.
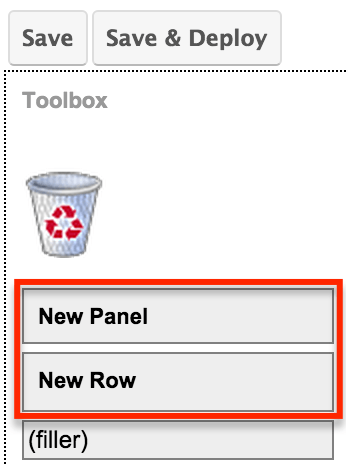
- New Panel/Row: Adding panels will add a new section to the layout while adding rows will allow additional fields or a blank space to be added within a panel.
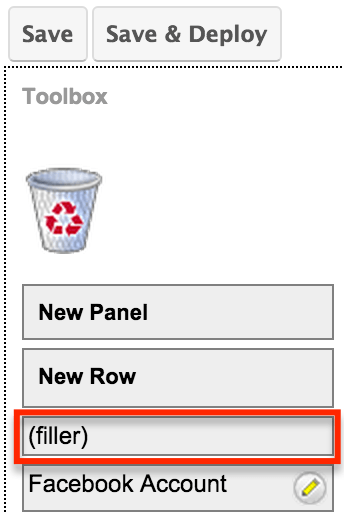
- Filler: Fillers can be added in place of fields where a blank place is desired.
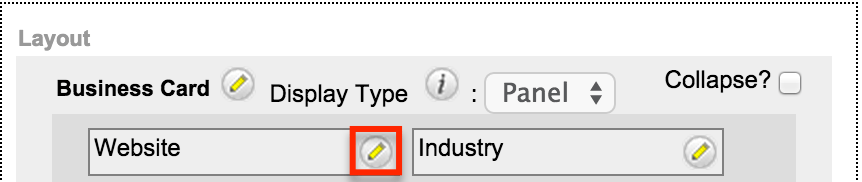
- Pencil Icon: This is an edit button and allows you to change specific properties depending on the layout you are editing. These properties include the label, tab order, and/or width for a field or panel.
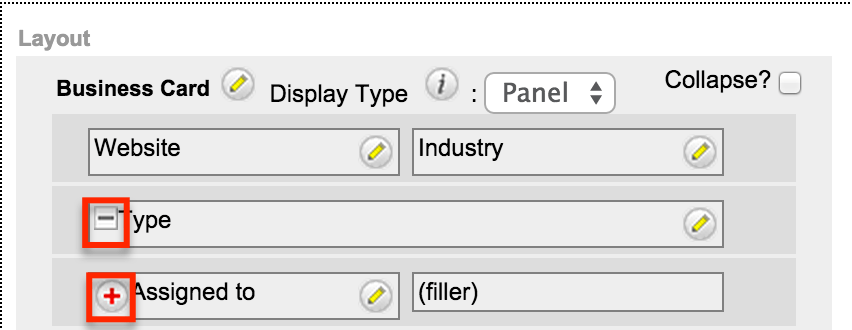
- Plus/Minus Sign: Clicking the plus sign stretches the field over two columns. The minus sign fits the field into one column.
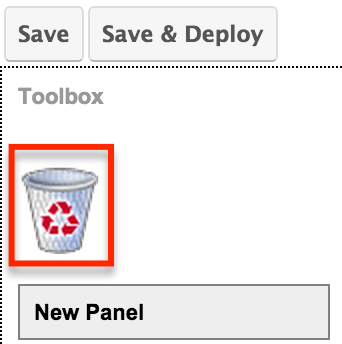
- Recycle Bin: When you wish to remove a field from a layout, drag and drop it on the recycle bin. The field will then appear as available again within the toolbox.
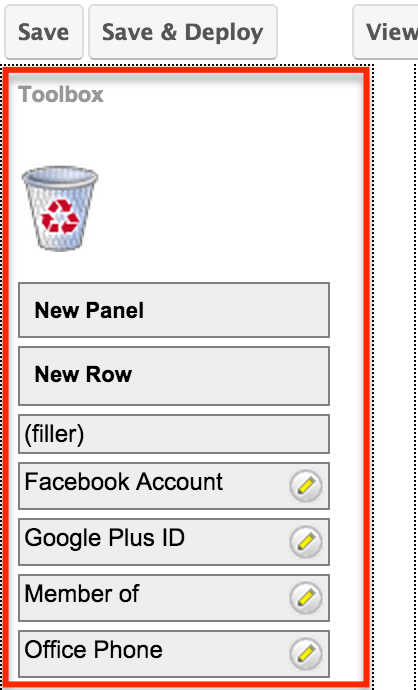
- Toolbox: This is your bank of available fields not yet appearing on the layout.
For more information on editing the record view, edit view, and detail view layouts via Studio, please refer to the Editing Record View Layouts section of this article.
Breakdown of List View Layouts
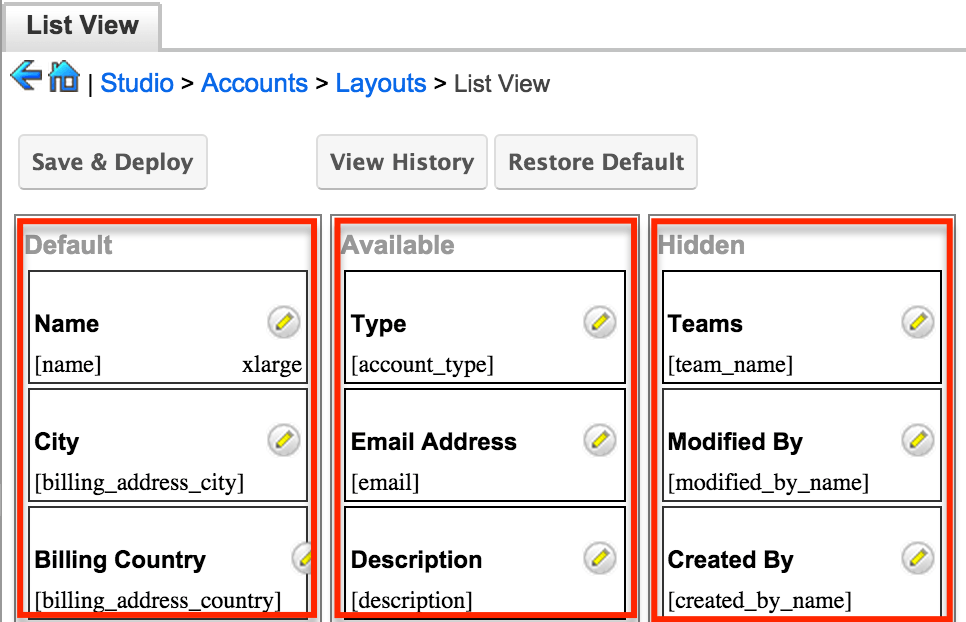
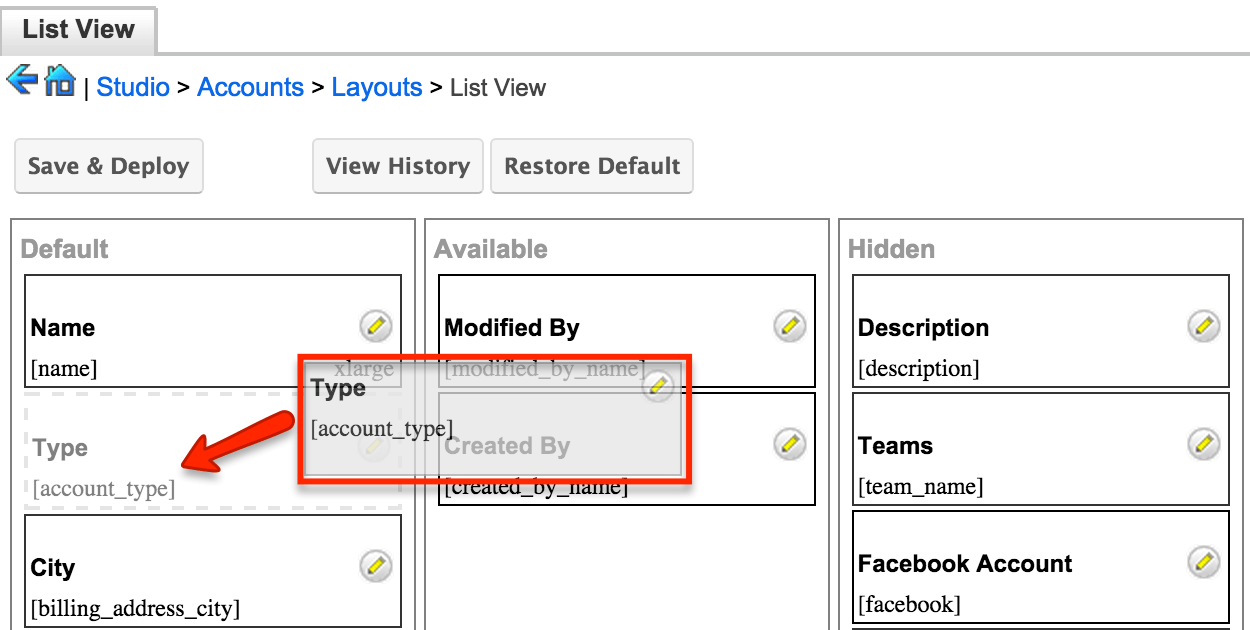
Unlike the record view, edit view, and detail view layouts, the list view layout has columns where you can designate fields users can and cannot see.
- Available: This column contains fields that will allow a user to create a custom list view for saved searches. For more information regarding saved searches and layout options, please refer to the article "Introduction to Basic and Advanced Search."
- Default: This column contains fields that are displayed in the list view.
- Hidden: This column contains fields that will be not be displayed. Fields in this column are not available to users to customize a saved search list view.
For more information on editing the list view layout, please refer to the Editing List View Layouts section of the article.
Steps to Complete
Editing Record View Layouts
In Studio, the record view, edit view, and detail view layouts are all edited in the same fashion. For this example, we will add a new panel and add additional fields to the record view layout for the Accounts module.
-
Navigate to Admin > Studio > Accounts > Layouts > Record View.
-
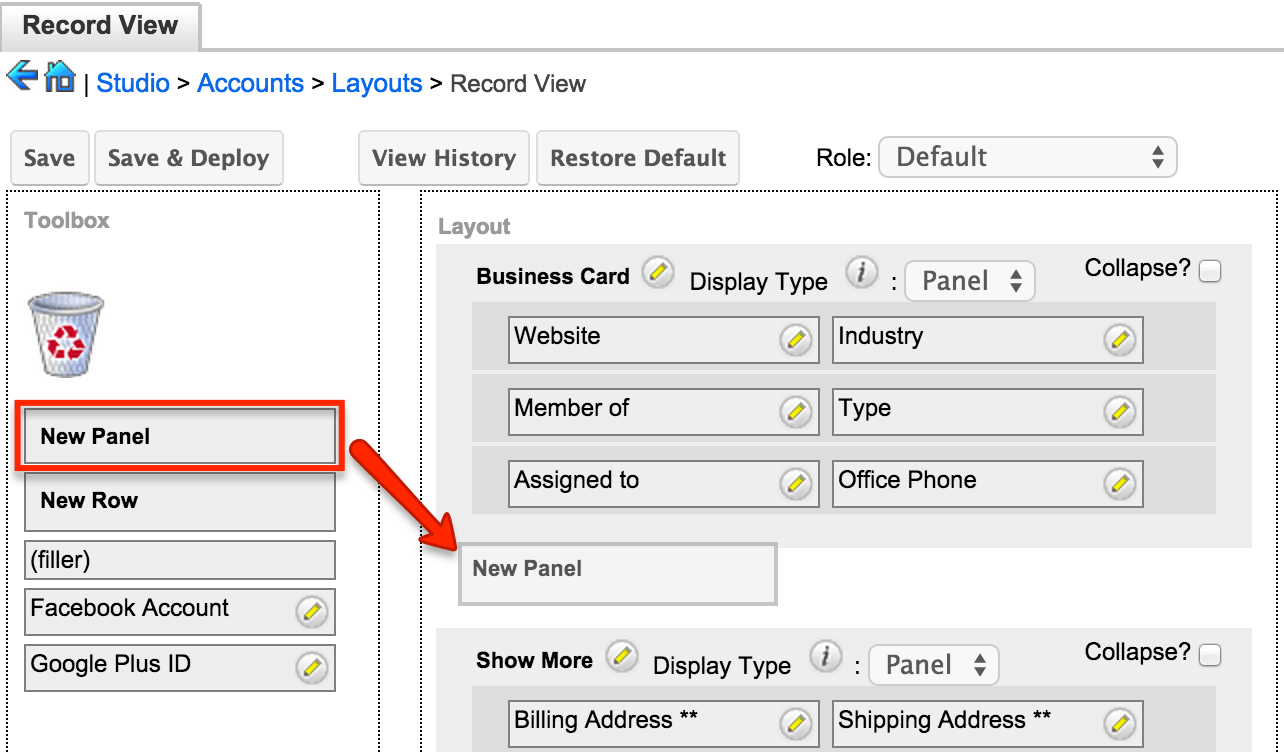
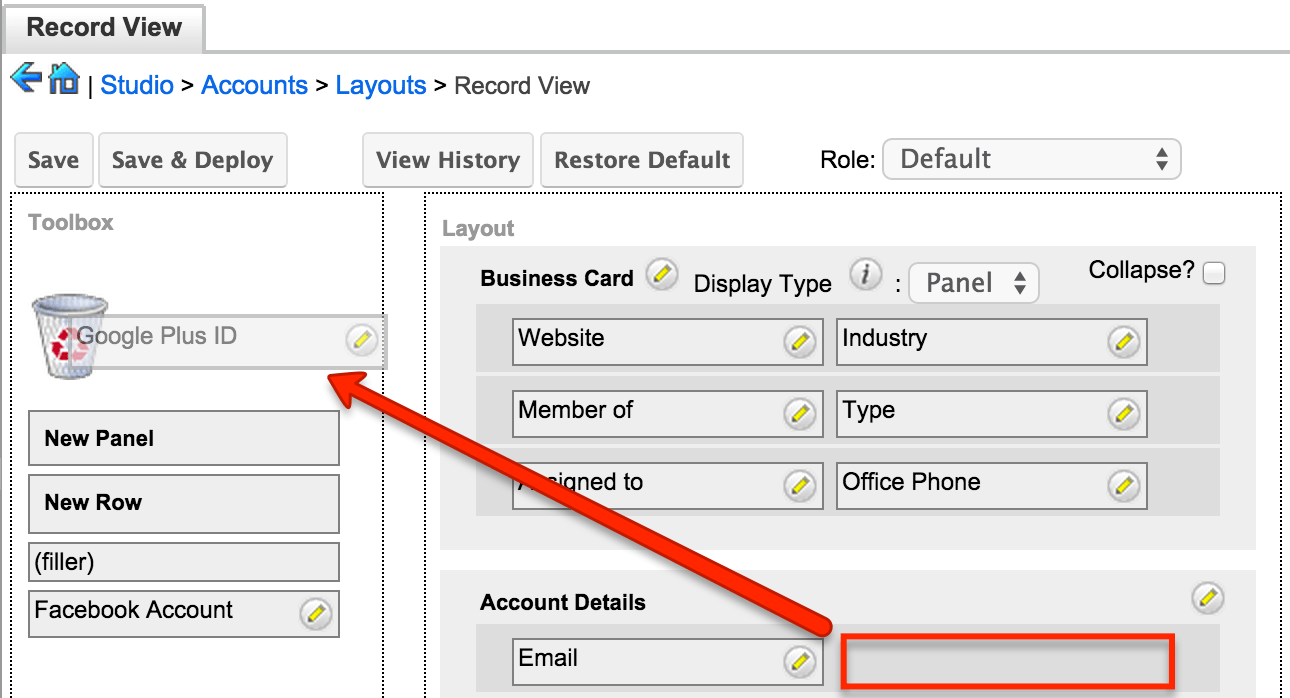
From the Toolbox, drag and drop a new panel to a location in the layout where you would like to add additional fields.
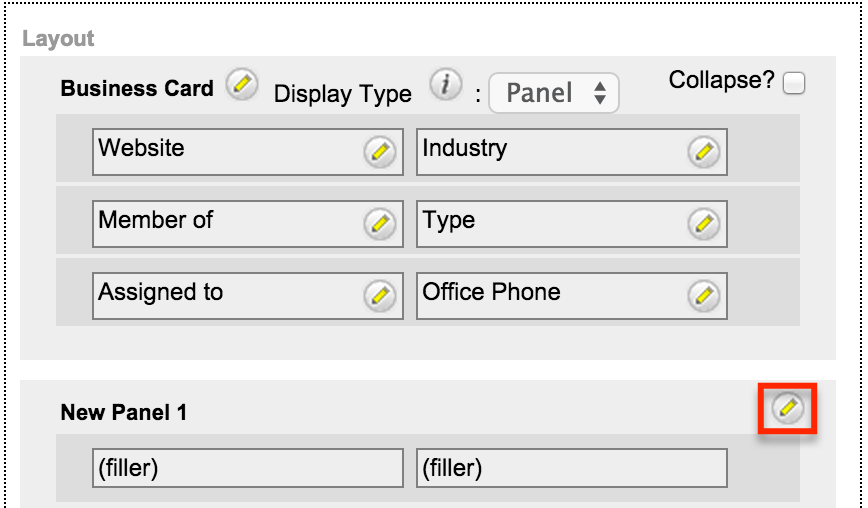
- Click the pencil icon located on the far right of the new panel section to change the label. Populate the Label field to "Account Details" and then click "Save".
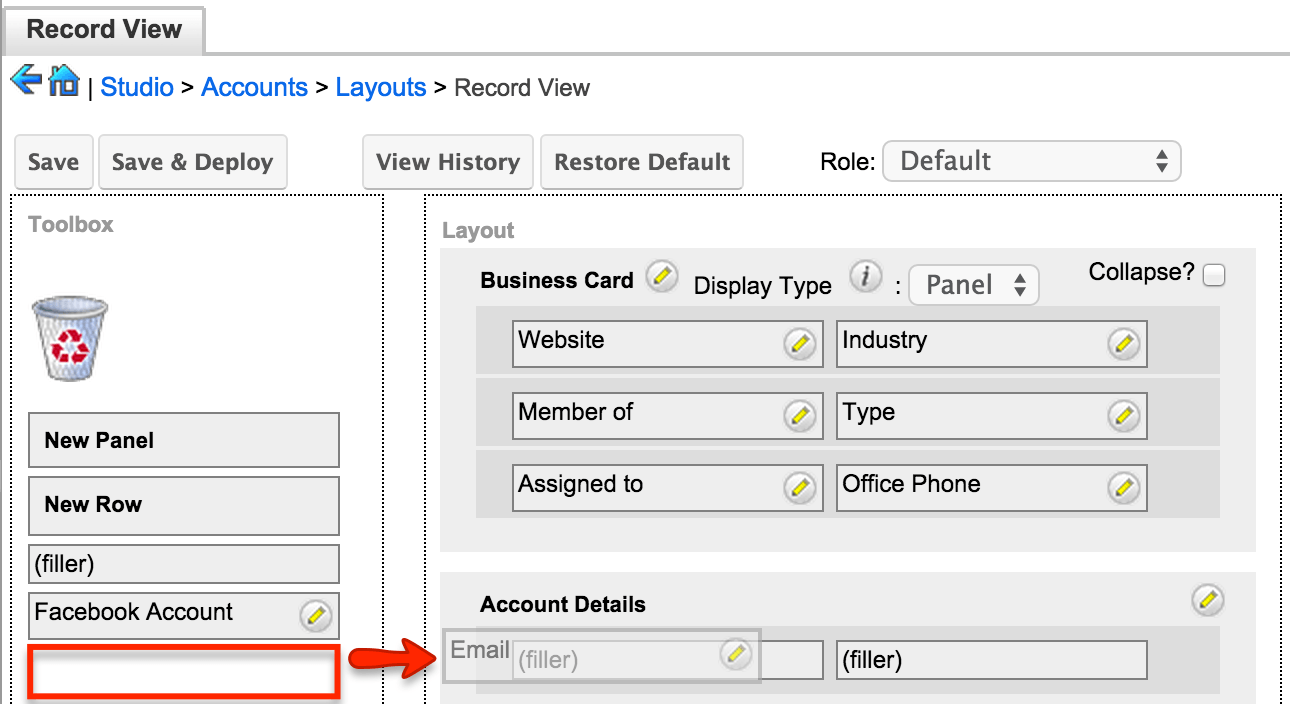
- From the Toolbox, drag and drop fields to the desired location on the layout. Please note that if a field is placed on an existing field in the layout, they will swap places.
- To remove a field, panel, or row from the layout, drag and drop it on the recycle bin. The fields will reappear in the Toolbox.
- To change or set the tab order, click the pencil icon next to each field and enter a number into the Tab Order field. When a user tabs through the form, the fields will be highlighted in numerical order.
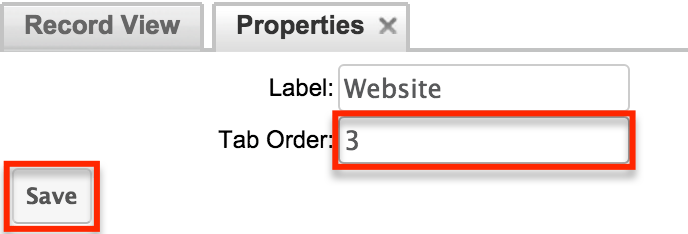
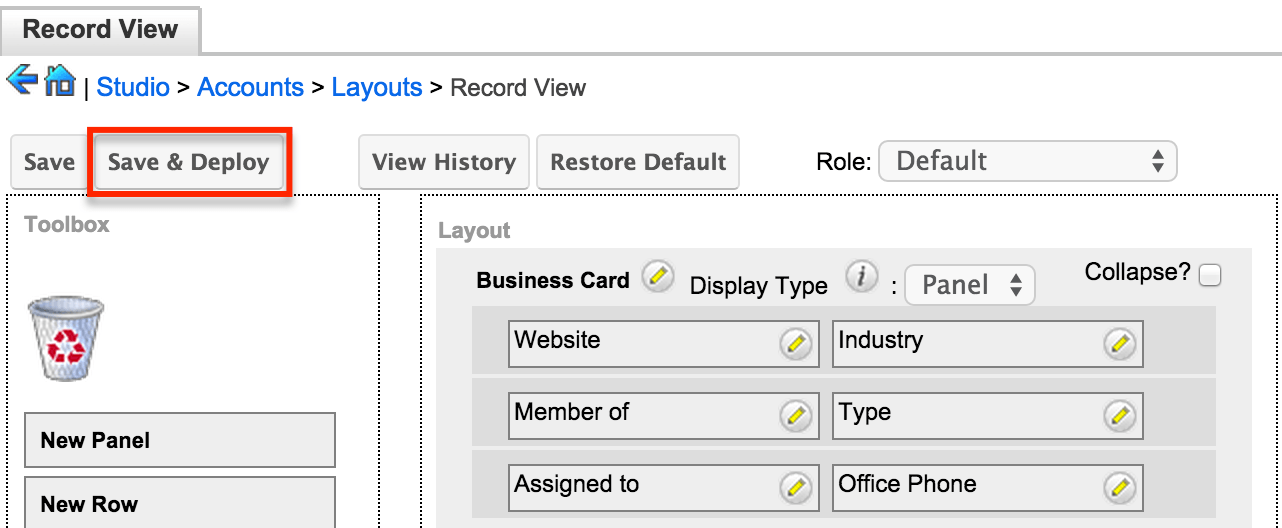
Note: If multiple fields have the same tab order value, then the tabbing will cycle through those fields from left to right, up to down, until all fields have been encountered and then proceed to the next numerical value in the tab order. - Once the layout is finalized, click "Save & Deploy" to preserve your changes and push the new layout out to your users.
Editing List View Layouts
Module list views show users a filtered list of records. The following steps will go over how to edit the list view layout for the Accounts module via Studio.
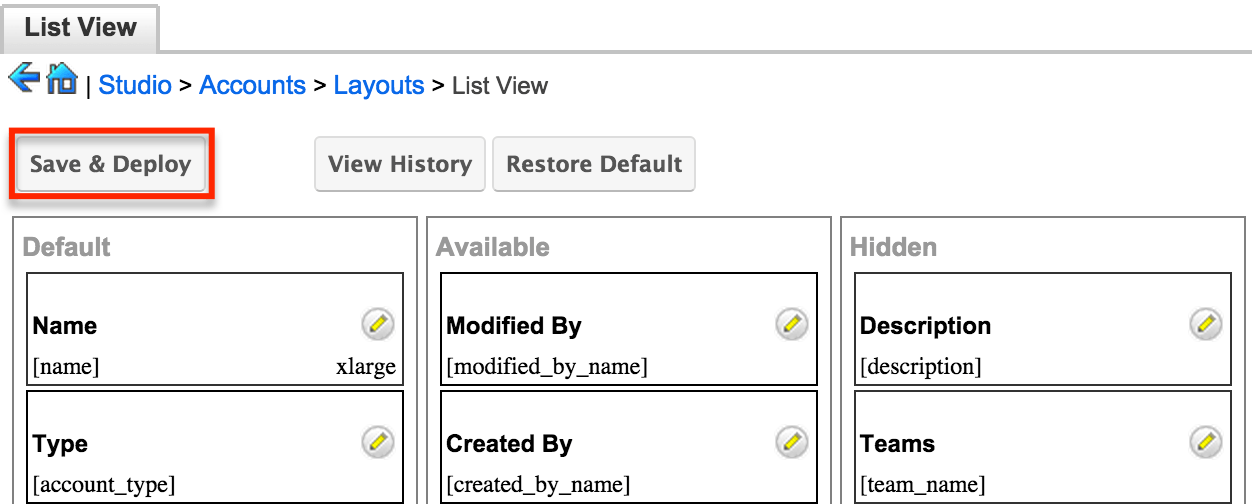
- Navigate to Admin > Studio > Accounts > Layouts > List View.
-
To add a field directly to the list view, drag and drop the fields from the Available or Hidden columns to the Default column.
- To make a field available for users to add to their personal list view but not appear on all users' list views by default, drag it to the Available column. To see the list of available fields for the module's list view, click the three-dots menu to the far right of the list view column headers.
Note: For more information about Default and Available fields in the List View layout, please refer to the Studio documentation.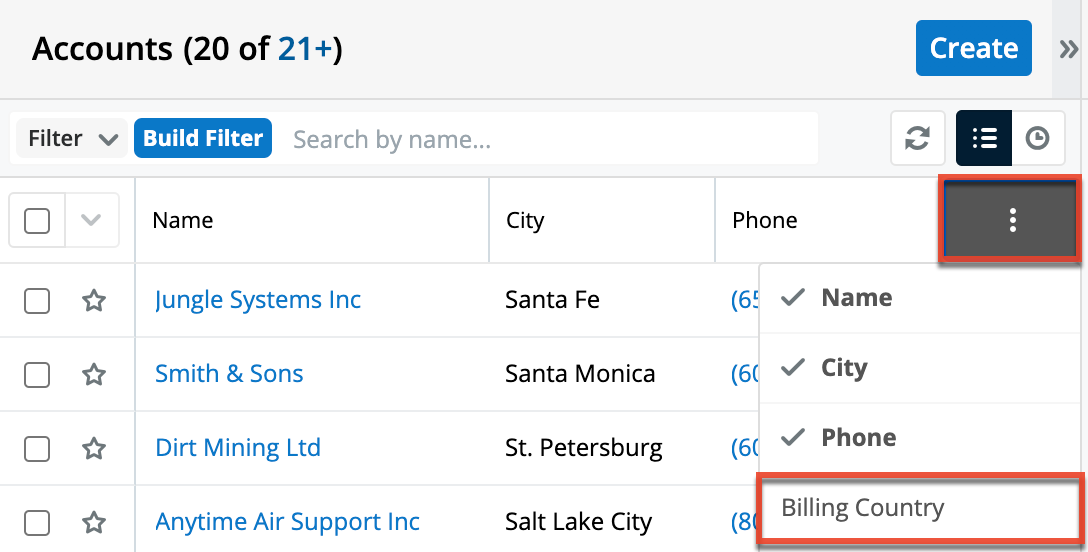
-
Once the layout is finalized, click "Save & Deploy" to preserve your changes and push the new layout to your users.
Editing Popup List View and Popup Search
You can designate which fields will be used in Popup search to filter records as well as the fields that make up the popup list view results. As an example, we will walk through configuring Popup search.
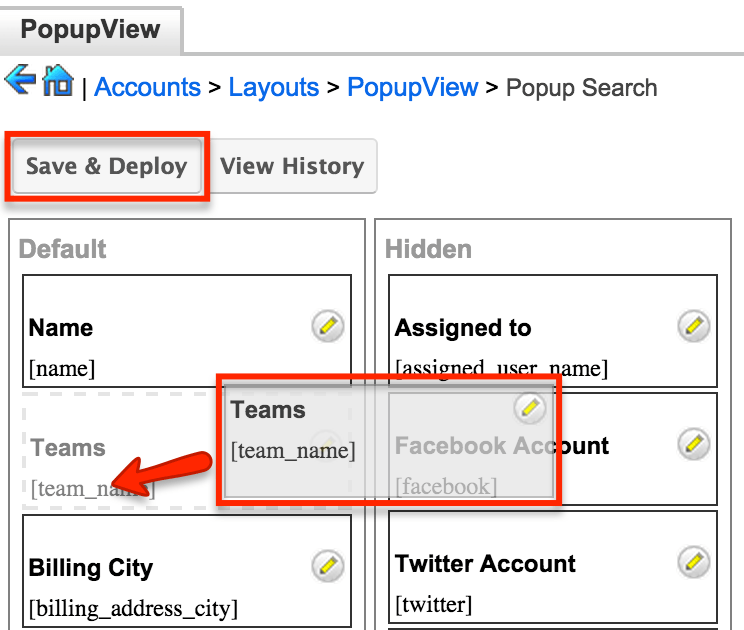
- Navigate to Admin > Studio > Accounts > Layouts > PopupView > Popup Search.
- To add a field to the popup search, drag and drop fields from the Hidden column to the Default column.
- To remove a field from the popup search, drag and drop it from the Default column to the Hidden column.
- Once the layout is finalized, click "Save & Deploy" to preserve your changes and push the new layout to your users.