Creating Role-Based Record Views
Overview
Role-based views provide a way for administrators to set unique layouts for users depending on their role. In organizations of all sizes, employees may need to view and modify different data in a single Sugar record. With role-based views, managers can see a different record view layout than their direct reports while marketing and salespeople can see more sales-related fields than users in a customer support role.
Administrators can also create role-based dropdown lists to control the dropdown options that are available for users to select depending on their assigned role. For more information, please refer to the Creating Role-Based Dropdown Lists article.
Note: Role-based views are only available for Sidecar modules. For more information on creating role-based record views in Sugar, please refer to the Studio documentation.
Use Case
As an example, we will create a custom field in the Accounts module called "Manager Notes" where a manager can record notes on customer interactions. While the Manager Notes field is vital to managers, regular employees at the company should not see the field. Therefore, the role that all managers are assigned to, "Manager Role", will include the Manager Notes field in their record view layout but the non-management "User Role" will not.
Prerequisites
- You must be an administrator or have developer-level role access to the module that will contain a role-based view (e.g. Accounts).
- Before configuring a role-based view, you must have at least one role in your instance. For this example, we have already created two roles: "Manager Role" and "User Role".
- Additionally, you should assign users in your instance to the configured role(s) so that the appropriate users can see the new layout and changes immediately.
Note: For more information on creating and assigning roles, please refer to the Role Management documentation.
Steps to Complete
There are two ways to go about controlling which roles see the Manager Notes field. In the first method, we will add the field only for the roles which should see it while leaving it off of the Default layout. In the second method, we will include the field on the Default layout, then remove it for the roles which should not see it.
Adding a Field for the Manager Role
In this method, we will leave the Manager Notes field off of the Default record view layout for the Accounts module. Then, by adding the field only for the Manager Role, we ensure that only users assigned to that role can see the field.
Use the following steps to add a Manager Notes field to a role-based account record view that will only be visible to users in the Manager Role:
- If it does not already exist, add the Manager Notes field to the Accounts module.
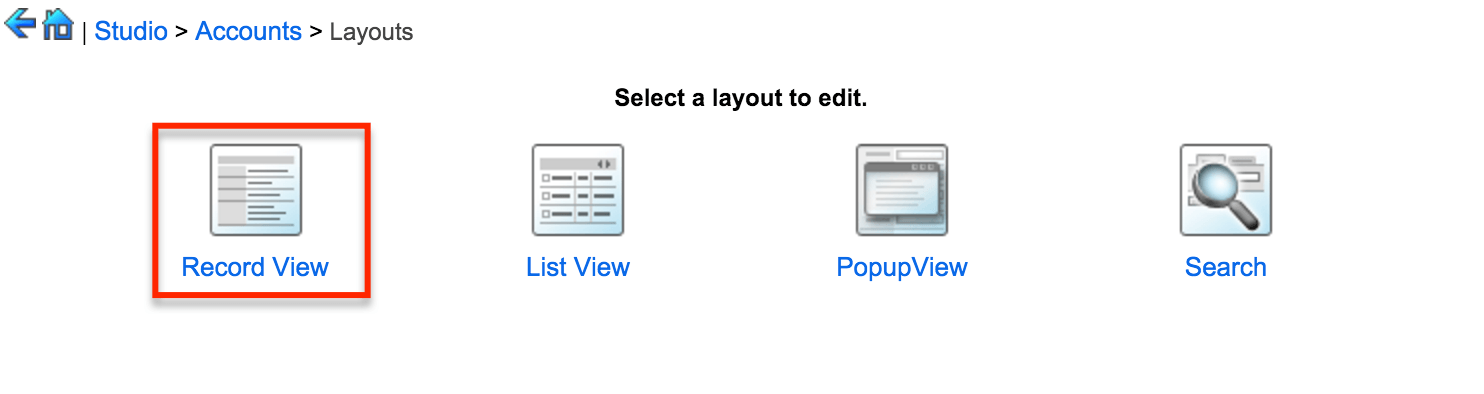
Note: For more information on creating new fields in Sugar, please refer to the Studio documentation. - After creating the Manager Notes field, navigate to Admin > Studio > Accounts > Layouts > Record View.
Note: Role-based views are only available for record view layouts.
- From the Role dropdown in the upper-right corner of the layout screen, select the first role to modify. In this example, the first role is the "Manager Role", where we will add the Manager Notes field to the record view layout.

- Find the Manager Notes field in the Toolbox on the left side of the screen and then drag it into a position in the record view layout where a filler is currently located.
Note: If there is no filler spot in the layout or if a filler spot does not exist in the location you want the Manager Notes field to be placed, drag the "New Row" item from the Toolbox into the layout first.
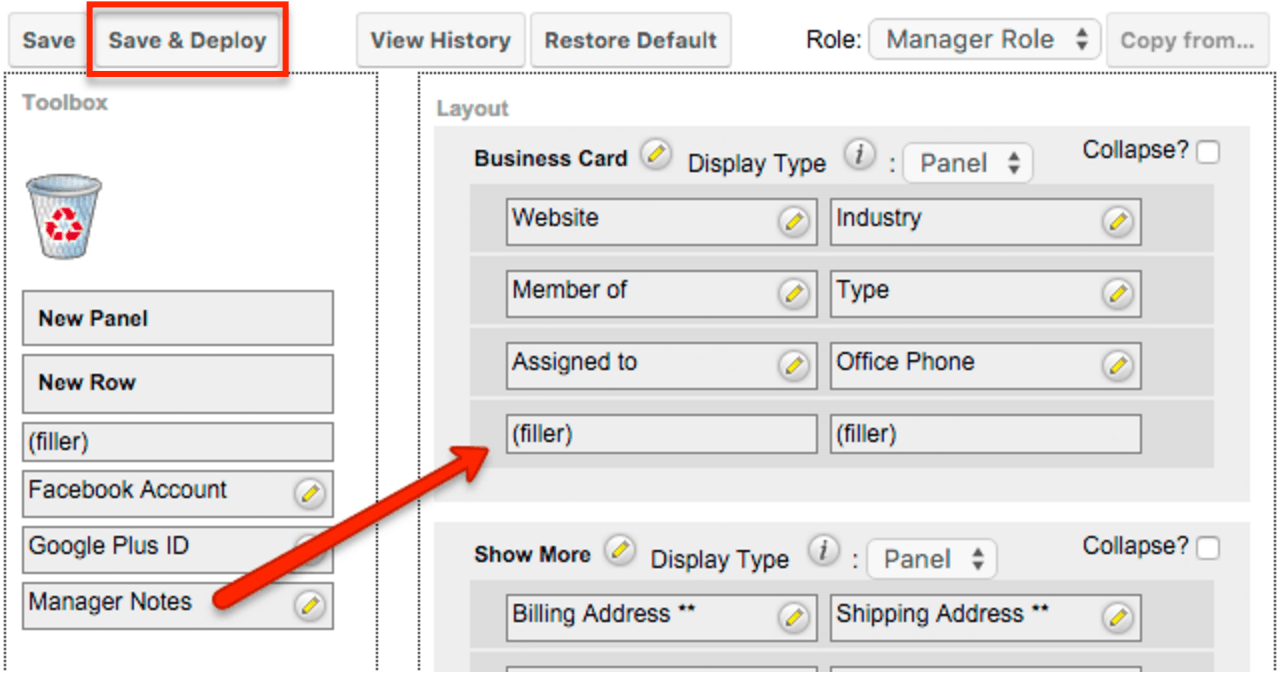
- Click "Save & Deploy" to save the Manager Notes field to the Manager Role's layout.
Note: Once the changes have been saved, an asterisk (*) will display next to "Manager Role" in the Role dropdown to indicate that it is customized.
Removing a Field for the User Role
As an alternative to the method above, you can include the Manager Notes field on the Default layout, then remove it from the User Role layout. Using this method, the User Role layout will be customized rather than the Manager Role layout, and all users except those assigned to the User Role will be able to see the field.
Use the following steps to remove the Manager Notes field from a role-based account record view so that it is not visible to users in the User Role:
- Navigate to Admin > Studio > Accounts > Layouts > Record View.
Note: Role-based views are only available for record view layouts.
- Ensure that the Manager Notes field is included on the Default layout and that other role layouts which should display the field are either not customized (e.g. have no asterisk) or also include the Manager Notes field.
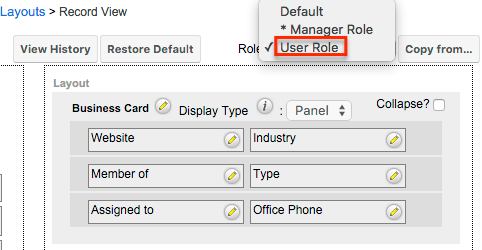
- From the Role dropdown in the upper-right corner of the layout screen, select "User Role".
- Click and drag the Manager Notes field from the layout into the recycling bin.
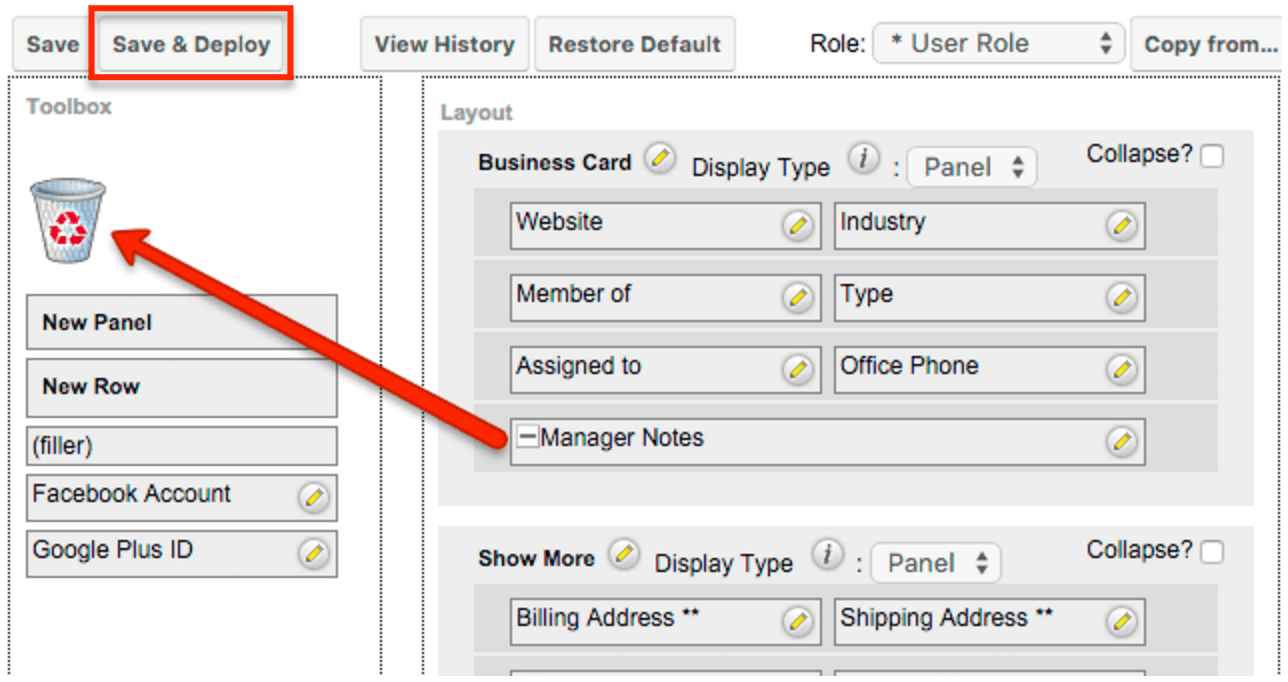
- Click "Save & Deploy" to make your changes live on the instance.
Note: Once the changes have been saved, an asterisk (*) will display next to the User Role's name in the Role dropdown to indicate that it is customized.
Application
After completing the necessary steps in one of the above sections, users assigned to the Manager Role will be able to view and edit the Manager Notes field in the account's record view layout: 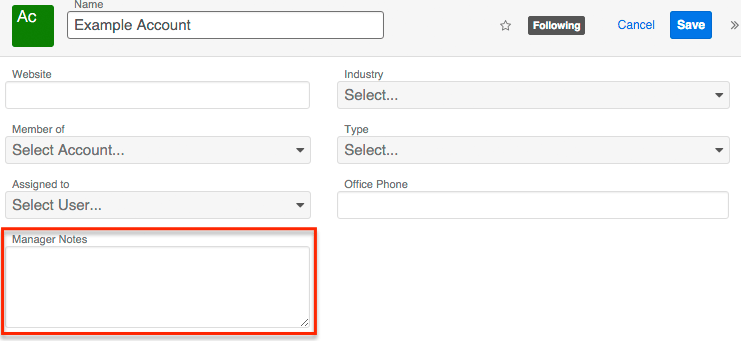
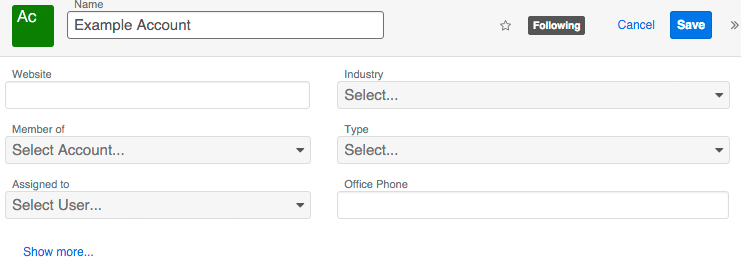
Users assigned to the User Role will not see the Manager Notes field in the account's record view layout: