Activating Sugar Sell Essentials
Overview
Sugar Sell Essentials is a robust, stand-alone tool that allows you to collaborate with your team while managing and tracking your organization's activities. This article provides an overview of the process that your primary Sugar administrator should perform to activate and configure your instance.
This article covers the following steps that are required to activate your Sugar Sell Essentials capabilities in logical order:
Prepare
Before activating Sugar Sell Essentials, make sure that you have access to the following items:
- SugarCRM Order Confirmation: Find your order confirmation email that contains your license key and Sugar URL. You will need this information below.
- List of Sugar Users and Responsibilities: You should make a list with each user's full name, username, and email address so that you can create multiple users via import. You should also understand how each user will be permitted to engage with Sugar through the lens of teams and roles.
The steps on this page may take several hours or several days depending on your level of preparedness, business process complexity, and familiarity with Sugar solutions. Please review the following sections before starting and be sure you have enough time to commit to the activation and configuration for each step.
Log in for the First Time
Welcome, administrator! The first step for setting up your Sugar Sell Essentials instance is to log in to Sugar and set up your user account.
- Navigate to your new Sugar instance.
- Find your instance URL under the "SugarCloud Access" heading in your SugarCRM order confirmation email.
- Log in using the credentials provided in the order confirmation email.
- Step through the New User Wizard to configure some basic profile settings, and then click "Start Sugar" to access your Sugar account.
- Edit your admin user record in SugarIdentity.
- Click your profile icon in the upper right of Sugar and select "Admin". Then click "SugarIdentity" on the Admin page to create and manage user records and configure additional settings.
Note: For Sugar versions 13.0 and lower, click "SugarCloud Settings" on the Admin page.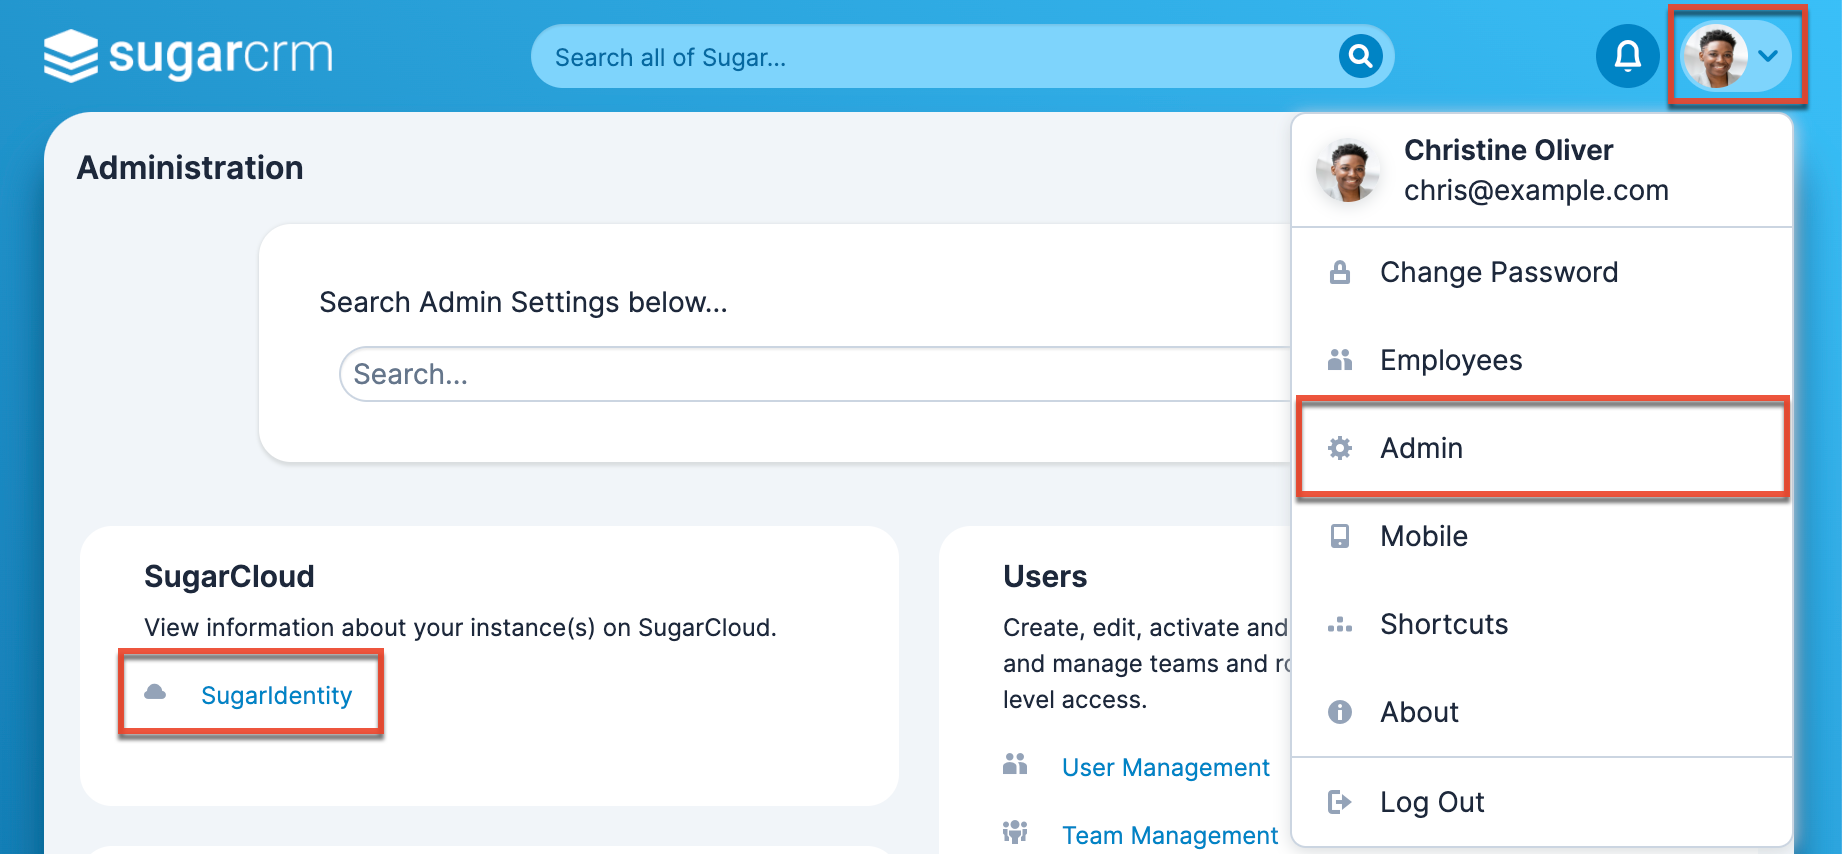
- Click on the only user record, "Administrator", and edit the details as follows:
- Set your first and last name, user name, and email address.
- Enable all available license types in the License Type dropdown to ensure you can access all of Sugar's functionality.

- Click your profile icon in the upper right of Sugar and select "Admin". Then click "SugarIdentity" on the Admin page to create and manage user records and configure additional settings.
- Define password requirements in SugarIdentity.
- At the top of the navigation bar, click the Home tab, then select "Password and Security Settings" under the Login Management heading.

- Set your organization's password requirements.
Note: For more information on configuring the password requirements, refer to the SugarIdentity Guide.
- At the top of the navigation bar, click the Home tab, then select "Password and Security Settings" under the Login Management heading.
- Set your password.
- Once you have established your organization's password requirements, click the User Menu in the top-right corner of SugarIdentity and select "Change Password" to change your password to a secure one.

- Once you have established your organization's password requirements, click the User Menu in the top-right corner of SugarIdentity and select "Change Password" to change your password to a secure one.
Note: Do not share your login credentials with others. If you would like to designate another person as an admin user, please create a new user with the User Type field set to "System Administrator User".
Create Users
For the remaining sections, you will need to have user records loaded into Sugar so that you can associate them with the appropriate capabilities before they log in. To determine the best way to add users for your situation, please review the Best Practices When Creating Users documentation before continuing.
- Create the user records in SugarIdentity.
- Create users individually or create multiple via import.
Note: You may refer to the list you prepared earlier before starting the Sell Essentials activation process. - You must assign a license type (e.g., Sugar Sell Essentials) when creating the user records.
- Create users individually or create multiple via import.
- Set up teams and roles in your Sugar instance.
Go Live With Sugar
Before introducing users to Sugar, you may want to make changes to Sugar's standard fields and layouts. Take some time to evaluate and configure Sugar's capabilities for your unique business processes. The following links may help guide you during this exciting process of leveraging the flexible Sugar platform.
- Configure your system settings.
- Refer to the First Settings to Configure article for some common settings that you may want to configure.
- Configure Sugar Sell-specific features.
- Refer to the Setting up Sugar Sell Features article to learn about how to configure Sell-specific features that will help your sales team succeed.
- Welcome your users.
- Send a welcome email to your users to provide them with the instance URL and information on how to log in.
Encourage User Adoption
Now that you have activated your Sugar Sell Advanced instance, learn more about how to help your organization succeed in using this new technology by visiting the Adoption page of SugarClub. This will provide you with resources to help you organize and communicate with your users so that you can get the most out of Sugar!