Console Management
Overview
Sugar's Renewals Console and Service Console are Home page dashboards that provide a powerful work environment for sales and service agents. The Service Console can be managed and configured by system admin users with a Serve or Enterprise license type. The Renewals Console can be managed and configured by system admin users with a Sell or Enterprise license type. In addition, a regular user who is assigned to the dashboard has the ability to administer and configure the consoles.
For more information on how to configure the various parts of the consoles, refer to the Configuring the Consoles section below. For more information on license types and the module functionality available for each type, refer to the License Management documentation. Please note that Sugar's console dashboards cannot be duplicated or deleted.
Prerequisites
In order to configure the consoles, the following requirements must be met:
- You must be a system administrator user.
Note: The system admin can also assign the console dashboard to a regular user if they wish to designate a console administrator who will manage the dashboard for the organization. For more information, refer to the Designating a Console Administrator section below. - You must have a Sugar Serve license type to configure the Service Console.
- You must have a Sugar Sell or Enterprise license type to configure the Renewals Console.
For more information on license types and the module functionality available for each type, refer to the License Management documentation.
Designating a Console Administrator
If you wish to designate a non-admin user as a console administrator to manage and configure the consoles for your organization, you will need to assign the applicable dashboards to the specific user. Use the following steps to designate a user as a console administrator:
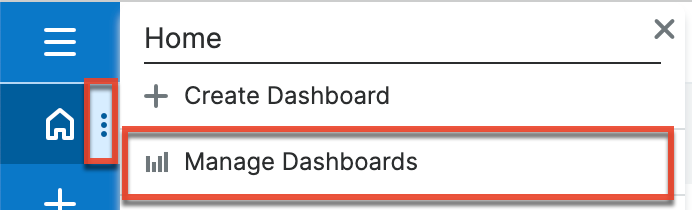
- Click the three-dots menu in the Home tab of the navigation bar then select "Manage Dashboards".
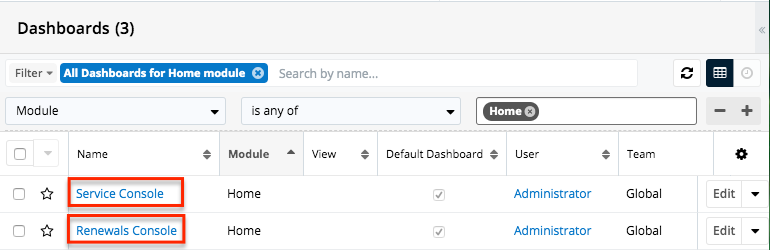
- In the Dashboards module list view, select the console (i.e., Service Console, Renewals Console) for which you want to designate a console administrator.
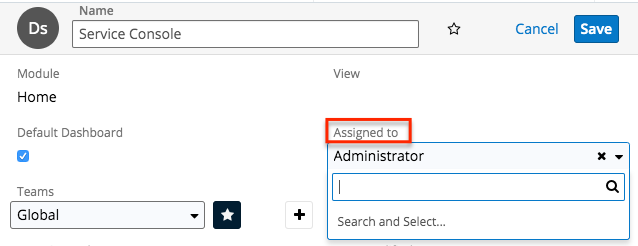
- Change the Assigned To field to the desired user.
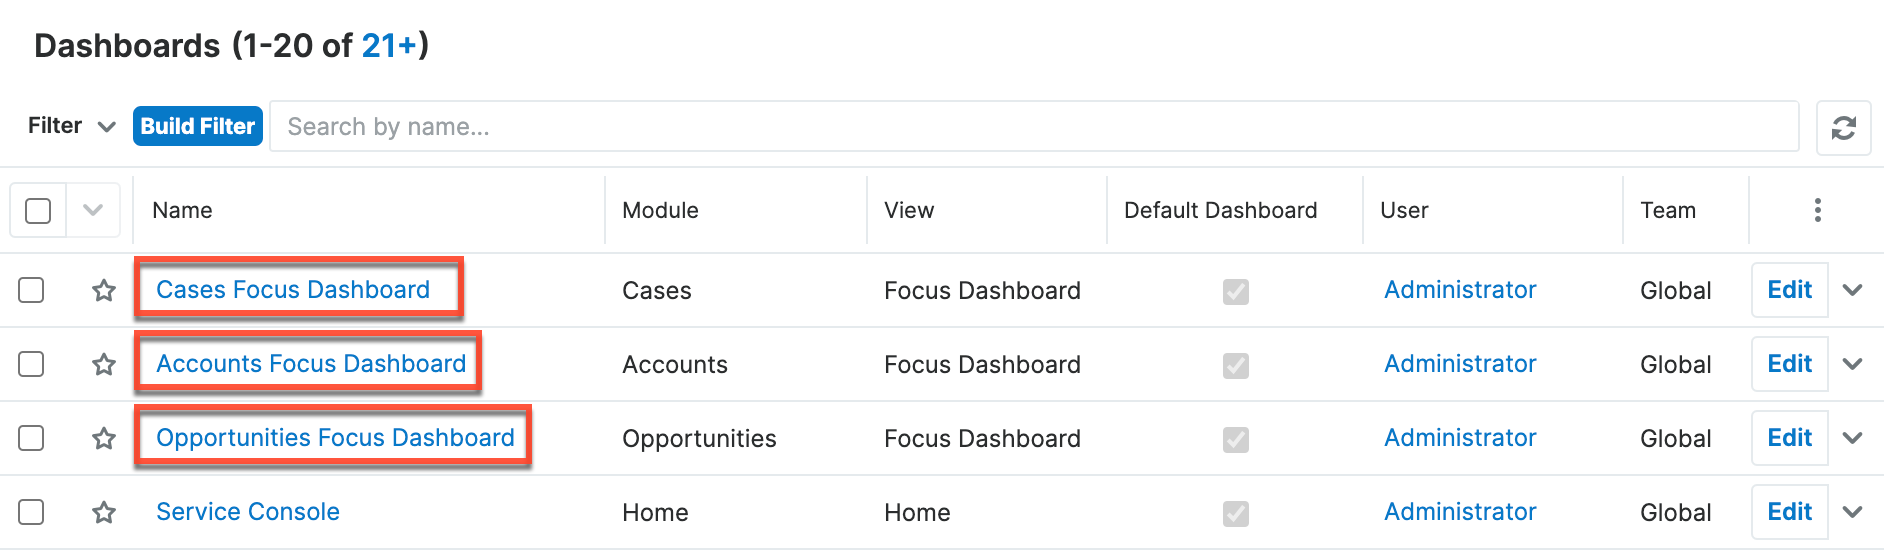
- Next, navigate back to "Manage Dashboards" and remove the filter in the Dashboards list view to display all available dashboards. If you are designating a console administrator for the Service Console, locate the Cases Focus Dashboard and reassign it to the same user from Step 3. For the Renewals Console, locate and reassign the "Accounts Focus Dashboard" and "Opportunities Focus Dashboard" dashboards to the same user from Step 3. Please note that you must reassign this dashboard to the user in order to give them the ability to edit the dashlets contained in the Case Detail drawer (for Service Console), Account Detail drawer (for Renewals Console), and Opportunity Detail drawer (for Renewals Console).
Once the applicable dashboards have been reassigned to the desired user, going forward the user assigned to the dashboards will be able to manage and configure the consoles just like the system admin user.
Configuring the Consoles
The Console can be configured by system admin users or by a regular user who is assigned to the dashboard. Please note that the user must have a Sugar Serve or Enterprise license type to access and configure the Serve Console, and a Sugar Sell or Enterprise license type to access and configure the Renewals Console. Also, keep in mind that in order to access and configure the dashlets in the module tab drawers (e.g., Case Detail drawer), you will need to have at least one record assigned to you, otherwise, the console will appear to be empty. Any changes made to the Consoles will update the dashboard for all users who access the console. The following sections cover the basics of configuring the Overview tab, the module tab lists, and the module tab drawers.
Configuring the Overview Tab
Admin users and the user assigned to the Console dashboard can rename the dashboard, add and remove dashlets, rearrange and resize dashlets, and edit dashlets on the dashboard. Any changes made to the Overview tab will be updated for all users who access the console.
For more information on configuring dashlets, refer to the Dashboards and Dashlets documentation.
Restoring Overview tab Layout
If you wish to restore the Overview tab dashboard's layout back to the default out-of-the-box layout, simply click the floating actions button and select the Restore Default Dashboard option. The console dashboard layout will be updated to the out-of-the-box layout for all users who access the console.
Configuring the Metric Bar and Metric Tabs
Metric tabs allow you to deploy predefined filters and views to your users for multiple unified team views. Both the Service Console and the Renewals Console require a relationship hierarchy based on teams to determine which users the metric tabs are deployed to. To learn more, please see the Team Management page.
The Renewals Console's Accounts tab and Opportunities tab have the following metric tabs by default: My Accounts and My Opportunities, respectively. For a more general overview of how metric tabs work, please see the Renewals Console documentation and the Metrics page.
Metric Bar
The metric bar is a bar across the top of the console that holds all of a user's metric tabs. The bar is available on any module tab (e.g., Cases, Opportunities) and can be seen below the console's tabs:

In the above screenshot, you can see that there are four metric tabs on the metric bar. Each tab has individual settings, while the module bar also has settings that are configured by the three-dots menu available at the end of the metric bar. There is no limit to how many metric tabs can be included, but they may be hidden in an overflow menu.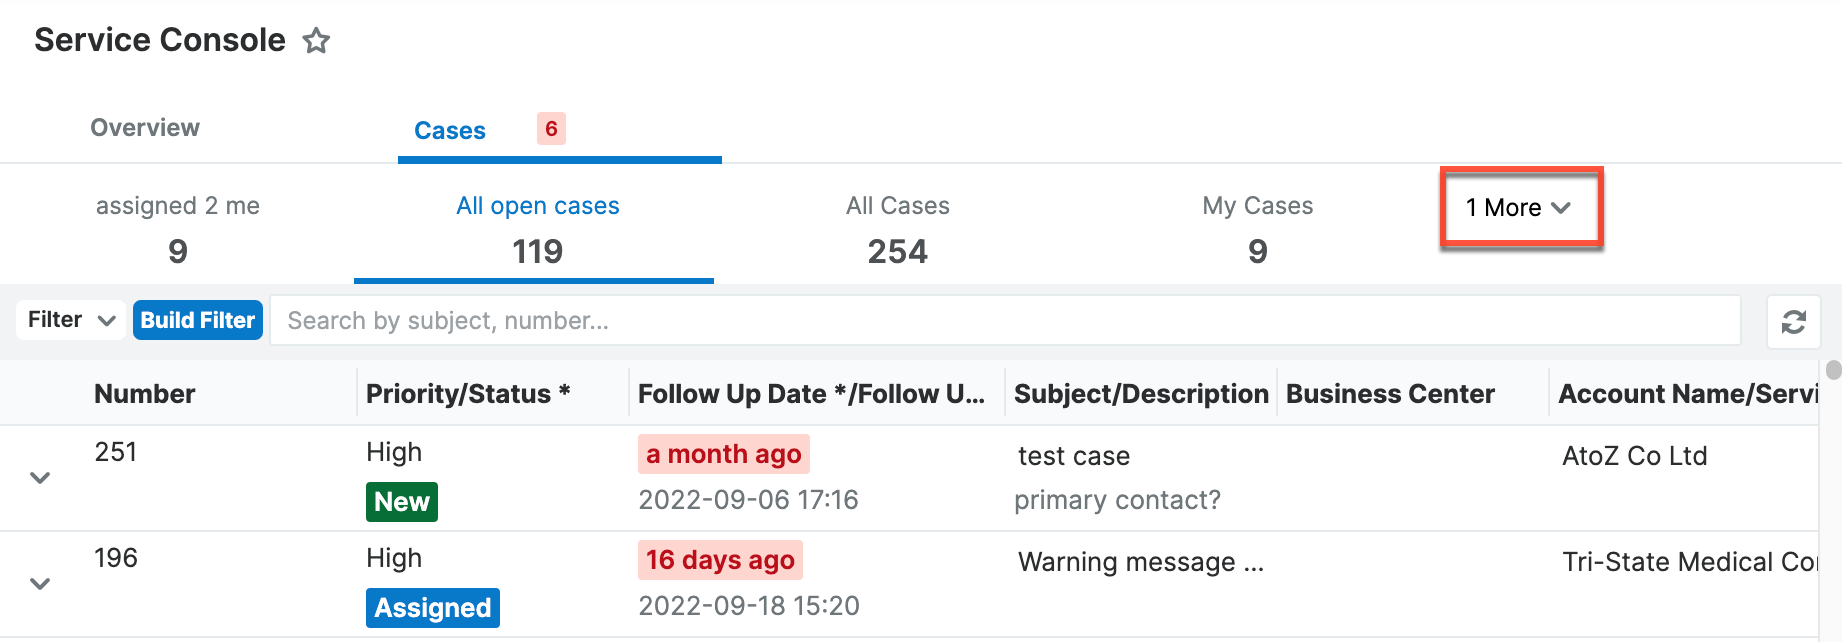
Metric Bar Settings
The metric bar stores all the metric tabs and provides the ability to organize and manage a layout to assign and deploy to users. Please see the Metrics documentation for more specific information on creating and deploying metric tabs.
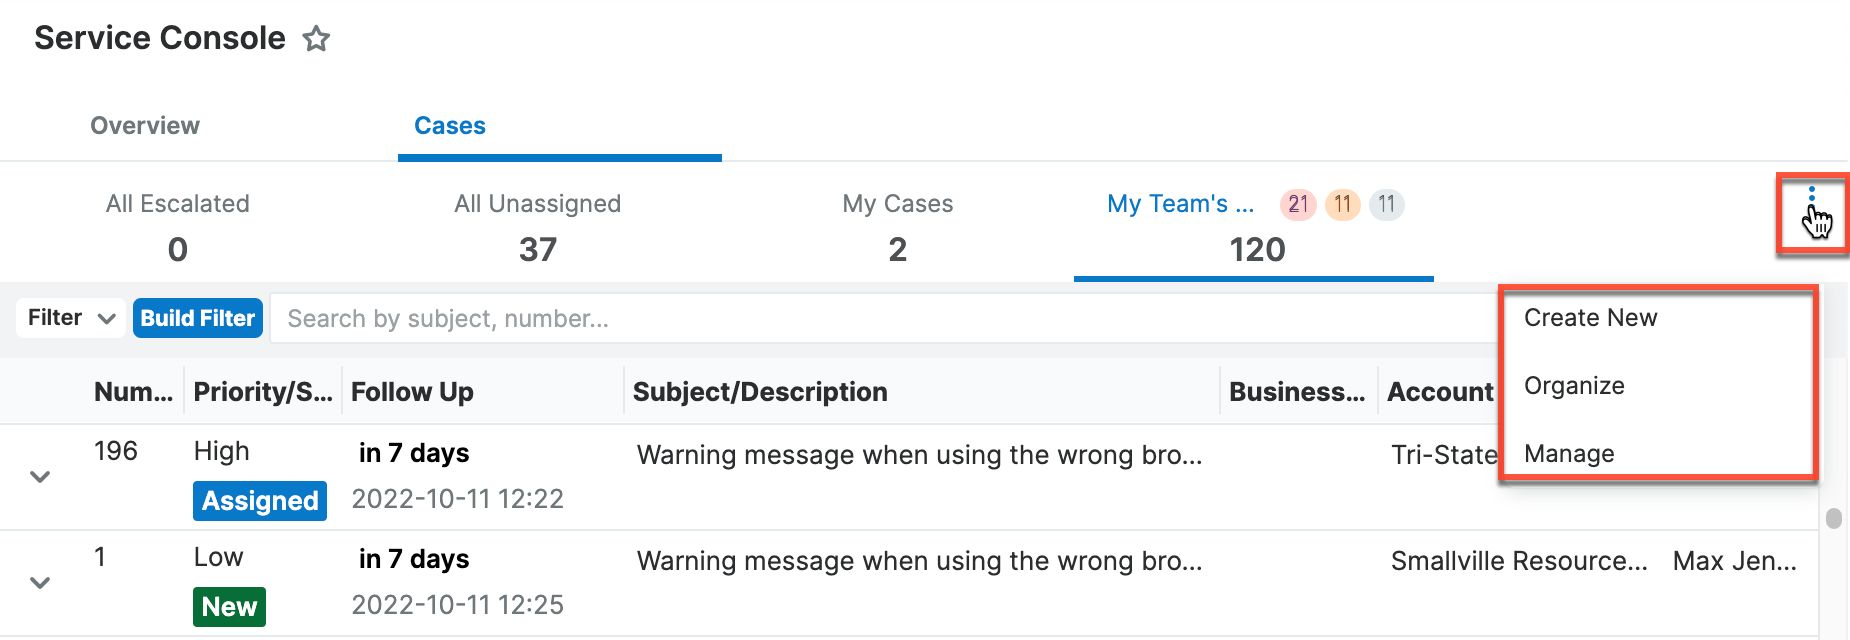
The following menu options are available in the three-dots menu:
- Create New: Create a new metric tab. You will be taken to the Metrics module to create a new record. To view specific information on how to set filters and layouts to a new metric tab, please see the Metrics documentation.
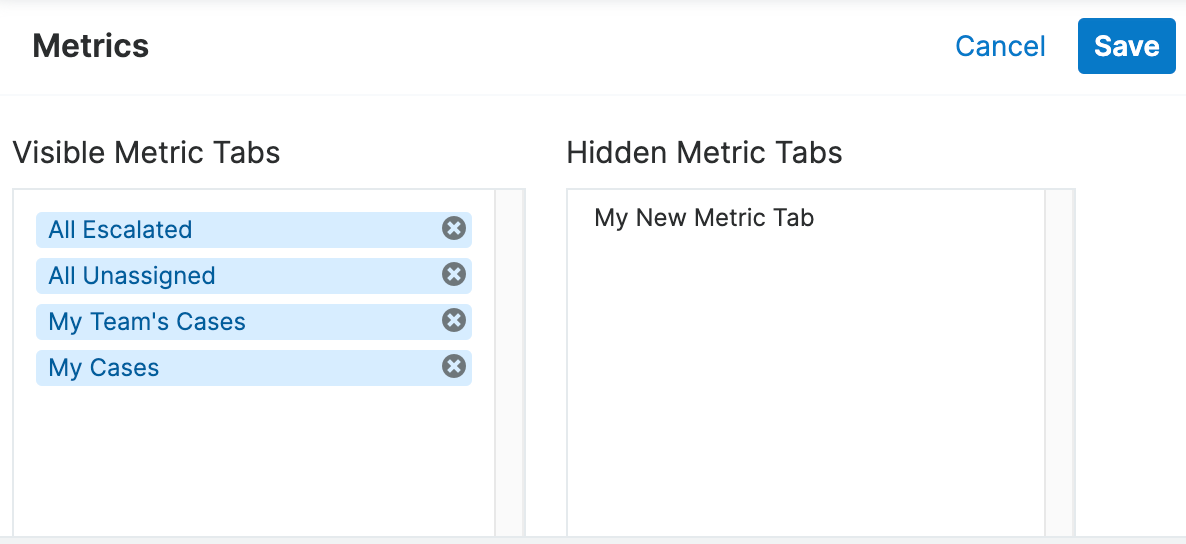
- Organize: Set a particular order for metric tabs to deploy to users and choose which tabs are visible on the metric bar. While metric tabs may be dragged to the visible column, you must click the X on the tab to send it to the hidden column.
- Manage: Access the Metrics module. Please see the Metrics Module section for more information.
Note: Users may also organize their own metric bar, please see the Renewals Console documentation for more information.
Metric Tabs Settings
Each individual metric tab has its own settings; some are accessible only to the admin, while others are for all users. To access these options, hover over a metric tab and click the three-dots menu at the end of the metric tab.
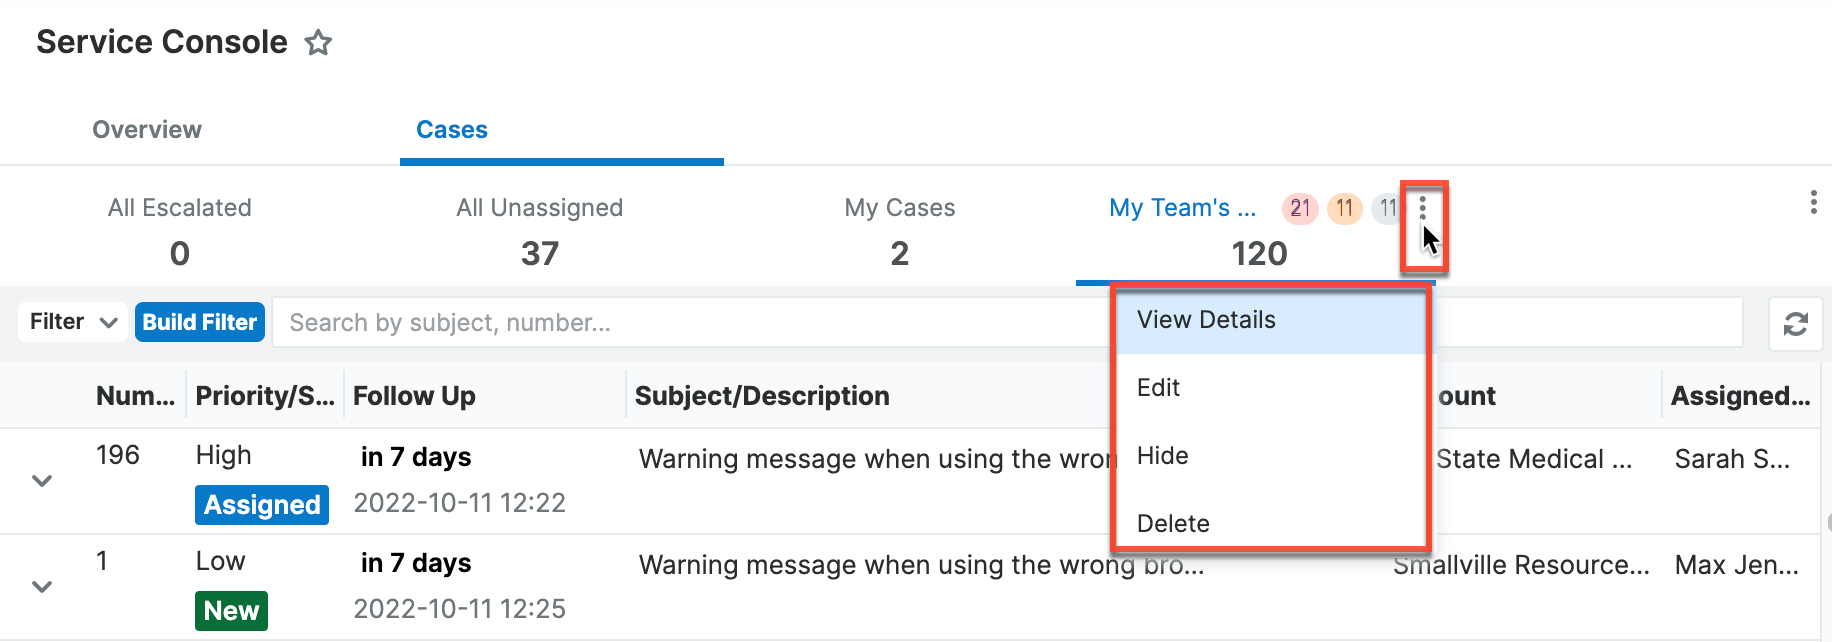
The following menu options are available in the three-dots menu:
- View Details: View all details of the metric record. This module is read-only unless you are an administrator. For more information on the Metrics module, please refer to the Metrics documentation.
- Edit: Edit the metric tab. Only admins can edit metric tabs.
- Hide: Remove the tab from the metric bar. All users can do this in their own metric bar. If the user wishes to put the metric tab back, they may navigate to Organize on the metric bar's three-dots menu to return the tab.
- Delete: Remove the metric tab. Only admins can remove metric tabs. If you delete all tabs for the console, users will see text that says "No Metric Tabs Configured. Please contact your administrator." If a user hides all of their metric tabs from their own view, they will instead see "No Metric Tabs Visible. Choose 'organize' to make metric tabs visible."
Metrics Module
The Metrics module stores all settings for all metric tabs, which are displayed in the consoles. Having multiple metric tabs allows users to quickly view different filtered and configured lists with one click. The metrics may have different filters, as well as different fields visible in the console list view. Regular users can view metrics in a read-only capacity, while administrators can also create and edit metrics. Please see the Metrics page for more information.