Understanding Relationship Creation Options
Overview
In Sugar, relationships can be created in either Module Builder (custom module) or Studio (custom and stock module). When a relationship is created via Admin > Studio, relate fields and subpanels are automatically created to represent a two-way relationship between the modules. When a related module record is selected in the relate field or subpanel, a relationship is established between the primary module record and the related module record. This article covers the different types of relationships and how to create new relationships in Sugar.
For further details on relationships as compared to relate fields, refer to the Introduction to Relationships and Relate Fields article.
Relationship Types
The following relationship types exist in Sugar:
- One-to-One: This type of relationship is the most restrictive and results in a relate field in both modules. You can create the relationship in either the primary or related module.
- One-to-Many: This type of relationship displays a relate field in the related module and a subpanel in the primary module. For example, accounts and contacts have a one-to-many relationship, so the account record has a subpanel for contacts and the contact record has a relate field for its related account.
- Many-to-Many: This type of relationship displays a subpanel in both the primary and related module. For example, contacts and opportunities have a many-to-many relationship, so multiple contacts can be related to multiple opportunities and vice versa.
- Many-to-One (Module Builder): This is the reverse of a one-to-many relationship and can be used when creating a one-to-many relationship from the "many" module's side.
You can also create a circular relationship, which is a module related to itself. This creates a parent/child relationship within the same module and it can be created using any of the above relationship types.
Subpanel Types
When creating relationships that involve subpanels (i.e., one-to-many, many-to-many), you have the option to choose the subpanel type you want to be displayed in the related module. The different subpanel types can display different sets of fields depending on the primary module that they are related to. The Contacts subpanel displayed in the Accounts module may contain different fields than the Contacts subpanel displayed in the Cases module. For example, if we create a one-to-many relationship between "Accounts" and "Contacts", the "Subpanel from Contacts" displays the list of subpanel types available for the Contacts module. Select the Default type to get the most commonly used fields in the subpanel or select "ForAccounts" to get the fields from the Contacts subpanel in the Accounts module, and so on.
Creating and Managing a Relationship in Module Builder vs Studio
Please note the key differences in creating and managing relationships in Module Builder vs Studio.
| Relationship in Module Builder | Relationship in Studio |
|---|---|
| You can only create relationships between un-deployed modules. | You can only create relationships between deployed modules. |
| You have the ability to edit relationships after the module is deployed but will need to re-deploy the module package. | You cannot edit a relationship in Studio once it has been created, but you can delete relationships. |
Note: Before continuing, it is imperative that you understand these tools and follow the recommendations in our Best Practices When Building Custom Modules article.
Creating Relationships
In the sections below, we will walk through the different steps on how to create a relationship in Studio and in Module Builder.
Studio
We will cover how to create a one-to-many relationship between the Accounts and Notes module as an example:
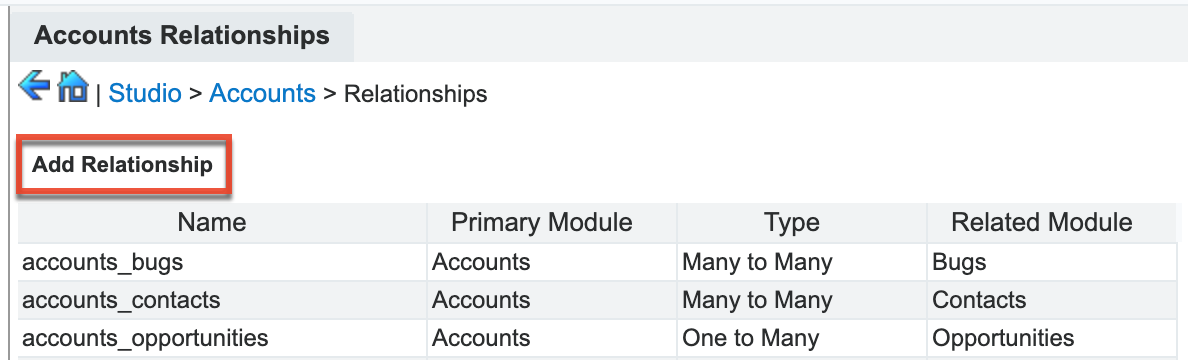
- Navigate to Admin > Studio > Accounts > Relationships and click "Add Relationship".
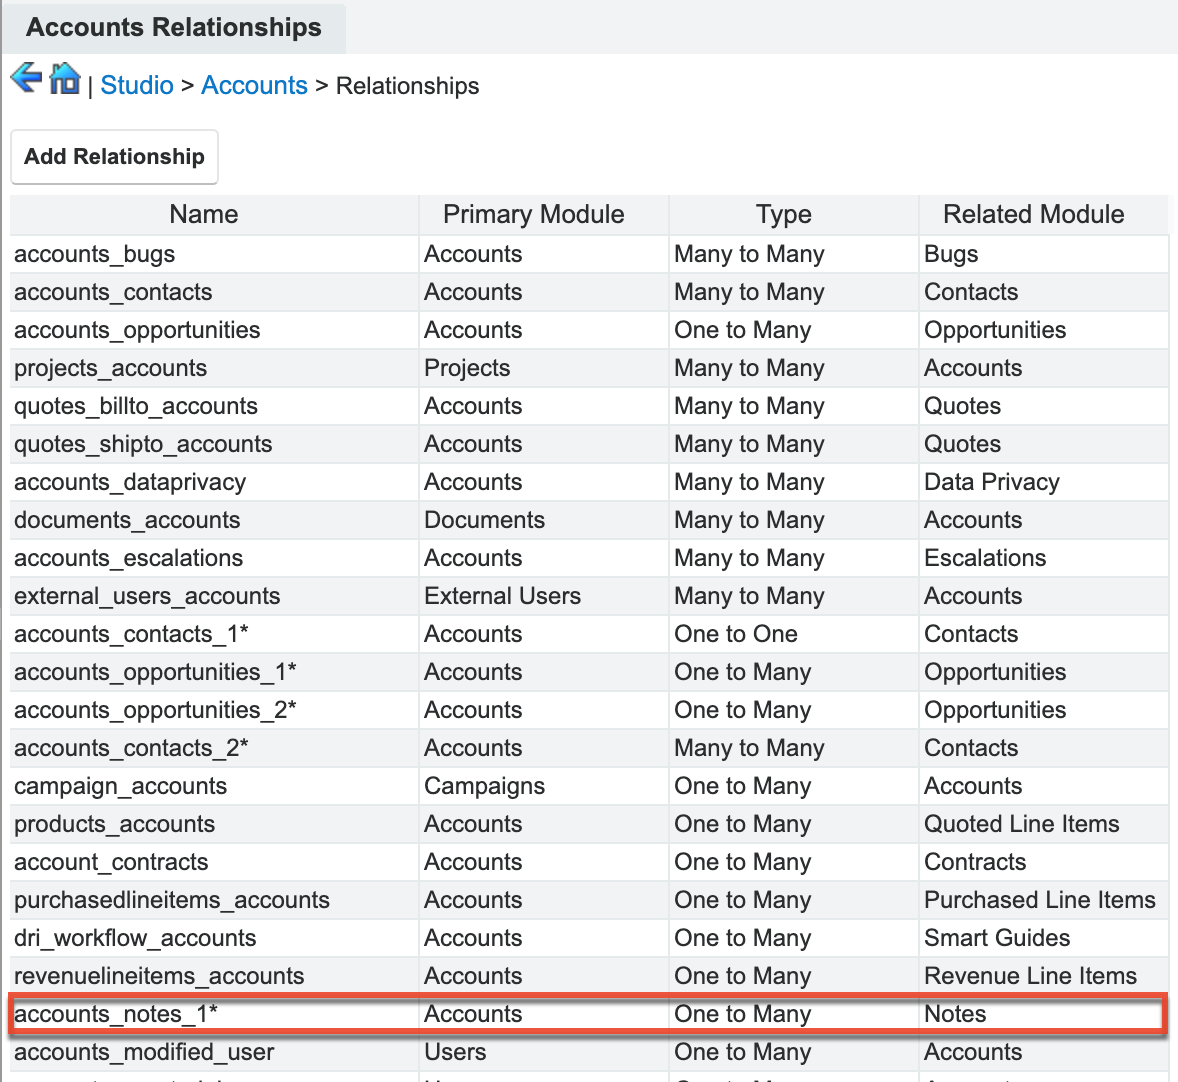
- Set the relationship type as "One-to-Many" and choose "Notes" as the related module.

- Save and deploy the custom relationship. This will cause it to appear in the list of relationships.
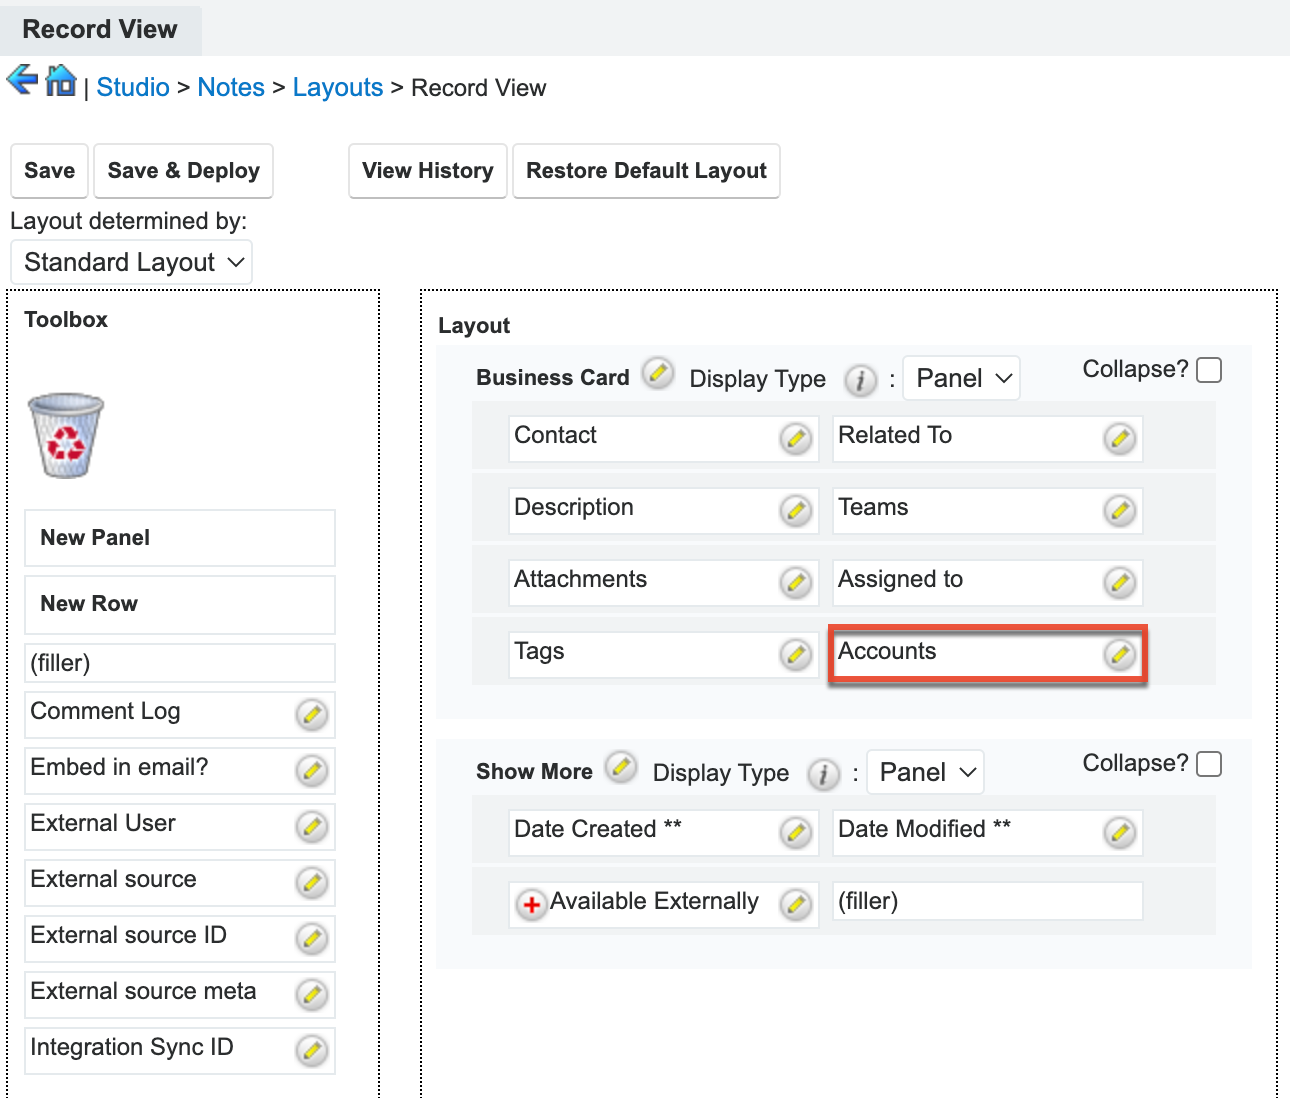
- Navigate to Admin > Studio > Notes > Layouts > Record View. Notice that the new Accounts relate field will be automatically added to the layout due to the relationship.
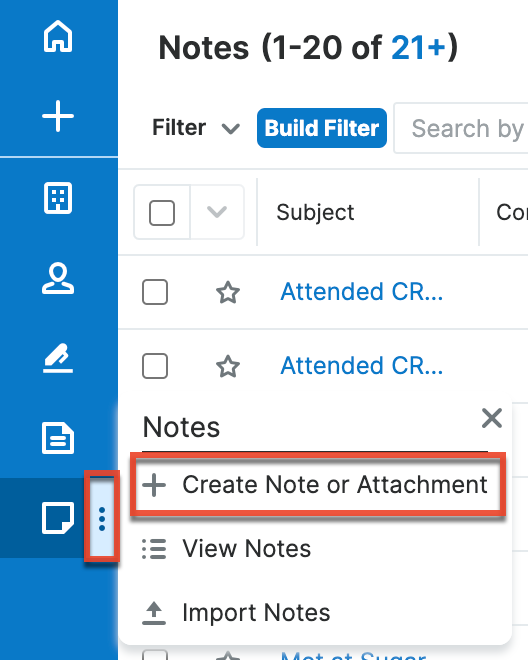
- In the navigation bar, click the three-dots menu in the Notes module tab and select "Create Note or Attachment".
- Select the account record you would like to relate to the note. For our example, we will select "Jungle Systems Inc".
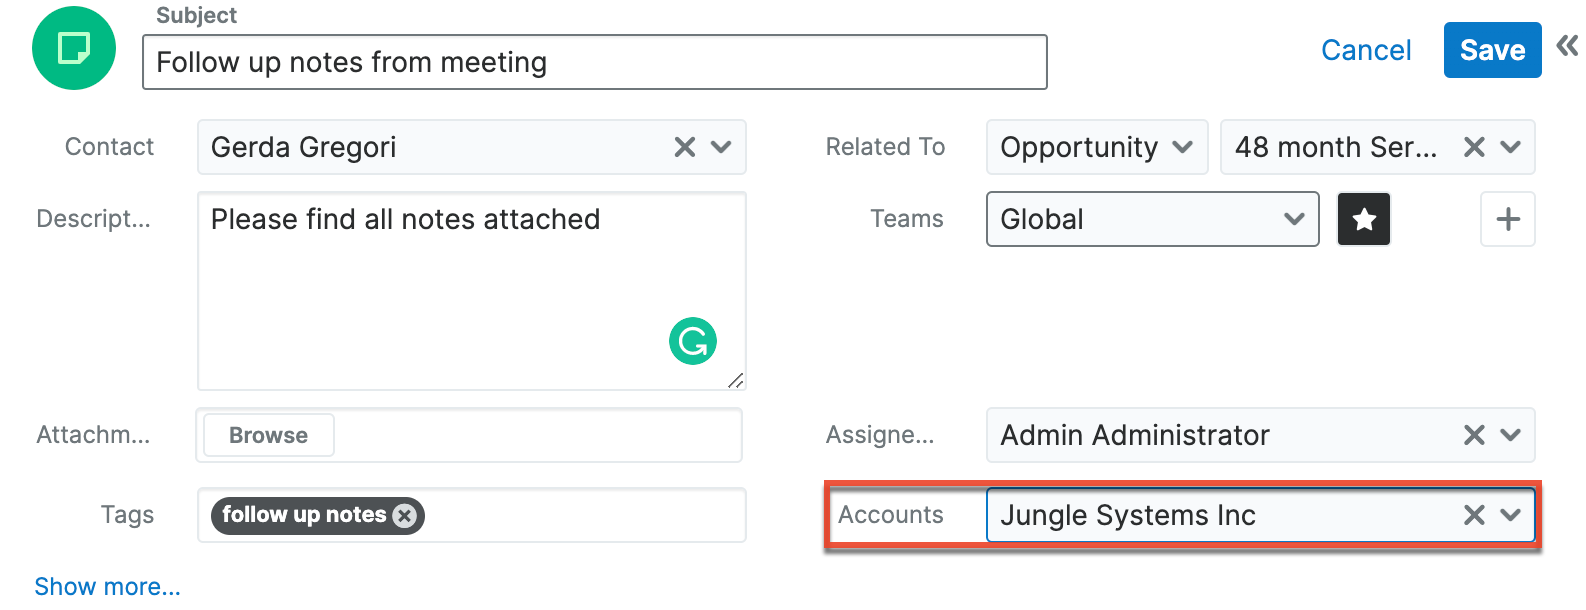
- Click "Save" to finalize the changes.
Once the note record is saved, the related account will be displayed in the note record's record view. In addition, the note record will be displayed in the Notes subpanel of the related account record. 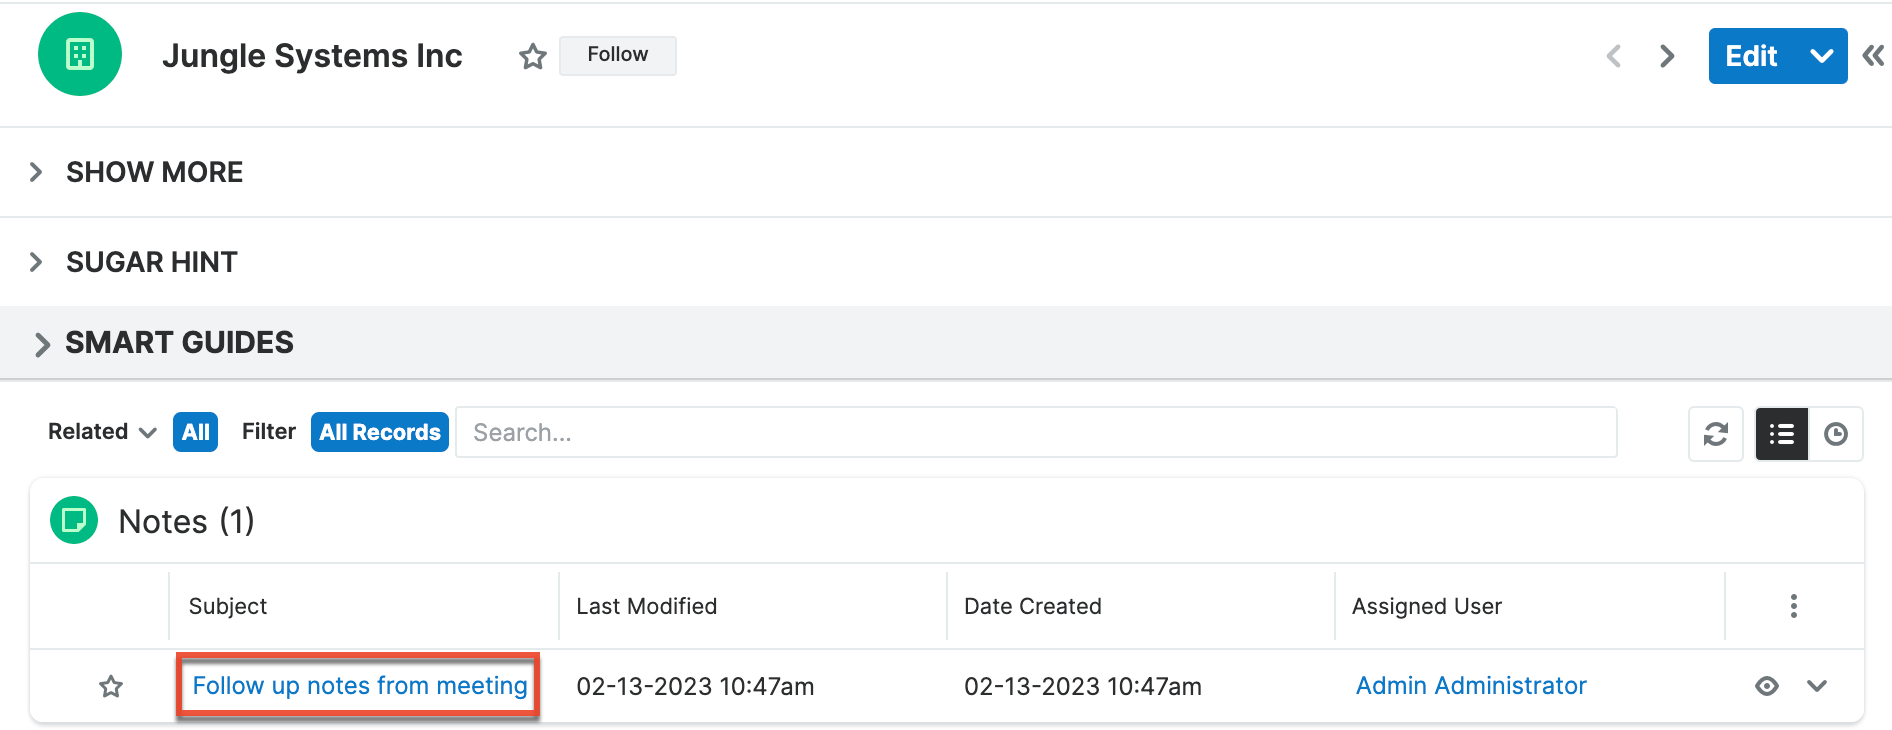
Module Builder
We will cover how to create a many-to-many relationship between the Companies custom module and the Tasks module in Module Builder as an example:
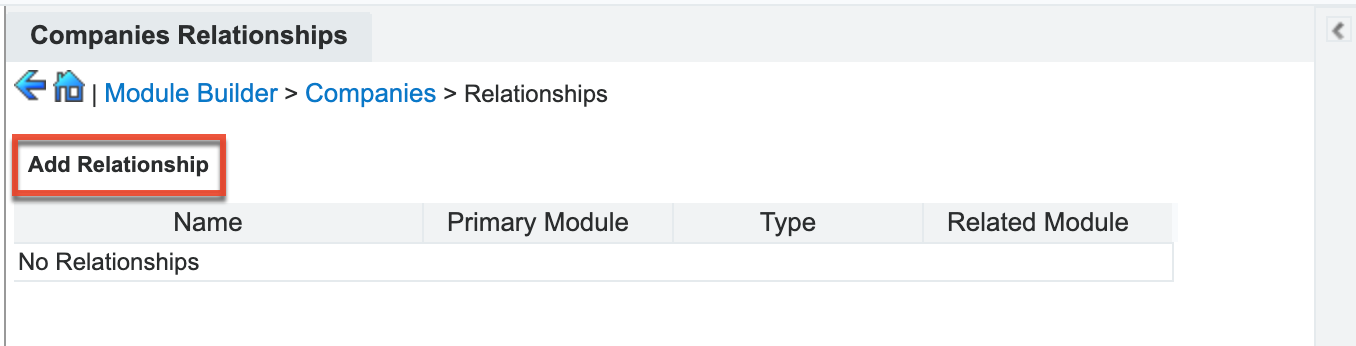
- Navigate to Admin > Module Builder and select the custom module you wish to edit. For this example, we will select the Companies custom module.
- Select "Relationships" and then click "Add Relationship".
- Set the relationship type as "Many-to-Many" then choose "Tasks" as the related module.
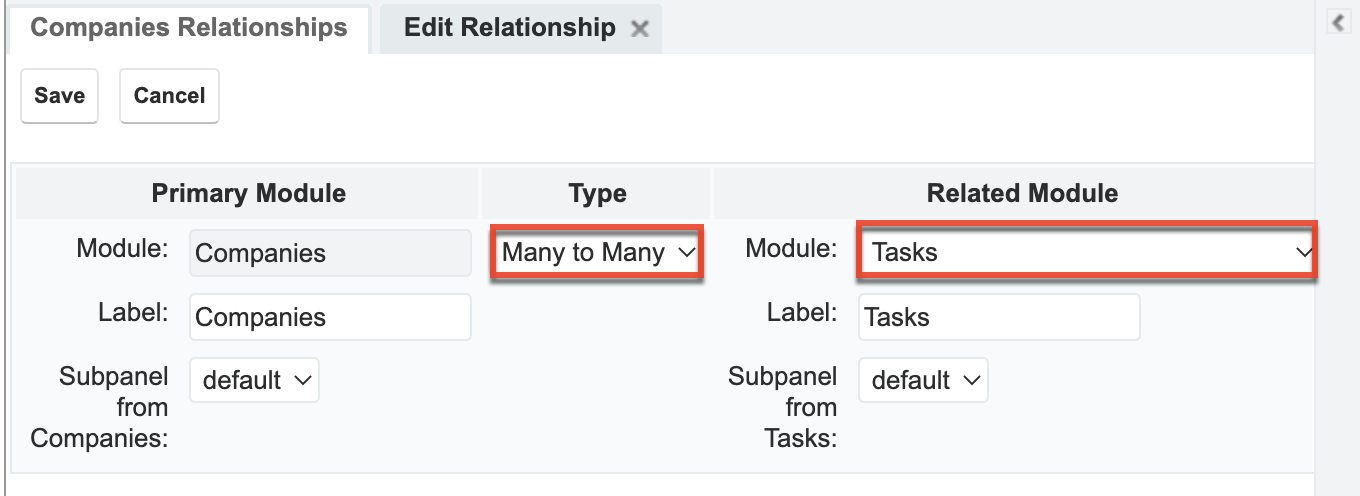
- Click "Save" to finalize the changes.
Once the custom module is deployed, the Companies module will display a subpanel for tasks and the Tasks module will display a subpanel for Companies.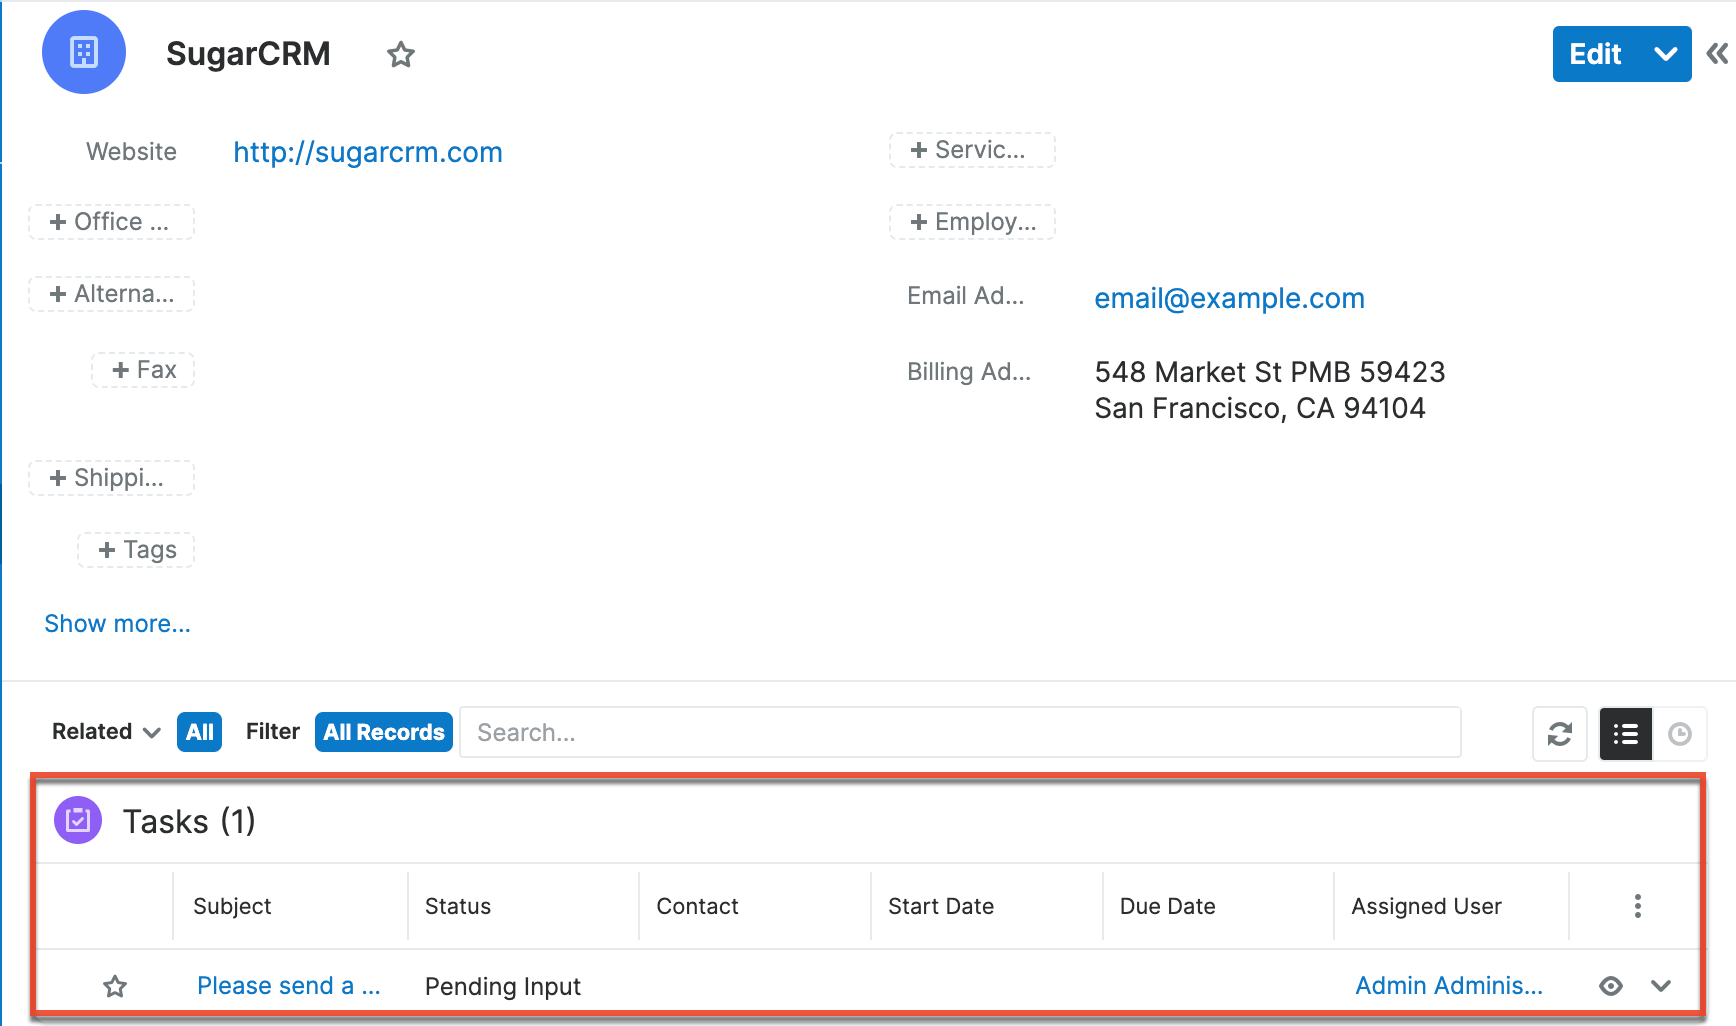
Managing Relationships
Module Builder
Relationships created in Module Builder can be edited and deleted as follows:
- Navigate to Admin > Module Builder > {Custom Module Name} > Relationships and select the relationship name.
- Edit the relationship as necessary and click "Save". For our example, we will change "comp_companies_tasks" from a many-to-many relationship to a one-to-many.
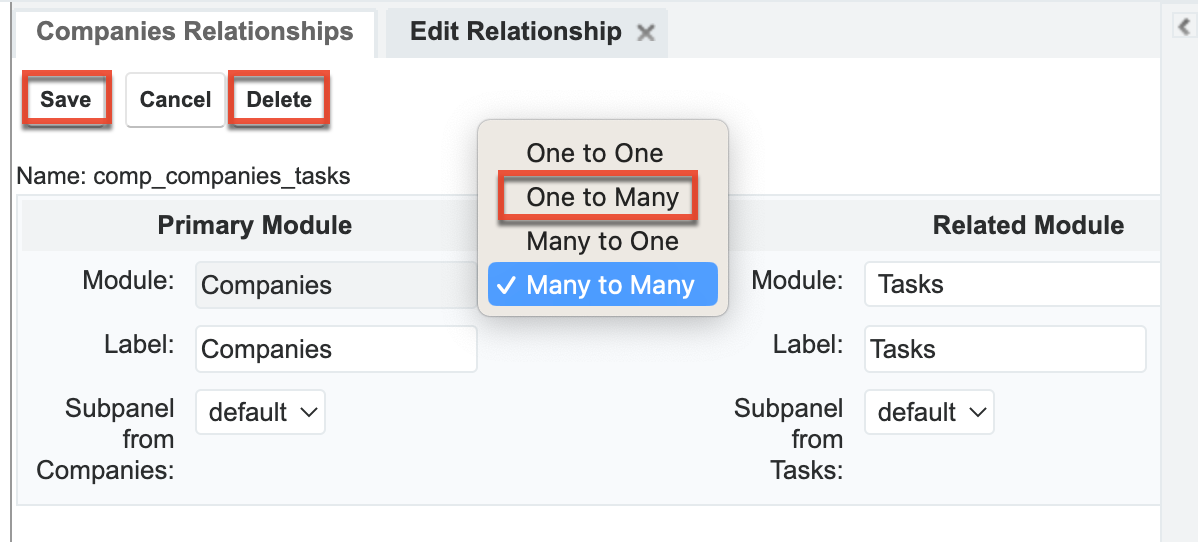
- To delete the relationship, click the Delete button.
Studio
Relationships cannot be edited in Studio, but you can delete custom relationships as follows:
- Navigate to Admin > Studio > {Module Name} > Relationships and select the relationship name. For our example, we will delete "accounts_calls_1".
- Click "Delete" to remove the relationship from the module.

Quick Tips
- Before you create a relationship, check to see if the relationship already exists out of the box and review its type.
- Consider the scalability of your relationship. If most of your existing relationships are one-to-many, then you probably need a many-to-many relationship. Since relationships cannot be changed from one type to another, carefully consider what you need beforehand or choose a more liberal option.
- When creating relationships in Module Builder, make sure to reference modules that will be deployed simultaneously. This will prevent orphaned relationships from being created.